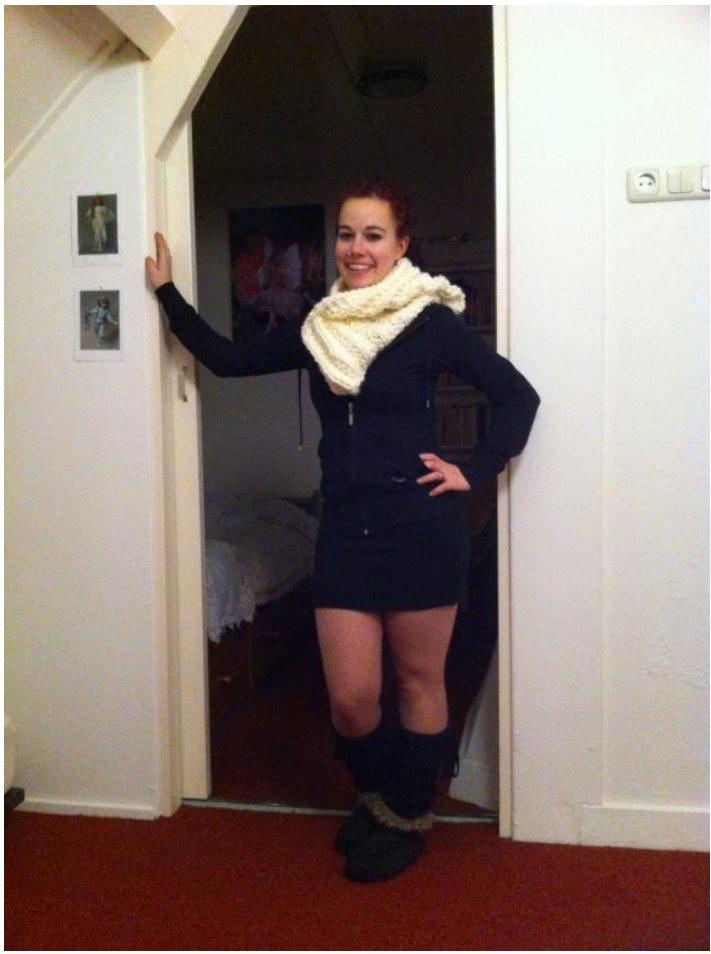
NYMERIA COWL & HOODIE
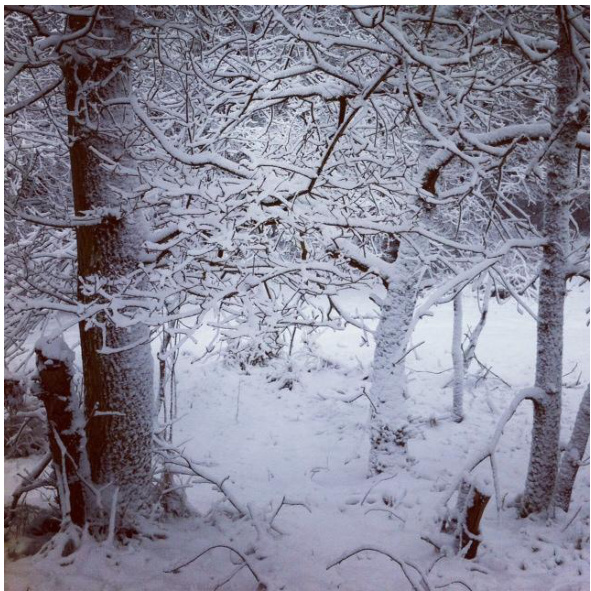
We have snow in the Netherlands which is very rare and a lot of people are telling jokes which boils down to ... "winter is coming' Game of Thrones comes up in my mind quite often,.. this and the beautiful winter landscape which surrounds me inspired me to knit this project: I named this knit it Nymeria, like the dog of Arya Stark It will be perfect for cold snowy days! I love multifunctional designs. This one is a hood and a cowl in one.

The design looks beautiful and complicated, but the pattern is quite easy and allows for stretchiness although the yarn is bulky. Thanks to that it's also really a quick knit. In the morning when I cycle to the train, I want my ears to be warm, but I don't want people staring at me when I'm walking through the station or town and I don't like carrying a hat around with me, which could get lost,... So this is the perfect solution, it is a hood and easily becomes cowl! Technique: Knitted flat in pattern, seamed afterwards Gauge: 4" = 10 stitches x 8 rows If you want/need to adjust the pattern, remember to cast on a multiple of 4 stitches plus 3 stitches to be able to knit this pattern
Material
Needles: US 19/ 15 mm Yarn: Pingouin Arctique 50, (approximately 185 yard)
Abbreviations:
k = knit P = purl St = stitches
ittern: this pattern is easy to remember and a perfect tv knit, or a project for a beginning knitter. You only need to know how to knit and how to purl. It's also perfect for this cowl because it's a reversible pattern.
Row 1 and Row 2 are repeated (the pattern won't show up at once, only after knitting a few rows) Repeat stitches between \* till end of row or otherwise indicated Row 1: k3, \* p1, k3\* Row2: k1, \*p1, k3\*, knit till last two stitches, p1, k1
Start:
Cast on 71 stitches Knit in pattern (repeat row 1 and row 2) till you have knitted 24 rows [or approximately 8 "] Row25: cast- off 8 stitches at beginning of row [you have 1 stitch on your right needle now], then k1, \*p1, k3\* Row26: cast- off 8 stitches at beginning of row, then k3, \*p1, k3\*, till last two stitches, p1, k1 (55 stitches remain on needle) → Slip 1 st purlwise with yarn in front each row, from now on Continue knitting pattern (row 1 and row 2) till row 55, then cast off
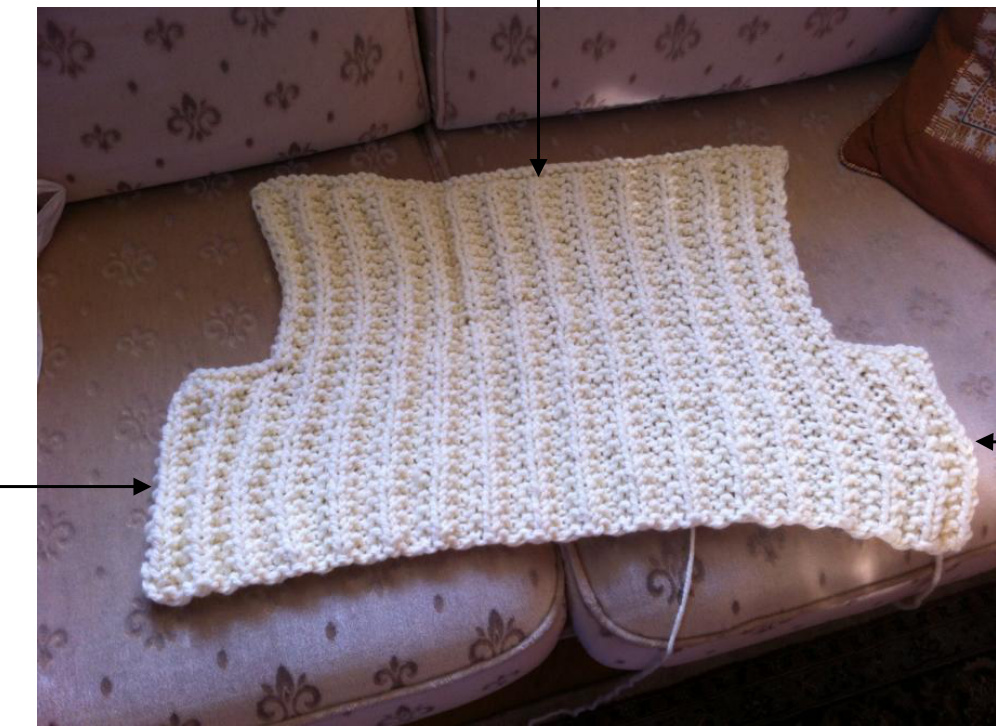
After casting of the work looks like this. You now need to fold it double and seam it as indicated with the arrows
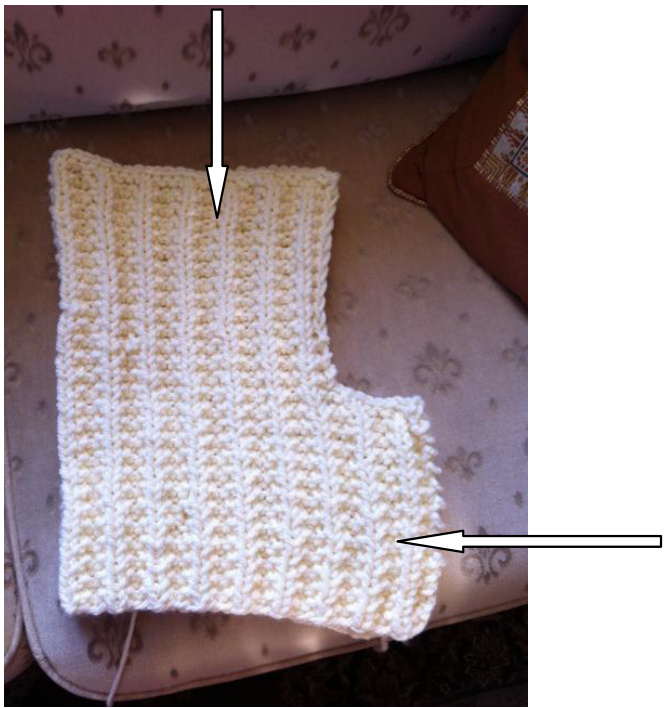
At the places where the arrows are your seams should be. One is at the top of the hat, The other one at the front of your neck If you encounter questions during knitting, don't hesitate to contact me.
Great to share this pattern with you guys! Hope you enjoy! Have fun knitting!


