
Designed by Sabina Mauri

Stitch glossary:
St(s): stitch(es) K: knit P: purl K2T (P2T): knit (purl) two together SSK: slip slip knit P2togtbl: purl two stitches together through the backloops BO: bind off TL: put the next 4 sts on a cable needle and hold it in the front, knit the next 4 sts, and knit the 4 sts on the cable needle. Then knit the remaining 4 sts. TR: Knit 4 sts. then put the next 4 sts on a cable needle and hold it in the back, knit the next 4 sts, and knit the 4 sts on the cable needle. Skill: advanced beginner Yarn: 2 skeins of Esmeraldas Gold (Mafl,manifattura filati di Romagnano Sesia) 63% Alpaca, 37% Acrylic Needles: circular 7mm / 10 3%4 U.S., and 5mm / 8 U.s. (circular or not). You will also need a crochet hook for provisional cast-on, a tapestry needle and double pointed needles for the icord. Tension/Gauge: 12 sts and 13,5 rows to 4"/10cm over Stockinette stitch using size 7mm (10 3%4 needles) Size: S/M, head circumference approximately 55 cm (22") Finished Measurements: long side from the pompom to the bottom (lateral): 31 cm Short side (central): 20 cm
Notes:
The hat is worked like a normal hat, but the cast on is made through the provisional cast-on. At the end, this will be removed, and will be added the pieces which cover the ears. So if you don't want them, just begin with a normal cast on, and ignore the last part of the pattern.
Instructions:
Cast on 52 sts, with provisional cast on (needles 7). For the provisional cast-on, l usually crochet a very loose chain and pick up the stitches from the back bump of it. Establishing row: \*K12,P1,K12, P1\* (repeat twice). Repeat this row 3 times more. Row 1\~2: \*K12, P1,K12,P1\* repeat twice Row 3: \*K12, P1,TF, P1\* repeat twice Row 4\~8: \*K12,P1,K12, P1\* repeat twice Row 9: \*K12, P1,TB, P1\* repeat twice Row 10\~12: \*K12, P1, K12, P1\* repeat twice
Kitchener stitch (grafting):
Set up: divide the stitches evenly onto two needles (any kind of needles). It is vital that you have the exact same number of stitches on the two needles. Insert the tail into a tapestry needle. Go into frst stitch on needle closest to you as if to purl, and leave the stitch on the needle. Go into first stitch on needle farthest from you as if to knit, and leave the stitch on the needle. Front needle: Go into frst stitch knitwise. Slip stitch off. Go into next stitch purlwise. Leave on the needle. Back needle: Go into first stitch purlwise. Slip stitch off. Go into next stitch knitwise. Leave on the needle. Repeat from row 1 to 12 twice, or until piece measures approximately 17 cm (7"). If you want your hat to be higher, here is were you can add rows.
Decrease section:
Row 1: follow the previous pattern, but without making cables, and for each 5 sts, decrease 1 st (for example K3, K2T, and so on) → at the end of the row you'll have 42 sts. Row 2\~4: work even Row 5: follow the previous pattern, decreasing 1 st for each 4 sts. → 32 sts. Row 6: work even Row 7: \*K2T\* 16 times → 16 sts. Cut yarn leaving a 50 cm tail (20") and close using Kitchener stitch. Remove the provisional cast-on carefully, and place live sts on a circular needle. Now we're going to close the Stockinette pieces, and continue to work the cable sts. To follow the pattern correctly, be careful to have on your needle, frst of all, the 12 sts with cables, and then the Stockinette sts. Row 1:K12,P1, K3, B06,K3,P1, K12, P1,K3, B06, K3, P1. Now you'll have two group of 20 stitches. Place one of them on a stitch holder, or on scrap yarn, and start working the other one like this: Row 2 (RS): K6, put 4 sts ona cable needle and hold it on the front, knit 4 sts, knit the 4 sts on the cable needle, K2 Row 3 (WS): purl Row 4 (RS): knit Row 5 (WS): P2, P2T.. P2togtbl, P2 → 14 sts Row 6 (RS): knit Row 8 (RS): K4, put 4 sts on a cable needle and hold it on the back, knit 4 sts, knit the 4 sts on the cable needle, K2 Row 9 (WS): P2, P2T, K6, P2togtbl, P2 → 12 sts Row 10 (RS): knit Work in the same way the other 20 sts on the stitch holder.
I-cord:
Cast on 3 sts. Do not turn the work, but slide the sts to the other end of the needle. Knit the 3 sts. Slide the sts again to the other end of the needle, and so on. It will start to take shape after 3, 4 rows. BO the 3 sts when the i-cord has reached the length of 15 cm (6") or the desired one.
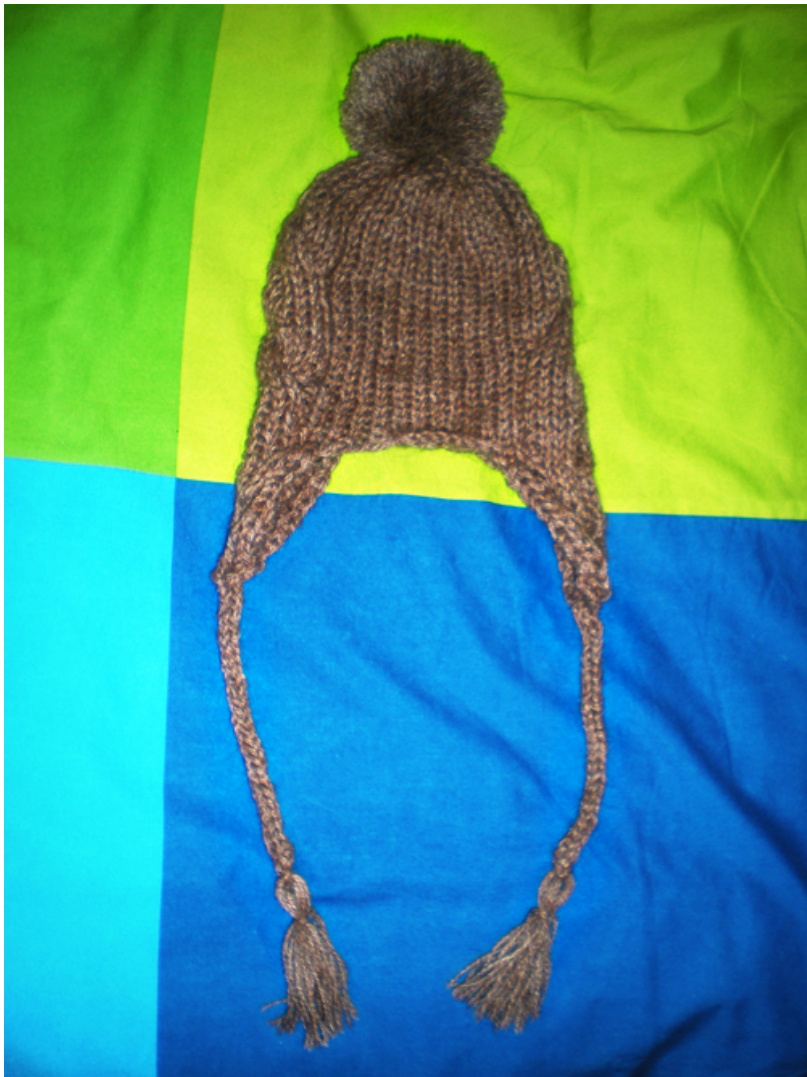
I've chosen the i-cord, but if you prefer, you can do braids with the yard, or knit 3 pieces and braid them together. l've added some yarn at the end of the icord, just tying it. I've also added a pompom at the top of the hat.
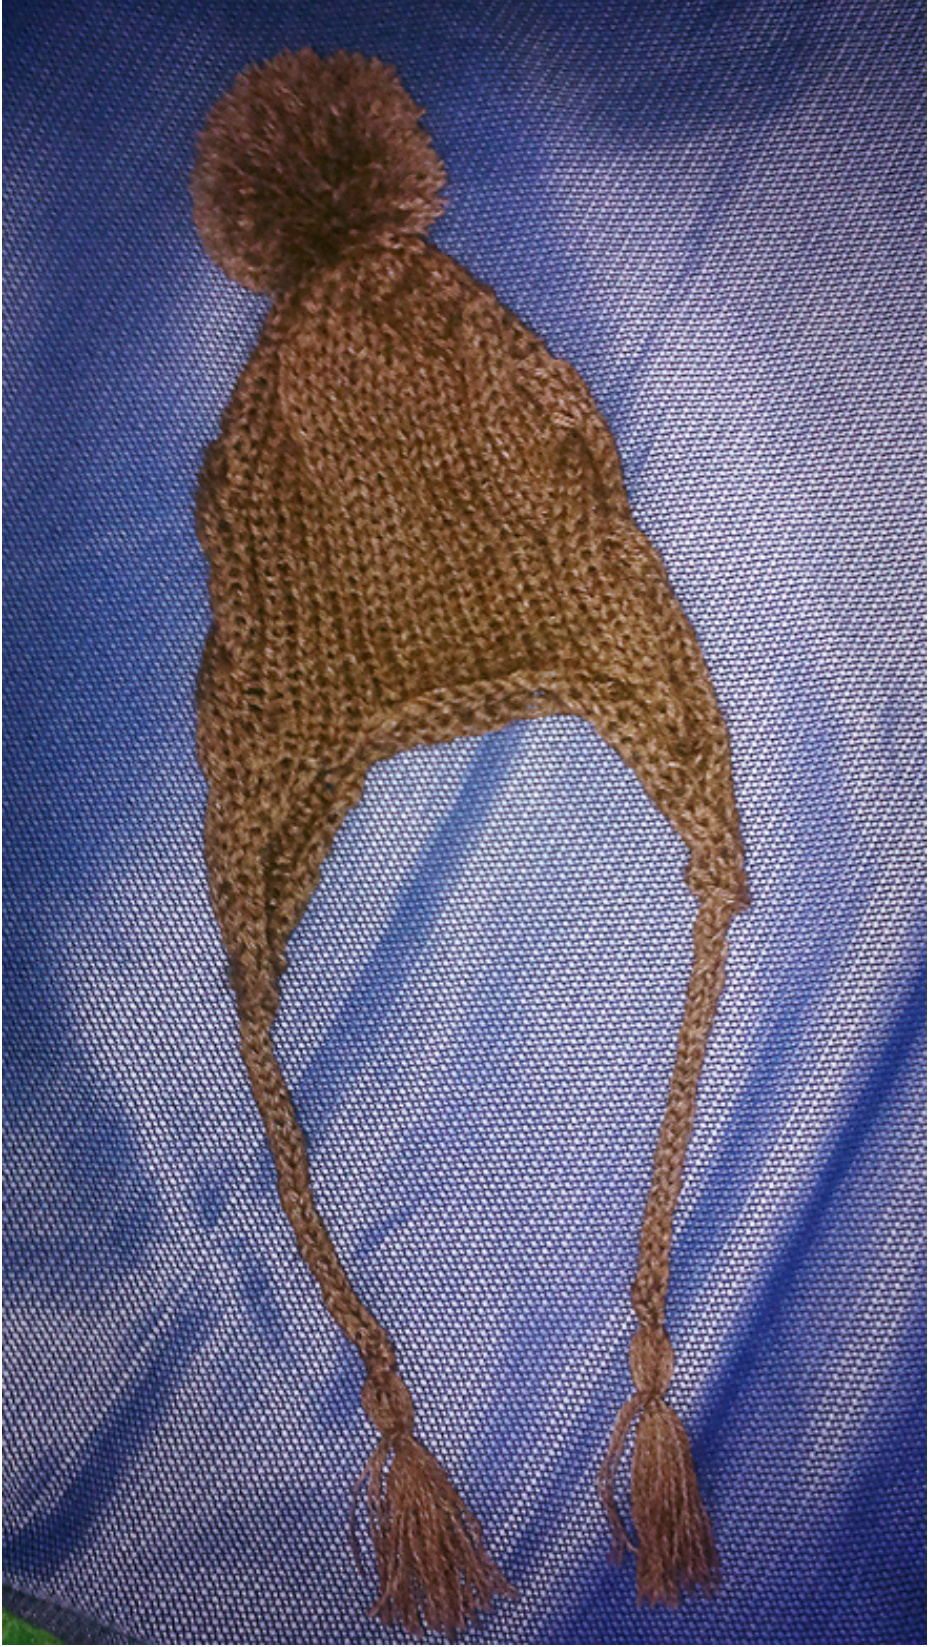
Pompom:
Cut 2 piece of cardboard with a spherical shape, approximately the diameter should be of 8 cm (3"). Inside, cut another sphere with a smaller diameter (about 3 cm, 1"). Place the rings together. The idea is to wind the wool around the rings. Cut the wool into manageable lengths at a time to do this. It doesn't matter if the yarn is cut, just leave the tail at the outside, not in the middle. Repeat this until the yarn covers completely the cardboard. Once your rings are fairly full of wool, cut the wool at the edges of the sphere (the benefit of the two pieces of cardboard is to insert the scissor between them). Insert a piece of yarn into the two spheres, and tie together. Remove the cardboard rings. Use scissors to give your pompom a perfect shape.


