Simple Socksby Square [j] Jane
standard size ladies sock: 6 to 8

Supplies needed:
Fingering weight sock yarn, approx 280 to 400 yards, US size 0 to 1 DPNS needles (or can be done in Magic Loop), darning needle, 2 different stitch markers.
Skills needed:
Casting on, joining cast on in the round, knitting in the round, knitting back and forth, purling, decreasing, picking up stitches, Kitchener stitch or three needle bind off.
Abbreviations:
K: Knit. P:Purl SSK: Slip, slip, knit. (decreases 1 st) K2Tog: Knit two together. (decreases 1 st) P2Tog: Purl two together. PM: Place marker. SIM: Slip marker. Sl 1: Slip 1 stitch as if to purl with yarn in back.
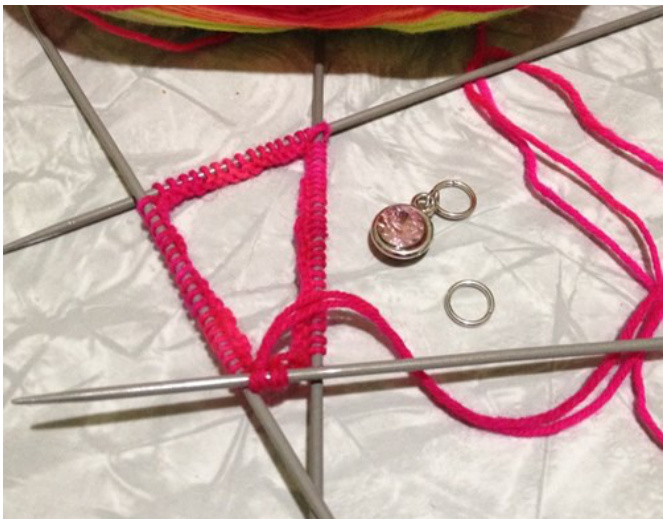
Start with the Cuff: Cast on (loosely) 64 st on US size 0 needles if you are a loose knitter, or on 1 if you are a tight knitter. Being careful not to twist, join your cast on end to the beginning, forming a round. Above, you can see the bumps of the bottom of cast on stitches are all pointed inward. You will be slipping the beginning of round marker from left needle to right needle as you go.
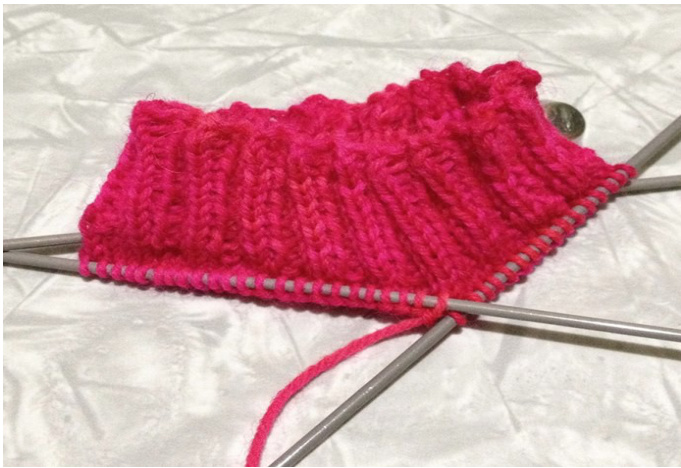
PM \*K2 P2, repeat from \*. You are creating a 2x2 ribbing for your cuff. You can work for your desired length, usually between 1 and 2 inches. When completed to your desired length, you will move on to the leg. Leg: This part is easy, you will simply be knitting in the round. K all stitches for as many rounds until leg is your desired length, usually between 4 and 9 inches. Note that you will be knitting the heel next, so you will add about 1.5 to 2 inches in length in a moment.
Now the magic happens. It is easier than you think. Relax, you've GOT THIS! You will be working back and forth, knitting and purling one half (32) of your stitches. The rest of your stitches will lay unworked on a needle or you can place them on a stitch holder or scrap yarn if you prefer.
Heel flap: (worked on 32 stitches)
Row 1: Slip first stitch after marker to the right needle as if to purl. K 31 stitches and turn your work. Row 2: SL 1, Purl across the stitches you just knit, including the slipped stitch. Turn. Repeat these two rows until your flap is 1.5 to 2 inches long. Longer for a high arch, shorter for small or narrow feet or low arch. Now you will be working the REALLY cool part of the heel, a neat little triangle, by doing a series of decreases. You will be purling on the wrong side (inside) of your work, and knitting on the right side (outside) of your work. When you turn your work, you will be leaving some stitches unworked, for a future row. This is called short rows.
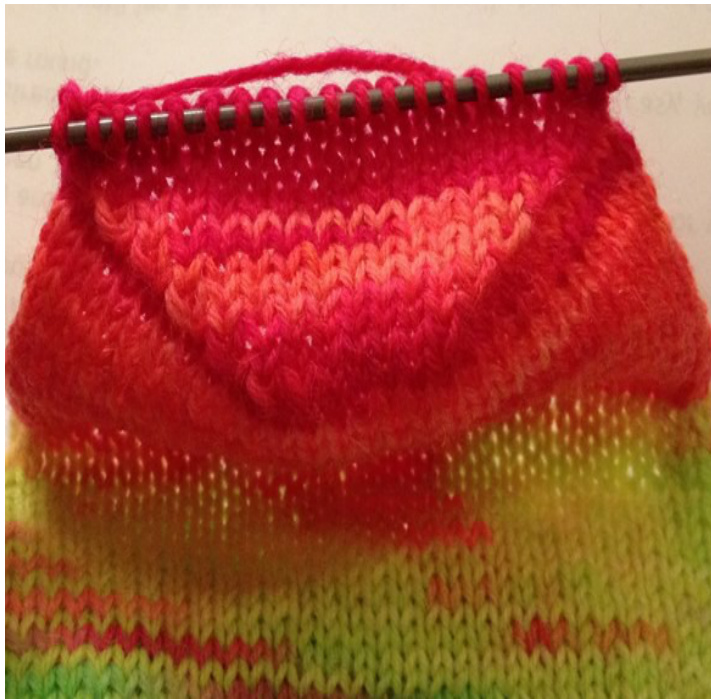
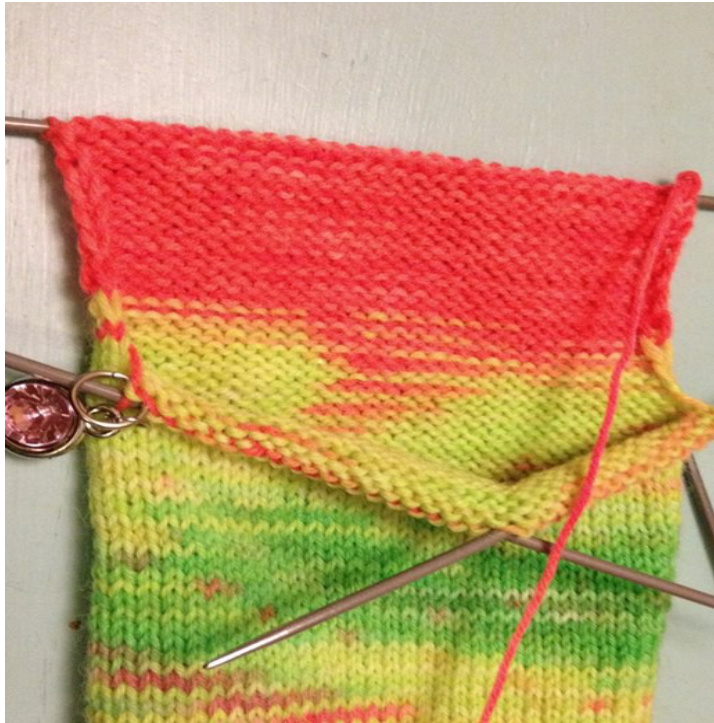
Heel (short rows): Row 1: Sl 1, K 18 , SSK K1. turn work. Row 2: SL 1, P 6 P2Tog P 1. turn work. Row 3: Sl 1, K7 , SSK K1 and turn. Row 4: Sl 1, P 8 P2Tog P 1. turn. Row 5: Sl 1, K 9 SSK K 1. turn. Row 6: Sl 1, P 10 P2Tog P 1. turn. Row 7: Sl 1, K 11 SSK K 1. turn. Row 8: Sl 1, P 12 P2Tog P 1. turn. Row 9: Sl 1, K 13 SSK K 1. turn. Row 10: Sl 1, P 14 P2Tog P 1. turn. Row 11: Sl 1, K 15 SSK K 1. turn. Row 12: Sl 1, P 16 P2Tog P 1. turn. Row 13:Sl 1, K 17 SSL K 1. YOU DID IT! That was the trickiest part of the sock. On your next round, you will begin working around the widest part of the foot, the gusset. This is the widest part of the sock and will take you back to knitting in the round.
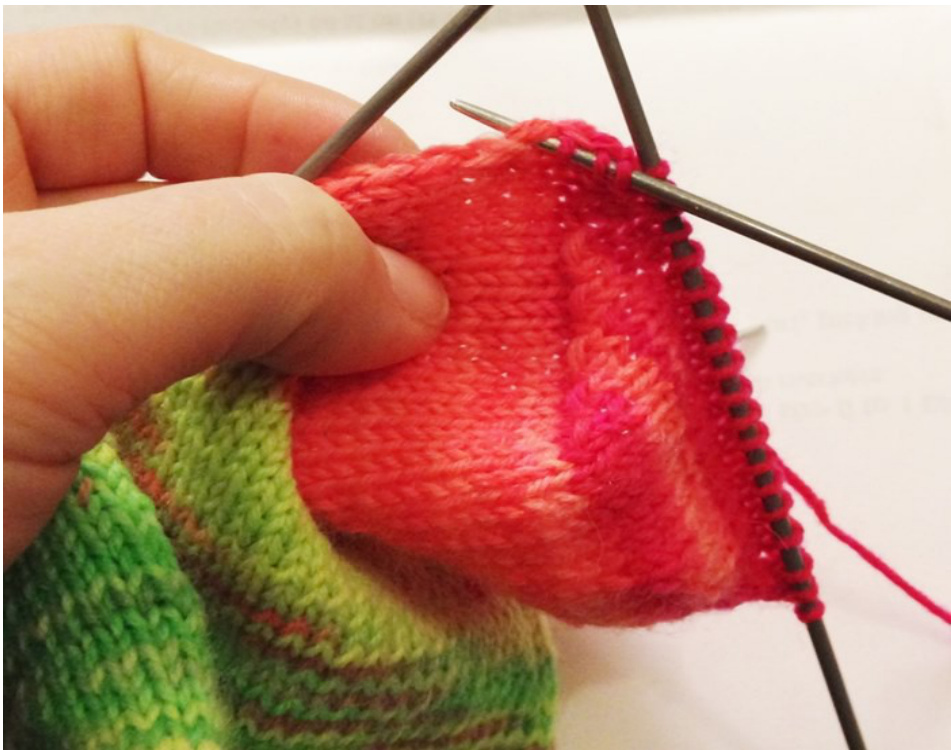
Foot (gusset): Rotate your heel flap, 90 degrees clockwise. (as seen above,) You will now pick up 16 stitches down the side of the flap. Be sure to knit through the inside and outside of the slipped stitches to avoid holes.
Place mid-round marker.
Now you will be knitting your dormant stitches again, and you will be back to knitting in the round. Knit your 32 dormant stitches.
Place beginning of round marker.
Now, pick up 16 stitches up the other side of the heel flap, like you did on the other side. Knit across the heel stitches, and all other stitches until you are once again, back to the beginning of round marker.
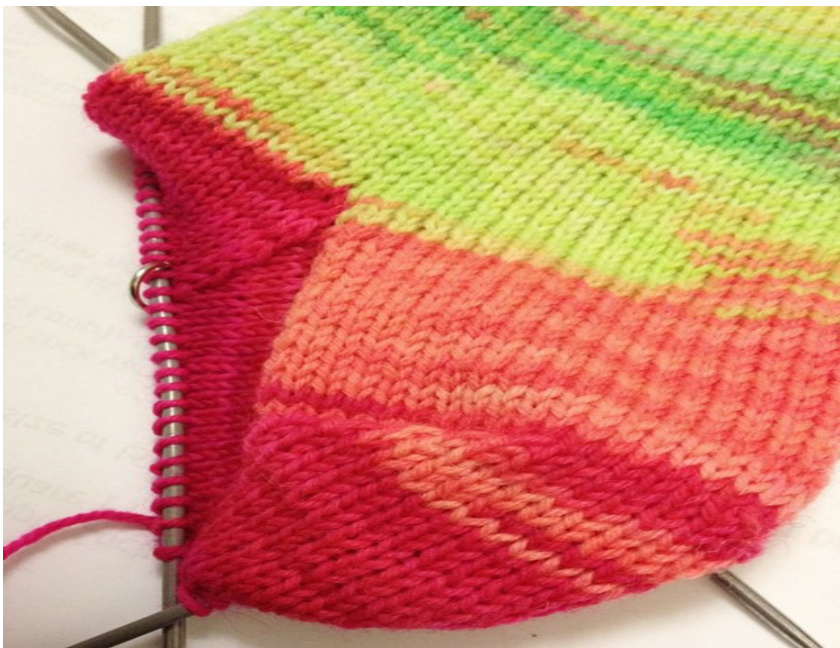
You will now begin to reduce the size of the gusset. Slip your beginning of round marker and then: Round 1: K 1, SSK, knit to 3 stitches before the mid round marker. K2Tog, K 1. SlM, Knit the rest until you are back to the beginning of round. Round 2: Knit entire round. Alternate these 2 rounds until your complete stitch count is 64 stitches once more. Foot: Simply knit all rounds until your sock is aprox. 1.5 to 2 inches short of your foot length. Now you will begin working your toe reduction. Start at your beginning of round marker. Round 1: K1, SSK, knit to 3 stitches before mid round marker. K2tog, K1 SIM, K1, SSK, knit to 3 stitches before end of round, K2Tog, K1. Round 2: Knit all stitches in round. Repeat these two rounds alternately until your full stitch count is 32, (18 stitches between each marker. Now, you can remove the markers, and Kitchener stitch the toes together or do a three needle bind off. If doing a three needle bind-off, you will need to turn the sock inside out. Youtube features videos on how to Kitchener stitch with a darning needle or how to do a three needle bind-off. YOU DID IT! Repeat the above steps and you will have a pair of lovely socks.
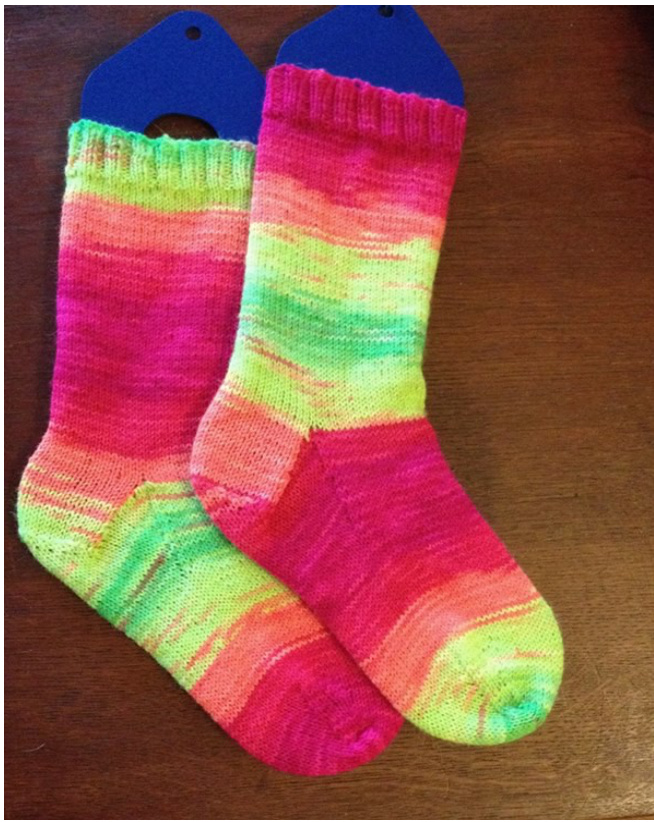
I hope you have enjoyed this pattern. If you are stuck or require assistance, you can contact me via Ravelry. I aim to help. @ square [ j ] jane a.k.a. squarejane 2015


