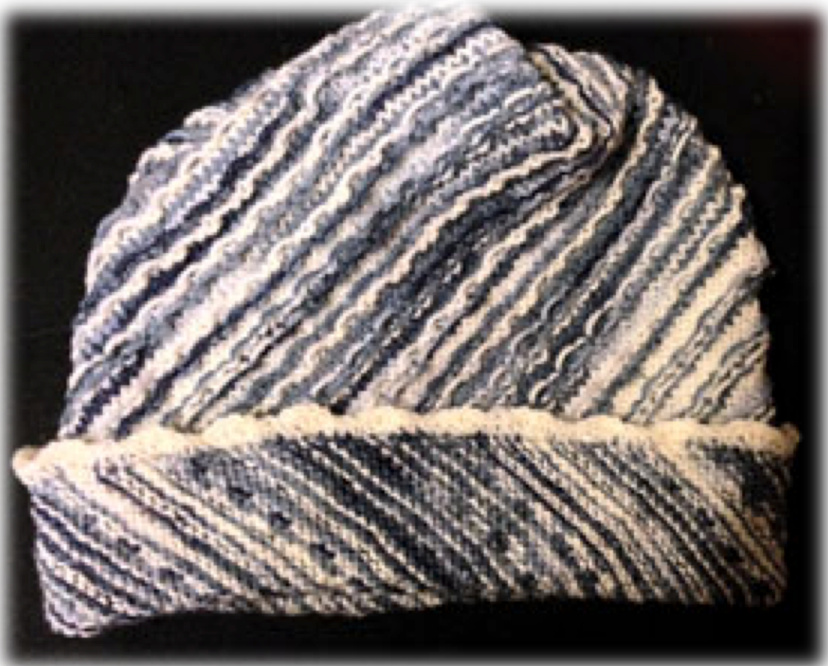
Jasper Toque
(A modification of Aiden's Hat from Modular Magic by Ginger Luters) Modified by Susan Sarabasha, 2015 You'll be knitting flat and making a parallelogram which will be joined together at the beginning and end with a Kitchener stitch and then on top with grafting. The Jasper colorway will stripe nicely in the suggested pattern. Main instructions are for a 20" hat, but notes will tell you how to modify for a smaller or larger toque. Needles: 24" US2 / 2.75mm or size to obtain gauge. Yarn: \~200 - 240 yds Spinning Bunny Fingering. Panda in Wedgwood Jasper is preferred. Gauge: 6.25 sts /in and 6.25 rows/in in pattern.
Let's Get Started.
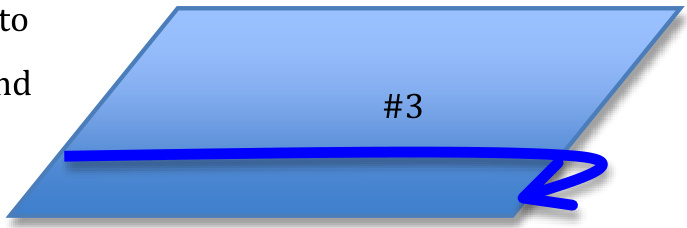
Using a provisional Cast-on, cast on 88 stitches loosely. Eileen Casey has a very good tutorial on her blog. Make sure to test out your cast on before beginning. For a shorter or taller hat cast on fewer or more stitches in multiples of 4. Slip Stitch pattern (mult of 4 sts by 6 rows) R1,3,& 5: p1, m1, purl across to last 3 sts, p2tog, p1. (m1 = make 1 stitch) R2: knit across. R4 & 6: \*sl2 purlwise, p2\* Make a total of 23 repeats ending with R6. For Size 18 or 22" head, make a total of 21 or 25 repeats.
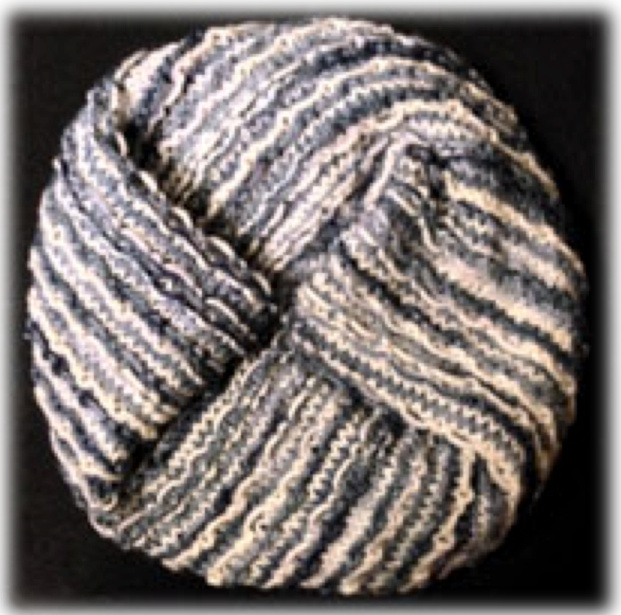
Magical Folding
(In which a bit of Origami is employed) 1- Leaving the last row alone for now, measure out yarn to about 4 times the width of the parallelogram edge. Cut and thread onto an embroidery needle. 2- Release the crochet chain at the beginning and slip the loosened knit stitches onto the other end of the needle shaft.
3 - Kitchener these two ends together. Do not cut yarn. 4- Choose which side is the outside. Fold hat flat and graft together with remaining yal end. I used a blanket stitch. Do not cut yarn. 5- With needled yarn, go back to the beginning of that grafted seam and send it through that end. 6- Pulltight to form a triangular top. 7- Find center of top seam, then fasten these points to the seam.
Optional Edging
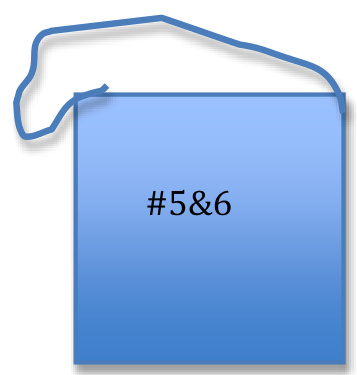
Using a contrasting or matching solid, crochet an edging along the open end or make a knitted picot edging. Knitted Picot Edging - With a larger needle, loosely knit around once picking up 3 out of every 4 stitches. CO 2 sts, bind off 4 sts. Sl sts on RH to LH\* (right needle to left needle) and repeat from \*. Block and enjoy.


