Twinkle - a vintage baby cardigan by Guro Dahle
This pattern is loosely based on a baby cardigan pattern in one of my grandmother's old Norwegian knitting magazines, probably from around 1950.
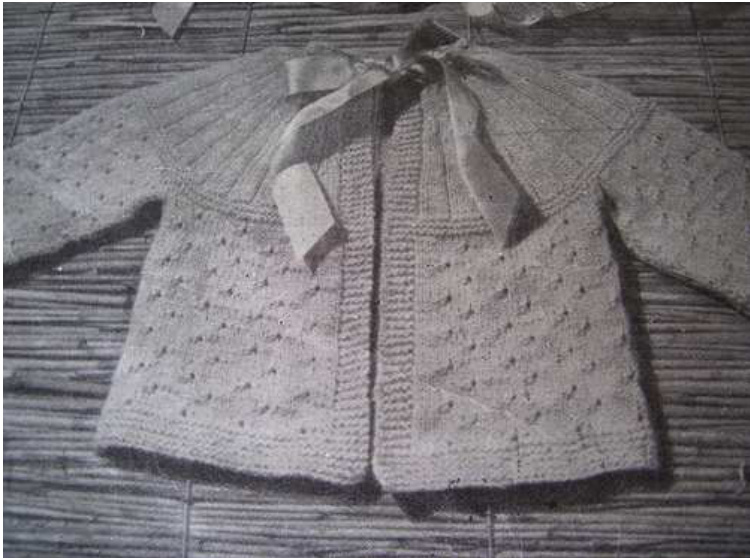
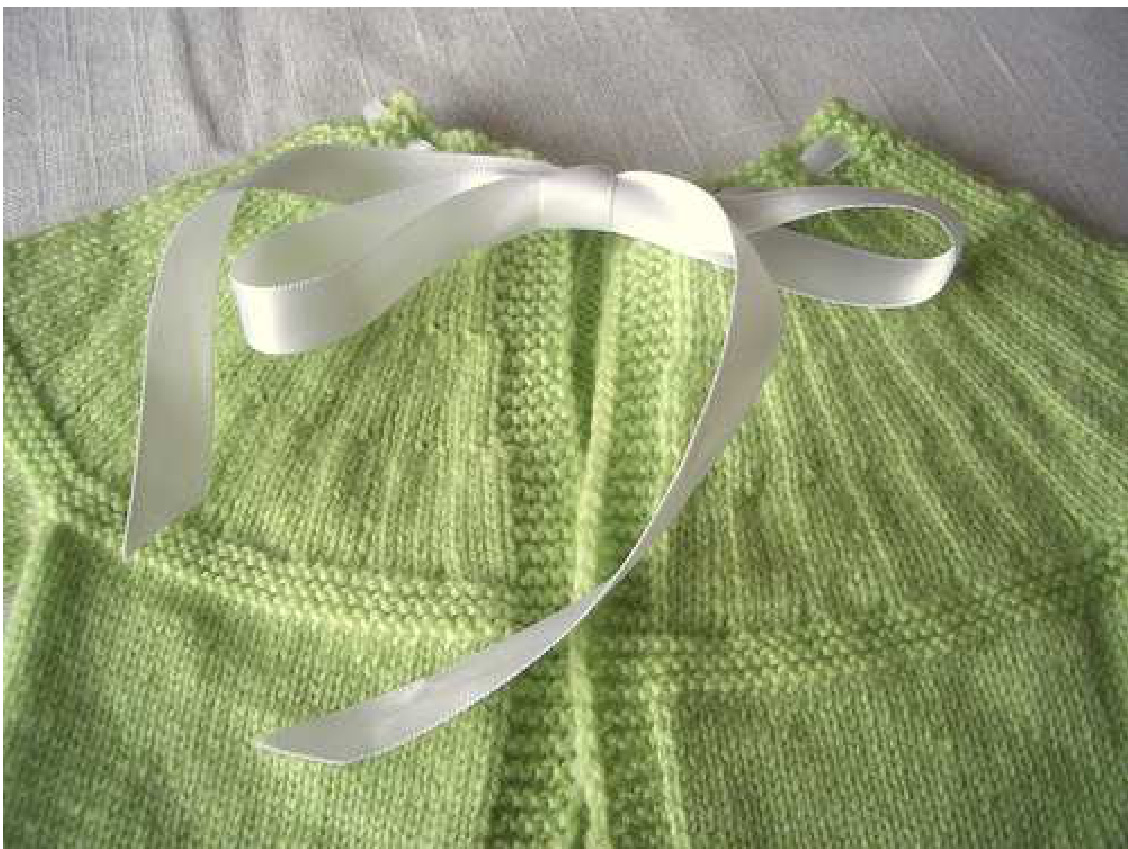
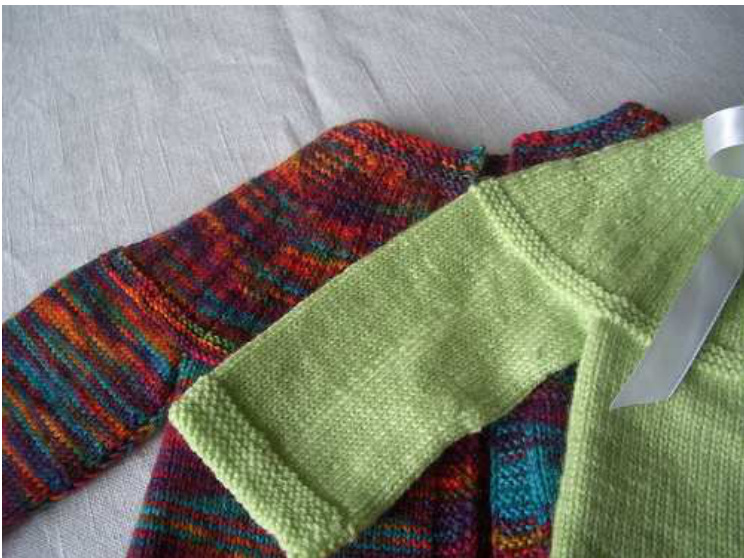
I've changed quite a few things. The most drastic change was converting it from being knit bottom-up to top-down, making it completely seamless. The pattern is for sock yarn, but with a little bit of math you could easily use a thicker yarn. Or you could use the pattern as written but thicker yarn and make a bigger cardigan. Yarn: any fingering weight / sock yarn. Photos show : multicoloured cardigan in Opal Hagebutte (hand-painted) and green in Dale Baby ull. Needles: 2.5mm circulars and 2.5mm double pointed needles (dpn's are for sleeves, you don't need them if you prefer magic loop or similar methods) Notions: Scrap yarn or stitch holder for holding live sleeve stitches, darning needle for weaving in ends. Optional: ribbon for tie. Gauge: somewhere close to 32 stitches/10 cm in stockingette stitch. ("Babies come in various sizes" a wise E.Z. said)
Pattern:
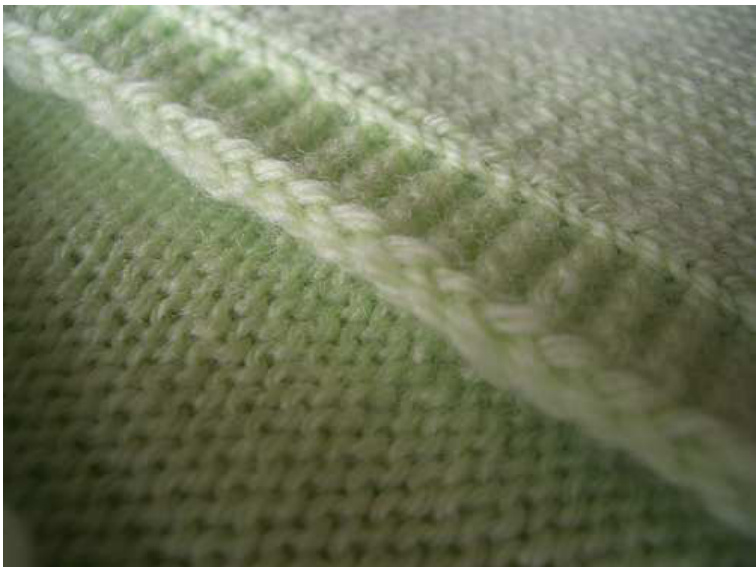
Note: Throughout the pattern, you'll be slipping the first stitch of every row as if to purl to create a neat edge. You'll also be working the first and last 5 stitches of each row to create a built in garter stitch edging.
Increases on the yoke are made on the right side. Isuggest either using backwards loop or M1 (lift up strand between stitches, knit it through the back loop). Cast on 70 stitches loosely. Row 1: sl 1 as if to purl, k to end. Row 2: (eyelet row for ribbon) sl 1 as if to purl, yo, k2 tog, $\mathbf{\hat{\mu}}\mathbf{k}\tau$ , yo, k2tog\* repeat from \* to \* until one stitch remains on needle, k1. Row 3: sl 1 as if to purl, k to end. Row 4: (increase row) sl 1 as if to purl, k5, \*k1, M1, k1\* 29 times, k6. (99 sts) Row 5: (RS) sl 1 as if to purl, k4, place marker, $\mathbf{\hat{\mu}}\mathbf{k}\mathbf{\eta}$ , $\mathsf{p}1^{*}$ until 6 stitches remain, k1, place marker, k5. Row 6: (Ws) sl 1 as if to purl, kto marker, p1, $^{\ast}\mathsf{k}_{1}$ , p1\* to marker, k 5. Row 7: (RS, increase row) sl1 as if to purl, kto marker, (k1 M1 p1) until 1 stitch before marker, m1, k1, slip marker, k5. (144 sts) Row 8: (ws) sl 1 as if to purl, k to marker, p2 $^{\ast}\mathsf{k}_{1}$ , $\mathsf{p}2^{*}$ to marker, k5. Row 9: (Rs) sl 1 as if to purl, kto marker, $\ast\mathsf{k}2$ , $\mathsf{p}1^{\ast}$ until 2 sts before marker, k2, slip marker, k5. Row 10: (Ws) sl 1 as if to purl, k to marker, p2 $\ast\mathsf{k}1$ , $\mathsf{p}2^{*}$ to marker, k5. Continue knitting the yoke, working stitches as they appear - remembering to slip the first stitch of each row as if to purl, and keeping the first and last 5 stitches in garter stitch until work measures 4 cm from cast on edge, ending with a wrong side row. Next Rs, increase row: sl 1 as if to purl, k to marker, $^{\ast}\mathsf{k}_{1}$ , m1, k1 $\mathsf{p}1^{*}$ until 2 stitches before next marker, k1, m1, k1, slip marker, k5 (189 sts) Next Ws row: sl1 as if to purl, kto marker, $\star_{{\sf p}3}$ , $\mathsf{k}\mathsf{1}^{\ast}$ until 3 sts before next marker, p3, slip marker, k5 Continue knitting the yoke in k 3, p1 ribbing until work measures 7 cm from cast on edge ending with a wrong side row. Next Rs, increase row: sl 1 as if to purl, k to marker, $\bf{\nabla}^{*}\boldsymbol{k}2$ , m1, k1 p1\* until 3 stitches before next marker, k2, m1, k1, slip marker, k5 (234 sts) Next Ws row: sl1 as if to purl, k to marker, \*p4, k1\* until 4 sts before next marker, p4, slip marker,k5 Continue knitting the yoke in k 4, p1 ribbing until work measures $10\;\mathsf{c m}$ from cast on edge ending with a wrong side row. Next 6 rows: knit all stitches (rs, ws, rs, ws, rs, ws) Next RS row: sl1, k34, bind off 2 sts, k 39, bo 2, k75, bo 2, k39, bo 2, k34. After this row, you will have 35 sts remaining on each front, 76 stitches for the back and 40 sts for each of the sleeves. Next Ws row, place sleeves on holder: sl 1, k 34, place next 40 stitches on a holder, cast on 4 sts, k 76, place next 40 stitches on a holder, cast on 4, k 35. Next RS row: sl 1, k4, make sure marker is in place, k 144, make sure marker is in place, k5. Knit body in garter stitch - or insert a pattern between the markers\* - until work measures about $12\,{\mathsf{c m}}$ (or desired length) from the garter ridge after the yoke. Knit 9 rows in garter stitch. Bind off loosely.
Sleeves:
With right side facing carefully pick up and knit 4 stitches from the cast on stitches that were made when separating sleeves and body, knit held sleeve stitches. Distribute stitches evenly onto double pointed needles, rearranging stitches a little bit so that two of the stitches picked up from underarm are at the beginning of round and two are at the end. (Beginning of round is under the arm. Join for working in the round\*\*. (48 stitches) On round 12 of the sleeve decrease two stitches as follows: k1, ssk, k to last 3 stitches of round, k2tog, k1. Knit 12 more rounds. Repeat decrease round. (44 stitches) When the stockingette portion of sleeve is desired length - approximately as many rounds as the stockingette portion of the cardigan - work garter stitch for 9 rows. Bind off loosely. Repeat for second sleeve. Weave in ends, wash gently and block. Thread a ribbon through the eyelets at the top. Knit I-cord tie or make a twisted tie if you prefer. Tip: Before you weave in the ends under the arms check if you have any large holes there. You can use the yarn end from when you started the sleeve to sew shut these holes,then weave. I usually have problems with these holes so I leave a generous end. This is also why I started the sleeve by picking up all 4 of the extra stitches then rearranging them shortly after, I do not want the yarn end to be right between the holes, but close to one of them. \* I prefer stockingette stitch for the body of the cardigan. The original pattern had lace on the body and sleeves. Search your stitch dictionaries for a lace stitch that will look pretty in the cardigan, if you like. The original lace pattern was this (divisible by 8): Row $1:{\sf k}$ to end Row 2: $\star_{{\sf p}3}$ , k2tog, $\mathsf{p}3^{*}$ to end Row 3: $\ast\mathtt{k3}$ , lift bar before next stitch and knit it, ${\sf k4^{*}}$ to end Row 4: p to end Row 5: k to end Row 6: $\star_{\mathsf{p6}}$ , ${\mathsf{k}}2{\mathsf{t o g}}^{*}$ to end Row 7: $\mathbf{\astk7}$ , lift bar before next stitch and knit it\*, ending row with k8 Row 8: k to end Repeat row 1-8 \*\*You can chooseto work the sleeves flat, if your garter stitch is noticeably different when knit in the round than flat or you have problems with laddering when knitting on double pointed needles. Or if you plain just prefer it. Remember to slip the first stitch of every row. Also knit the sleeve longer before you do the decreases, as two stitches of the circumference of the sleeve will be “gone” for seam allowance thus making the sleeve narrower if you start the decreases at the end of the sleeve.


