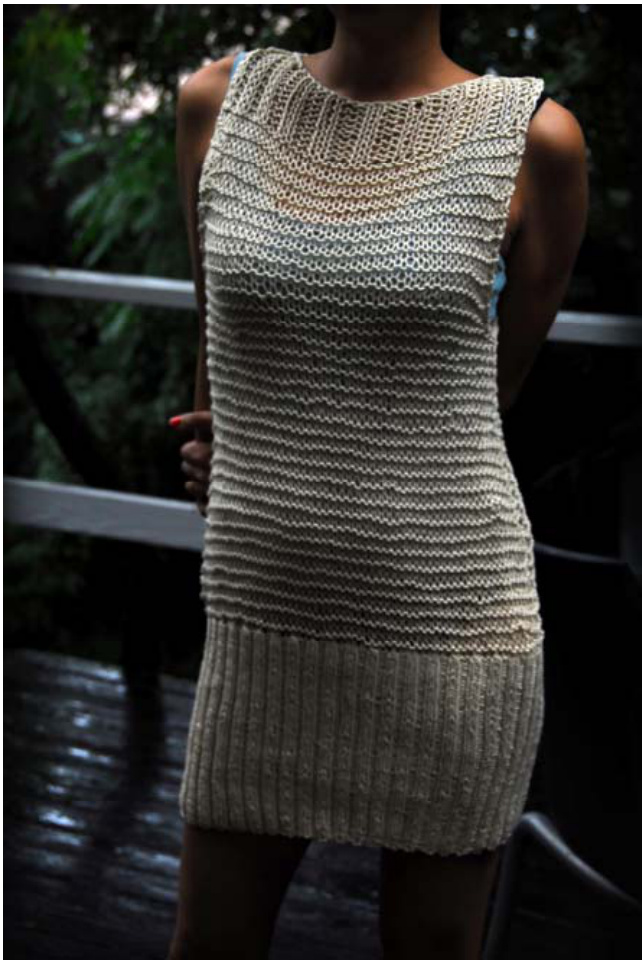
Playa
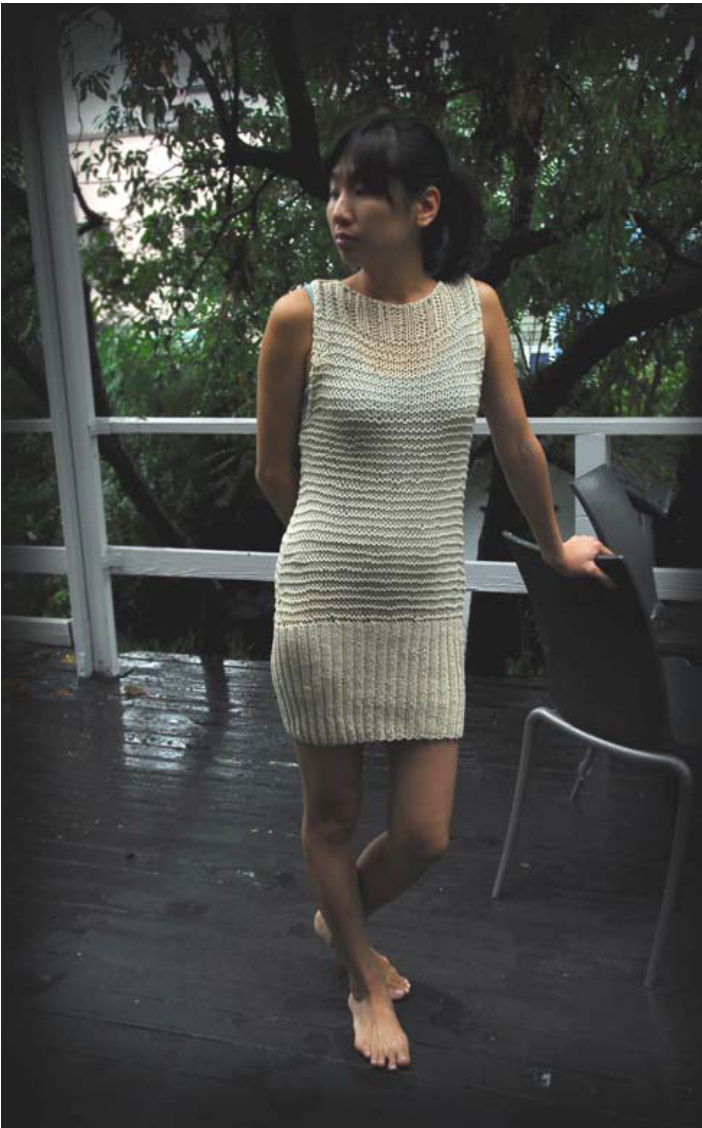
Photo by Johnathan Swafford Model June Sung
Materials Needed:
Yarn:
- 5(6) balls of Lion Brand LB Collection Cotton Bamboo (I used the color Magnolia) Suggested Needle Sizes (Please note, these are only suggestions, USE SIZE NECESSARY TO OBTAIN GAUGE!): - 1 US size 3 (3.25 mm) circular needle (24"” or longer) - 1 US size 11 (8.00 mm) circular needle (24" or longer) - 1 US size 13 (9.00 mm) circular needle (24" or longer), or pair of US size 13 straight needles - 1 US size 7 (4.5 mm) crochet hook (or choose a size somewhere in between the larger and smaller needles used) Super-easy to make, for a perfect summer project. This beach cover-up is made from a wonderful blend of cotton and bamboo, so it is great in a hot, humid environment. The bamboo has excellent wicking properties, is highly breathable, and naturally cool to the touch. The yarn is so soft, it is a pleasure to wear. Can also be worn over a tank dress for an office look.
Notions:
- stitch holder - stitch markers
Gauge:
In ribbing on 3.25 mm needles, 5 stitches and 7 rows to the inch In garter stitch on 8.00 mm needles, 4 stitches and 3.5 rows to the inch
Sizes:
Size S/M: will fit Bust 34" and Hips 36" Size M/L: will fit Bust 38" and Hips 40" (Please note, if you are tall or large, but desire a form-fitting garment, feel free to make the S/M size. It will stretch to fit!)
Actual Finished Measurements with garment lain flat on a table:
Bust: 14(17) inches across (width just before armhole decreases) Width at widest point in hips: 16(19) inches across
Stitches Used:
| Knit 2, Purl 2 Ribbing (in the round) | *k2, p2* around. |
| Knit 2, Purl 2 Ribbing (worked flat) | Row 1: *K2,P2* Row 2: knit the knit stitches and purl the purl |
| Garter Stitch (in the round) | stitches Knit 1 round, Purl 1 round |
| Garter Stitch (worked flat) | Knit every row |
| Knit 2 Together | Put working hand needle through 2 stitches on stationary needle and knit together, resulting in 1 stitch. |
| SSK | Flip 2 stitches around on the stationary needle so they are facing the opposite direction, and knit them together (this will be a mirror image of Knit 2 Together). |
Directions:
Cast on 196 (196) stitches with 3.25 mm needle, and join, being careful not to twist stitches. For casting on, I used the “backwards e” or "backwards loop” method, but use whatever stretchy method you desire. (Note, the ribbing is so stretchy, both sizes may begin with the same amount of stitches). Place marker at beginning of the round. First Round: Commence Knit 2, Purl 2 Ribbing (in the round) Continue Knit 2, Purl 2 Ribbing (in the round) until piece measures 9 inches from cast-on edge (approximately 56 rounds). Next Round: Switch to size US 11 circular needle, and commence Garter Stitch (in the round), decreasing 60(48) stitches around on the first knit round to a total of 136(148) stitches. (You can accomplish this by Knitting 2 Together every 3 stitches or so). Also, place a marker after 68(74) stitches, so you will now have 2 markers - one at the beginning of the round and one halfway through the round. Continue in Garter Stitch (in the round) for 2 inches (6 rows) until piece measures 11 inches, ending on a purl row. Next Round (Decrease Round - always done on a knit round): While maintaining Garter Stitch (in the round), knit 2, Knit 2 Together, knit to within 4 stitches of marker, SSK, knit 2, slip marker, knit 2, Knit 2 Together, knit to within 4 stitches of first marker, SSK, knit 2 (4 stitches decreased). Continue with Garter Stitch (in the round) repeating Decrease Round on a knit round every 4" round, until you have 96(108) stitches remaining on the needle (total of 10 Decrease Rounds completed). Piece will be approximately 20 inches from cast on edge. If you would like the cover-up to be a little longer, feel free to work even a few more inches here.

Next Round (Armhole Shaping - done on a knit round): Bind off 3 stitches at the beginning of the round. Knit to marker and remove marker. You will now be working back and forth in Garter Stitch (worked flat) on one half of the stitches. Place the second half on a holder. (If you notice that you tend to knit more loosely in the round, as I do, you may desire to go up a needle size for this section - I used US size 13s.) On next row, bind off 3 stitches at beginning of row. You have now bound off 6 stitches, 3 on each side, from one half of the stitches. You will have a total of 42(48) stitches on the needles. Continue to work Garter Stitch (worked flat) on these 42(48) stitches. Knit 6(7) inches even (approximately 20(24) rows). Work 10 rows in K2, P2 Ribbing (worked flat). This will be the front part of the cover-up - the ribbing made with the larger needle creates the neckline. Bind off loosely. Join yarn at beginning of second half of stitches. Working in Garter Stitch (worked flat), bind off 3 stitches at beginning of next 2 rows (Armhole Shaping). Continue to work in Garter Stitch (worked flat) on these 42(48) stitches for 6(7) inches (approximately 20(24) rows) - as you did on first half of stitches. When you reach this point, differently from the front of the garment, you will now change to the 3.25 mm needle, and work 10 rows of K2, P2 Ribbing (worked flat). Bind off loosely.
For Finishing:
Hold garment with the front and back pieces together, right sides out (you will be working on the outside of the garment), with the front facing you. Using the 4.5 mm crochet hook, starting at the right side edge, and using a long piece of scrap yarn, place crochet needle under first bound off stitch from both front and back piece, draw yarn through. Do the same to the next 2 stitches in from the edge. Now you will have 2 stitches on crochet hook - bind one off. Continue in this manner, drawing yarn through 1 stitch from each side, then binding off a stitch, until you have 8 bound off stitches crocheted together. This forms the shoulder seam. ·Continue to crochet around the back of the neck edge, without binding off any stitches, until you have 8 stitches remaining. · Then, move needle to front of work, and crochet together the final 8 stitches in the same manner as before, binding off 8 stitches to create second shoulder seam. ·You can now crochet around one armhole with the same piece of yarn. If there are some loose stitches around the underarm area, feel free to pick up stitch below loose stitch, and twist before crocheting, to tighten it up. ·Now, join a new piece of yarn, crochet around front neck edge. · Using yet a final piece of scrap yarn, crochet around remaining armhole edge. No blocking necessary! Wear and enjoy! Notes: To clean, machine wash gentle cycle/cold water, lay flat to dry.
Text copyright Allison O'Dell 2011 Photos copyright Johnathan Swafford 2011


