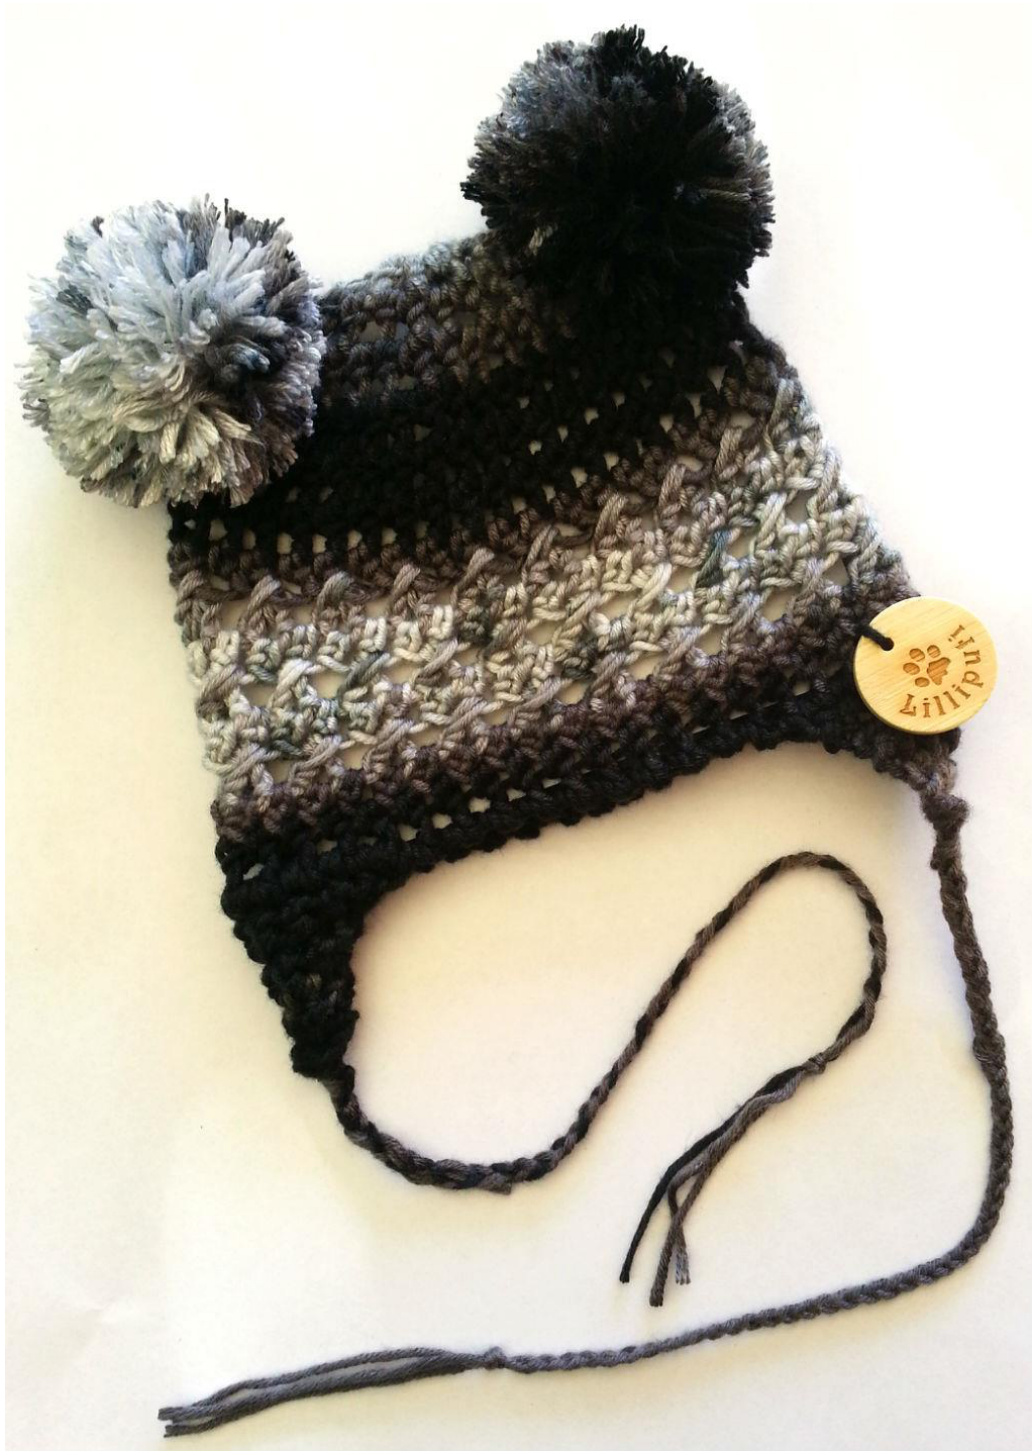
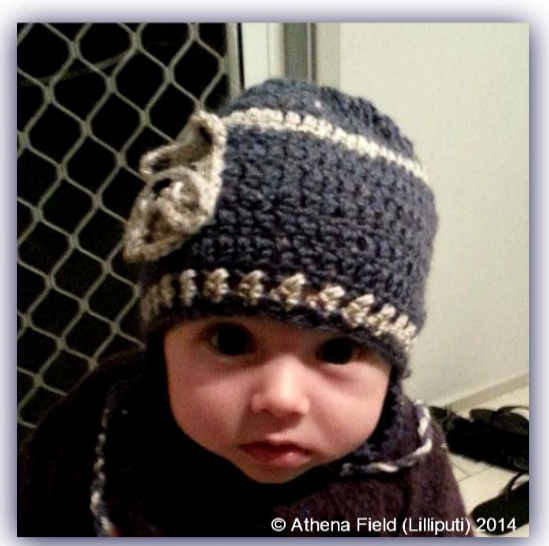
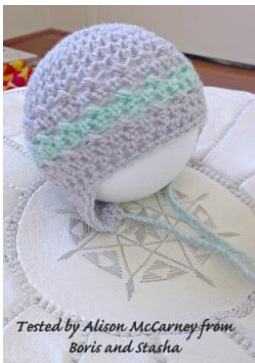
HATTIE
Crochet Earflap Beanie
SIZE/GAUGE
Newborn - 3 months. Measures approx. 30-32cm circumference depending on gauge. LEVEL Easy
MATERIALS
8 ply, DK yarn - approx. 30g (without pompoms) J(6.00mm) Crochet hook Stitch Marker Scissors YarnNeedle
PATTERN NOTES
The hat pattern is worked in the round from the top down. The Ch 2 at the beginning of each round DOES NOT count as a stitch.
| ABBREMATIONS | ||
| St(s) -Stitch(es) | Ch - Chain | R-Round |
| Sl st-Slipstitch | Sk-Skip | Crab - Crab stitch |
| Sc -Single crochet | Ext sc - Extended single crochet | |
| Hdc-Halfdoublecrochet | Sc2tog - Single Crochet 2 Together (single crochet decrease) | |
HAT INSTRUCTIONS
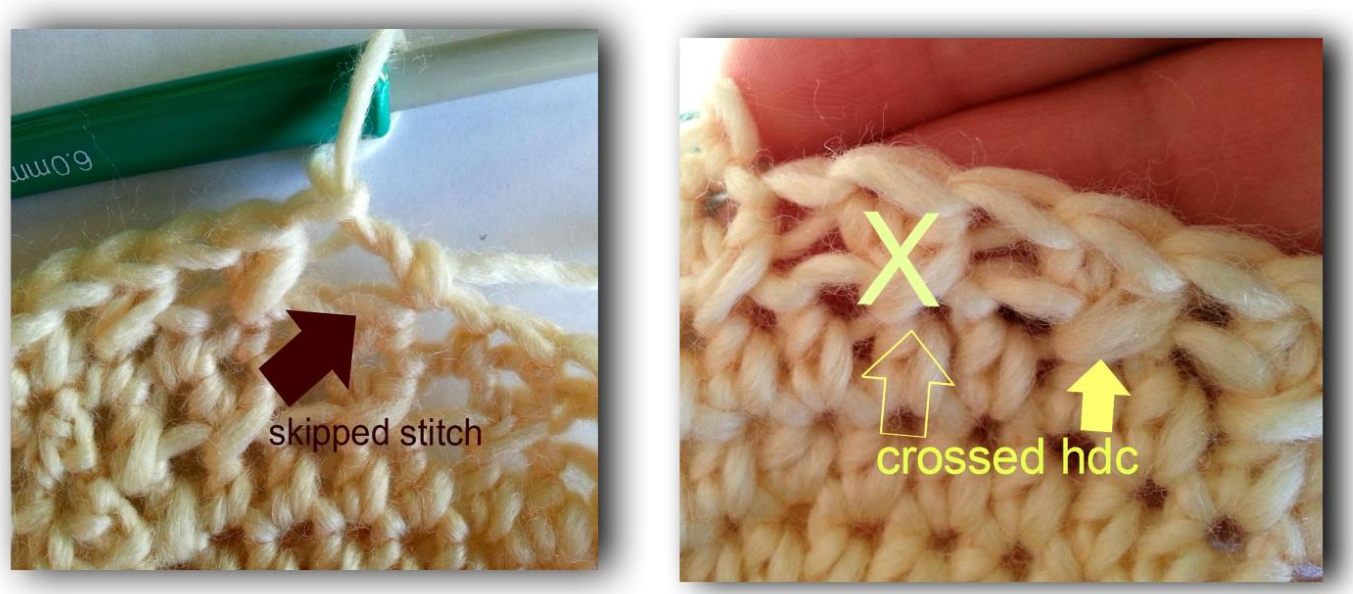
R 1: Magic Ring: 5 sc in the ring. Sl st in 1"t sc. (5) (Instead of a magic ring you can - Ch 4, 5 sc in the 4th chain from the hook, join with a sl st) R 2: Ch 2, 2 hdc inc in each sc around. Sl st into top of beginning ch2 to end round (10) R 3: Ch 2, 2 hdc inc in each hdc around. Sl st into top of beginning ch2 to end round (20) R 4: Ch 2, \*1 hdc in first hdc, 2 hdc in next hdc. Repeat from \*. Sl st into top of beginning ch2 to end round (30) R 5: Ch 2, \*1 hdc in next 2 hdc, 2 hdc in next hdc. Repeat from \*. Sl st into top of beginning ch2 to end round (40) R 6 - 8: Ch 2, 1 hdc in each hdc around. Sl st into top of beginning ch2 to end round (40) You are now going to be working a round of crossed hdc. R 9: Ch 2, \*sk st, 1 hdc in the next hdc, 1 hdc in the skipped st. Repeat from \* till last 2 sts. 1 hdc in next 2 hdc. Sl st into top of beginning ch2. (40)
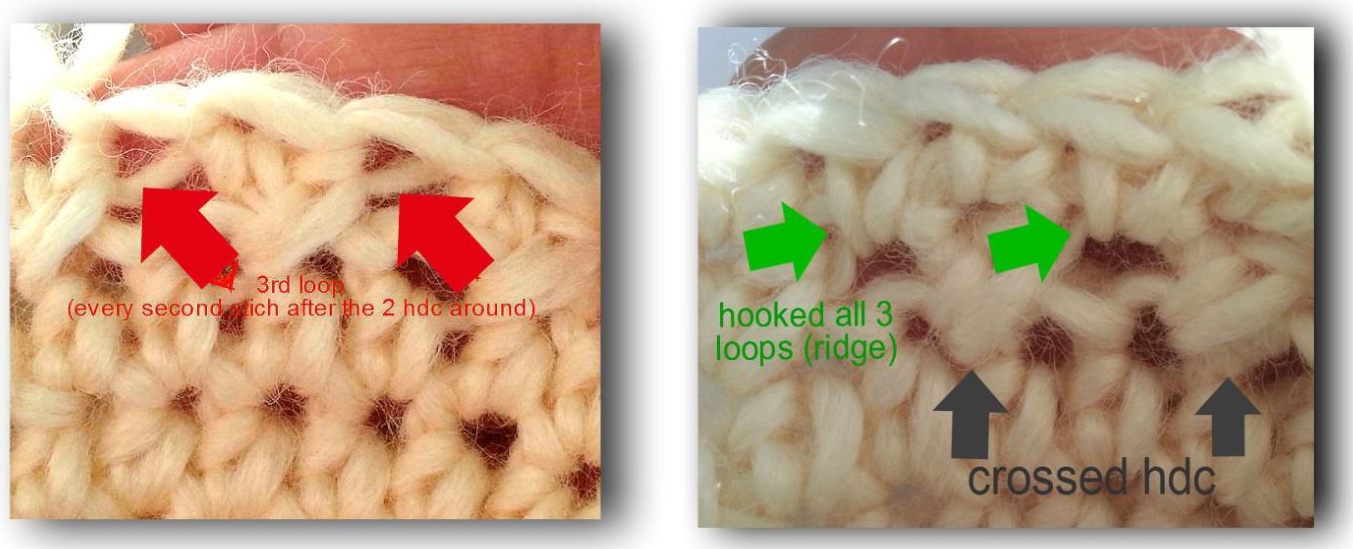
R 10: Ext sc in each stitch around. (40) (NB: No chains) (l prefer hooking 3 loops in every second st. The pattern shows up better and neater. The 3'd loop is also known as the “ridge" or the "back, back loop")
R 11: Repeat row 9. R 12: Repeat row 10. R 13: Repeat row 9. R 14: Repeat row 10. R 15: 1 hdc in each stich around. (40) Fasten off. Weave in tail.
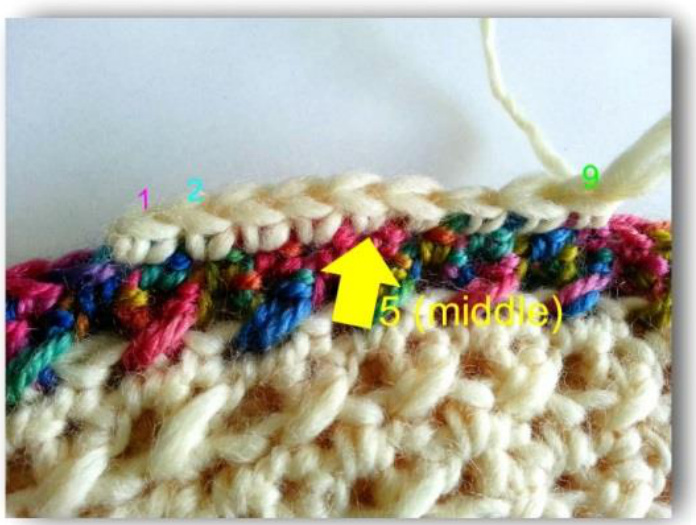
EARFLAP INSTRUCTIONS
Lay hat flat with the tail end and round joins in the middle. Find the centre. The centre willbe stitch "5". Join with a sl st and do 9 sc. ("5" being the middle sc)
Row 1: 9 sc. (9) Row 2: Turn. Sc2tog, 5 sc, sc2tog. (7) Row 3: Turn. 7 sc. (7) Row 4: Turn. Sc2tog, 3 sc, sc2tog. (5) Row 5: Turn. 5 sc. (5) Row 6: Turn. Sc2tog, 1 sc, sc2tog (3) Row 7: Turn. 3 sc. (3) Fasten off. Repeat other side for earflap 2.
EDGING INSTRUCTIONS
OPTIoN 1: Sl st loosely in each stitch around. Hat & Earflaps. OPTION 2: Crab stitch around. Hat & Earflaps. VIDEO: By Moogly - How to do the reverse sc or crab stitch http://www.youtube.com/watch?v=9TW0dBKoFck Plaited strings: attach as many strings equally (desired width) in each of the remaining 3 stiches. Plait to desired length. Tie a knot, trim fringe. 2 pom poms: Attach on each side. Youtube has heaps of methods! Any questions about the pattern, please email me: lilliputi@outlook.com or find me at: www.facebook.com/lilliputi A big THANK YOU to Alison McCarney - Boris + Stasha for testing my pattern.
This pattern is for personal use ONLY. This pattern may not be copied, shared, or sold in any manner. Make as many hats as you like, keep them for yourself, give them as a gift or sell them. But please give me credit for the pattern. Thank you AND happy crocheting!


