How To Make a Drop Spindle
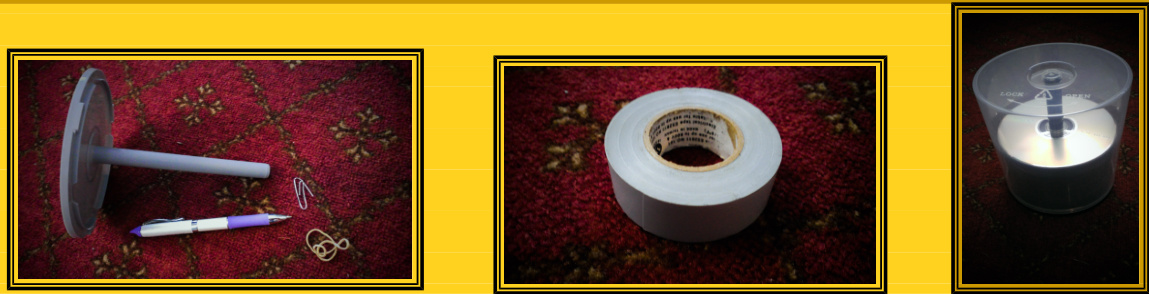
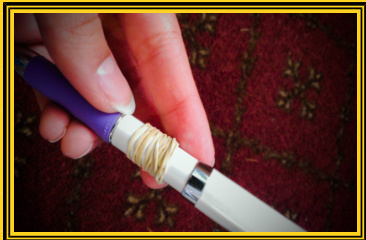
CD spindle, a paper clip, a rubber band, electrical tape, a pen with a shirt hool Step 1: Wrap the rubber band along the bottom of your pen. 2: Twist your pen into the CD spindle, using the rubber banded part as a seal Make sure it's in the spindle well enough so that it doesn't slip out, even if you turn the thing upside down. (If it's loose, or falls out easily, it'll be extremely hard to spin with! But you can always add another rubber band if that happens.)
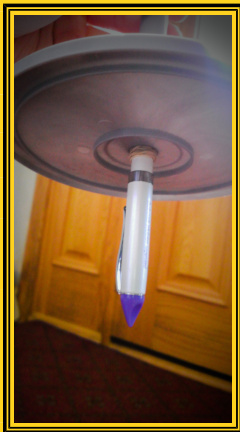
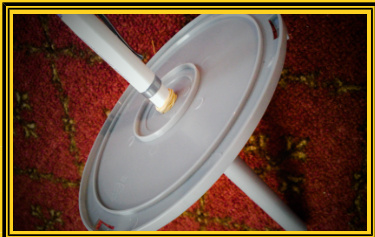
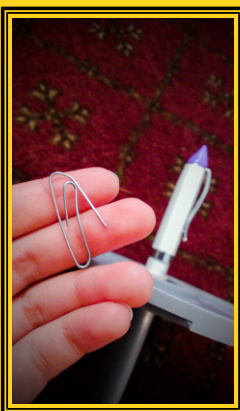
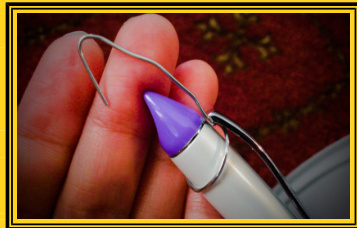
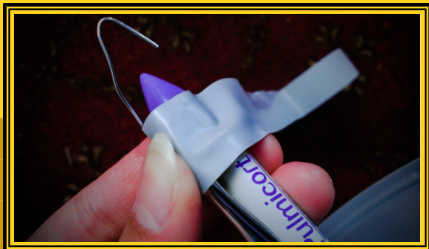
Step 3: Take your paper clip and unwind it partway so that you have a small hook at the end of a long wire. Then twist the wire around the top of your pen, but underneath the shirt hook. Wrap the wire and the pen in electrical tape to secure them together. Step 4: Done!\*

\*Yarn not included. That's the next part!
How to Spin Cotton Balls
Materials: Cotton balls (I know, such a long list of materials!)
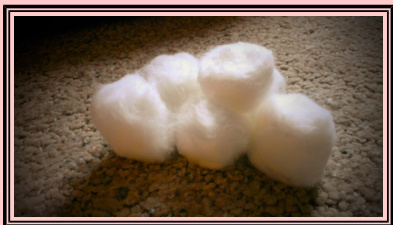
Part 1: Prepping your cotton balls Step 1: Gather some cotton balls. Step 2: Unroll a cotton ball. Some unroll easily, some take a little more patience. But they all do manage to unroll some way or another. It's fine if it doesn't look perfect; no one will know. :)
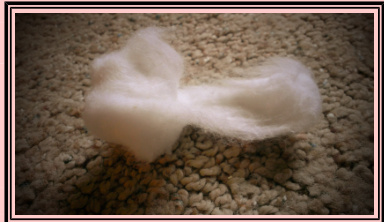
Step 3: Split your cotton balls in half. You can skip this step if you want, but you'll end up with a really thick piece of yarn, and it'll be extremely thick if you ply it, which we'll be doing later.
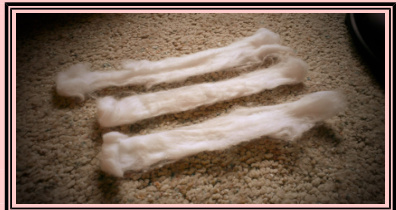
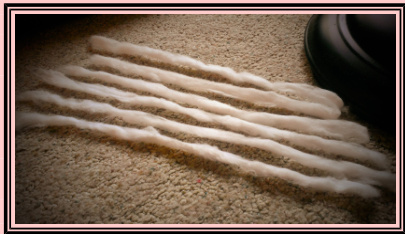
Step 4: Draft your cotton balls. If you aren't familiar with spinning, this is basically pulling apart your split cotton balls (which are basically short pieces of "“roving") into skinnier, more even pieces. It makes the whole spinning process a lot simpler.
On to the next part!
Part 2: Spinning Cotton Balls Into 1-Ply Yarn
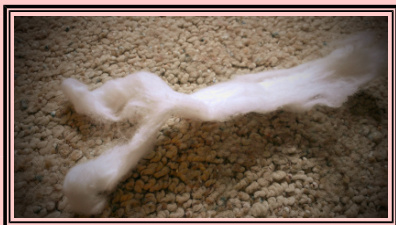
Materials: Drop spindle, drafted cotton balls So now you have your cotton balls and your spindle. Now what? If you're familiar with spinning, you probably already know what to do. If not, the following instructions should teach you the basics of spinning. (Though it's a lot easier to show someone how to spin rather than just tell them; if you're confused about anything, or need some extra help, I highly recommend watching a YouTube video on how to spin with a drop spindle! There's plenty out there, and since they actually show you what to do, they're a lot easier to follow.) But here goes my attempt at explaining. :) Step 1: Pick up a piece of roving and twist it with your fingers to create a short piece of yarn. Make sure you don't twist so tightly that it kinks, but also don't twist so loosely that it falls apart. (Or if you already have some sort of yarn or string lying around, you can skip steps 1 and 2 and go on to step 3.)
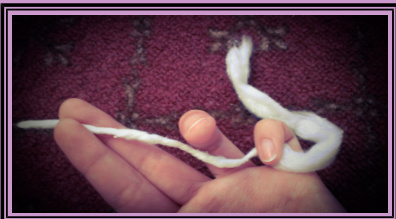

Step 2: While keeping both ends of the yarn secure by holding them in between your fingers, twist another piece of roving onto the end of what lyou already have. It should come together fairly easily, though getting it to really be secure may take some practice. Step 3: When you have a piece of yarn that's about 1 % feet long, tie the two ends together to make a large loop. The yarn will start to twist together, but this is normal so don't worry about that. Instead, worry if your yarn isn't twisting together. That probably shows your twist isn't tight enough. which means it'll all fall apart under stress. And it makes the next step
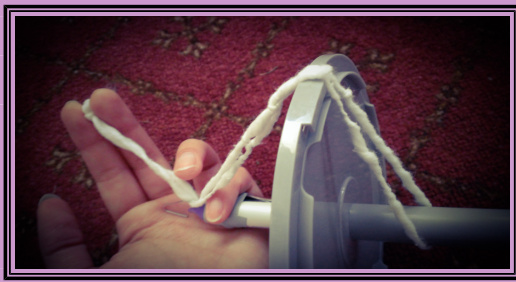
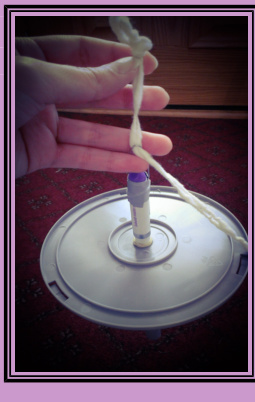
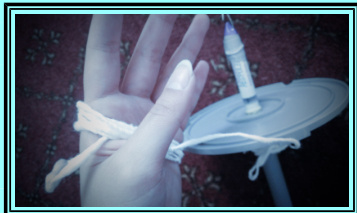
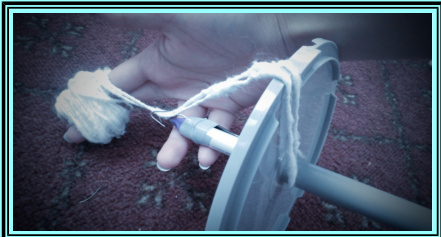
impossible. So twist tightly! (Unless you used yarn you already have, in which case just ignore everything I said about it twisting.) Step 4: Hook your yarn onto your drop spindle like so, with it looped onto the bottom of the spindle, over the whorl (the giant circle thingy) and under the paper clip hook.
Step 5: Take another piece of your drafted roving and loop the end undei loop. (So much looping!!!) Step 6: Roll your spindle along your right leg towards your knee with your left hand while holding onto the end of your roving with your right hand (I know, a bit confusing). And just let your right hand gently drop your roving as more spin is added. (I would recommend watching a YouTube video for this part; it's pretty difficult to explain in text.) Continue until you feel you have enough yarn.
Part 3: Plying Your Yarn
Materials: 1-ply yarn, drop spindle So now you have your 1-ply yarn. Yay! From here you can go ahead and knit it up (or crochet, weave, nalbind, whatever) or you can ply it. I highly recommend the latter; it seems to me that leaving it as 1-ply would make it very weak, and I'd be terrified my project would just fall occasions (unless you're a spinning prodigy, in which case I would like to take lessons from you), and it follows that it wouldn't be very strong when made into something else. Stronger, yes; but still weak. So please, if you have mercy on your yarn, ply it with a buddy so they'll stay strong together.
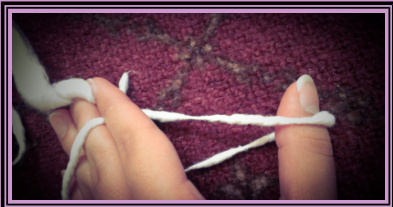
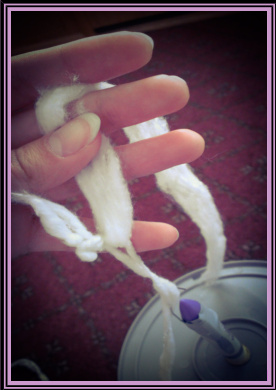
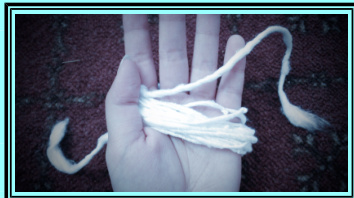
Step 1: Wrap the yarn around your hand, making sure the end is sticking out where you can reach it. Just make sure you don't cut off your circulation. That would be bad.
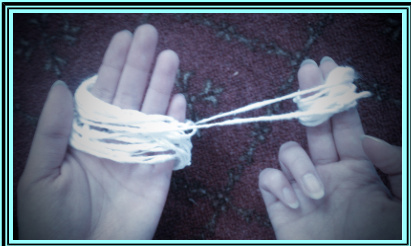
Step 2: When you've finished, take both ends of your yarn and wrap them both around two fingers on your other hand. You should end up with a loop like this when you get to the end.
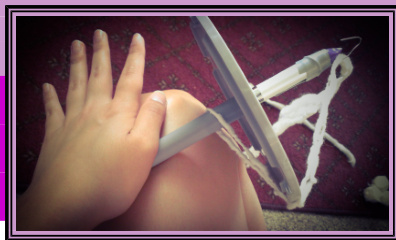
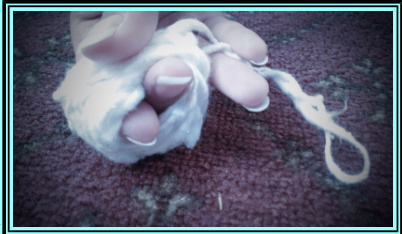
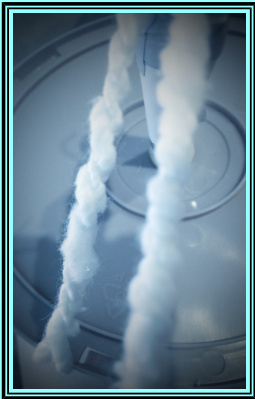
Step 3: Take that loop and loop it onto the spindle, just like you did with your starter yarn. Then take your spindle and roll it along your left leg with your right hand towards your knee, using your left hand to hold the yarn. (You may need to put your rolled-up 1-ply onto your other hand, or even onto a bobbin. Just make sure you have something your yarn is wrapped around, otherwise you run the risk of getting it all tied up into a giant knot. This is really easy to do, since the yarn wants to twist against itself. It's not pretty. You don't want to see the Knot of Terror.)
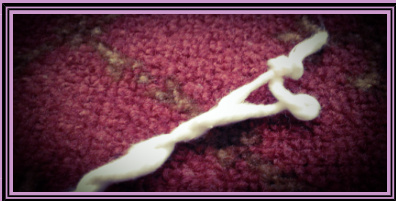
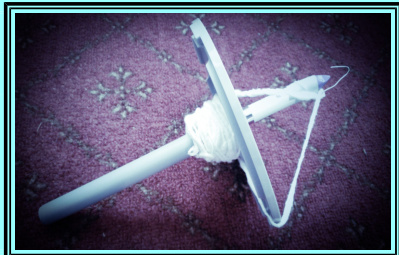
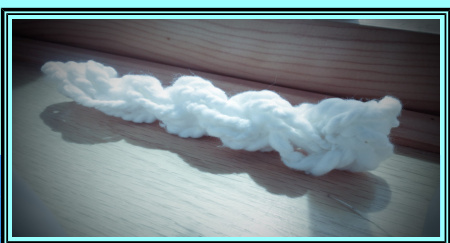
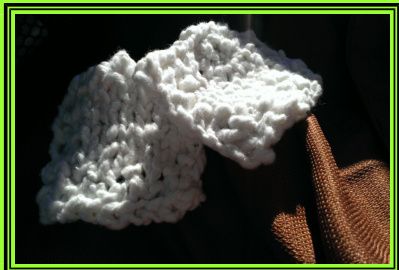
Step 4: Your yarn should begin to look something like this: pretty and plied! When you're done, wrap it into a skein and geek out about the fact that you just successfully made yarn out of cotton balls. Whoo hoo!
Knitting Cotton Ball Coasters
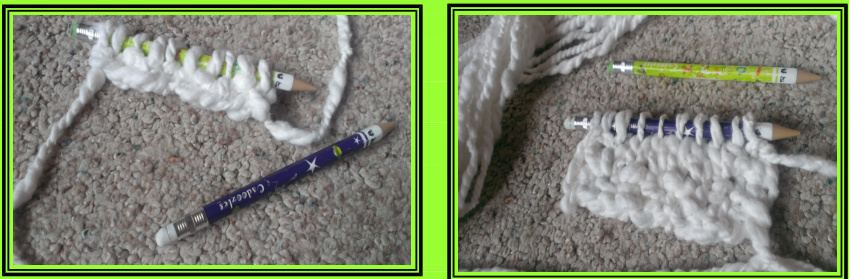
Now for what we've all been waiting for- the actually knitting pattern part of this knitting pattern. :P The yarn you just made will made a very chunky coaster; great for a quick gift or simply something new to knit. Besides, who wants to knit thin, flimsy coasters? Water would just soak through them, and complete defeat the purpose of the coaster to begin with. Materials: Cotton ball yarn, two pencils (That's right, pencils! To keep this project totally DIY-withstuff-just-laying-around-the-house I decided to knit the coasters with pencils instead of needles. I used mechanical ones because they were smoother than the wood ones, but if all you have is wood just brush a bit of clear nail polish on the end, and up a little into the paint. Do this for two reasons: 1, so you'll have a smoother \*“needle'; and 2, so the black tip won't draw anything onto your nice, white cotton yarn.)
Abbreviations used: K - knit P - purl
Pattern: Cast on 10 stitches. Row 1: Slip 1, \*P1, K1\* until last stitch, P1. Row 2: Slip 1, \*K1, P1\* until last stitch, K1. Row 3: Slip 1, P1, K7, P1. Row 4: Slip 1, K1, P7, K1. Rows 5-8: Repeat rows 3-4 two more times. Row 9: Repeat row 1. Row 10: Repeat row 2. Row 11: Bind off!
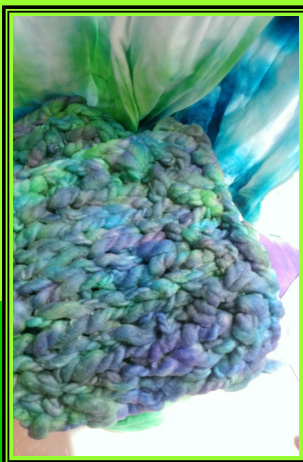
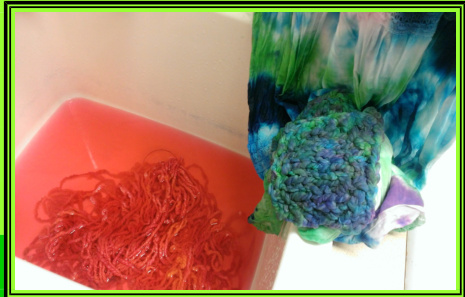
Really really easy. In fact, only 100 stitches, not counting casting on and binding off. And you're DONE!! That was a super long project- but I hope you enjoyed it! Now that that's knitted up, feel free to tie-dye your work... hehe.. o. Or if you want dyed yarn, you can tie dye it before knitting it up. Use your imagination. Again, I hope you enjoyed this tutorial!