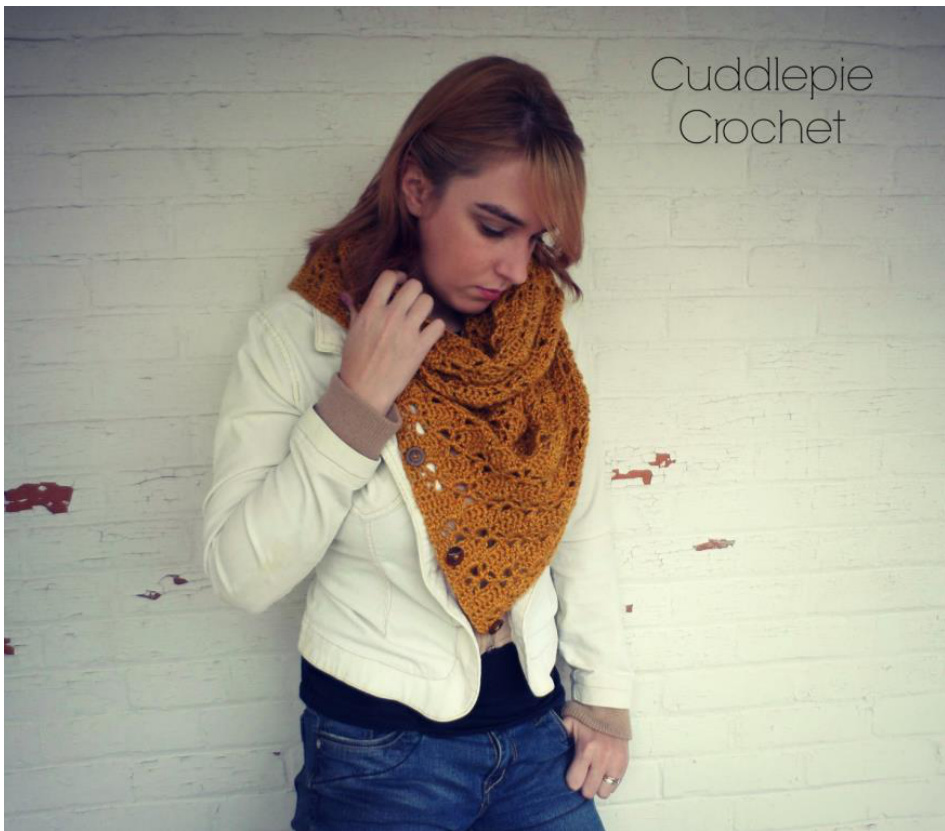
Wren\` Sear Duo
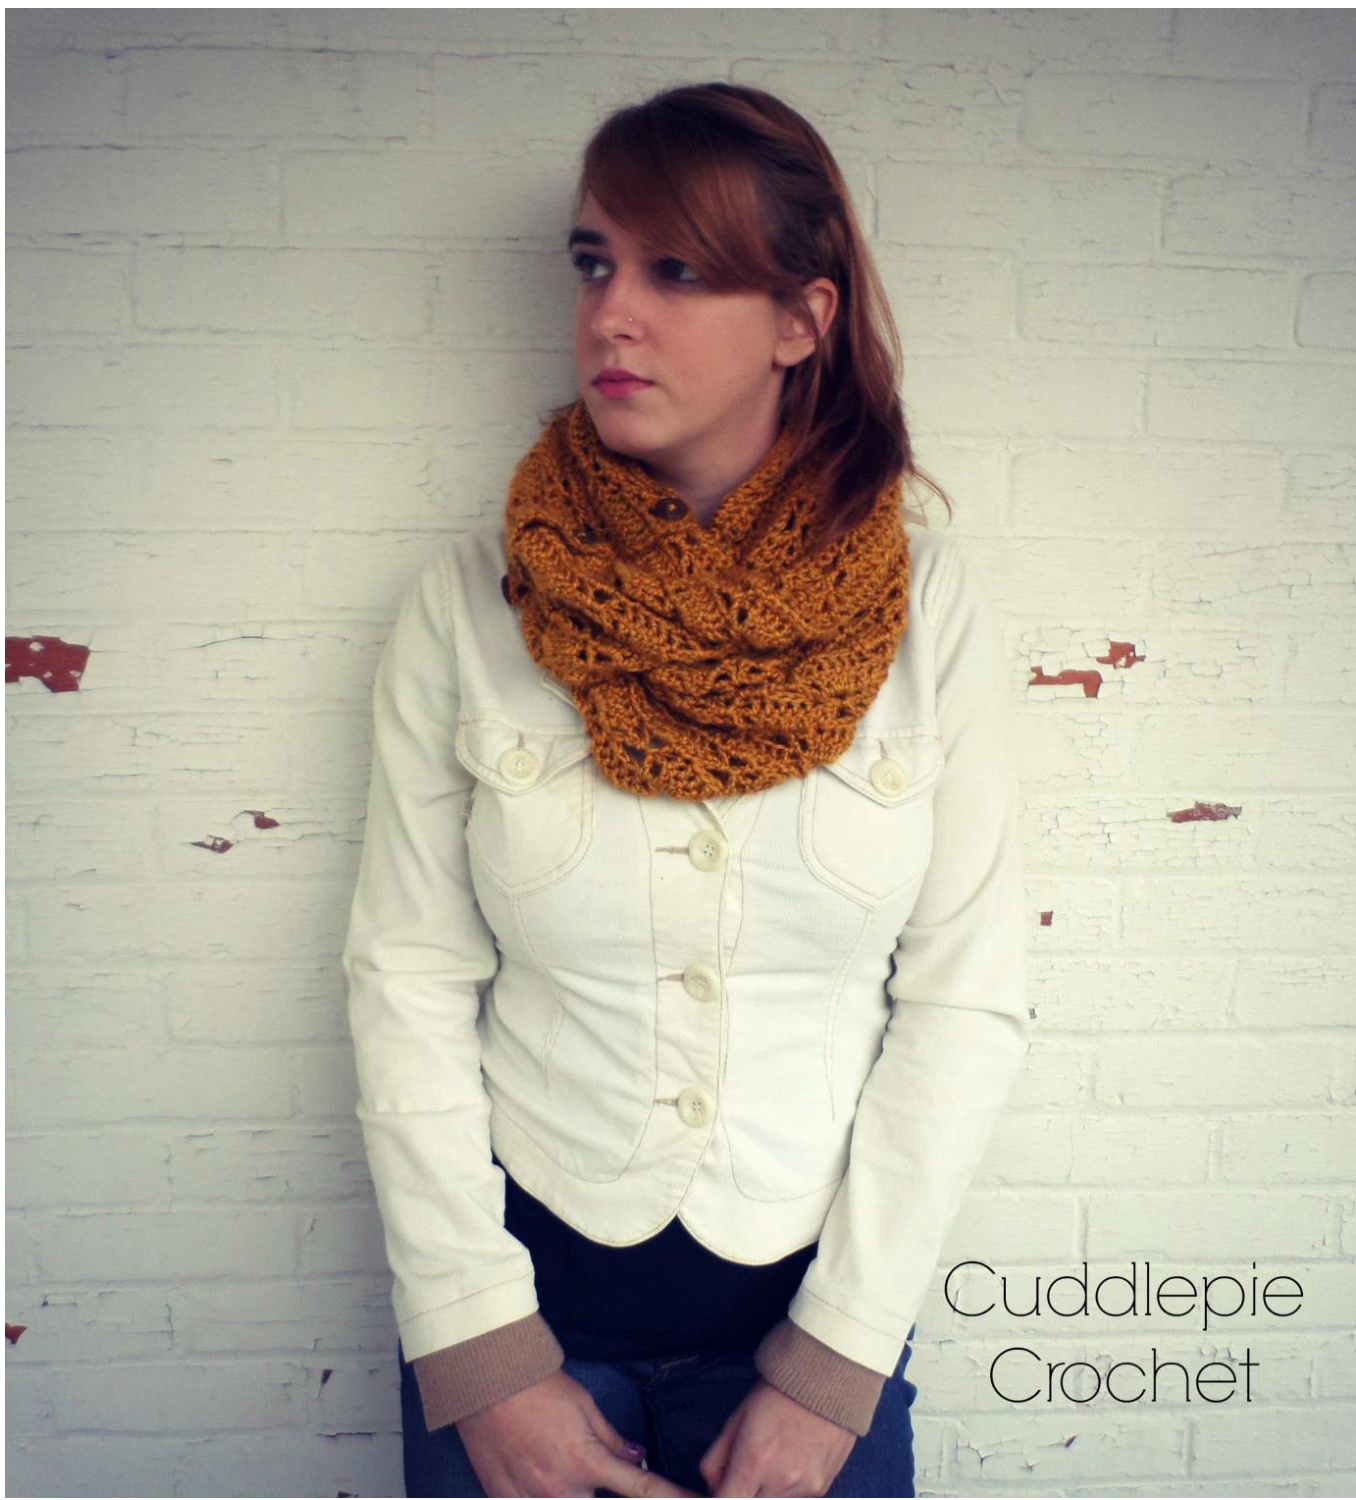
Pa4tern Design by Trieia Dodge @Cuddlepie Croche4 @You may use this pattern to make items for personal use. You may also sell items made from this pattern when you give credit back to me with this link http://www.ravelry.com/designers/tricia-dodge. The pattern itself or images used in it may not be copied or distributed.
Supplies:
\* Worsted Weight Yarn; I used Lion Brand Heartland. 1 12 skeins. \* J (6.5mm) hook \*Tapestry needle to weave in ends \* 4 buttons, 3% to 1" each. Gauge: 10 dc and 6 rows = 3" square
Pattern Abbreviations:
Ch - chain Sc - single crochet Rpt - repeat St - stitch Dc - double crochet Sk - skip Sp - space Dc2tog - double crochet two stitches together FO - finish off Begin by chaining 210. Row 1: Sc in 2nd ch from hook and each across. (209 sc) Row 2: Ch 2 (not a st), dc in 1st 2 sts, ch 2, dc in next, sk 3, dc in next, ch 2, \*dc in next 5, ch 2, dc in next, sk 3, dc in next, ch 2\*, rpt \*to\* across, dc in next st, dc2tog in last st, turn. Row 3: Ch 2, dc in 1st 2 dc, sk ch 2, (dc, ch3, dc) in upside down V sp, sk ch 2 sp, \*dc in next 5 dc, sk ch 2, (dc, ch 3, dc) in upside down V sp, sk ch 2 sp\*, rpt \*to\* across, dc in next dc, dc2tog in last dc, turn. Row 4: Ch 2, dc in 1st 2 dc, dc in next dc, 3 dc in ch 3 sp, dc in next dc, \*ch 2, dc in next dc, sk 3, dc in next dc, ch 2, dc in next dc, 3dc in ch 3 sp, dc in next dc\*, rpt \*to\* across, dc in next, dc2tog in last dc, turn. Row 5: Ch 2, dc in 1st 7 dc, \*sk ch 2, (dc, ch 3, dc) in upside down V sp, sk ch 2 sp, dc in next 5 dc\*, rpt \*to\* across, dc in next dc, dc2tog in last dc, turn. Row 6: Ch 2 (not a st), dc in 1st 2 sts, ch 2, dc in next, sk 3, dc in next, ch 2, \*dc in next, 3 dc in ch 3 sp, dc in next, ch 2, dc in next, sk 3, dc in next, ch 2\*, rpt \*to\* across, dc in next st, dc2tog in last st, turn. Row 7: Ch 2, dc in 1st 2 dc, sk ch 2, (dc, ch3, dc) in upside down V sp, sk ch 2 sp, \*dc in next 5 dc, sk ch 2, (dc, ch 3, dc) in upside down V sp, sk ch 2 sp\*, rpt \*to\* across, dc in next dc, dc2tog in last dc, turn. Row 8: Ch 2, dc in 1st 2 dc, dc in next dc, 3 dc in ch 3 sp, dc in next dc, \*ch 2, dc in next dc, sk 3, dc in next dc, ch 2, dc in next dc, 3dc in ch 3 sp, dc in next dc\*, rpt \*to\* across, dc in next, dc2tog in last dc, turn. Row 9: Ch 2, dc in 1st 7 dc, \*sk ch 2, (dc, ch 3, dc) in upside down V sp, sk ch 2 sp, dc in next 5 dc\*, rpt \*to\* across, dc in next dc, dc2tog in last dc, turn. Repeat rows 6-9 three more times and then one more repeat of rows 6 and 7. Finishing off: Ch 1, sc in each st across, making sure to work 3 sc in each ch 3 sp. FO and weave in ends. Sew 4 buttons to whichever edge you choose. The sts in this scarf allow you to not have to make button holes. Just push your buttons through the stitching.