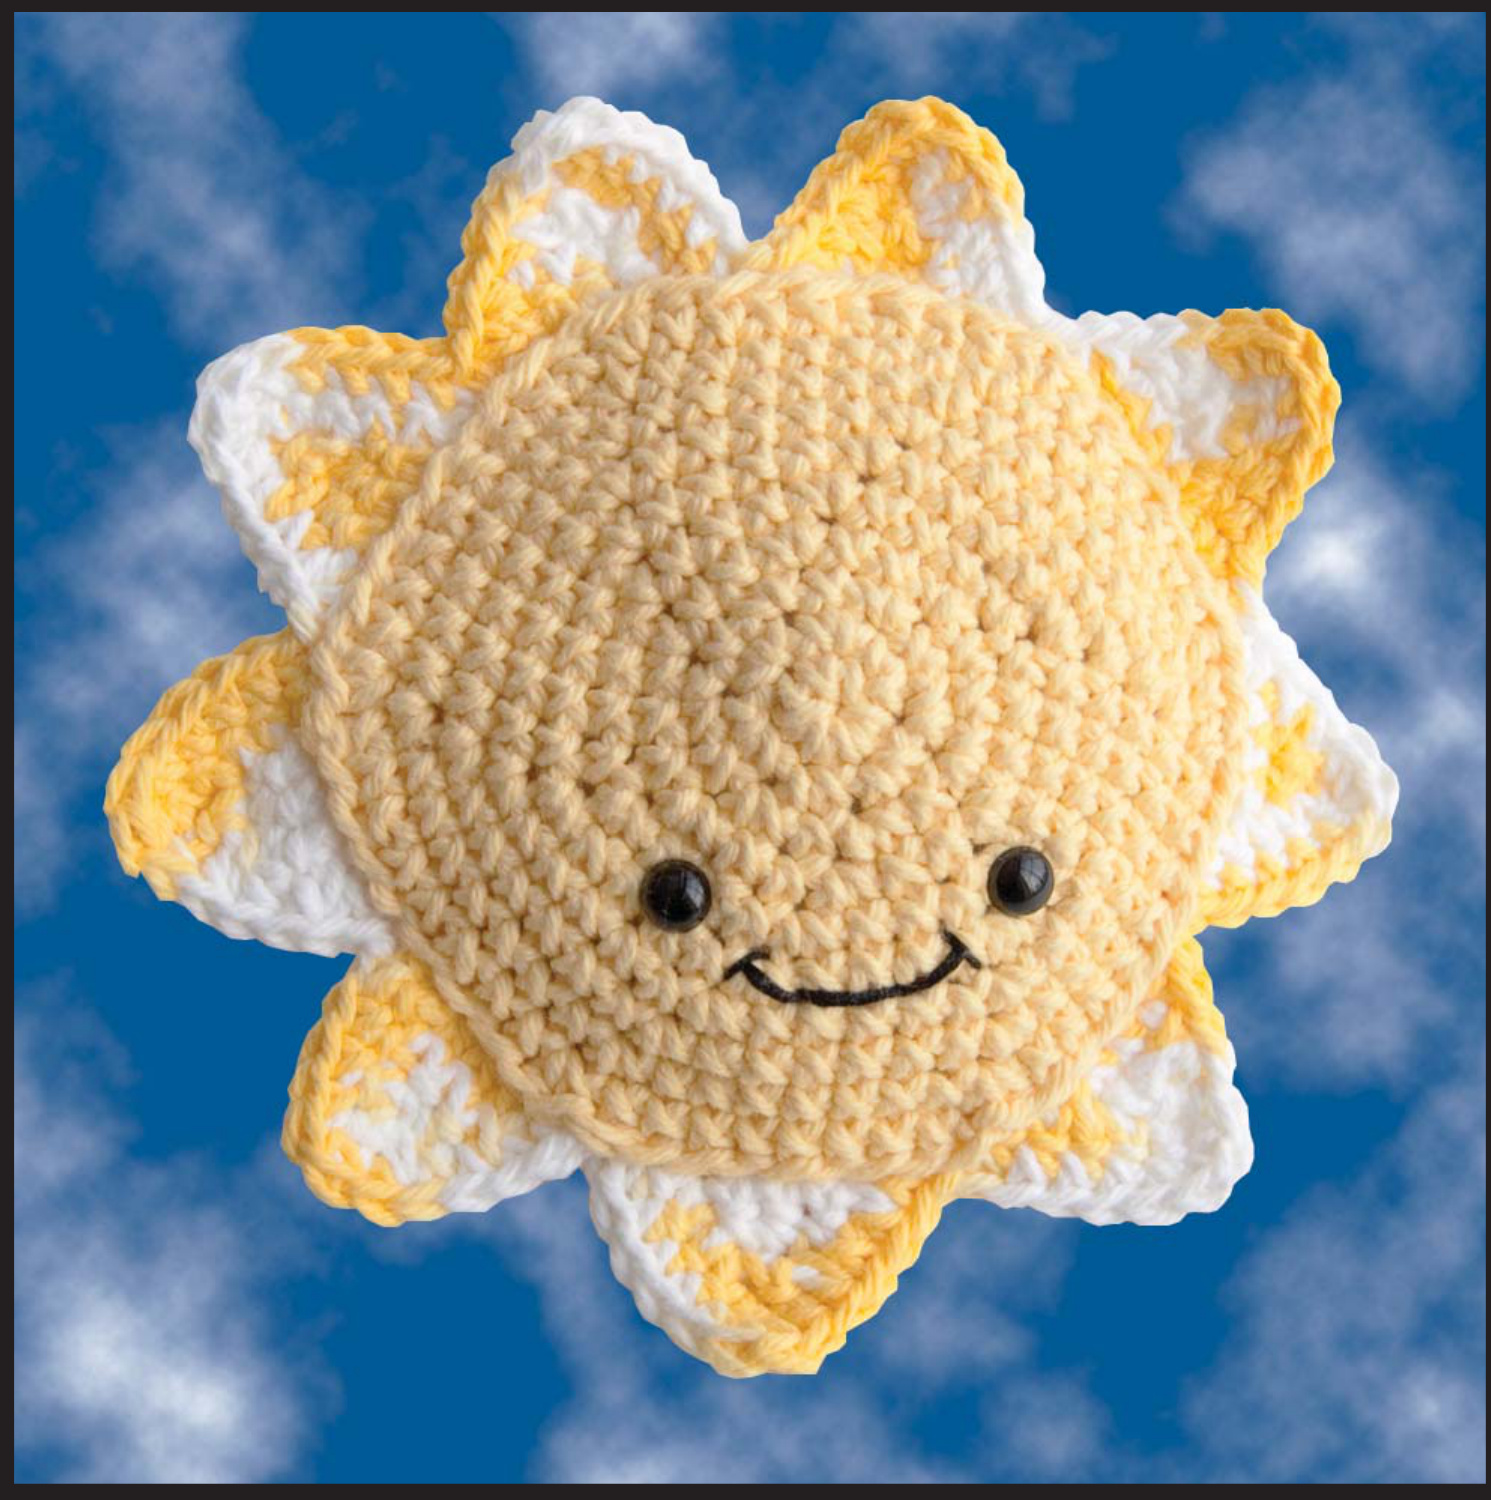
Autism Shines!
Learn More About Autism Shines:
Web: www.autismshines.com Facebook: www.facebook.com/AutismShines Twitter: @AutismShines
About Autism Shines
"Autism Shines is a grassroots photo project created in response to the horrible, irresponsible, and outright false messages spread by numerous media outlets that linked autism to planned violence, in particular for the unspeakable murders committed against children and adults at Sandy Hook Elementary in Newtown, CT. You can read some of our background story over at Mostly True Stuff. We started as the Autism Shines Facebook page largely as an experiment. Some of us had begun collecting positive images and stories from parents and autistic persons, but we didn't have any single place to share them. In talking about it one day, we discovered that several of us each had a piece that fitted together perfectly to allow us to form Autism Shines. Once we had somewhere to share the images, they came pouring in from all over the world. The sheer volume of photos very quickly overwhelmed the Facebook page. Clearly the positive message was desperately needed and resonated with thousands of people." — Autism Shines Admin Team
ABOUT THIS PATTERN
This pattern was created to help spread the message about Autism Shines. I hope you will take a moment to visit the Facebook page and web site — and meet some of the truly inspiring individuals on the autism spectrum.
MATERIALS
Lily Sugar 'N Cream ·G Hook (4.25 mm) 9mm EyesFiber Fill Yarn Needle Stitch Marker Embroidery Floss Embroidery Needle
STITCHES &ABBREVIATIONS
CH Chain Stitch SC Single Crochet HDC Half Double Crochet DC Double Crochet TC Treble (Triple) Crochet DECR Single Crochet Decrease SL Slip Stitch ST/S Stitch/Stitches MM Move Marker FO Finish Off
PATTERN NOTES
For the project used in the photos, I used Lily Sugar 'N Cream yarn in the following colors: 00010 Yellow 00165 Daisy Plastic safety eyes like those used in the pattern photos are readily available at some craft stores and through online sellers. My favorite supplier for quality safety eyes and noses is 6060 Eyes. You can purchase online through: Etsy (http://6060.etsy.com) Artfire (http://6060eyes.artifre.com) Web Site (http://www.6060eyes.com) Safety Warning: When determining whether to use buttons or other small embellishments, keep in mind the age of the intended recipient. Doll eyes and other decorations may pose a choking hazard for children under three. A safer alternative for the very young is to sew eyes and any other decorations using embroidery thread or yarn.
COPYRIGHT
Copyright 2013 by Karla Fitch (The Itsy Bitsy Spider). No part of this pattern may be reproduced or disseminated in any other way without express written consent from the author. For other Itsy Bitsy Spider Patterns, please visit itsybitsyspidercrochet.blogspot.com
PART 1: BODY (MAKE 2)
Because this piece is worked in a continuous spiral, you may want to use a stitch marker to keep track of your rounds. Use “"Yellow" yarn or desired body color.
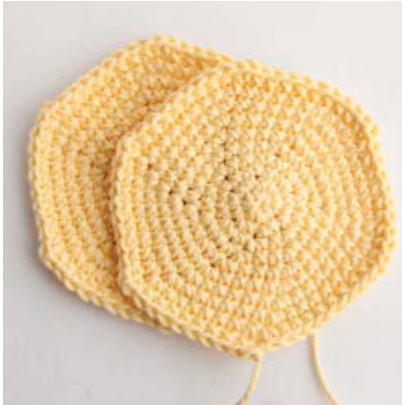
Round 1: CH 2. 6 SC in second chain from hook. Place stitch marker in the last SC to mark the end of the round. Round 2: 2 SC in each ST around (12 SC). MM. Round 3: \*2 SC in first SC, 1 SC in next. Repeat from \* around (18 SC). MM. Round 4: \*2 SC in first SC, 1 SC in each of next two STS. Repeat from \* around (24 SC). MM. Round 5: \*2 SC in first SC, 1 SC in each of next three STS. Repeat from \* around (30 SC). MM. Round 6: \*2 SC in first SC, 1 SC in each of next four STS. Repeat from \* around (36 SC). MM. Round 7: \*2 SC in first SC, 1 SC in each of next five STS. Repeat from \* around (42 SC). MM. Round 8: \*2 SC in first SC, 1 SC in each of next six STS. Repeat from \* around (48 SC). MM. Round 9: \*2 SC in first SC, 1 SC in each of next seven STS. Repeat from \* around (54 SC). MM. Round 10: \*2 SC in first SC, 1 SC in each of next eight STS. Repeat from \* around (60 SC). FO. Note: Leave a long tail for sewing on one of the body pieces. You may trim and weave in the tail on the other piece.
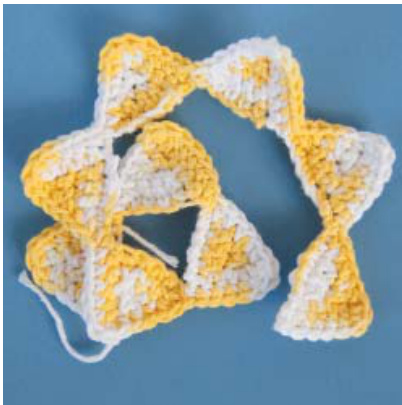
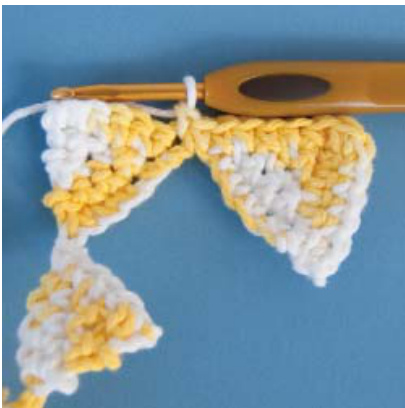
PART 2: RAYS
The rays are worked in "Daisy" (or yarn color of your choice). Each triangle-shaped ray counts as one five-row “Ray Motif." You will work nine Ray Motifs in a row to create the rays, then SC back across the triangle edges to finish.
Ray Motif:
Row 1: CH 6 and turn. SC in second CH from hook and each CH across (5 SC). Turn. (Do not CH 1 for turn.) Row 2: Skip first ST. SC in each remaining ST across (4 SC). Turn. (Do not CH 1 for turn.) Row 3: Skip first ST. SC in each remaining ST across (3 SC). Turn. (Do not CH 1 for turn.)
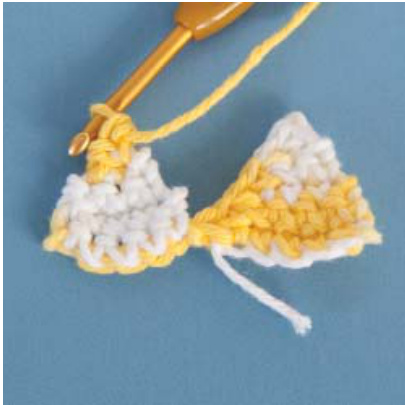
Row 4: Skip first ST. SC in each remaining ST across (2 SC). Turn. (Do not CH 1 for turn.) Row 5: Skip first ST. SC in remaining ST (1 SC). CH 1. SC evenly down the left side of the triangle.
Rays:
Row 1: Work Ray Motif nine times. CH 1 and turn (9 Ray Motifs). Row 2: SC evenly along the top edges of the triangles, making 2 SC STS in the tip of each. FO and weave in ends.
PART 3: ASSEMBLY
1. Place eyes wide set and just below round 5, as shownbelow.
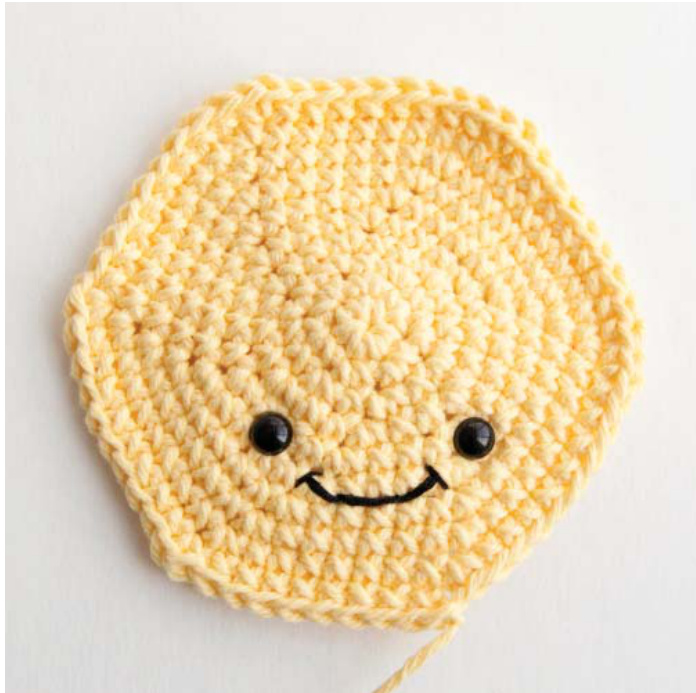
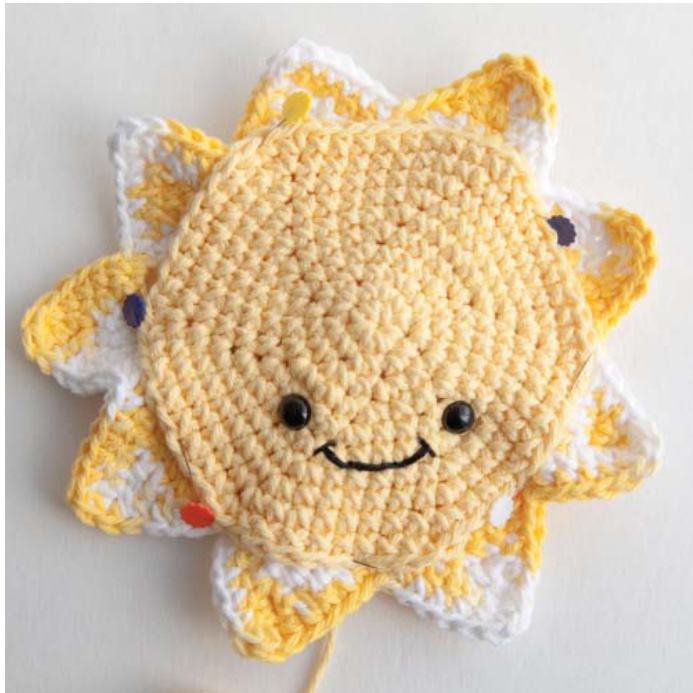
Note: If you are making your sunshine for a small child or someone who may chew the toy, embroider the eyes instead to avoid choking hazards. 2. Stitch mouth as shown, using a double strand of embroidery floss (12 plies). 3. Sandwich front and back together with rays in between, as shown, and pin in place.
Continued, next column.
PART 3: ASSEMBLY (CONTINUED)
4. Using the tail from one of the body pieces, stitch through all three pieces of fabric, working your way around and adjusting the rays as needed to ensure that the ends meet up.
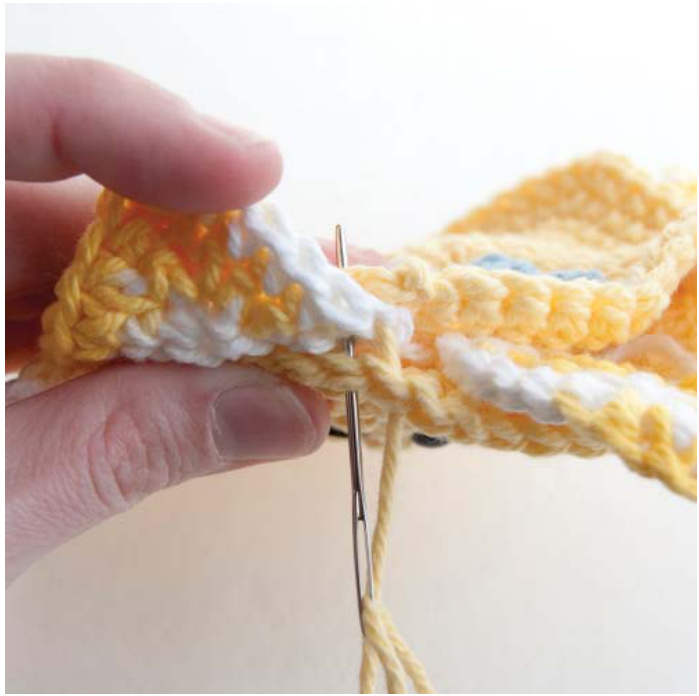
5. About 3/4 of the way around, add fiber fill through the gap.
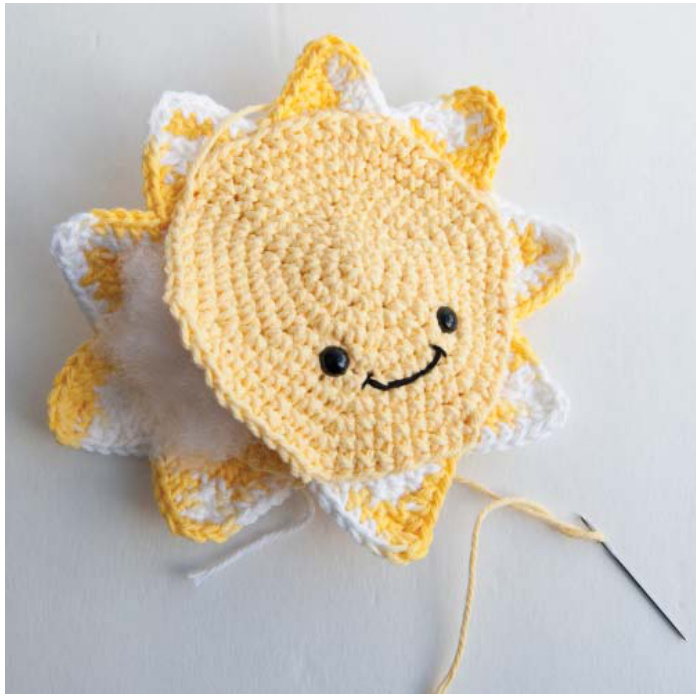
6. Continue sewing your sun together until you reach the beginning of the rays. Knot off your yarn and weave in the ends.


