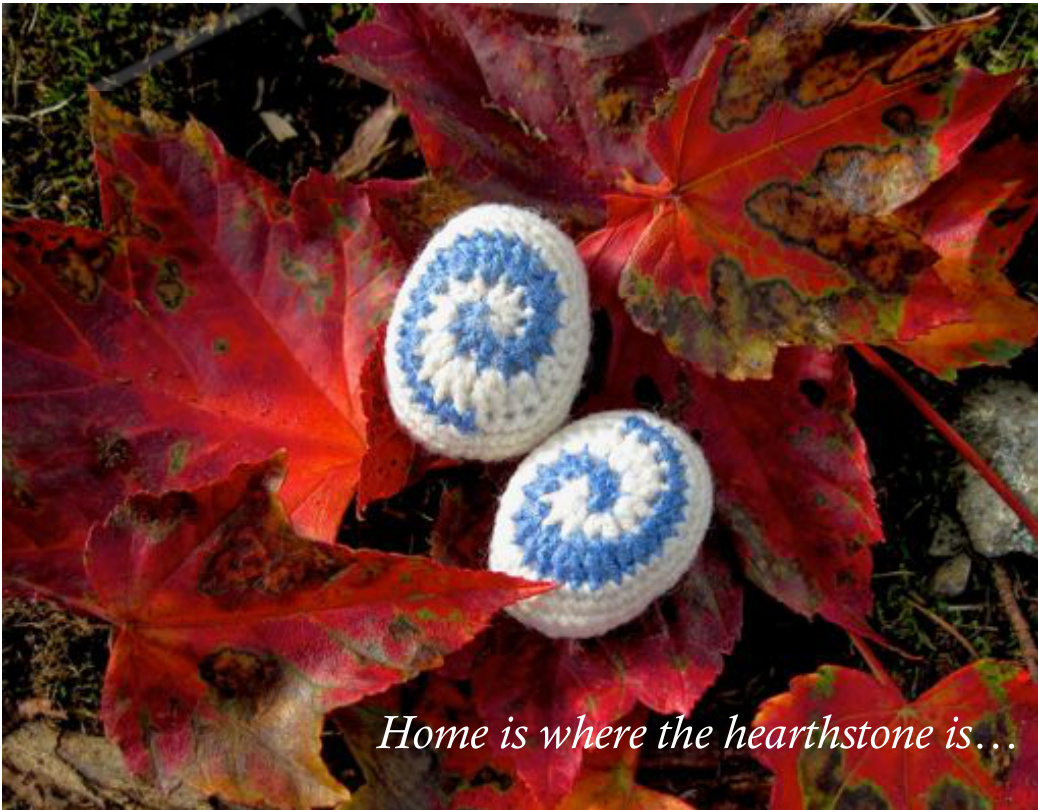
Mini Hearthstone
by Vivian Lee
Materials:
Light fingering yarn in WHITE Light fingering yarn in BLUE 2.75mm crochet hook Small stitch marker Darning needle Small bit of polyfill
Gauge & Sizes:
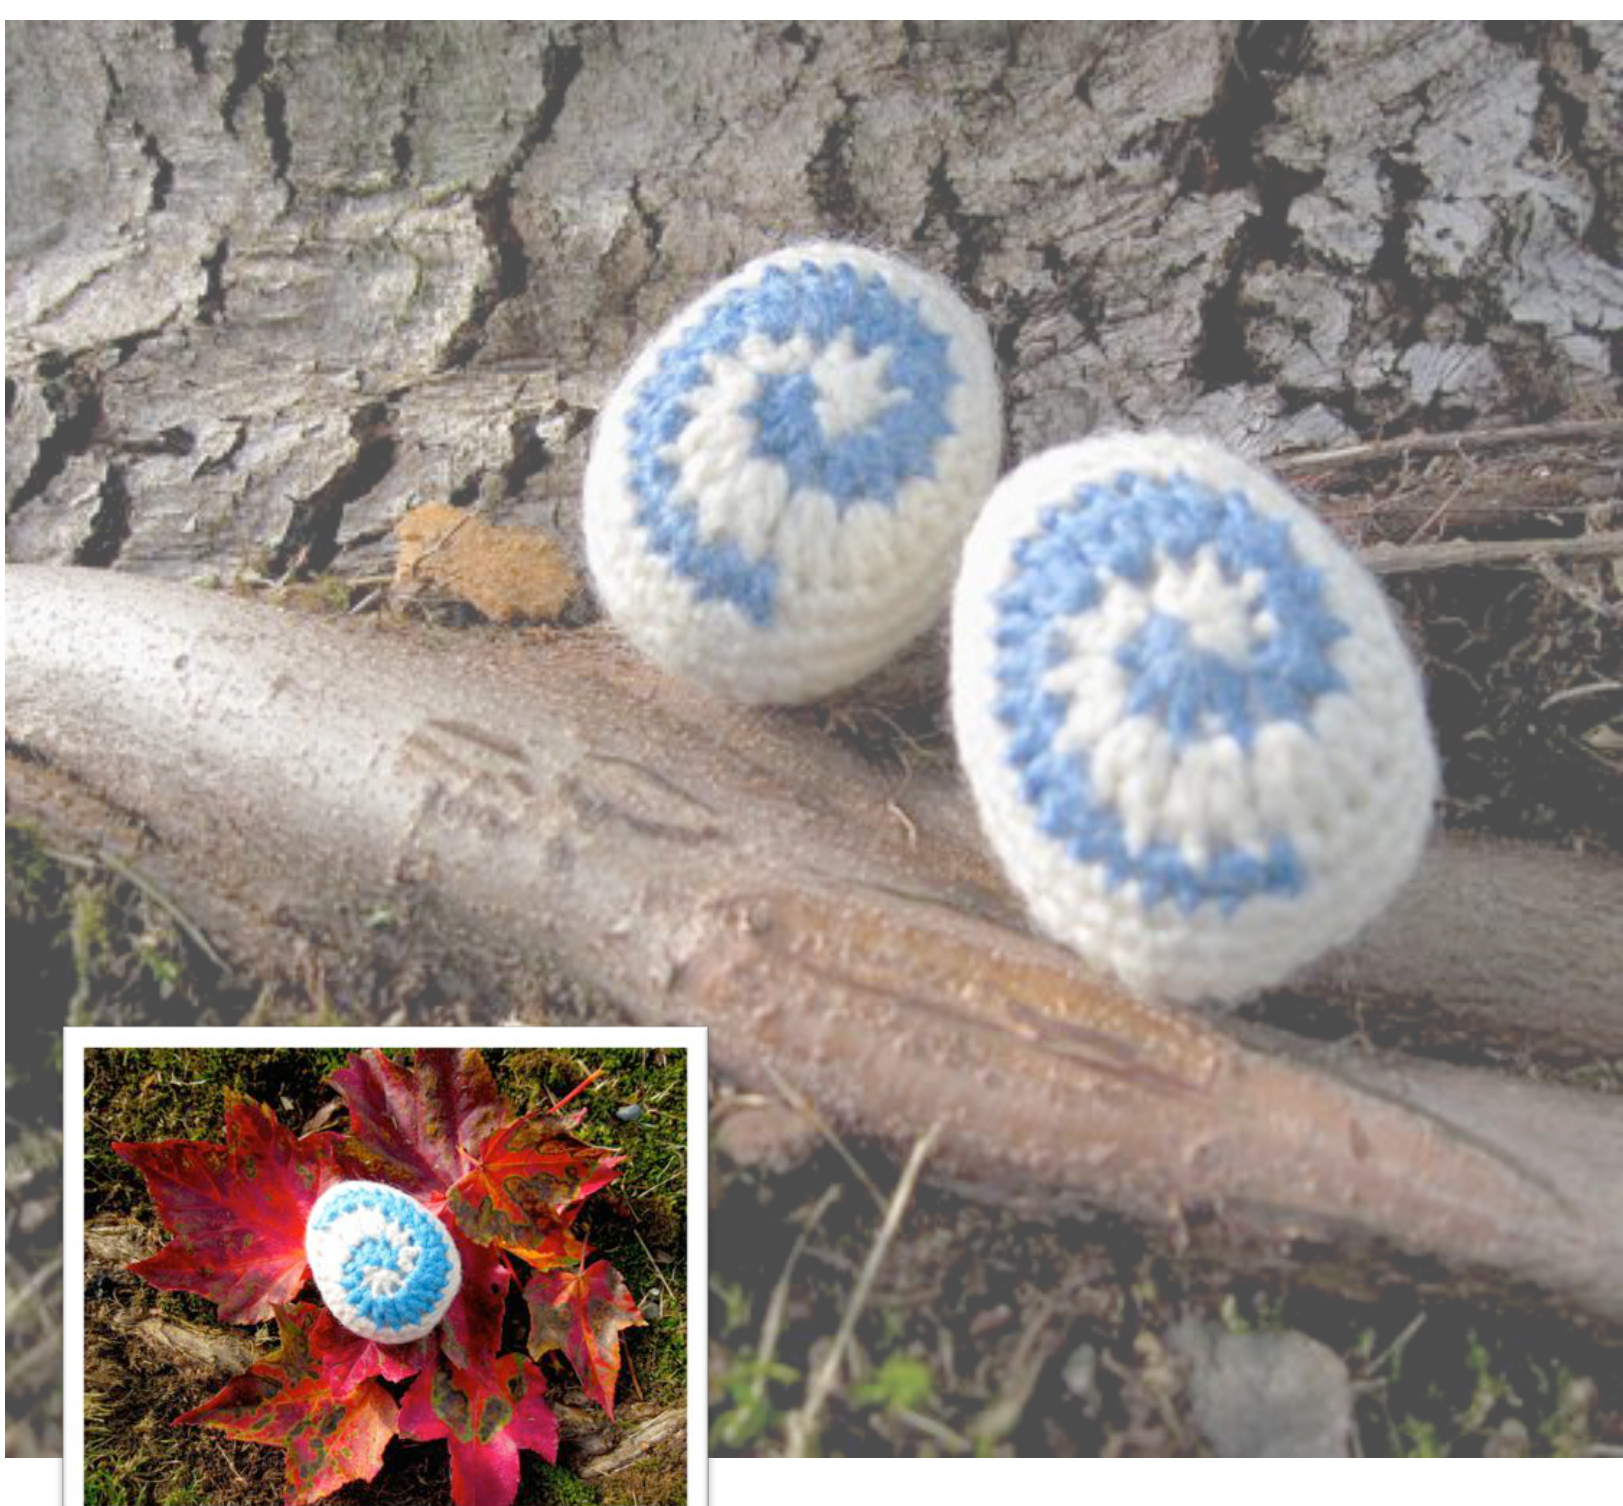
Gauge is flexible as different weights of yarn and hooks will result in different sizes of hearthstones. Please feel free to experiment! Using the recommended materials will result in the sample hearthstone pictured, measuring approximately 3cm across from top to bottom.
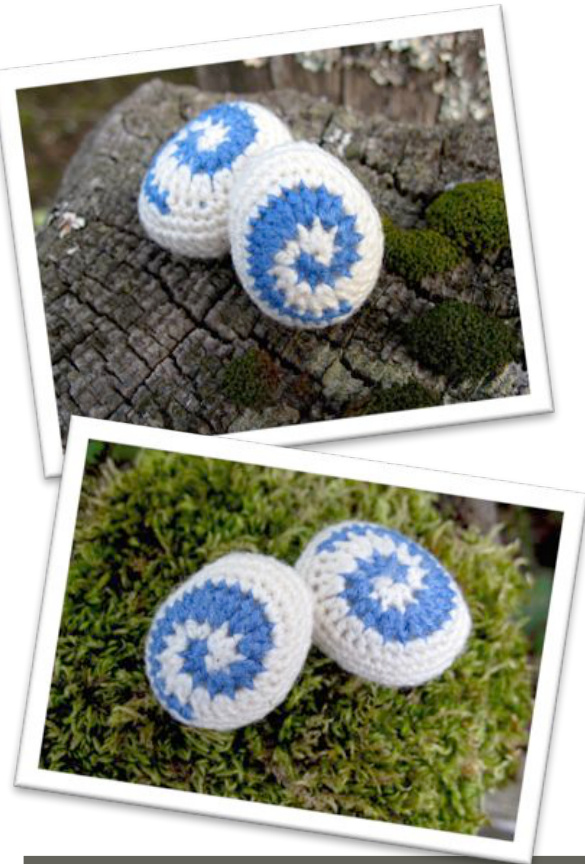
World of Warcraft fans rejoice because now you can have a mini hearthstone of your own! I haven't yet figured out how to enchant these, so they won't be able to actually teleport you anywhere. If you happen to figure it out, please do let me know!
Notes:
Work the stitches tightly for best results, as you do not want the polyfill to show through. You can experiment with different size hooks depending on your yarn. The idea is to have a tightly woven surface. For those that have an aversion to sewing, you'll be happy to know that this little hearthstone is worked all in one piece! As with most amigurumi projects, this hearthstone is worked in the round. A stitch marker is recommended for marking the start of the round.
Abbreviations:
INSTRUCTIONS:
ch = chain sc = single crochet hdc = half double crochet dc = double crochet sl st = slip stitch inc = increase (work 2sc into single st) invdec = invisible decrease (hook through the front loops only of the next 2 sts, yarn over, pull through both loops, yarn over again and pull through remaining 2 loops). SWITCH = Carefully remove hook, leaving the working loop free. Do not close MR. Create a slipknot with the mc. Insert hook through the MR then place the slipknot on the hook. Pull through the MR, ch1 to lock in place. Continue the round working through the MR. Note: this is only done once at the very beginning. <mc> = indicates following steps worked in main color (white) <cc> = indicates following steps worked in contrasting color (blue) Numbers in [brackets] indicate the total number of stitches you should have at the end of each round. RND1: <cc> create MR, sc2, hdc2, SWITCH, <mc> sc2, hdc2, pull MR close [8] RND2: <mc> (hdc2 into each st) repeat x2, (dc2 into each st) repeat x2, remove hook from mc and insert into cc, <cc> (hdc2 into each st) repeat x2, (dc2 into each st) repeat x2[16] RND3: <cc> (dc2 in each st) repeat x2, (hdc2 in each st) repeat x3, (inc) repeat x3, remove hook from cc and insert into mc, <mc> (dc2 in each st) repeat x2, (hdc2 in each st) repeat x3, (inc) repeat x3 [32] RND4: <mc> (sc3, inc) repeat x4, remove hook from mc and insert into cc, <cc> sl st into next st and bind off, insert hook back into mc, ch1, skip next st, sc2, inc, (sc3, inc) repeat x3 [40] Note: Continue with the mc only from this point on. RND5: sc around [40] RND6: ch2, dc4, hdc2, sc8, hdc2,dc8, hdc2, sc8,hdc2, dc4, sl st in top of ch2[40] RND7: sc around [40] RND8: sc3, invdec, sc2, invdec, sc3, invdec, sc12, invdec, sc3, invdec, sc2, invdec, sc3 [34] RND9: (sc, invdec) repeat x5, invdec, invdec, (sc, invdec) repeat x5 [22] RND10: sc, (sc, invdec) around [15] Stuff the hearthstone mostly full at this point. RND11: sc, invdec around [8] Add more polyfill as needed. Cut yarn and bind off leaving a long tail. Thread the tail through your embroidery needle and work through the front loops only, pulling each stitch taut. This will close the hole. Thread the tail through the center of the bottom of your hearthstone and pull through the other side before trimming.
About the Designer:
Vivian Lee is a freelance artist and musician, most recently adding fiber arts designs to her ever-growing portfolio of creative arts. You can find her on Ravelry, where she welcomes all questions and feedback. http:/ /www.ravelry.com/designers/vivian-lee

For personal use only. Please do not sell items created from this pattern or redistribute the pattern in any way. Thank you for respecting the hard work of independent designers.


