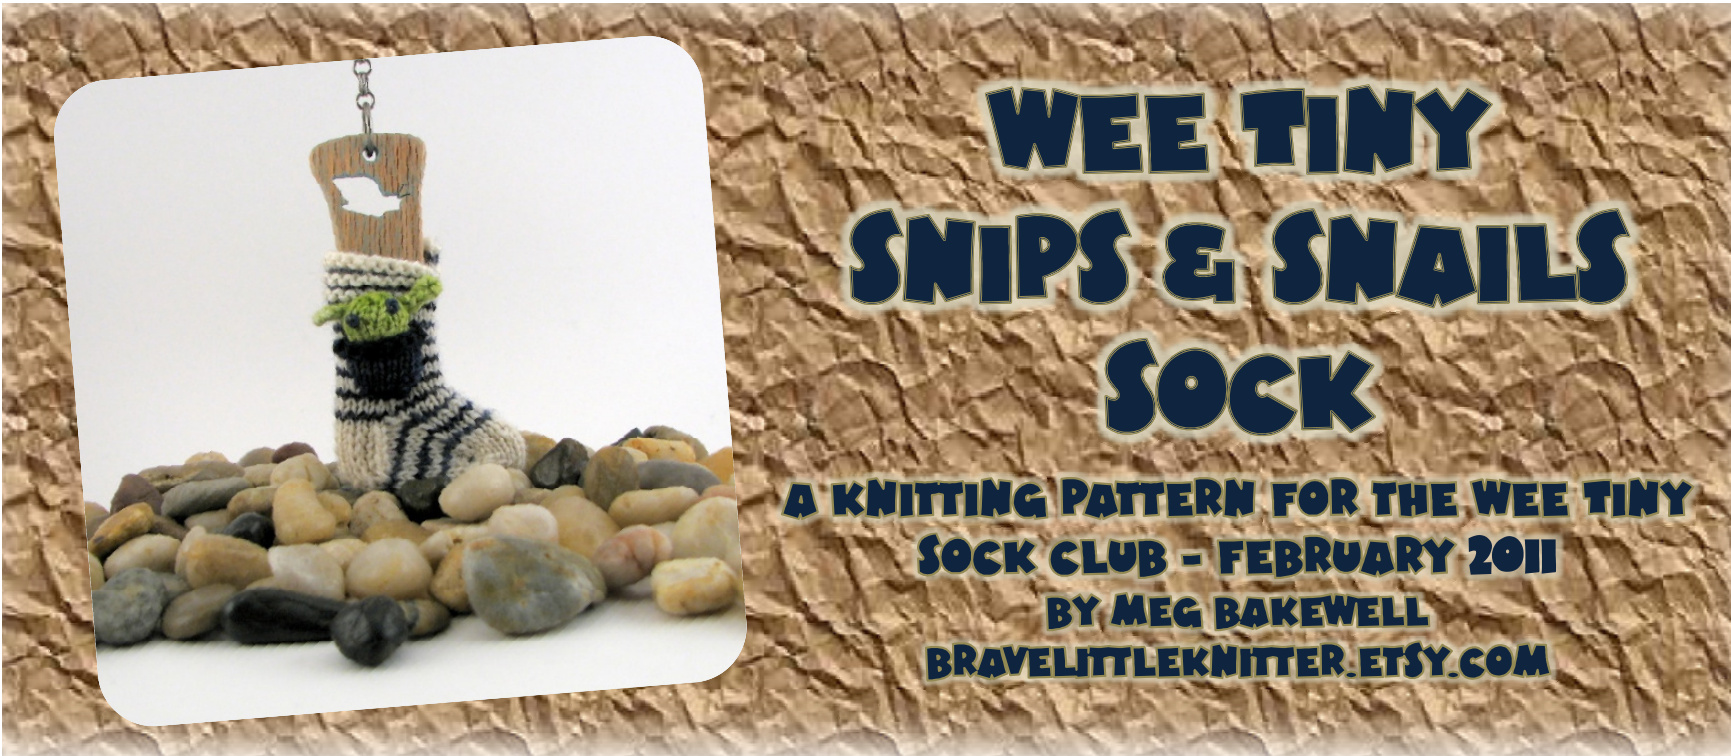
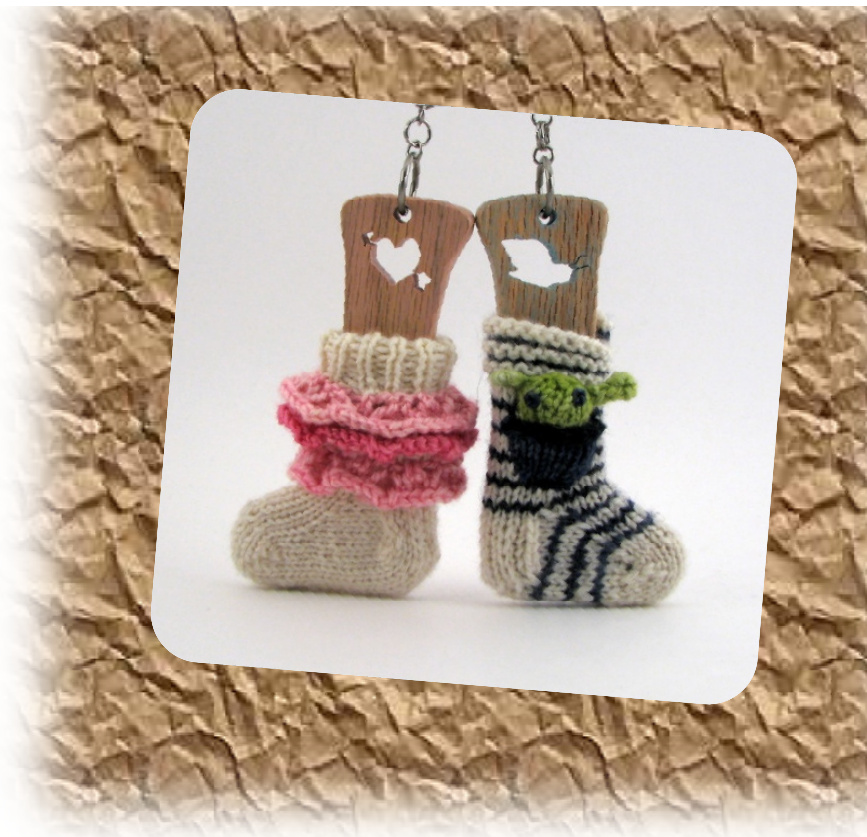
The number one reason that I started knitting is that cool socks for little boys are hard to find. For little girls, you have your pick of ruffles, lace, flowers, kitties, fairies, rainbows, and hearts: the list is endless and they are waiting for you wherever little girls' clothes are sold. For my son, I expected to find frogs and puppy dogs, pirate ships and rocket ships, dinosaurs and superheroes. I'd have bought two pairs with dinosaurs, if I could find them, one for my son and one for his big sister. But, alas, the usual offerings for boys are plain white, maybe with stripes. Once I learned you could knit socks, I figured that was the solution. This wee sock is a hybrid - yes, it's white with navy stripes, not too exciting there, but the navy stripe starts at the toe and wraps around and around the sock in one continuous helix to the cuff, like a spiraling snail shell. And, it has a pocket and comes with a frog - that's much more fun!
Snips and snails and puppy dogs tails, that's what little boys are made of. Stripes and pockets and all things wool, that's what wee tiny socks are made of.
MATERIAlS
Beyond Basic Knits Prima Superwash Sock, 1oo% Merino wool 12 yards main color (Mc1 and Mc2), Innocence, white 8 yards contrast color 1 (cc1), Cold Steel, navy blue 5 yards contrast color 2 (cc2), Seagrass, frog green Set of 4 US size 1/2.25mm DPNs Gauge is not critical, but 8 sts and 14 rows per inch in stockinette gives a sock about 21/2"cuff to heel and 2" heel to toe. Important note: MC should be divided into 2 small balls of about equal size before beginning. These will be called MC1 and Mc2.
BeGin PAttern
Using MC1, provisionally cast on 10 sts.
Short row toe
K10, turn work. P9, w&t, k8, w&t, P7, w&t, k6 ,w&t, P5, w&t, k4, w&t, P4, p1tww, w&t, k5, k1tww, w&t, P6, p1tww, w&t, k7, k1tww, w&t, P8, p1tww, turn work, k9, k1tww. Remove waste yarn and place 10 sts from provisional cast-on onto 2 needles, 5 sts each. (20 sts total) Place marker for beginning of round at the location of the working yarn. Knit 1 round. K14. Drop MC1 but do not break yarn - just leave it there, you will come back to it. Using MC2, knit the next 3 sts. Drop MC2. Using CC1, knit the next 3 sts. You should now be at the beginning of the round again.
INSTRUCTIONS FOR HElICAl STRIPES
Knit until you come to a location where a previously dropped strand is waiting for you. At this point, drop the current strand and pick up the waiting yarn. Do not twist the yarns and always pick up the waiting strand from below the yarn you are now dropping. Knit with the strand you just picked up until you come to the next waiting strand. Whenever there are increases, just work them with the current yarn. Simple as that. For the first 3 rounds of the pattern below, the number of sts worked in each color is specified. After that, the color changes are omitted, but you should continue the procedure as above, dropping the working yarn and picking up the waiting yarn each time you come to it. You could put st markers at the locations of the yarn changes if you are concerned about missing them.
FOot And GusSet InCreASes
Round 1: Continuing with CC1, K14. Drop CC1 and pick up the waiting MC1 strand. K3. Drop MC1 and pick up the waiting MC2. K3. Round 2: Continuing with MC2, K14. Drop MC2 and pick up the waiting CC1 strand. K3. Drop CC1 and pick up the waiting MC1. K3. Round 3: Continuing with MC1, k1, m1R, k8, M1L, k5. Drop MC1 and pick up the waiting MC2 strand. K3. Drop MC2 and pick up the waiting CC1 strand. K3. (22 sts)
foot, continued
Continue with the helical stripes method, picking up waiting yarns as you come to them, for the remainder of the gusset. Round 4, 6, 8, 10: Knit. Round 5: K2, m1R, k8, m1L, K to end of round. (24 sts) Round 7: K3, m1R, k8, m1L, K to end of round. (26 sts) Round 9: K4, m1R, k8, m1L, K to end of round. (28 sts) Round 11: K5, m1R, k8, m1L, K to end of round. (30 Sts) Round 12: K20. Note: You should have just knit across the 2 instep needles, which have 10 sts each. The heel turn will be worked on the third needle, which also has 1o sts.
Heel turn
The heel turn will be worked in MC1 only, so we need to get Mc2 and CC1 out of the way. SI4, K3 MC2, K16 CC1. CC1 is 3 sts into instep needle 2. Slip the last 3 sts worked in CC1 back onto instep needle 2. Return to the heel needle. Sl7, K13 Mc2. MC2 is at the end of instep needle 1. Return to the heel needle where MC1 is waiting and work the heel turn as follows. K1, sl1, k6, w&t, sl1, p5, w&t, sl1, k4, w&t, sl1, p3, w&t, sl1, k2, w&t, sl1, pl, w&t.
HEEl FlAP
Note: The decreases worked in the heel flap will bring you back to 20 sts. Each time you work a ssk or p2tog, you will be using one st from the heel needle and one st from the adjacent instep needle. There will be 10 sts on the heel needle the whole time, but the number of sts on the instep needles will decrease down to 5 each by the time the heel flap is done. If you prefer, you can rearrange the sts now. Move 5 sts from each instep needle to the heel needle, so that the st arrangement is 5/5/20. Row 1: Sl1, k1, k1tww three times, ssk. Turn work. (29 sts) Row 2: Sl1, p5, p1tww three times, p2tog. Turn work. (28 sts) Row 3, 5, 7, 9: (Sl 1, k1) 4 times, sl1, ssk. Turn work. Row 4, 6, 8, 10: S1, p8, p2tog, turn work. (20 sts at the end of Row 10)
LeG
Continue in helical stripe method, picking up the waiting yarns as you come to them Set up round: Sl1, k9. Pick up 1 st in gap between needles, k10, pick up 1 st in gap, k15. You should now be at the center of the instep. This is the new beginning of round. (22 sts) Rounds 1-12: Knit. At the beginning of round 13, you should be picking up MC1. From this point forward, all sts in MC1 will be purled instead of knit. Round 13-18: Continue in helical stripes, knitting all sts in MC2 and CC1, purling all sts in MC1. You should be finishing the end of round 18 with CC1. Break CC1. Pick up waiting MC1. Round 19: Bind off sts purlwise with MC1 until you come to MC2. Knit with MC2 to end of round. Break MC2. Return to the location of MC1 and finish binding off all sts purlwise. There will be a step up where the three strands end, just like the end of a snail shell.
Using CC1, cast on 8 sts leaving a 6-8 inch tail, which will be used to sew pocket to the sock. Rows 1-2: Knit. Row 3, 5, 7, 9: Purl. Row 4: Knit. Row 6: Ssk, k4, k2tog. Row 8: Ssk, k2, k2tog. Bind off all sts purlwise. Weave in bind off tail. Use cast on tail of pocket to sew the pocket in place on the sock as shown in the photo.
FroG
Using CC2, cast on 4 sts. For first row, you will work as for i-cord - that is, turn the needle with the cast on sts around, slide the sts back down to the right hand side of the needle, with the working yarn at the left end of the 4 sts. Bring the yarn snugly across the back to begin the first row. Round 1: Kfb four times (8 sts) Now, divide sts among 3 needles. Needle 1 has 2 sts, needle 2 has 2 sts and needle 3 has 4 sts. Round 2, 4, 6, 7: Knit. Round 3: (Kfb, k1) four times. (12 sts) Round 5: (Kfb, k2) four times. (16 sts) Round 8: (K2tog, k2) four times. (12 sts) Round 9: (K2tog, k1) four times. (8 sts) Stuff body of frog with some white yarn, about a yard should do it. Round 10: (K2tog) four times. (4 sts) Break CC2 and thread through remaining sts. Weave in the yarn ends from the frog's body. The frog body was knit tail to head - that is, the pointier end where you began is the frog's rear end. Pinch him a bit to flatten him, so he has a top and a bottom. To make a hind leg for the frog, pick up and knit 2 sts on the side of the frog's body near the back. Work in i-cord for 3 rows. Turn work, kfb, k1 (3 sts on the needle). Knit 1 row, then bind off all sts. Repeat on the other side for a 2nd hind leg. To make the frog's front legs, cast on 2 sts, leaving a 5" tail, and work in i-cord for 1.25". Break yarn leaving a 5" tail and thread through the 2 sts. Thread the yarn tail on a tapestry needle and use the needle to pull the i-cord through the frog's belly, near the front of the frog so that each end of the i-cord is sticking out one side of the frog, forming his front arms. Using tapestry needle, pull the bind-off yarn tail through the i-cord between the last st and the second to last st. Bring the yarn around the edge of the i-cord, back to the other side, and thread it back through the same location again. Repeat 8-10 times, forming a small foot. Repeat the foot procedure on the other front arm. Thread the tapestry needle with CC1 and run it back and forth through the frog's body a couple of times to secure the yarn. Then, come up on the top of the frog near the head end and form a French knot eye. Form a second French knot about 3 sts over from the first. Secure yarn inside the frog and break it off.
FiniShinG
Weave in all remaining ends on the sock and the frog. In your pocket, put a frog, or a rock, or a marble, or a piece of bubblegum, or an earthworm, or a snail shell or a piece of yarn, or a magic bean, or a bottlecap, or
| I-cord | Cast desired number of sts on to a double pointed needle (DPN). Knit first row. At the end of the first row, do NoT turn the work. Instead, slide it down to the other end of the DPN. Bring the working yarn from the left side to the right, stranding snugly across the back of the work. Knit the next row. After a few rows, to work will begin to form a tube. The back side may be slightly looser than the front, but it won't be noticeable when you are done. Continue in this manner for desired length. |
| K1tww k1 together with wrap | Pick up the wrap around this st and place it on the left hand needle. Knit the wrap together with the st it wrapped. |
| K2tog | Knit 2 together. 1 st decreased. |
| M1R Make 1 Right | Insert the left needle from back to front under the strand running between the 2 sts in the row below the present row. Knit into the front leg of this new st. 1 st increased. |
| M1L Make1 Left | Insert the left needle from front to back under the strand running between the 2 sts in the row below the present row. Knit into the back leg of this new st. 1 st increased. |
| P1tww p1 together with wrap | st and place it on the right hand needle. Slip the 2 loops back to the left needle and purl them together. |
| P2tog Provisional | Purl 2 together. 1 st decreased. Start with a piece of waste yarn about 8" long. Knot your working yarn and the waste |
| cast on | yarn together. Hold the knot next to your needle in your right hand, and with your left hand, hold the waste yarn wrapped over your index finger, and the working yarn wrapped over your thumb. Hold your left hand so that your thumb is closer to you and x sm n o os x nos needle between the working yarn and the waste yarn from the top, and come under the working yarn, picking up a loop. Next, bring the needle up over and behind the waste Bring the needle back up behind the waste yarn to the starting position.* 2 sts cast on. Repeat from * to * until desired number of sts are cast on. |
| SI Slip stitch | Slip stitch from the left needle to the right, purlwise. |
| SSK Slip, slip, knit | Slip each of the next 2 sts knitwise to the right hand needle. Then, insert the left needle |
| W&T wrap and turn | On a knit row: Bring the working yarn to the front, slip the next st purlwise, bring the On a purl row: Bring the working yarn to the back, slip the next st purlwise, bring the |


