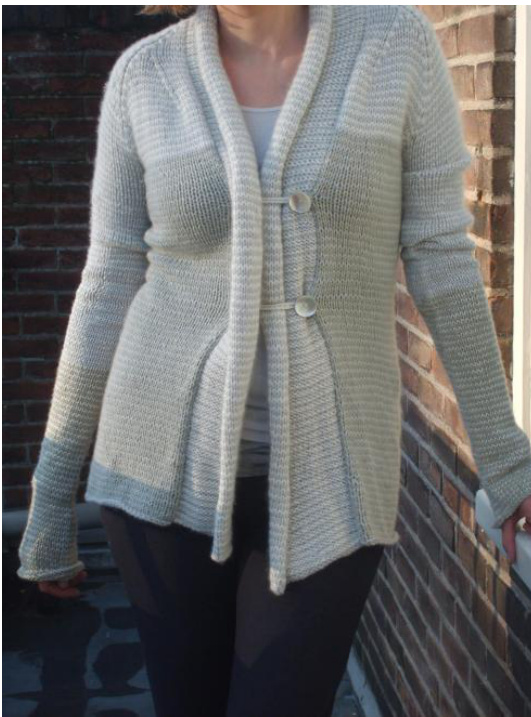
REMNANTSTRIPECARDIGAN
by boknits design This cardigan is perfect for finishing up yarn remnants that are too little for a sweater and too much for a hat... Combine two, three or more yarns of roughly the same weight in this fabulous classy design. Or just use one color and let the shape speak for itself. This raglan-sleeved cardigan with a shawl collar is knit flat from the bottom up with minimal seaming.
Design notes
Edging: The edges of this garment are designed to curl. If you don't want that on the bottom and sleeve edges, I suggest knitting a garter stitch or a rib. Sleeves: The sleeves are knit in two directions, so you can influence their length more precisely. Sizes: S( M, L,) Finished Measurements: 91( 96, 101)cm/36( 38,40,") bust, with n0 ease.
Sample Garment Measurements:
Length from neck to hem: 85cm (33 1/"). Armpit to armpit (laid flat and closed): 46cm (1814").
Stripe Pattern Notes
For the body striping, alternate colors each row as follows: Row 1 (RS): knit A Row 2 (RS): knit B Row 3 (WS): purl A Row 4 (WS): purl B This might look odd, but because it's one row per stripe, and you don't want to cut your yarn with every stripe, it works out quite well this way. Striping for top-down part of sleeve (in the round): Row 1: knit A/C Row 2: knit B
Body:
With 5 mm circular needle, CO 34(36, 38), PM, CO 57(59, 61), PM, CO 34(36, 38). Total 125 (131, 137) sts. Work stripe pattern for 10 cm (4 inches).
Waist decreases: SDLL, SDRL, SDLL, SDRL
Knit another 10cm/4", repeating decrease row 4 more times every 4th row. Total stitch count is now 105(111, 117).
Waist increases:
Knit straight until work measures 35 cm (14") or desired length from CO edge, and then begin waist increases as follows: At each marker: M1, kl, slip marker, kl, M1, and once more. Repeat once more on the 4th row. Stitch count is now 113 (119, 125) sts. Stripe color change: At just below your bustline or 45( 47,49cm) or 17 (17 3/4, 181/2"), exchange color B for C. Knit until garment measures 50(52, 54cm) or 19 3/4, 20 1/2"). Or desired length. (Here is another place to lengthen or shorten garment.)
Starting the yoke:
Next row: Knit to 3(4,4) st before marker, place nexts 6(8,8) stitches on a holder for underarm(removing marker), k to 3(4) st before next marker, place next 6(8) stitches on a holder (removing marker), , k rest of row.
Sleeves:
- On next RS (knit) row, using color A, k to 3 (4,4) st after m, place previous 6 (8,8) st on waste yarn, provisionally CO 34(36,38) st, PM. Repeat at next marker. 6(8,8) of the underarm stitches you just cast on are for grafting or sewing on to the held stitches of the body. -K 4 rounds in stripe pattern.
Raglan decrease:
SDLL, SDRL at every stitch marker (4 times) Make raglan decrease 15 times on every second row. If your decrease happens on a purl row, make sure to lean the decreases the right way.
AT THE SAME TIME:
Start neck decrease in same row as second raglan decrease. K6, SDRL; at left edge, SDLL at 8 st before edge. Continue decreases in this fashion ( continuing with sleeve after neck has O stitches) until no stitches remain outside of two front markers. Bind off all st.
Neck:
When the raglan shaping reaches 18cm/7 %4" (19, 20cm/, 7 1/2", 8") (you have no front stitches left) cast off 18(20, 22) back neck stitches.
Sleeves continued:
Pick up the stitches from the provisional CO, discard one marker, and continue with magic loop, short-length circular needle or DPNs. Use stripe pattern 2 and knit sleeves in desired length, decreasing 2 st every 5cm 2(4,6) times at marker, ending up with 36 stitches. The jog in the seam will be hidden by your arms, but you could try a jogless stripe. (http:/www.youtube.com/watch?v= GshD9 qlUfE, last 2 minutes).
Color change:
At some point at your own discretion (in my example, just above the elbow), exchange B for A, and knit in A and C throughout. My sleeves were 65cm (251/2") long and reach to my knuckles. Pick your own length, but I like them warm and snuggly like that.
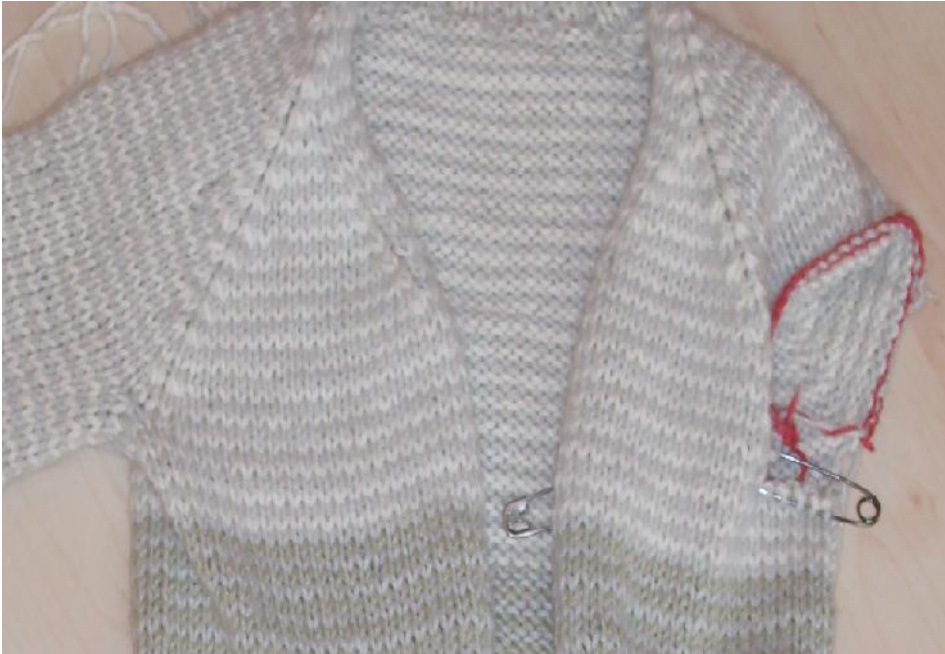
Shawl collar:
Option 1: Knit collar separately, and then attach to body Cast on 26 stitches in B, and with a new ball of the same color yarn, another 26. Knit both at the same time. Stripe in B and C throughout. Count the exact number of rows you've used for the body. Match that, and then continue for 10cm (4"), or half of your neck width. Connect both halves with Kitchener stitch. Option 2: Attach collar while knitting If you have slipped every first stitch on the body: On the RS purl row of the collar, k to 1 st from the body side of the collar, sl last st on collar, purl the edge stitch on the body and slip the slipped stitch on the collar over. If you haven't slipped every first stitch on the body: Purl every second row on the body, rest as above.
Finishing:
Seam shawl collar to body, with the purl side facing out, matching rows until the neck. Tighten up underarms.
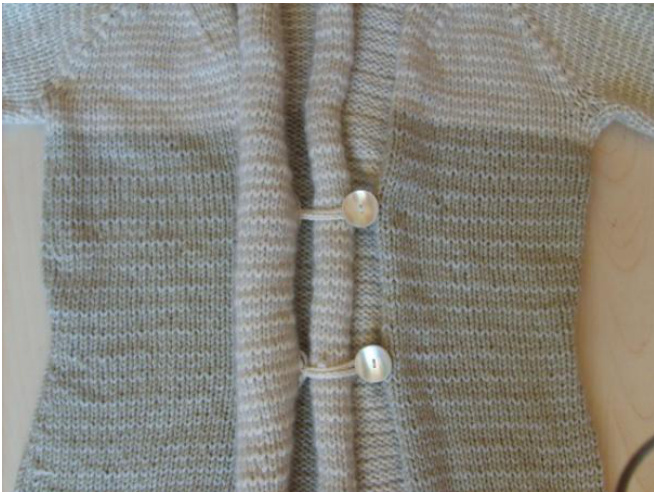
Buttonholes:
Crochet two loops of 5 cm/2" (or less, depending on the size of your button) at the waist and just below the bustline, on the inside of the garment at the collar/body seam. Attach button on the seam between collar and body. The collar will curl away on its own so button and loop can join.
Soak, block lightly if you wish, and enjoy!


