by JoMarie Burr
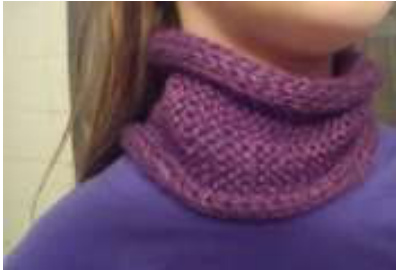
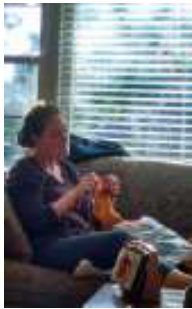
In March of 2014 my husband and I "got away". we rented a house in Lake City MN for three days of no kids:) Part of the weekend was watching movies. And a true knitter cannot just watch a movie, so I started to knit, and the Lake City Cowl was born. Yes, this was the winter of Polar Vortexes and so a cowl was needed even in March. This was such a warm yummy cowl that I made them for all 4 of my daughters. I have included an adult and (child size).
| Finished Measurements | Skill L evel |
| 8"X23" Adult | Beginner |
| 8"X19" | (Child) |
Materials 1 skein of Classic Elite Yarns Chateau or Chalet (50g, 98 yrds, 70% baby alpaca· 30% bamboo viscose) #13 needles (9 mm), or size needed to obtain gauge 2 Stitch Markers jauge 16 stitches/ 14 rows = 4"/10cm If you are a perfectionist please check your gauge! If you are ready for a warm cowl, just start knitting and you will come close! OK, so you've gathered the supplies and perhaps checked your gauge - now what? CO 32 (24) (cast on 32 (24) stitches) Directions
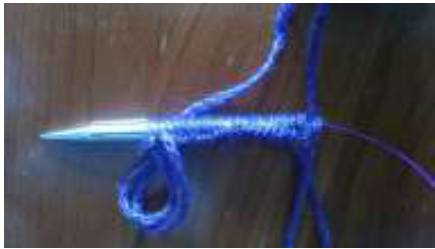
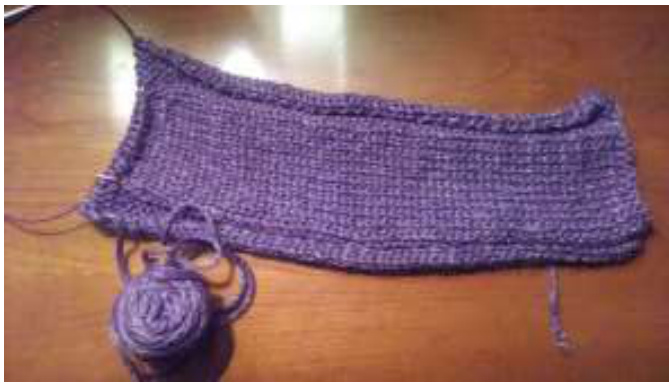
Row 1 Pur across the entire row. This gives your first row a nice smooth look. Row2 K 8 (6), place stitch marker, P16 (12), place stitch marker, K8 (6) Row3 P 8 (6), move stitch marker, K16 (12), move stitch marker P8 (6) \*For the first time through Row 2 place a stitch marker, for the remaining times slip the stitch marker. Repeat Rows 2 and 3 until the cowl is about 23 (19) inches long, or to fit your neck as snuggly or loosely as you wish. This is your cowl. Edit the length for your perfect fit. End with a wrong side row. Knit across the entire row. Bind Off.
Finishing
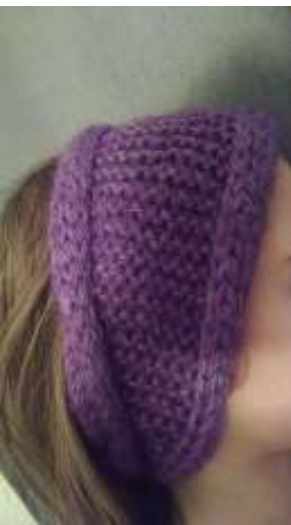
Weave the beginning and ending ends of your cowl together. Use the Kitchener stitch to create a practically invisible seam. Weave in the ends I like the way the edges create a natural roll for the top and bottom of the cowl. So, I did not block this cowl.
Enjoy!! I did!


