
A Top Down Ribbed Hat.
My son needed a hat. I needed a project. He is my Halloween Baby, and I love sticking him in pumpkin hats. Poor kid, he has a horribly cruel Mommy. I'm sure he'l grow to hate them. Anyway, this is an quick and easy, top down, reversible and mathematical hat that can be left alone for a cool pinwheel effect pseudo fractal vertex (crown) or embellished to make into fruits or veggies, like a pumpkin. Sadly, I never finished the pumpkin top. Oh well.. like anyone needs yet
Materials for Jack Attack (basic) version
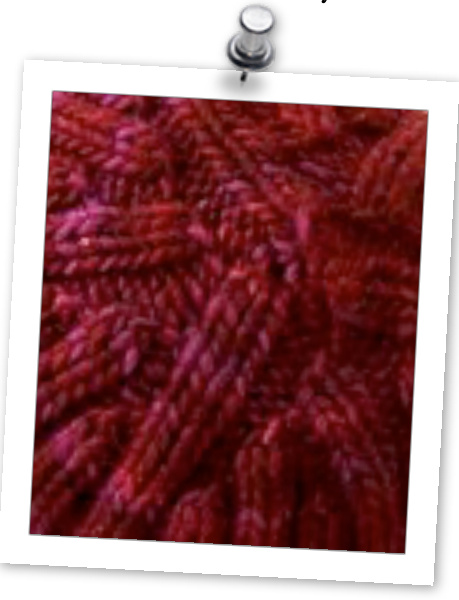
· About half a skein of Malabrigo Worsted Merino (Ladrillo Viv and Velvet Grapes shown) · Set of $5$ DPNs size US7 and $\mathrm{US}_{5}$ or circulars sufficient for magic looping · needle to sew in the ends
Gauge & Sizing
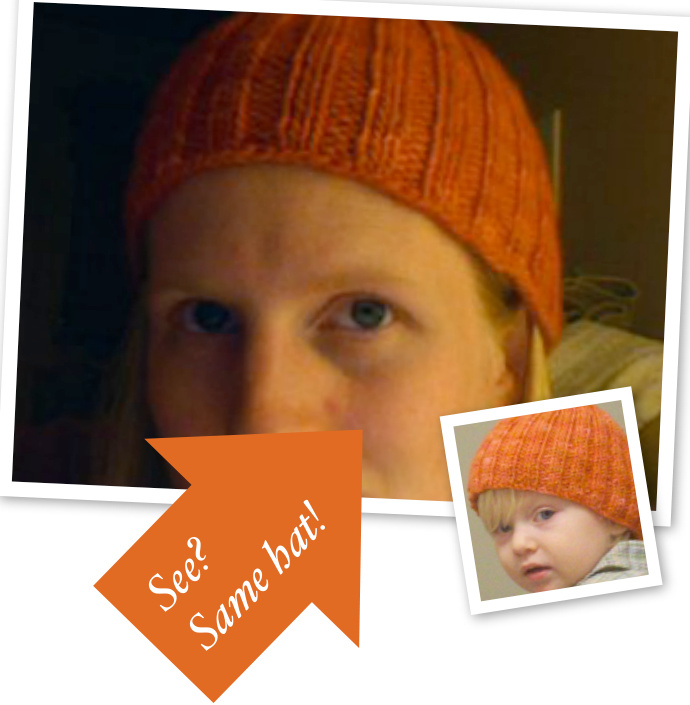
4 sts by 6 rows per inch with ribbing lightly stretched. This was designed for a toddler, 24 months, but is stretchy enough to fit even an adult head easily with an extra inch of length. The photo of me is in the same hat! It will ft on my husband's large head, but is way too short. I do not recommend blocking the Malabrigo. For a tighter ft, feel free to tighten up the stated gauge. For Newborn sizing, work increases only through Row 10 and work to a length of $5^{\circ}$
Notes
. When making a new stitch $\mathrm{(mrk/p)}$ , pick up from bar below, taking care to pick up the proper one. Knit or purl, per pattern, though the back loop - otherwise you will have a hole at the site of the increase. · All rows are written to be worked over each needle. · KnittingHelp.com (live link) has video instructions for the increase, see both knit and purl of M1L. · TechKnitting.blogspot.com (live link) explains the CO very well.
Pattern
With $3\,\mathrm{US}_{7}$ dpns, CO 9 sts onto a loop by k1, p1 Row 1: k2, p1 -repeat across each needle (9 sts total) Row 2: k2, p1, mip (12) You can now pull the CO tail to close the center hole, so it is less fiddly. Row 3: k2, p2, m1k (15) Row 4: k2, p2, k1, m1k (18) Row 5: k2, p2, k2, m1p (21) Row 6: k2, p2, k2, p1, mip (24) Row 7: k2, p2, m1k -repeat 2x (30) Row 8: k2, p2, k1, m1k -repeat 2x (36) Row 9: k2, p2, k2, mip -repeat 2x (42) Row 1o: k2, p2, k2, p1, mip -repeat 2x (48) Stop increases here for newborn size, continuing from Row 15. Row 11: k2, p2, m1k -repeat 4x ([2o on needle]6o) Row 12: k2, p2, k1, m1k -repeat 4x ([24]72) Row 13: k2, p2, k2, mip -repeat 4x ([28184) Row 14: k2, p2, k2, p1, mip - repeat 4x (132196) Divide rows among 4 needles, 6 sets of k2, p2 on each Row 15: k2, p2 across Continue in pattern until 1 inch shorter than desired length and switch to $\mathrm{US}_{5}$ Continue in pattern for I inch and bind off!


