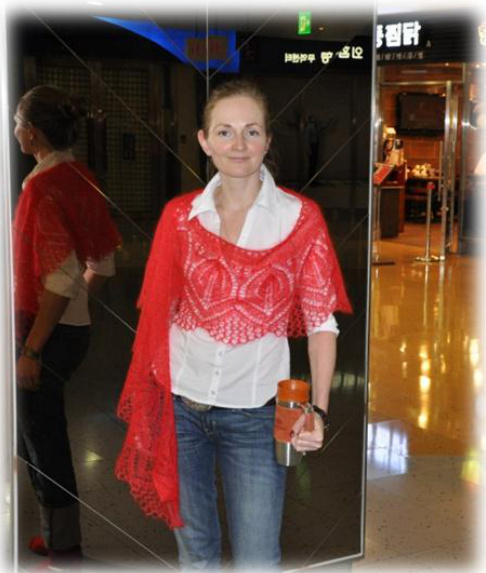
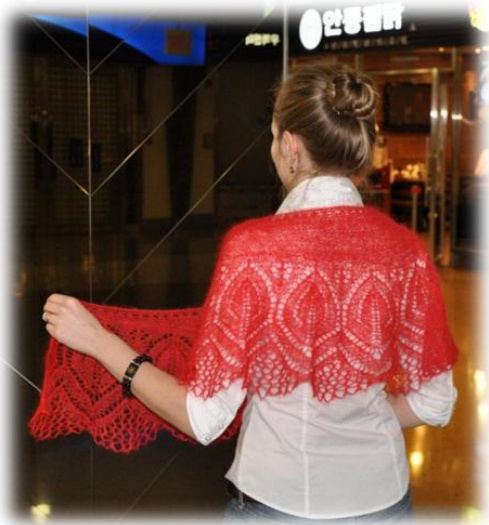
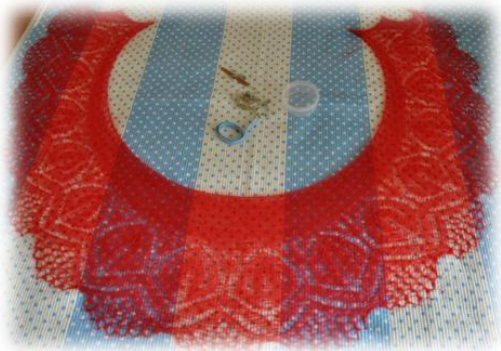
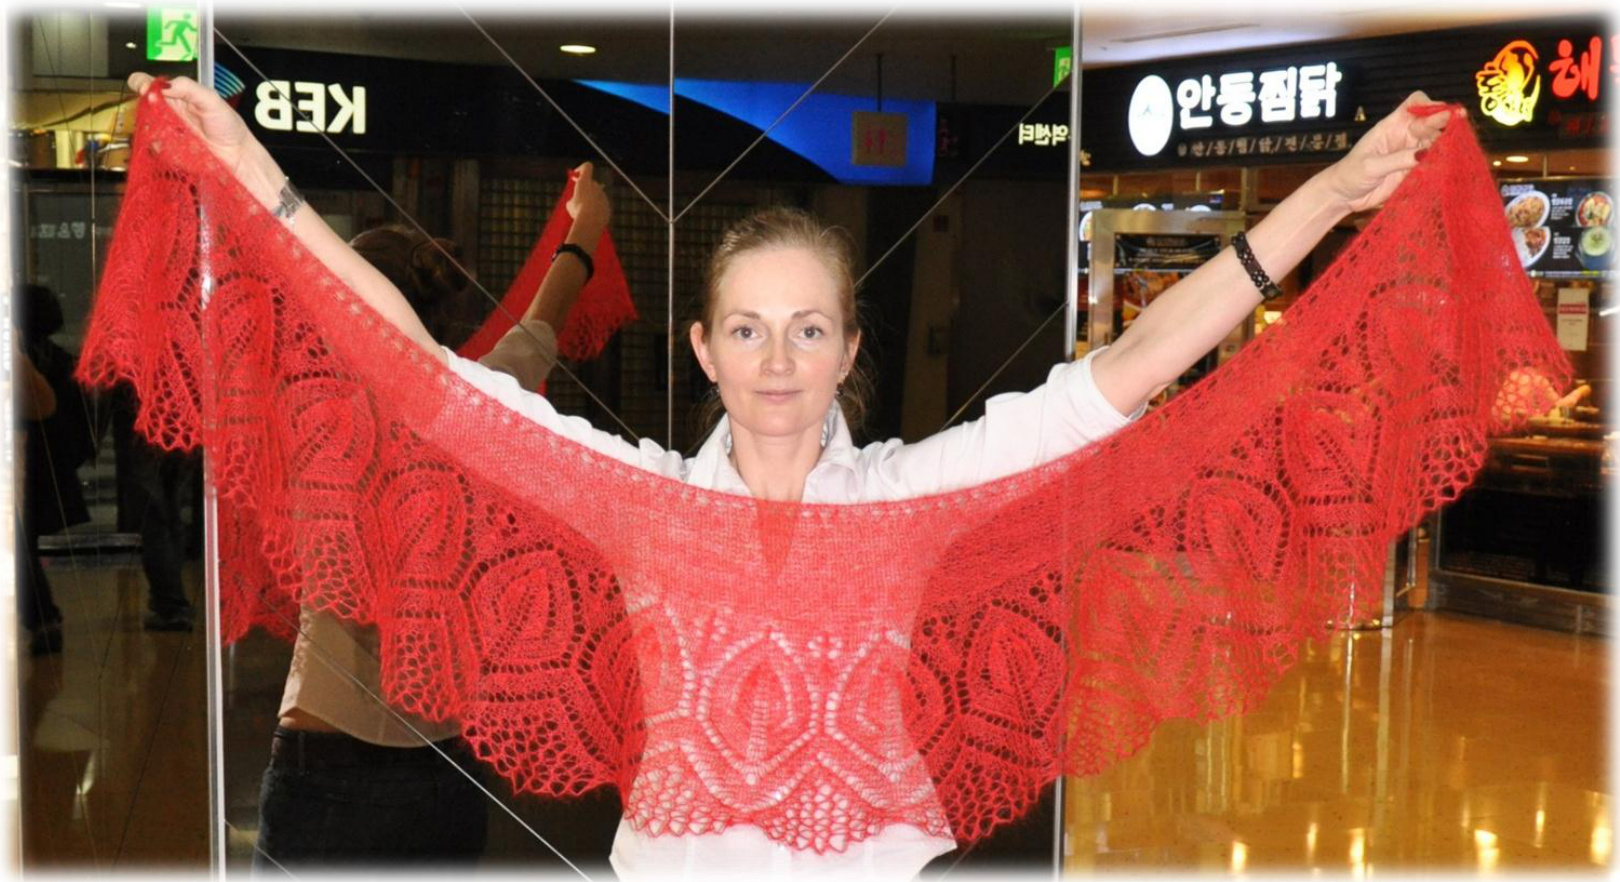
Viorica Shawl
Designed by YuliaAV
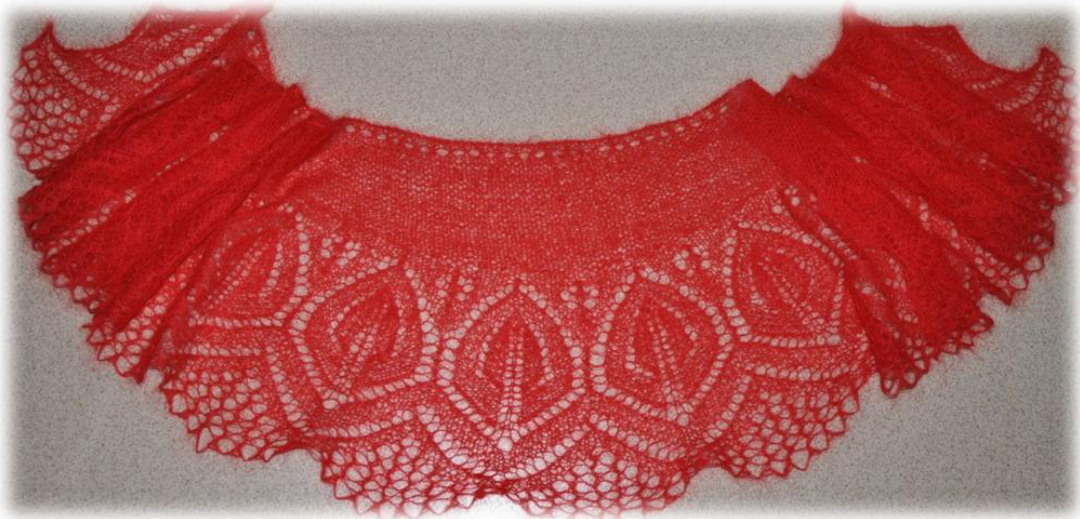
This shawl is made from bottom to top in one piece using short rows. Final weight of sample shawl - 46 grams.
Yarn:
Approximately 500 meters/547 yards of laceweight. Sample shawl - FILOverde (Italy) Slim Mohair, 80% Kid Mohair, 20% polyamide,190m/20g.
Needles:
Circular US 10 (6 mm) 32" - cast on Circular US 4 (3.5 mm) or size needed to obtain gauge 32" - shawl body Circular US 7 (4.5 mm) 32" or DPN US 7 (4.5mm) 6"-bind off Gauge (using US 4 (3.5mm) needles): Approximately 13 stitches and 35 rows to 4" in Garter Stitch after blocking.
Helpful Tools:
Stitch markers, a blunt tapestry needle to weave in ends of yarn, T-pins for blocking.
Skill Level:
Experience with Charts & short rows.
Dimensions:
Width - 57"/145 cm (adjustable by increasing or decreasing number of pattern repeats) from side to side Length at center - 16" / 40 cm Length at side edge - 9" / 23 cm All dimensions can be adjusted by using a different weight of yarn.
General Instruction:
Using US10 (6mm) needles loosely cast on 277 stitches using the Backward Loop Cast On method (see Pattern Notes section for Backward Loop Cast on method video link). Switch to US 4 (3.5mm) needles for the shawl body. Purl one row. Complete rows 1 - 57 of chart. Row 58 - Knit 2 stitches, purl to last 2 stitches, knit 2 stitches. Mark the center stitch with a stitch marker.
Short Rows Formation:
The rest of the shawl's body knitting is completed using the Wrapping & Turning method (W&T) for creating short rows (see Pattern Notes section for W&T Shorts Rows on Right or Wrong side of work instructions). Row 59: Knit across the row until the marked center stitch, knit the center stitch, knit 4 stitches after the center stitch. Turn work using the W&T method for Right side. As a result, the fifth stitch after the center marked stitch is now wrapped. Row 60: Purl 9 stitches. Turn work using the W&T method for Wrong side. As a result, the tenth stitch from the turn is nowwrapped. Row 61: Knit across the row until the wrapped stitch. Knit the wrapped stitch and the wrap together. Knit 3 stitches. Turn work using the W&T method for Right side. Row 62: Purl across the row until the wrapped stitch. Purl the wrapped stitch and the wrap together. Purl 3 stitches. Turn Work using the W&T method for Wrong side. Beginning with row 63, continue work by alternating rows 61 and 62 until all stitches are used. Finish on a wrong side row.
Edge:
Knit 2 stitches, \*Knit 2 stitches together as one. Yarn over.\* Repeat between the \*s until 3 stitches remain on the left needle. Knit last 3 stitches. Purl 1 row. Switch to a US7 (4.5mm) needle. Bind off stitches. Note: the bind off edge must be completed loosely.
Finishing:
Block the shawl. Note: the inner edge of the shawl does not require separate pinning. Tension created while blocking the cast on edge will cause it to naturally lie nice and flat. Let the shawl dry completely and then remove the blocking pins.
Pattern Notes
Video - Backward Loop Cast On method - How it was done for the sample shawl. Work wrong side stitches as they appear; purl YO's. Keep first and last two stitches in garter stitch. The chart stitches between the red lines indicate the pattern repeat stitches. Adjustments to add or remove full pattern repeats will increase or decrease the size of your finished shawl. W&T Shorts Rows on Right side of work Knit the required number of stitches in the short row. Slip the next stitch purlwise to the right needle Bringtheyarnforward Return the slipped stitch to the left needle Return the working yarn to the back of work (Note: the wrap loop should be loose in order to be easy to pick up as you will use it in the next row) Turn your work. It is ready now for knitting on the wrong side of your work. W&T Shorts Rows on Wrong side of work Purl the required number of stitches in the short row. Slip the next stitch purlwise to the right needle Bring the yarn back Return the slipped stitch to the left needle Return the working yarn to the front of work (Note: the wrap loop should be loose in order to be easy to pick up as you will use it in the next row) Turn your work. It is ready now for knitting on the right side of your work. In order to avoid holes in the body of your work when you are turning your work, knit or purl the wrapping loop together with the stitch it's wrapping.

Legend:
Knit on right side; purl on wrong side Yarn Over on right side; purl on wrong side Left Leaning Decrease (Slip the first stitch as if to knit, slip the second stitch as if to knit, then slide the left-hand needle into the front part of both stitches and knit them together); purl on wrong side Right Leaning Decrease (Knit two stitches together as one); purl on wrong side Double decrease (Slip two stitches at once from the left needle to the right needle as if to knit, knit the next stitch, pass the two slipped stitches over the knitted one); purl on wrong side Left Leaning Double Decrease (Slip the first stitch as if to knit, slip the second stitch as if to knit, slip the third stitch as if to knit, then slide the left-hand needle into the front part of all three stitches and knit them together); purl on wrong side Right Leaning Double Decrease (Knit three stitches together as one); purl on wrong side Afterthought yarn over; purl on wrong side Knit three stitches from one (Knit one stitch, Yarn Over,knit the same stitch); purl 3 stitches on wrong side Knit on right and wrong side No stitch


