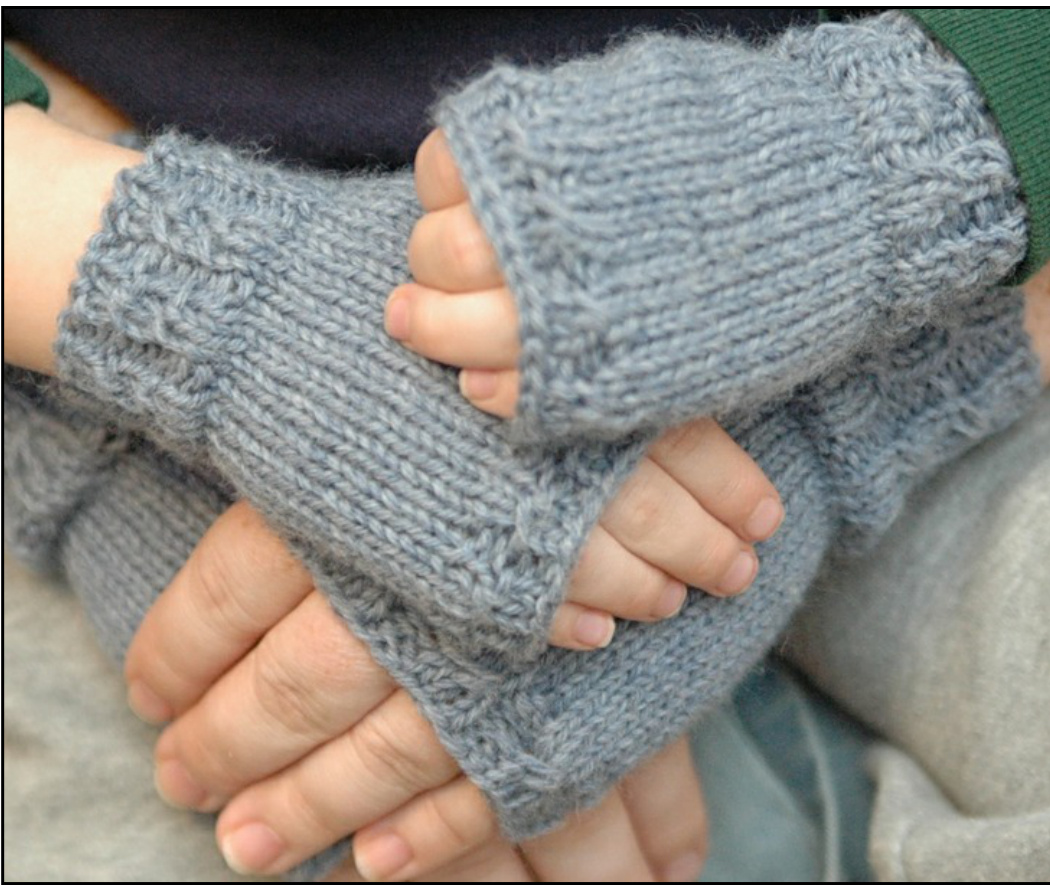
Mini-Me Magic Loop Mitts
by Barbara Benson Even little hands need to be warm. This mini-mitt pattern is based on Myra Wood 's Magic Loop Mitts. I was knitting a pair for my sister and my son demanded a pair for himself. This pattern is the result. When I contacted Myra, she graciously granted permission for me to share my version of her lovely fingerless mitts. This pattern fits my small 4 year old. I would guess it would fit the 3 - 6 year age range, but I recommend trying it out on your toddler as you go (you might have to resort to a cookie bribe, I did when the novelty wore off). You might need to add a row between the cuff and the beginning of the thumb gusset. And if your child's fingers are longer you might need to add some rows before the final ribbing. I hope you enjoy this pattern. If you have any questions please do not hesitate to contact me through Ravelry as vox8 or by email at tumpedduck@gmail.com.
Fancy Stitches:
c2s: Cross 2 stitches. Insert the right hand needle between the first 2 stitches on the left hand needle and knit the 2nd stitch without dropping it off of the needle, then knit the first stitch on the left hand needle and then slip both stitches from needle together. Cascade 220 Worsted Weight Yarn \~ Yarn 55 yds/25 g US #7 4.5s m circular (or size needed Needle for gauge) To fit 3 - 5 yr old child Size 5 st Gauge In stockinette over 1 inch 2 stitch markers, waste Notions yarn, yarn needle
Pattern Notes
Stitches: k: knit p: purl m1R: make one right; pick up the strand of yarn that runs between the two stitches, inserting left hand needle from back to front, and then knit through the front loop of created stitch. mIL: make one left; pick up the strand of yarn that runs between the two stitches, inserting left hand needle from front to back, and then knit through the back loop of created stitch kfb: knit front and back pm: place marker sm: slip marker rep: repeat \*inst\*: instructions bracketed by \* \*, are repeated the number of times indicated.
Instructions
Cast on 27 and split with 12 stitches on the left needle and 15 stitches on the right. Join to knit in the round without twisting. 1, 2 & 3 - \*k2, p1\* rep to end of round 4 - \*c2s, p1\* rep to end of round 5 to 8 - repeat rows 1 - 4 9, 10 & 11 - \*k2, pl\* rep to end of round 12 -kl, pm, kl, pm, k25 13 -kl, sm, mlR, kl, mlL, sm, k25 14 & 15 - k29 16 - kl, sm, mlR, k3, mlL, sm, k25 17, 18 - k31 19 -kl, sm, mlR, k5, mlL, sm, k25 20 & 21 -k33 22 - kl, sm, mlR, k7, mlL, sm, k25 23 & 24 -k35 25 - k1, remove marker, slip 9 stitches to waste yarn, remove marker, k25 26 - k10, kfb, k15 27 to 31 - k27 32 & 33 - \*k2, p1\* rep to end of round 34 - \*c2s, p1\* rep to end of round 35 & 36 - \*k2, p1\* rep to end of round Bind off in pattern. For Thumb: Hi, welcome to the sidebar. Stashed here are explanatory notes that might help with the pattern; I have written some, but feel free to use this space for your own scribbles. Additionally there are little check bubbles, a tidy way to keep track of repeated rows that occur throughout the pattern. Check them off when you finish the corresponding row if you like. Transfer held stitches from waste yarn to needles, picking up 3 stitches from around the join at base of thumb, for a total of 12 stitches. 1, 2 & 3 - \*kl, pl\* rep to end of round. Bind off, weave in loose ends.
For more knitting fun and to see what is new, please visit me at http://tumpedduck.com


