Abbreviations used:
Ltr: Linked Treble Crochet Hooks used: Size I (5.5mm, or UK size 5), Size H (5mm, or UK size 6) Yarn used: Worsted weight in Burgundy, Green, Yellow, Light Brown, Dark Brown, White, a small amount of turquoise, and a Tan or Peach skin tone. The head and body are both spheres. I used Ms Premise-Conclusion's 20 row ideal sphere pattern for this, which can be found here: http://mspremiseconclusion.wordpress.com/2010/03/14/the-ideal-crochet-sphere/ You can use any similarly-sized sphere pattern though.
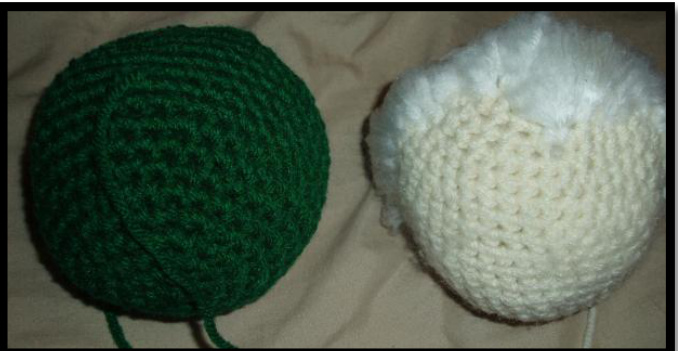
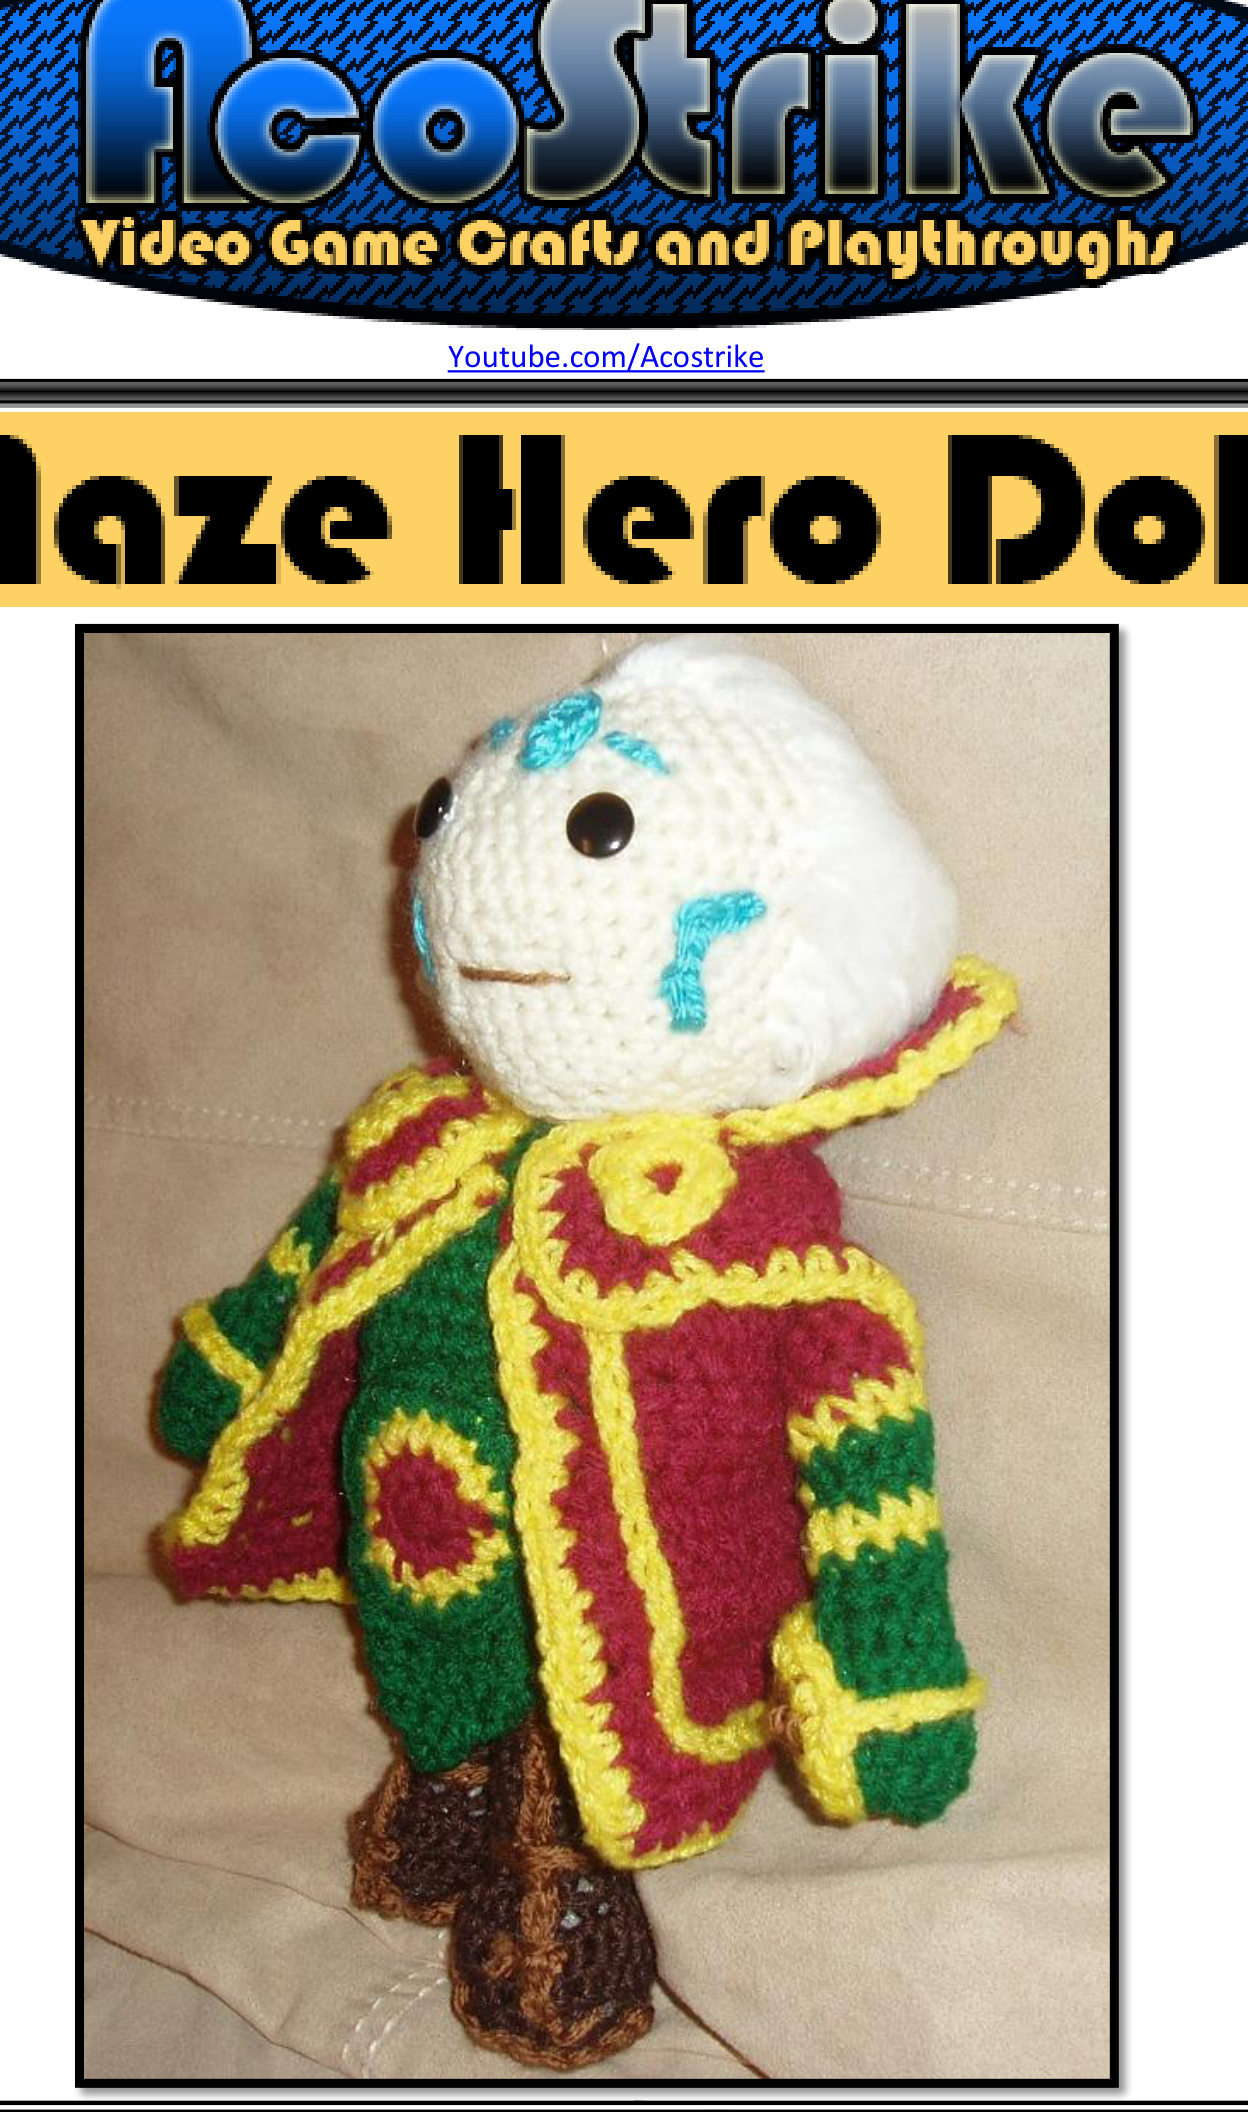
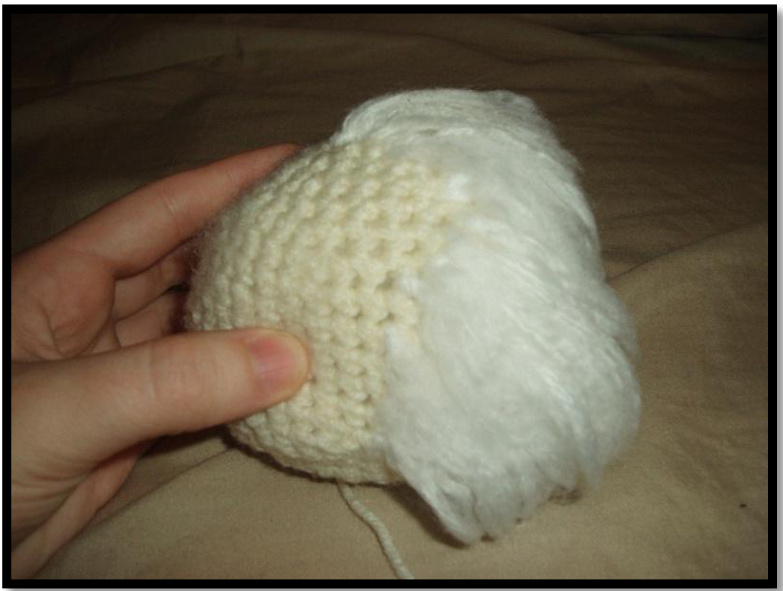
The head is made in a skin color, and the body is made in a green color. If you want to use yarn for Maze's hair, cut several pieces of white yarn about 2 inches long. Double them over and (using one at a time) pull the loop that they make through the top of the head. In an adjacent space, pull the strands up and through the loop to secure the strands in place. Don't worry about missing a bit in the back. The strands will be combed back and hide any bare spots. Once you have the head sufficiently covered, take a wire brush (Il used a heavy duty steel one, but a cat brush should work just as well) and brush the yarn strands until they have separated into wispy hair-like strands. After they have sufficiently separated, you can take a hair straightener to smooth out the yarn and make it softer and more hair-like.
Sew two black buttons on for the eyes. You can either use felt or embroidery for
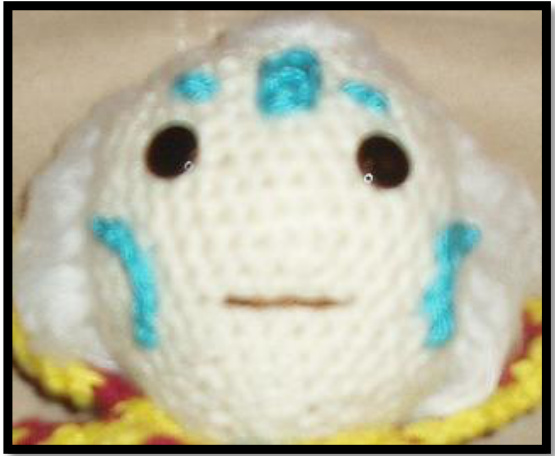
For embroidery, using turquoise and I hook, make a magic ring with 3 sc. Inc in the first 2 stitches and sl st in last st to fasten off. Sew this to the middle of the forehead. Next, make 2 chains of 6, and one chain of 10. Sew the chains of 6 to the cheek areas in a right angle shape. Now we can start working on the rest of the doll
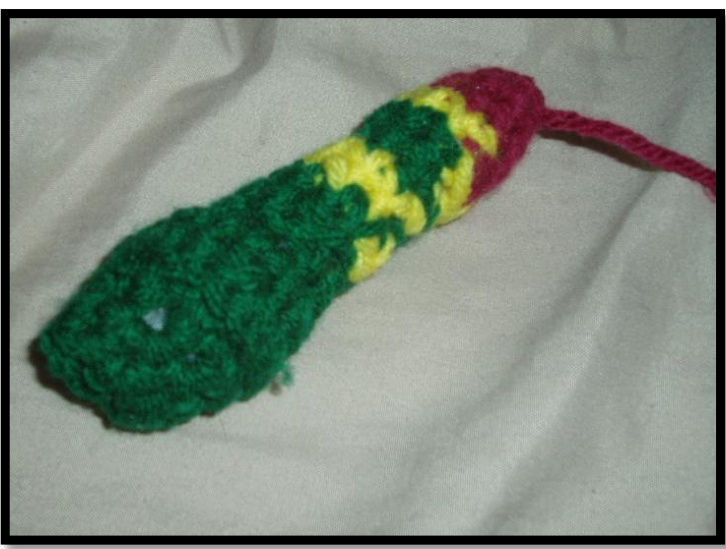
Arms (make 2):
Worked in joined rounds without turning With I hook and red yarn: Row 18 Leaving a long tail, make a magic ring and sc 4, sl st to first sc, ch 1 (4) Row 2s inc in each st, sl st to first sc, ch1 (8) Row 3s sc 8, sl st to first sc, ch1 (8) Row 48 sc 8, sI st to first sc, ch1 (8) Switch to yellow Row 5s sc 8, sl st to first sc, ch1 (8) Switch to green Row 7s sc 8, sl st to first sc, ch1 (8) Switch to yellow Row 8s sc 8, sl st to first sc, ch1 (8) Switch to green Row 9: sc 8, sl st to first sc, ch1 (8) Row 10s sc 8, sl st to first sc, ch1 (8)
Row 15: dec 5 times, fasten off
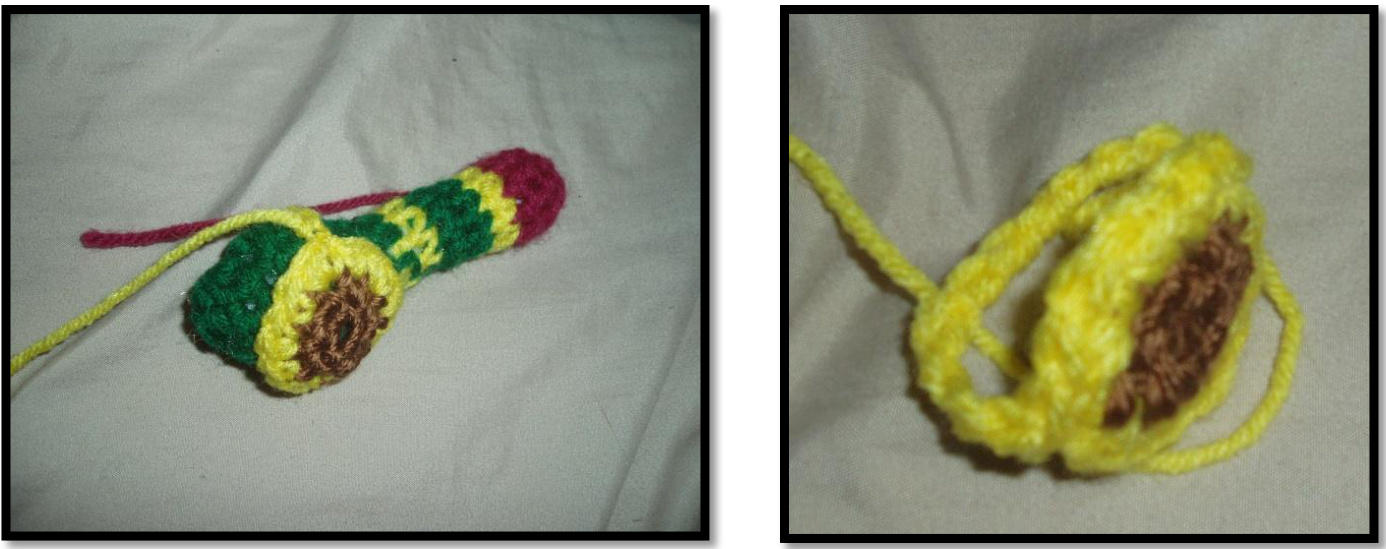
Hand...things?
Yeah, your guess is as good as mine. Worked in joined rounds without turning Row 3: (sc 1, inc) around, sl st to first to join (15) ch 11, sl st in opposite side of circle, sew to hands
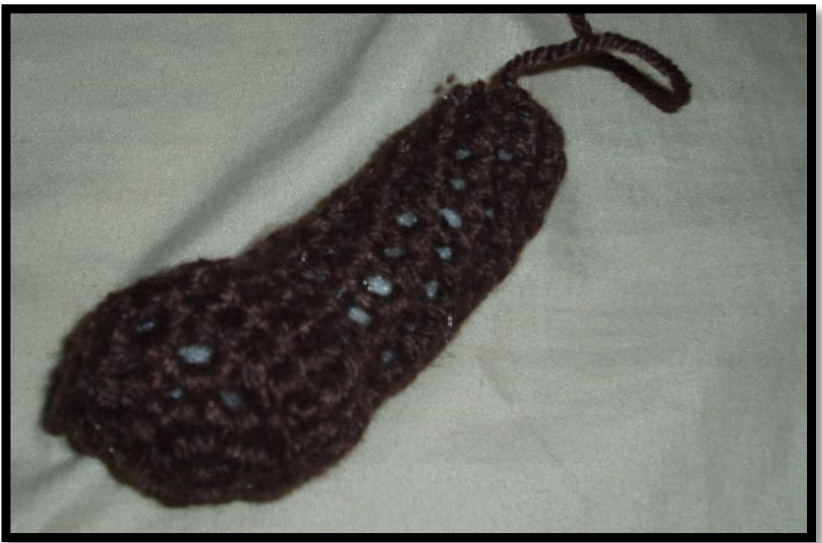
Legs (make 2):
With Dark Brown and I hook Row 1: sc 5 inside magic ring (5) Row 2: inc around (10) Row 3-12: sc around (10) Row 13: inc in each st (20) Row 14: inc, 9sc, inc, 9sc (22) Row 15: dec in each st (11) Row 16: sc around (11) Make sure the leg is stuffed fairly firmly Row 17: dec 6 times, fasten off
Embroidery:
With light brown and H hook, make a chain of 15 for each leg, leaving a tail about twice as long as the chain. Sew onto leg straight down vertically, ending a little before the toe. Make four chains of 10, 2 for each boot. Tie one around each "ankle", and another one a little from the top of the leg. Make two chains of 3, sew them across the bottom of the first embroidered chain oneachboot.
Bottom of Boot:
With light brown and I hook, make a magic ring with 5 sc. Row 2: inc around (10) Row 3: (1, inc) around (15) Row 4: (2, inc) around (20) Fasten off, leaving a tail for sewing.
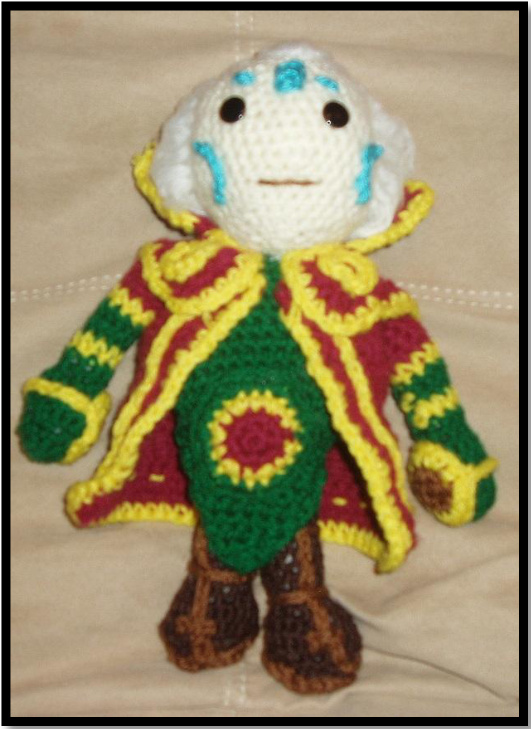
Coat:
The coat is made up of 3 pieces: The main part (or "body") of the coat, the collar, and the mantle. These are all worked in linked treble crochet stitches and edged with yellow yarn. To do linked treble crochet, insert your hook into the second chain, yarn over, and pull through. Insert your hook into the next chain, y/o, pull through, insert hook into next chain, y/o, pull through. You should have 4 loops on the hook. Y/o, pull through 2, y/o,pull through 2, y/o, pull through 2. For the next stitches, you'll insert the hook through each of the horizontal bars, pulling up a loop from both of them, and then pulling up a loop from the next stitch. Then y/o and pull through the stitches in groups of two. To increase, repeat this process, but instead of going into the next chain after inserting into the vertical bars, go into the same stitch you just worked. To decrease, pull up loops as normally, but before you start pulling through 2, pull up another loop from the next stitch. Then y/o and pull through in groups of 2 like you would normally.
Main Coat Piece:
With Burgundy and I hook, ch 36 Rows 1-5: 33 Itr, ch 3, turn (33) Row 6: 7 Itr, dec, 7ltr, dec, 6 Itr,
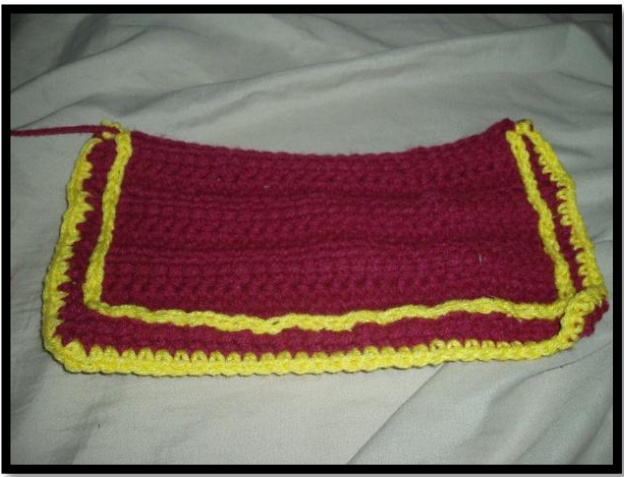
dec, 7ltr, ch3, turn (30) Row 7: 8 Itr, dec, 10ltr, dec, 8 Itr (28) Fasten off, sc around bottom and sides with yellow
Embroidery:
With H hook and yellow yarn, ch about 70 Thread a darning needle with yellow and sew the chain about a cm away from the yellow edge of the main coat piece. Pinning the chain before sewing helps with keeping the lines straight.
Collar:
With Burgundy and I hook, ch 20 Row 1: 17 Itr, ch 3, turn (17) Row 2: 16 Itr, inc, ch 3, turn (18)
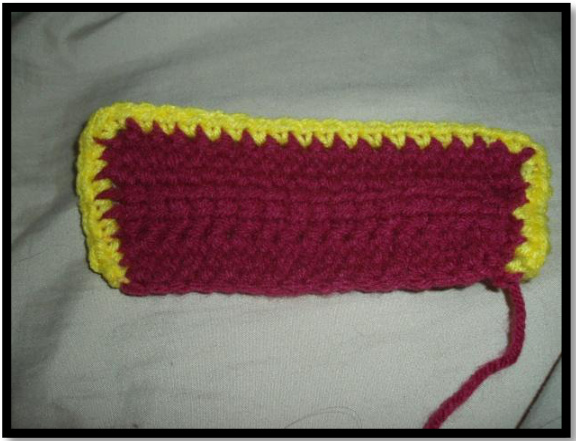
Row 3: 18 Itr, inc (19)
Fasten off, crochet around sides and top with yellow.
Mantle:
With Burgundy and I hook, ch 20 Row 1: linked dc across, ch 3, turn (17) Row 2: linked dc across, ch 3, turn (17) Row 3: linked dc across, ch 3, turn (17) Row 4: 4 linked dc, ch 3, turn (4) Row 5: 4 linked dc, ch 3, turn (4)
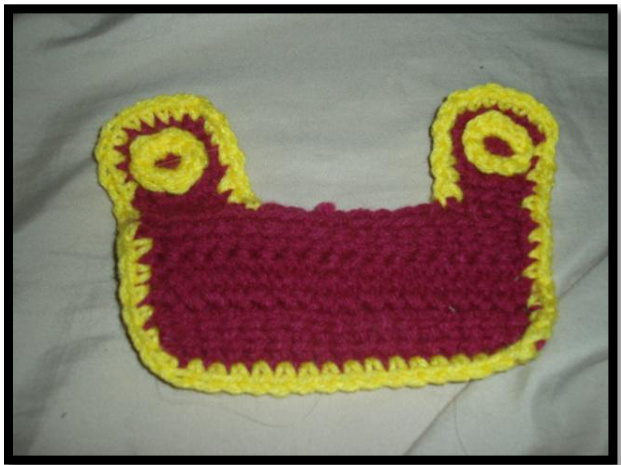
sc normally once in next st, inc in next 2 stitches, sc in last stitch ( Fasten off Rejoin yarn at the end of row 4, ch 3 Row 7: 4 linked dc, ch 3, turn (4) Row 8: 4 linked dc, ch 3, turn (4) : normally once in next st, inc in next 2 stitches, sc in last stitch (6) Fasten off, sc around entire piece (aside from the part where the collar will be sewnto it)
Circle motif; on mantle:
With H hook and yellow yarn, make a magic ring. Sc 10 inside ring, sl st to first sc to join, fasten off, leaving a tail for sewing. (Don't tighten the ring too much. There should be a visible hole.) Repeat this for the second motif, sew to mantle. Pin collar to mantle and sew.
Bottom of inner robe:
Row 8: dec, dec, ch1, turn (2) Row 8: dec (1) Fasten off, leaving a long tail for sewing. Sew near the bottom of main body.
Middle circle:
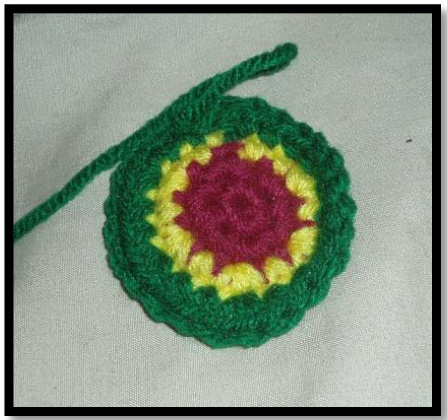
Worked in joined rounds without turning Row 1: With Red and H hook 6 sc in magic ring, sl st to first to join, ch 1(6) Row 2: inc around, sl st to join, switch to yellow, ch 1 (12) Row 3: (1, inc) around, sl st to join, switch to green (18) Row 4: (2, inc) around, sl st to join (24) Fasten off, leaving a long tail for sewing. Pin all the pieces together and sew.


