Beautiful Crocheted Cables: Ghost Stitch Tutorial
By Cirsium Crochet Crocheted cables are beautiful. They are full of texture and movement and add considerable interest to projects. However, they have been given short shrift because of some less than appealing qualities, most notably the difficulty in keeping stitch counts correct as you skip over the stitches behind the post stitches and the holes created in the fabric if a post stitch is too long or travels too far to the left or right.
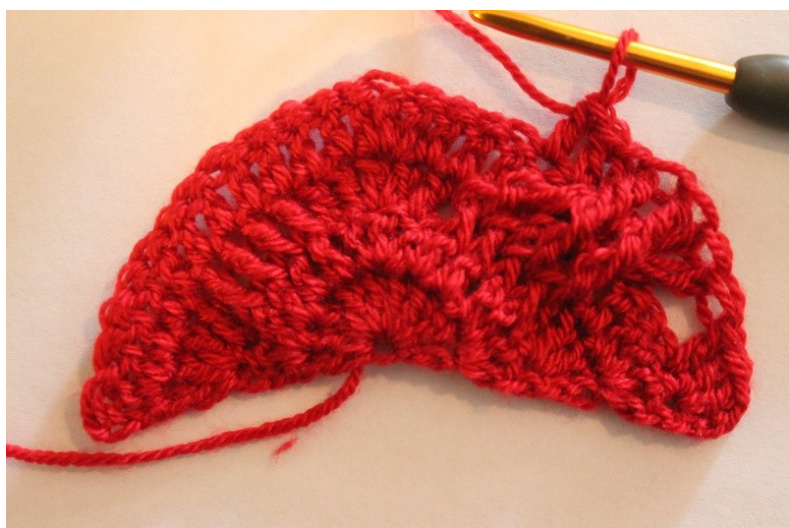
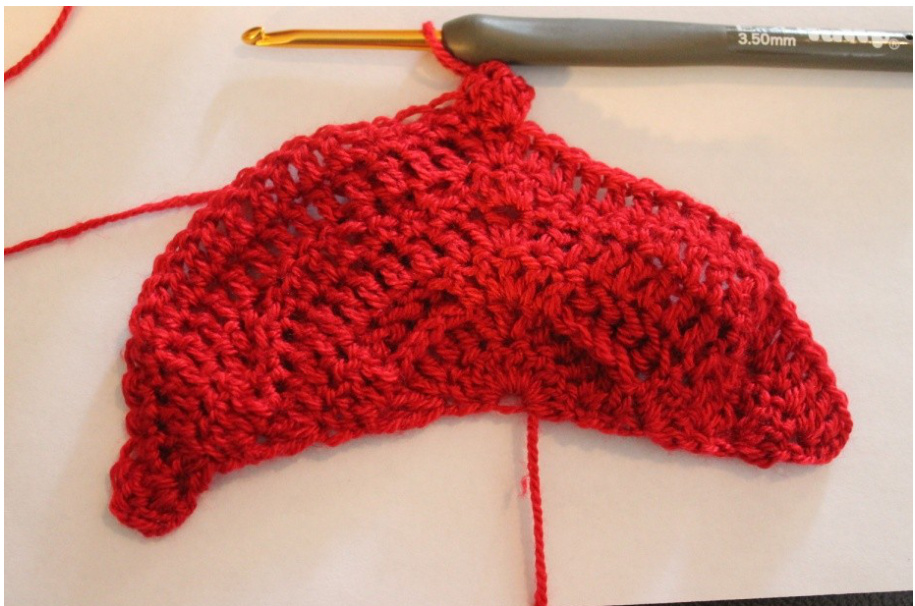
Photo 1. Note the large hole to the right of the first crossed post stitch
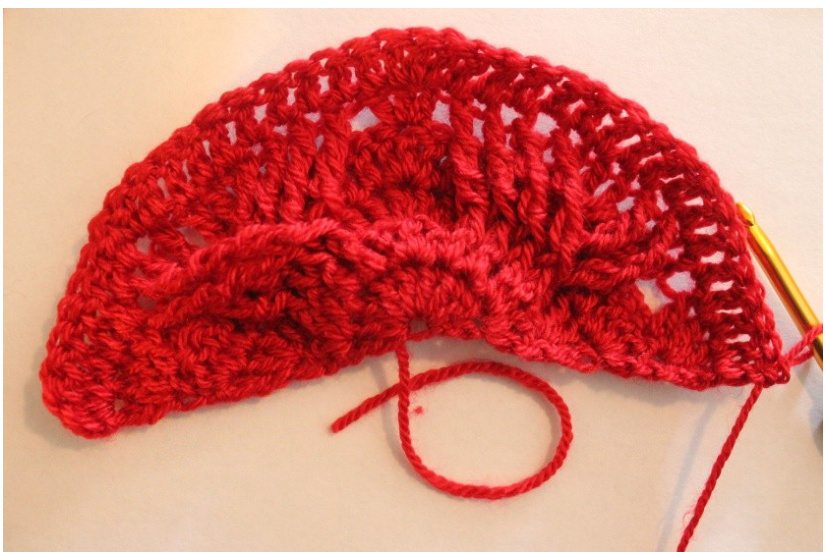
Photo 2. The holes aren't the only thing that detract from the beauty of the cable pattern. The cables themselves don't sit completely straight. They twist and bend out of place.
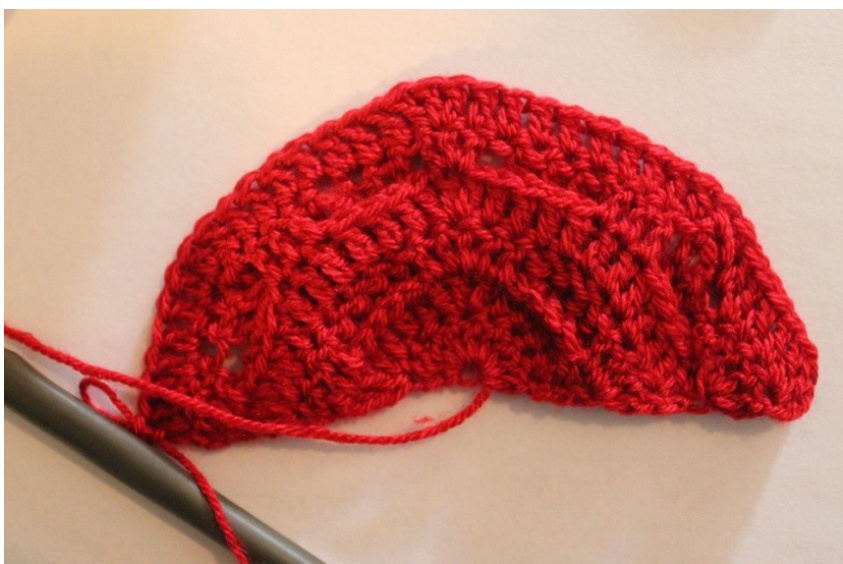
Photo 3. The holes on the back of the work and the skipped stitches that make keeping track of stitch counts difficult Enter, the humble "ghost stitch." I have been using this technique for years to get clean, crisp, hole-less cable-work, but I have only just recently discovered it has a name. It is a tiny extra step in the creation of the cables that sets the stitch firmly in place and closes any holes. It gives the wrong side of the fabric a smooth, consistent background. No more ugly wrong-sides! The ghost stitch is quite simple and has an added benefit in keeping stitch counts correct because every background stitch is worked in on the right-side rows!
Step #1 Work the post stitch until there are two loops left on the hook
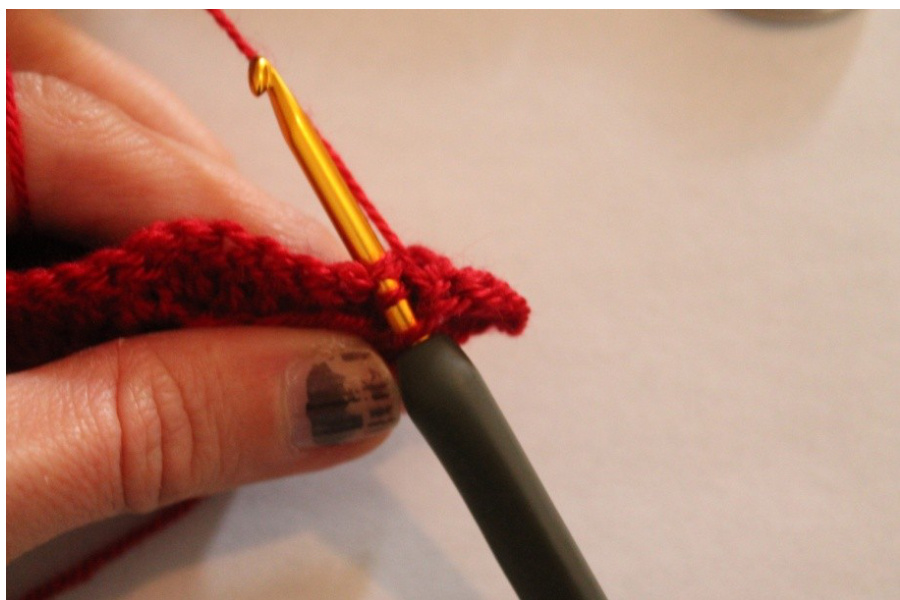
Step #2 Insert the hook into the unworked dc behind the post stitch
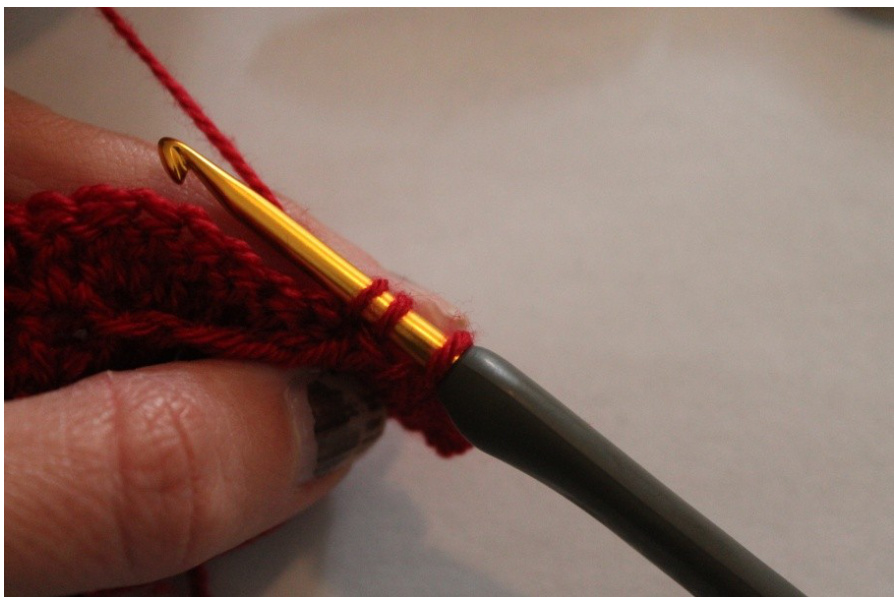
Step #3 Yarn over, draw loop through. There should be three loops on the hook now.
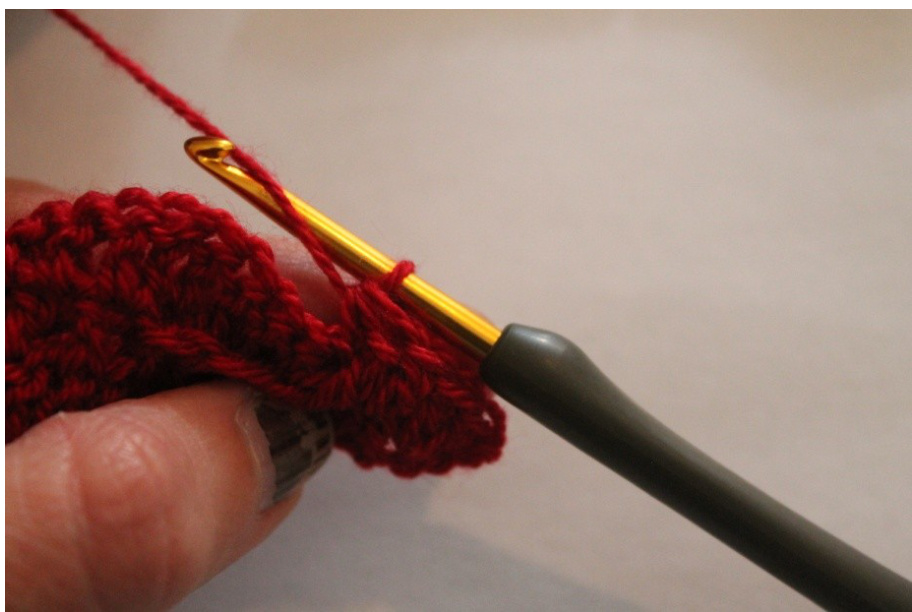
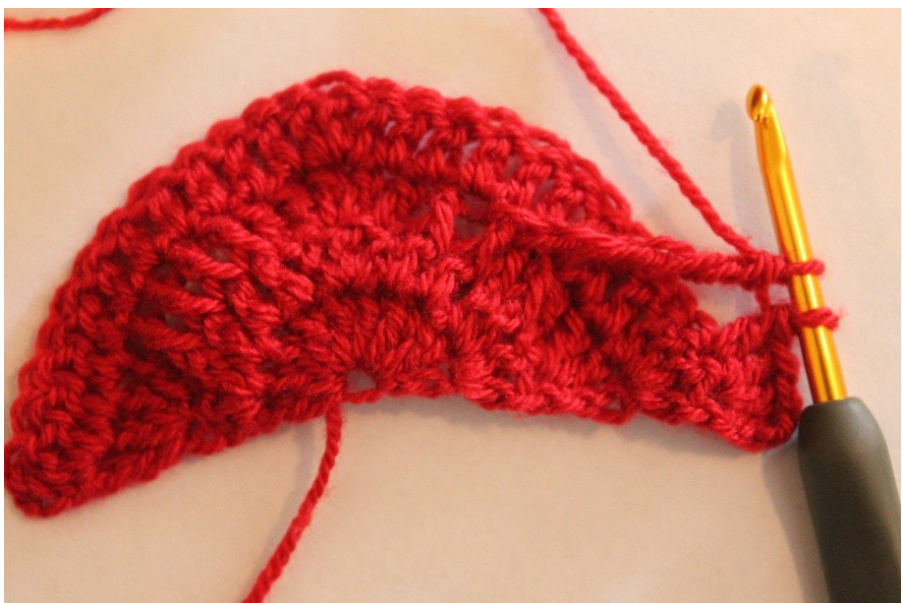
Step #4 Yarn over, draw loop through all three loops This essentially is a Post-stitch+sc together or cluster stitch. Whichever helps you visualize it better. This simple technique allows you to have cabled fabric that looks like this--
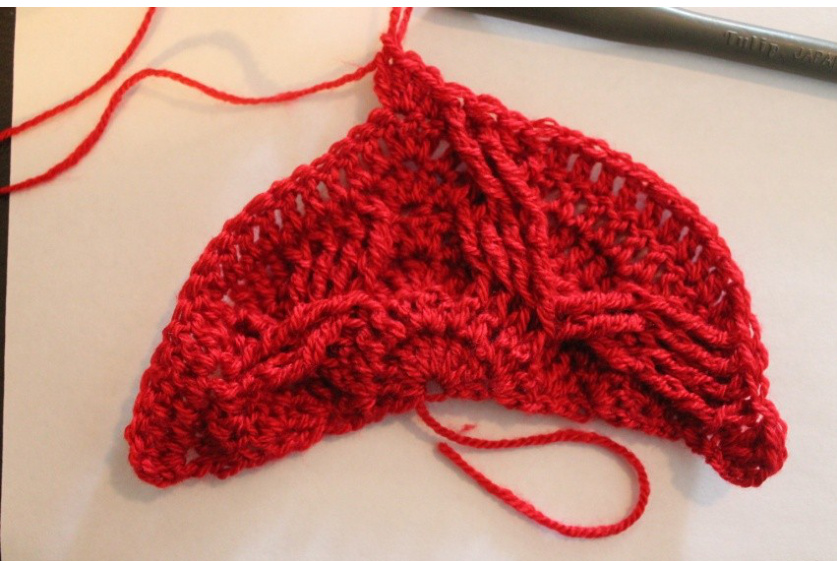
Immediately, you can see that the long post stitches lie firmly and securely in place with no holes.
And you can see the difference between the 3rd row that has the holes created from the front post double crochet stitches to the hole-less rows of crossed long cables. And the back will block flat and smooth! I hope this tutorial has been helpful! I would love to see more crocheted cablework in the world, and I hope this little technique inspires more people to try out the patterns already available or to make some of their own beautiful cable-work!


