Self-Striping Socks
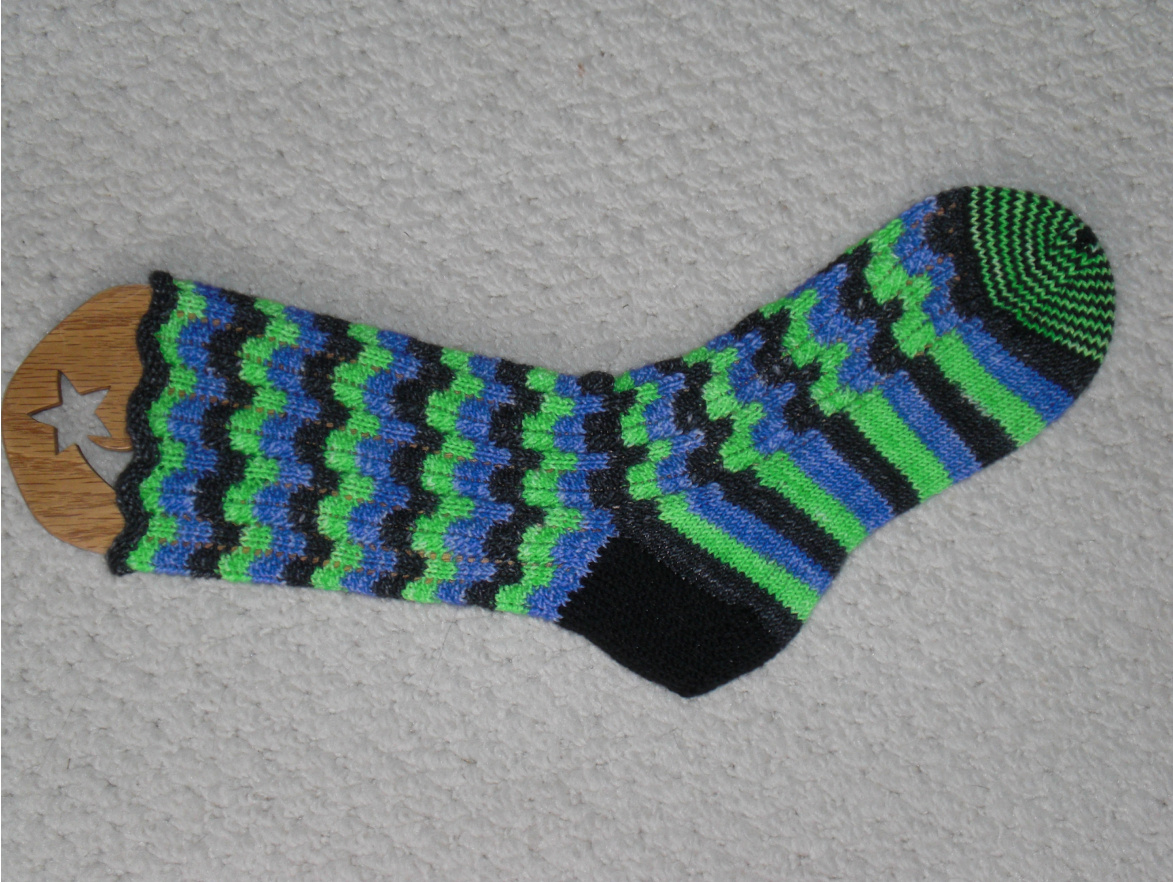
The women in my knitting group love to laugh at me because I can't stand socks that don't match. I love self-striping yarns both because I like the look of the socks it produces and because it is that much easier to make socks match. For example, if you knit the same number of stripes on the leg of the sock then you don't have to measure to make sure that the legs are going to match. Solid (contrasting or complementary) heels help when working with self-striping yarn because they help make sure that the stripe pattern continues across the top of the sock from the leg to the foot.
Materials and Equipment
\* Main color: 1 100 gram skein (or two 50 gram skeins) of fingering weight yarn - I used Vesper 428 in Witchy Woman. \* Contrasting color: 5-10 grams of solid yarn for heels and toes - I used Wollmeise Twin in Schwarz. I like this yarn to have some nylon, even if the main color does not. \* US size 1 circular needles, or size to obtain gauge (pattern is written for 2 circulars but should be easily converted to magic loop or dpns) \*Tapestry Needle Gauge: 7 - 8 stitches per inch (working 8 stitches per inch is good if you have feet smaller than 8" diameter). If your feet measure more than 9" in diameter you might want to modify this pattern so that you cast on 72 stitches.
Abbreviations
K - knit K2tog - knit two together nl or n2: needle 1 or needle 2 P -Purl Sl - slip a stitch purlwise SSK - slip a stitch knitwise twice, then knit both stitches together yo- yarn over Pattern Stitch (worked over 8 stitches and 2 rows) Row 1: \*K1, yo, k1, SSK, K2TOG, k1, yo, k1\* repeat to end of row Row 2: Knit all stitches Cast on 64 stitches loosely using your favorite cast on - I use the Twisted German cast on (there are a number of tutorials on the internet). Put 32 stitches on n1 and 32 on n2. From now on nl holds the sole stitches and n2 holds the instep stitches. Join being careful not to twist.
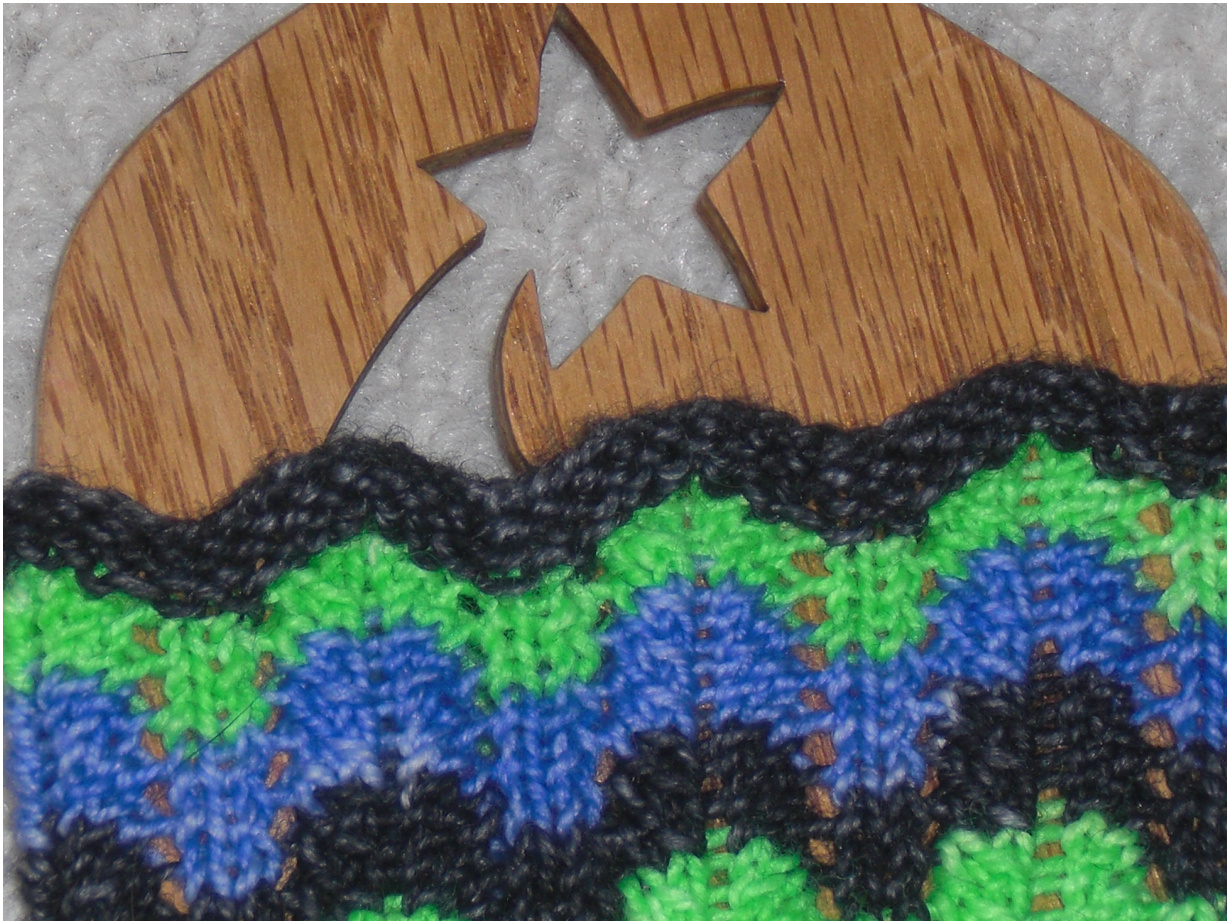
Cuff: Purl 3 rows. (The cuff will curl inward and look decorative!) I try to make sure that all of the purl stitches are the same color. If you have enough yarn to knit another whole row then do an extra purl row - if you only have enough for part of a row it is time to start the pattern. Leg: Knit pattern stitch until sock measures the desired length ending on row 2 (if possible). The sample sock has about a 7"' leg. I try to end the leg at the end of one of the stripes of color. If there is a little bit of a stripe left that is OK, but it is best not to go on to the next color because it will make the first stripe after the heel look narrow. lange to contrasting color. Don't cut the main color -- you will pick it up later Heel flap - worked on n1 (this is an eye of partridge heel): Row 1: (sl1 k1) repeat across until the row, turn Row 2: sl 1, purl to end of row, turn Row 3: sl 1 (sl1 k1) repeat across until the last stitch, k1, turn Row 4: sl 1, purl to end of row, turn Repeat rows 1-4 until you have worked 32 rows. This means that if you look at the wrong side of the heel flap you can see 16 rows where you can see yarn carried across a stitch (made by slipping stitches).
Heel Turn:
Row 1: Sl 1, Knit 16, ssk, k1, turn (12 stitches left unworked) Row 2: Sl 1, purl 3, p2tog, p1, turn (12 stitches left unworked) Row 3: Sl 1, knit to within 1 of gap, ssk, k1, turn Row 4: Sl 1, purl to within 1 of gap, p2tog, p1, turn Repeat rows 3 and 4 until all stitches are worked. You will have 18 sts. Knit 1 row even On nl. Break the contrasting color.
Gusset Decrease:
Your working yarn is going to be at the end of n2, which means that you start picking up stitches in a different place than in a “normal' sock pattern. Don't worry, it will work out just fine! First, pick up 2 stitches in gap between the instep stitches on n2 and the gusset to prevent holes from forming. Now pick up and knit 16 stitches in the slipped stitches along the side of the gusset (I usually knit through the back loop the stitch you pick up because I think it looks neater). So far you have 18 new stitches on the needle. Second, knit across the 18 stitches from the heel turn. Third, pick up and knit 16 stitches in the slipped stitches along the remaining side of the gusset. Then pick up 2 stitches in the gap between the gusset and the instep stitches on n2. Knit across the stitches on n2 following the established pattern. Now you will begin to do the gusset decreases. Row 1: N1: K1, ssk, knit to last 3 stitches on the needle, k2tog, k1 N2: Continue in established pattern. Row 2: N1: Knit, N2: Continue in established pattern Continue with rows 1 and 2 until 32 stitches remain on n1.
Foot:
N1: Knit every row N2: Continue in established stitch pattern. Keep knitting on the foot until sock is about 1.5 inches less than desired length, ending on row 2 of the pattern stitch. If you are knitting a sock with an obvious stripe like the sample sock it looks best to change to the toe right at or before the end of a stripe.
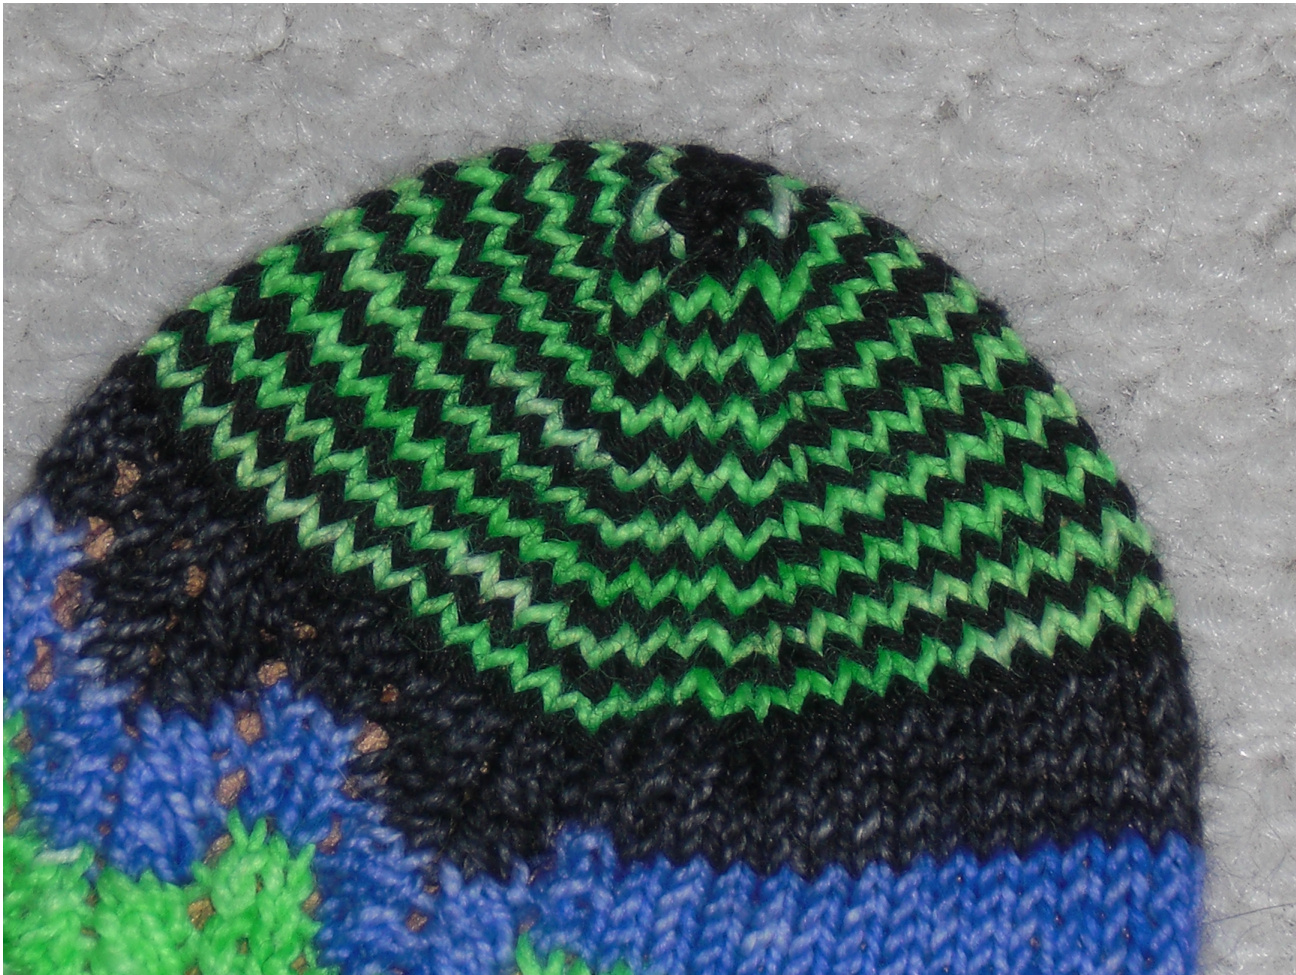
Toe:
For the toe you are going to alternate between one row of the contrasting yarn and one of the main color. On the sample sock I ran out of the green color before I finished the toe and decided that I would pull some green yarn from the other end of the yarn rather than let part of the toe have purple stripes. 1 row using the contrasting color before starting the toe decrease rows (belov Row 1: (both needles) Using the main color k1, ssk, knit to last 3 stitches, k2tog, k1, turn Row 2: (both needles) knit all stitches using the contrasting color Continue with rows 1 and 2 until there are 20 stitches left on each needle. Then work row 1 only (continuing to alternate between the contrasting and main colors) until there are 8 stitches left on each needle. Use kitchner stitch, the contrasting color and your tapestry needle to close up the toe. Now work in the ends and try it on and start that second sock.
This pattern is made available for your own non-commercial use. Please do not distribute. If you wish to share it with a friend please direct them to the link on Ravelry so that they may obtain their own copy.


