Plain Cow Pattern by HH-Palindrome
Pattern by Hannah Dade 2013
Plain Cow Pattern by HH-Palindrome
This is a fairly flexible pattern and is mainly worked in rounds. Unless otherwise stated, all non-chain stitches are made into the stitch of the previous round and the work doesn't need to be turned. I wrote the pattern in UK crochet terms and "translated" in into a US version. I made my cows using Vikings of Norway Milk yarn, but just about any yarn could be used, though I would stick to 4ply, DK or aran if you want to get a similar size. I would also recommend using a crochet hook a few mm smaller than suggested by the yarn, this just helps bring amigurumi together and lessens the chance of gaps in the work. After each round, the_number of stitches that should be in the completed round is displayed in brackets. There are some repeated parts of the patterns set out by asterisks \*\*, where the stitches inbetween the asterisks should be repeated the number of times stated.This doesn't include the first After each round, the number of stitches that should be in the completed round is displayed in brackets. There are some repeated parts of the patterns set out by asterisks \*\*, where the stitches inbetween the asterisks should be repeated the number of times stated. This doesn't include the first Also, this is my first pattern written down, so please send my any comments on things that could be written more clearly! And also feel free to shoot any questions to me, HHPalindrome on Ravelry or commenting on my blog. This is a pattern for a plain cow and uses three colours: Colour A is the colour for the body of the cow Colour B is the colour of the muzzle and udders Colour C is the colour of the horns and hooves
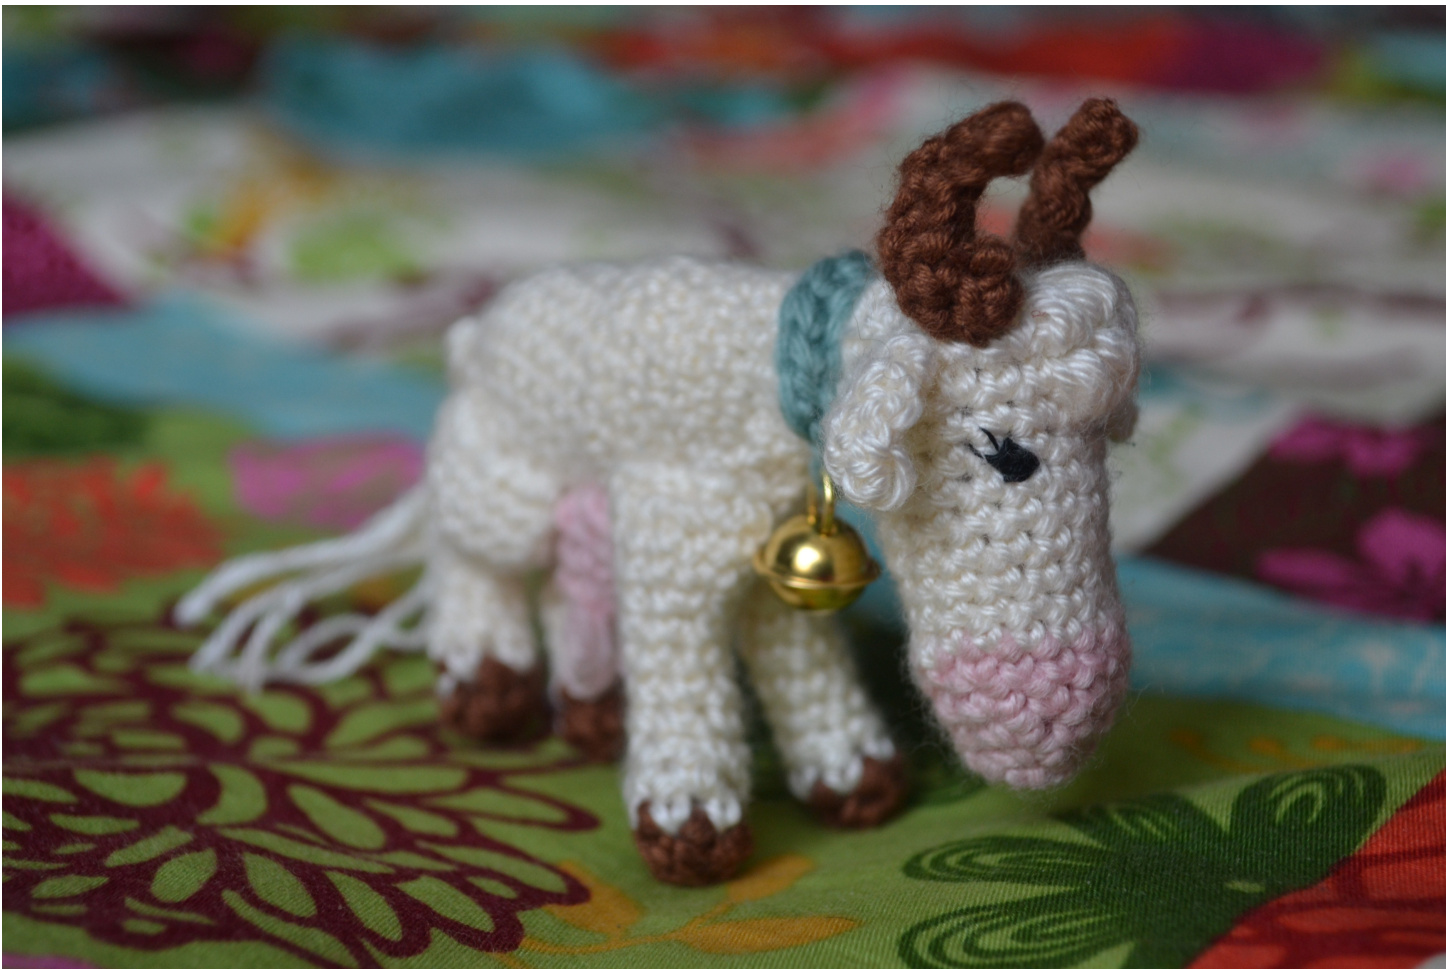
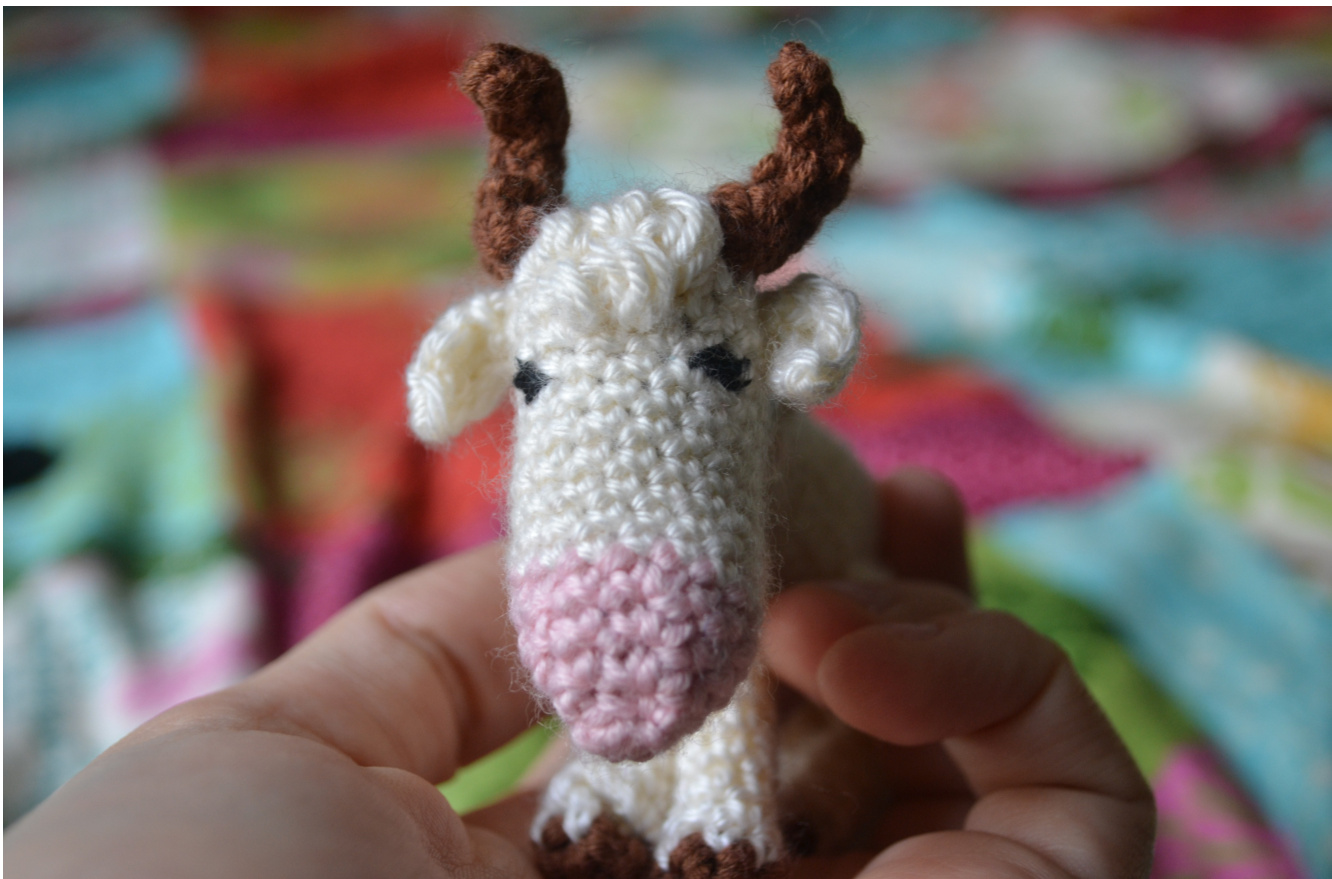
The pattern is a modified version of my freehanded cows
Things you'll need
Objects
· Yarn in three colours - fur, hooves and nose. The pattern does not use a lot of yarn, probably about 10g maximum. Crochet hook - I used 2.75mm with 4ply yarn · Scissors Wool needle Sewing thread for eyes/safety eyes (Optional) A tiny bell
Head
1 with colour B cast on 3sc in a magic ring (3 stitches) 2 2sc in each (6) 3 \*sc, 2sc\*, repeat \*\* 2 more times (9) 4 \*sc, sc, 2sc\* repeat \*\* 2 more times (12) 5 \*sc, sc, sc, 2sc\* repeat \*\* 2 more times (15) 6 change to colour A, sc in each stitch (15) 7 - 12 sc in each sc (15) 13 \*sc, sc, sc, sc, 2sc\* repeat 2 more times (18) 14 sc, sC, SC, sC, sC, sc, then SHAPE EAR (go to ear pattern), sC, sC, SC, puff stitch, puff stitch, SC, SC, sC, SHAPE SECOND EAR (go to ear pattern), SC, SC, sC, sC (18) (see note 1) 15 sc, sc, sc, sc, decrease, sc, sc, sc, puff stitch, puff stitch, puff stitch, sc, sc, sc, sc, decrease (16) We're going to start closing the head up, so now is a good time to attach/sew any details like eyes or horns. Continuing the round directly over the ears should have made them point forwards, but if not you could sew them down or into a different angle. 16 \*decrease, sc\*, repeat \*\* 7 more times (8) Fill it with stuffing of choice and sew the ends of the circle up Note 1: the puff stitch can be replaced with a sc Ear |1 ch6 out of the head
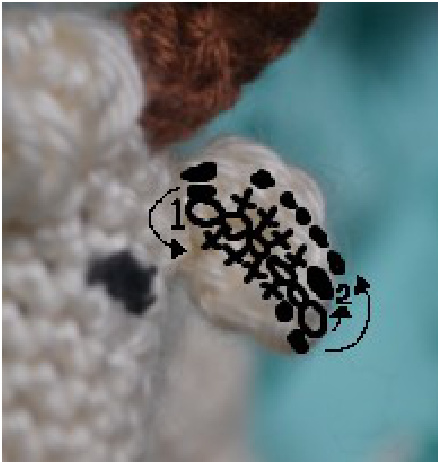
2 turn and slip through the first stitch anti-clockwise, sc, 2sc, sc, slip the last stitch close to the head and the slip stitch into the first stitch close to the base of the ear. Then working in a round the next stitch is the stitch closest to the base of the ear on the other side. sc, 2sc, sc, then slip stitch each sc until you get to the base of the ear again. Then move back onto the head pattern and continue the head pattern as normal. This should point the ear in the right direction. It can be secured in place by sewing one sc into the side of the head
Body
1 cast on 6sc in a magic ring (6 stitches) 2 \*sc, 2sc\*, repeat 2 more times (9) 3 \*sc, 2sc\*, repeat 3 more times, 2sc (14) 4 \*sc, sc, 2sc\*, repeat 3 more times, sc, sc (17) 5 for rounds 5-9 sc in each sc (17) 6 (17) 7 (17) 8 (17) 9 (17) 10 sc, sc, sc, 2sc, sc, sc, sc, sc, 2sc, \*sc\*, repeat \*\* 7 more times (19) 11 for rounds 11-13 sc in each sc (19) 12 (19) 13(19) 14 sc, sc, sc, sc, 2sc, sc, 2sc, sc, sc, sc, sc, decrease, sc, sc, decrease, sc, sc (19) 15 sc, sc, 2sc, sc, 2sc, sc, sc, sc, sc, decrease, sc, sc, decrease, sc, sc, sc, sc (19) 16 sc, sc, sc, 2sc, sc, 2sc, sc, decrease, sc, decrease, sc, decrease, sc, decrease, sc, sc (17) 17 sc, sc, 2sc, sc, sc, sc, decrease, sc, decrease, sc, decrease, sc, sc, sc (15) 18 sc, sc, sc, 2sc, sc, sc, sc, sc, decrease, sc, decrease, sc, sc (14) 19 sc in each sc (14)
Tail
2 sc in each stitch 3 cast off and cut the working yarn. You will need to add some yarn for the fluffy end of the tail. Insert the crochet hook into the last stitch at the end of the tail. Pull a loop of through the stitch, leaving about 5cm of yarn on the other side of the loop. Cut the working yarn the same length as the end of the trailing yarn, and use the crochet hook to pull the two ends through the loop and pull the ends taut. This should leave you with two trailing threads secured at the end of the tail. Repeat this two or more times to fluff out the cow's fluffy tail. After making this part of the tail, cut the ends so they are all the same length.
Front leg (x2)
1 using colour C cast on 6sc in a magic ring (6 stitches) 2 sc in each sc (6) 3 change to colour A, sc in each sc (6) 4 for rounds 4-8, sc in each sc (6) 5 (6) 6 (6) 7 (6) 8 (6) 9 sc, 2sc, 2sc, sc, sc, sc (8) 10 sc, sc, 2sc, 2sc, sc, sc, sc, sc (10) 11 sc in each sc (10) 12 sc in each sc (10) 13 cast off
Back leg (x2)
1 using colour C cast on 6sc in a magic ring (6 stitches) 2 sc in each sc (6) 3 change to colour A, sc in each sc (6) same length as the end of the trailing yarn, and use the crochet hook to pull the two ends secured at the end of the tail. Repeat this two or more times to fluff out the cow's fluffy tail 8 2sc, 2sc, sc, decrease, decrease, sc (6) 9 2sc, 2sc, 2sc, sc, decrease, sc (8) 10 2sc, 2sc, 2sc, 2sc, sc, sc, decrease, sc (10) 11 sc, 2sc, 2sc, 2sc, 2sc, sc, sc, sc, sc, sc (14)
Horns (optional)
The horns are made in rows, not rounds 1 using colour C or a new colour for horns, ch 6 2 ch1, slip first stitch, sc in each stitch 3 turn, ch1, sc, sC, Sc, Sc, sc, slip the last stitch 4 cast off and cut the working yarn so there is atleast 10cm left over. Using a crochet hook or wool needle, sew the two long ends of the rectangle together with what is left from the working yarn, it doesn't matter too much which side is showing on the outside. You should be able to make the horns curl by pulling the yarn tight. Adjust for the right amount of curliness that you want.
Udder (optional)
1 using colour B, cast on 3sc in a magic circle (3 stitches) 2 2sc in each sc (6) 3 \*sc, 2sc\*, repeat \*\* 2 more times (9) 4 sc in each sc (9) 5 cast off. To make the wibbly bits of the udders, you can simply pull some yarn through in loops. You can use the yarn left over from the magic ring as this is already securely attached to the work.
Bell collar (optional)
This is made in rows, not rounds. 1 using some spare yarn you may have lying around, ch12 2 place bell, turn, sc in each sc 3 wrap round the finished cow's neck, slip a stitch into the first ch to make the collar into a round shape. Cast off. Cut the working yarn and pull these into the body so the yarn can't beseen.
Finishing up
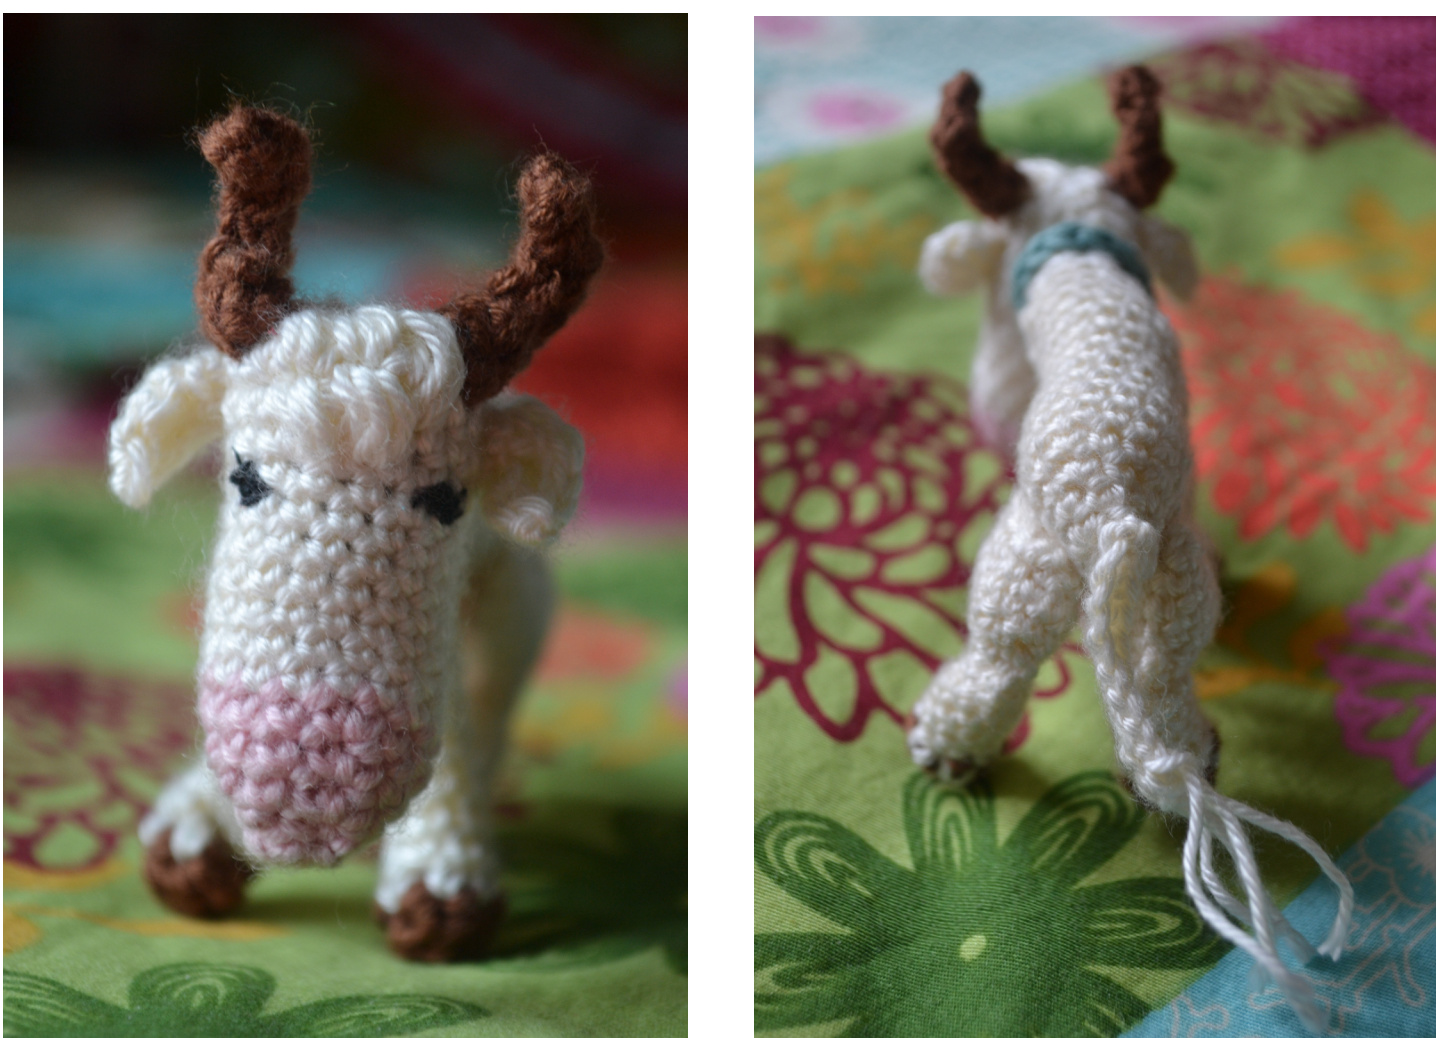
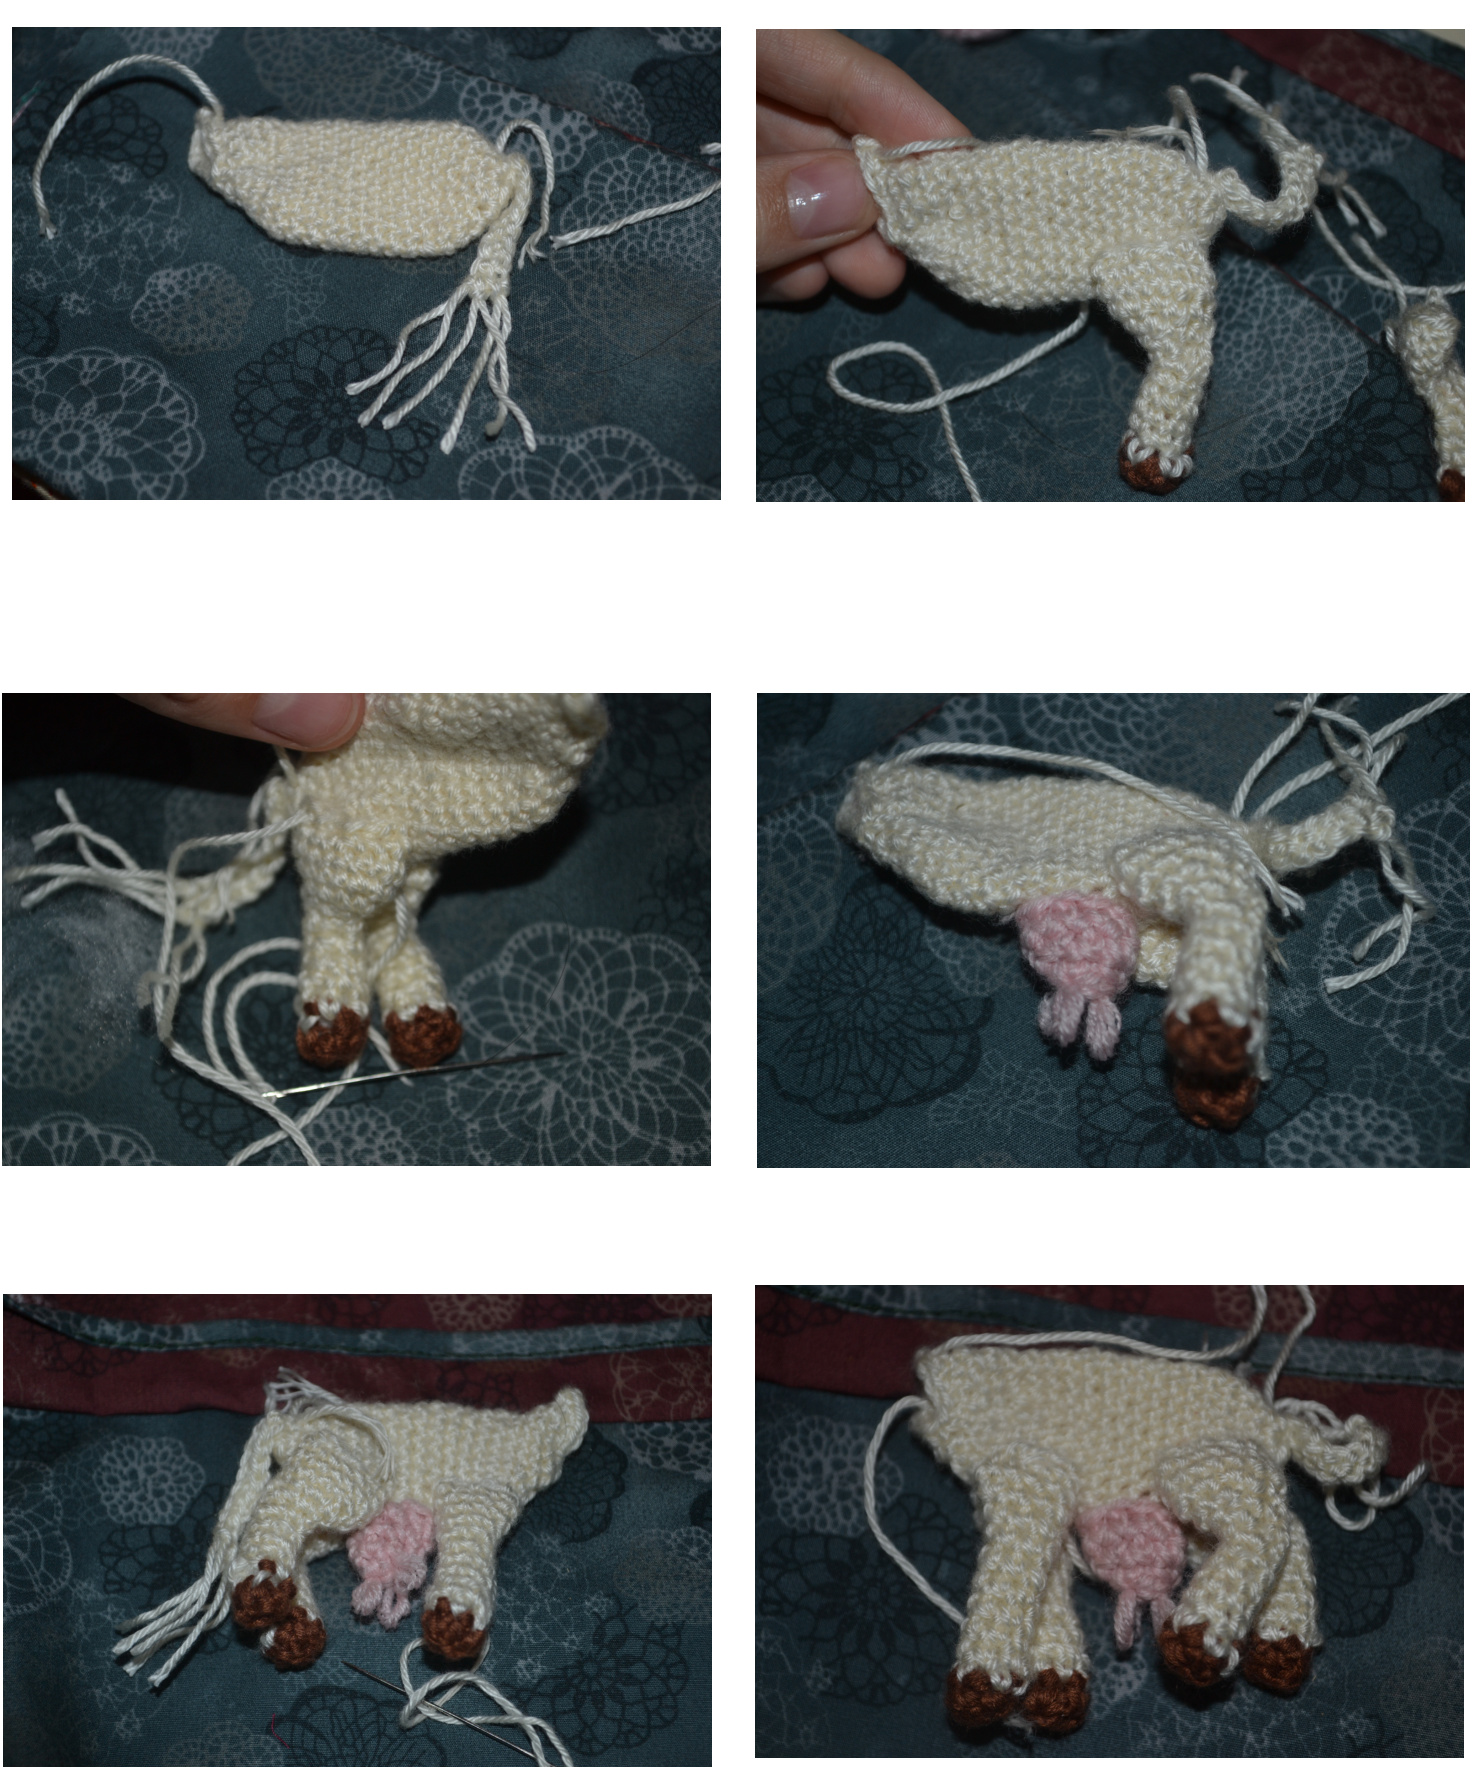
When you have all the parts made, you can start to assemble! There is no necessary order, but below is the order I sew it together. Sew together with the yarn you used and a wool needle, with a simple running stitch (basically in and out) taking care to stuff the pieces as you go. There are a few pictures to show where the pieces should go in relation to each other. · Attach tail to body. The side where you started is the back side Stuff back legs and attach back legs to back part of body. The body should be positioned so the end part is slightly thinner than the front (the belly), and the rising rounds (the neck) is angled up. The back legs should have the rounded edge closer to the front of the cow. ? (Optional) Stuff udder and attach udder to the belly. ·Stuff front legs and attach to the body. They should be attached on the belly, before the neck begins to angle upwards. The front legs should have the rounded edge closer to the front of the cow. ·Lastly, attach the head. The head should already be stuffed. · With the crochet hook, pull the loose ends tightly into the piece so there aren't any bits poking out. Here are some photos to help with positioning everything together!
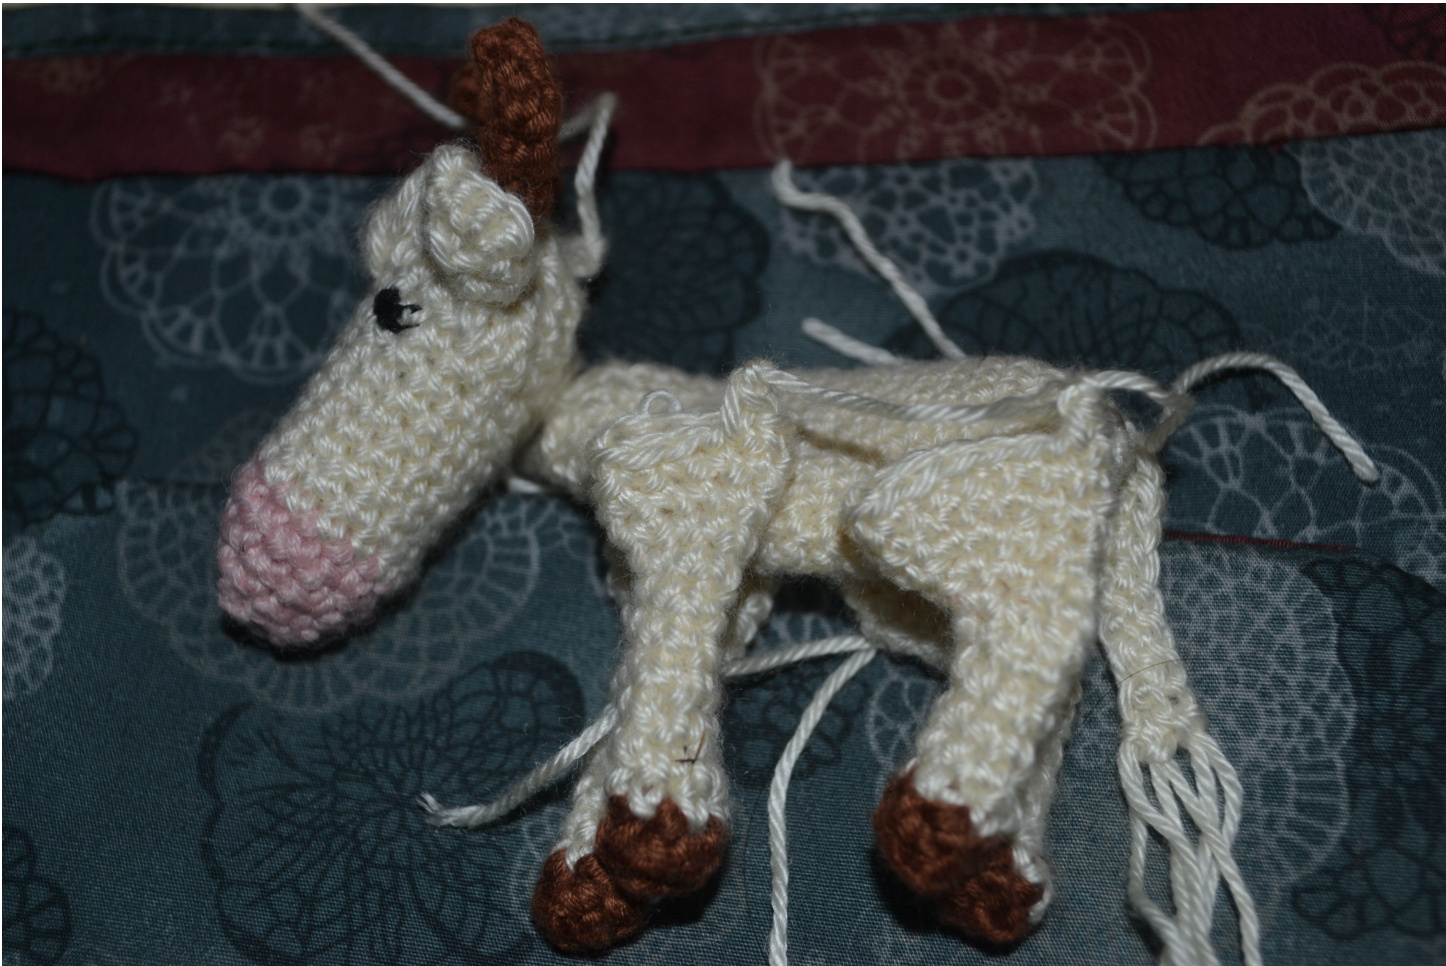
All the parts together.
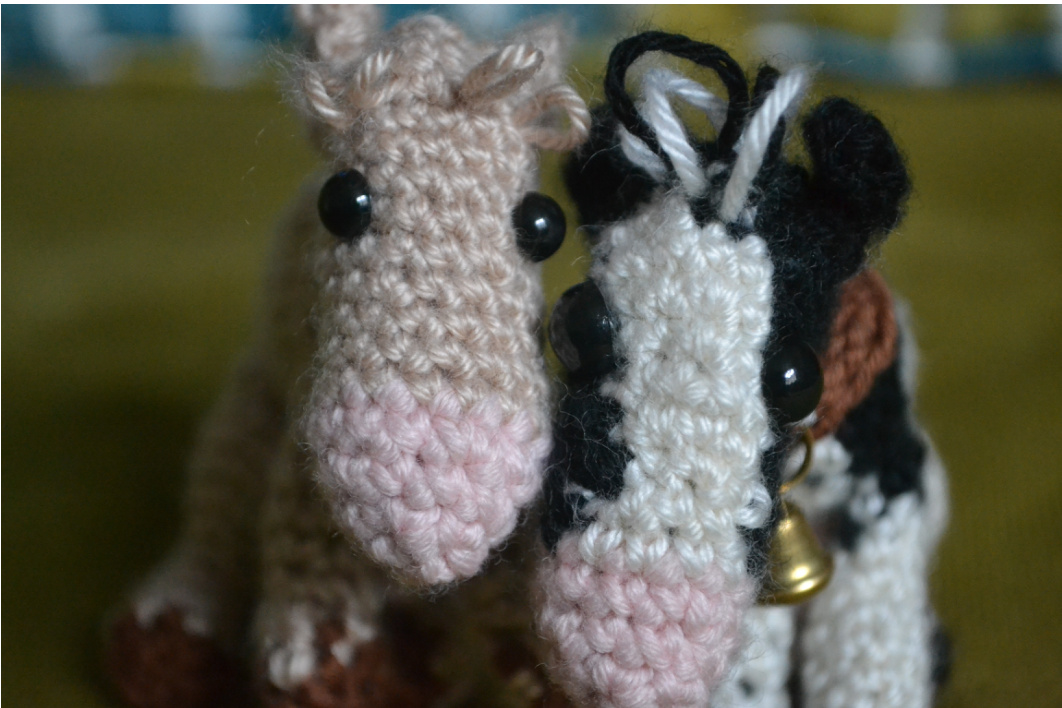
Please let me know if you have any questions or find anything that might be amiss about the pattern. This is my first written-down pattern and I've had a lot of fun making it. I will try to make a modified pattern for a black and white cow. If you do end up making a cow, let me know I would love to see it! This is a free pattern. Please do not distribute this pattern through means other than HHPalindrome's Ravelry page. The pattern is offered free for fun, sharing is a key part of the crochet and amigurumi community, please don't attempt to sell the pattern or sell the finished projects. Best wishes with your cows!


