1. Instruments and materials
· 0.75 and 1.00 mm hook · Brown, white, turquoise, light turquoise, orange and dark orange yarn. Also mouline DMC 3801, DMC 906, DMC 444, DMC 964, DMC 3846, DMC 796, DMC 310 ·Sewing needle ·A piece of wire · A piece of black felt · Stuffing material
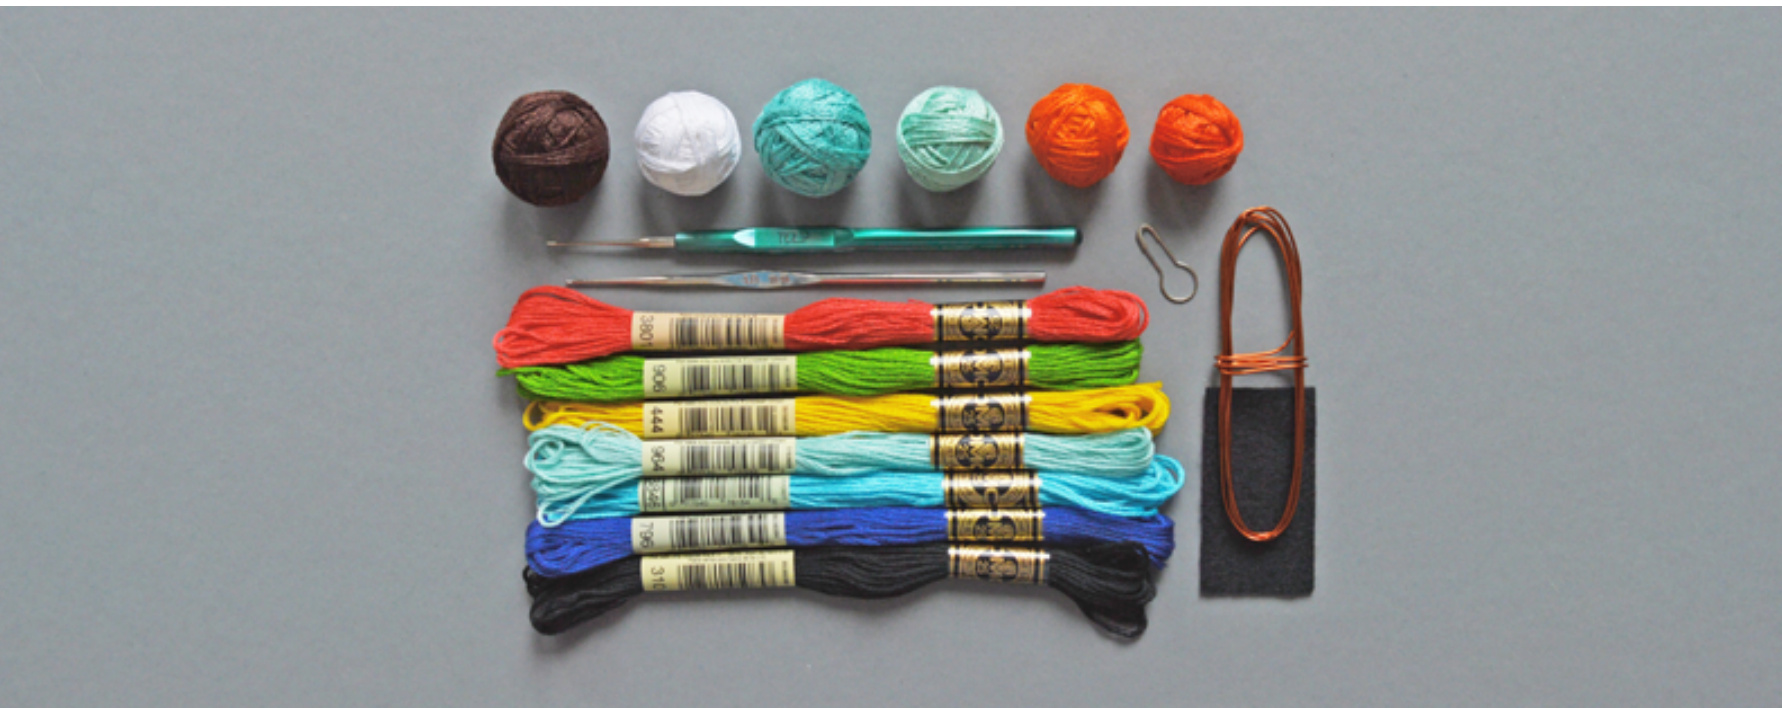
BMO - character of the popular cartoon “Adventure Time", that was created by Pendleton Ward for Cartoon Network. This toy was crocheted with “lris" yarn (150m/25g). This is 100% cotton. To create a toy with a height of 7 cm you must crochet with single yarn using a 1.00 mm hook. All small details are crocheted with 0.75 mm hook with mouline yarn (two threads). The piece of felt must be 1 mm thick. The stuffing material used in this toy is polyester wadding. This pattern is for personal use only. Sharing information from this pattern is prohibited. If you publish photos of the toys that are crocheted following this pattern, it is better to mention the author of the pattern. You can also use hashtag #AradiyaToys at Twitter and Instagram to share your toy and see other toys that are created following AradiyaToys' patterns.
2. Abbreviations
Ch chain Sc single crochet Dc double crochet Tr treble crochet HDc half double crochet SI slip stitch INC increase INVDEC invisible decrease BLO back loops only FLO front loops only Tip 2 To keep track of the beginning of the row, use a marker. Pin marker to the last loop of the row. Every new row must be finished with a loop at the marker. Tip 1 The toy must be crocheted with tight stitches, to be sure that there won't be any holes through which stuffing material can be seen. All amigurumi toys are crocheted with tight stitches. Avoid small holes when stretching crochet fabric, if there are some tiny holes, use a smaller size hook. To avoid seams, all details are crocheted in a spiral without slip stitch and lifting loops. There is a chance that you will lose the beginning of the row; to avoid this, use a marker. It can be a colored pin or thread of contrasting color.
3. Body
With turquoise yarn, 1.o0 mm hook Ch19 1 row Sc in the second stitch, 17Sc, Ch turn (18) 2 - 8 rows 18Sc, Ch turn (18) 9 row 18Sc, crochet the whole circumference: 8Sc (into transverse loop), INC (corner), 16Sc, INC (corner), 8Sc (into transverse loop), 1Sc (into the first stitch of 9th row) (54) 10-32row BLOSc in each Sc around (54) 33 row 54Sc, 3Sc (extra stitches made to help conceal the unshapely edges) (54), SI Cut the yarn.
Tip 3 Crochet the second stitch (skip the first stitch) from the hook after the turn, if it is not mentioned to do it in another way
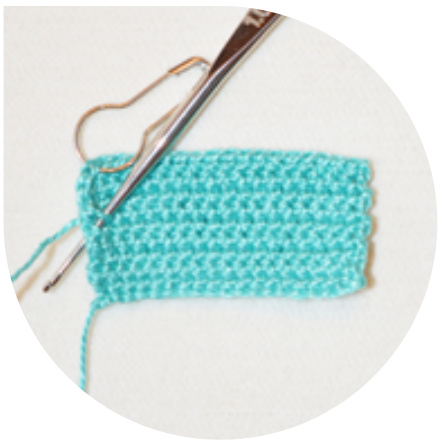
Image 1
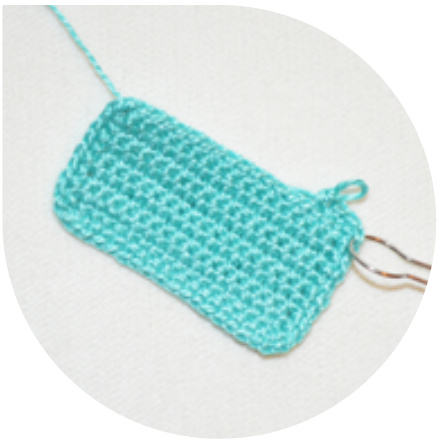
Image 2
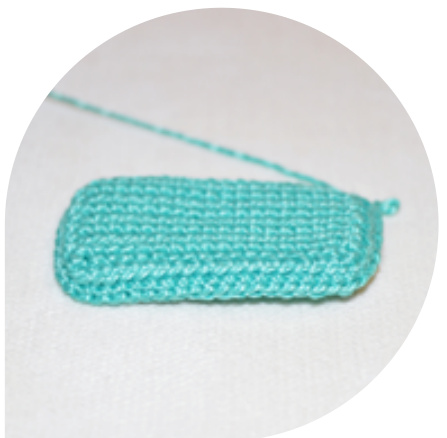
Image 3
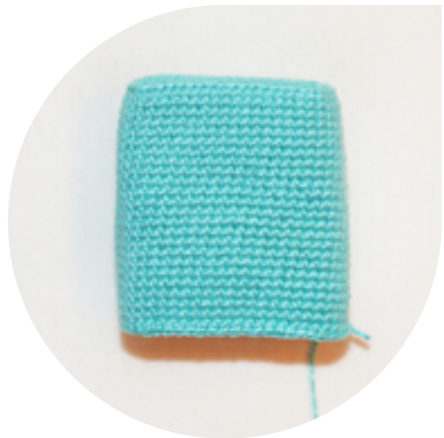
Image 4
3.1 Body
Skip 26 stitches from Sl (clockwise), connect turquoise yarn to the 27th stitch and crochet the 34th row. 34row BLO18Sc, Ch turn (18) 35 - 42 row Sc in each Sc around (18) 43 row 18Sc (18), Sl Cut the yarn, leave a long end for sewing.
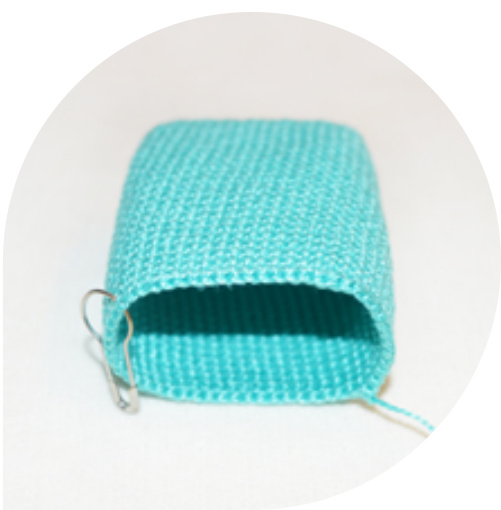
Image 5
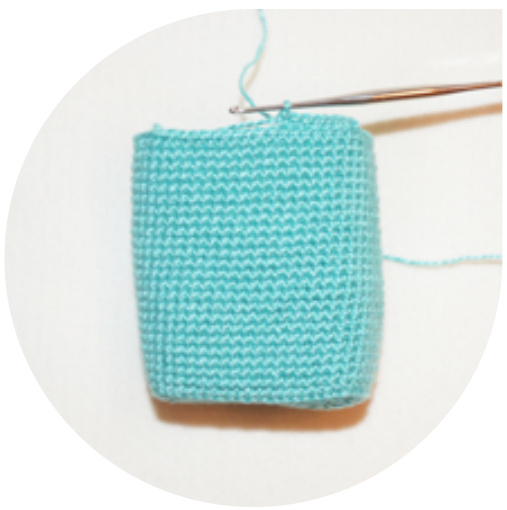
Image 6
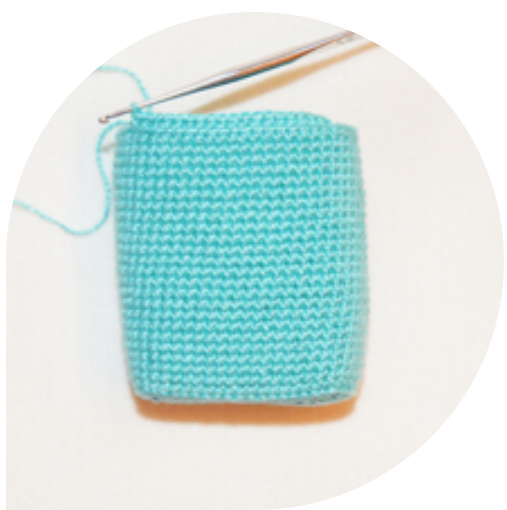
Image 7
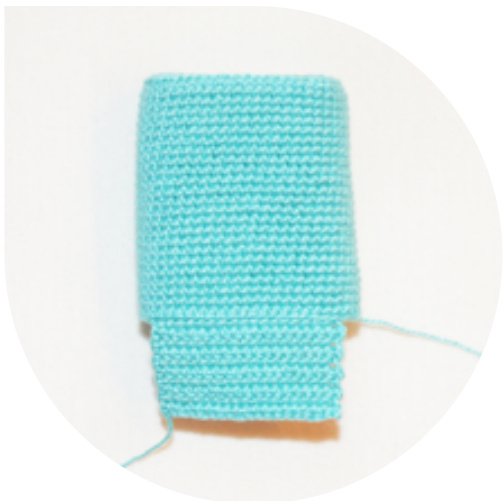
Image 8

Image 9
3.2 Body
Stuff the body with stuffing material. (lmage 10) Close the detail: sew the 3 sides of the last part you have crocheted (rows 34-43) on the main part of the body, with the end of yarn that we left before. (lmage 11) Fasten and cut the yarn, hiding the end inside the body. (Image 12) When you finish, give it a rectangular shape. (lmage 13)
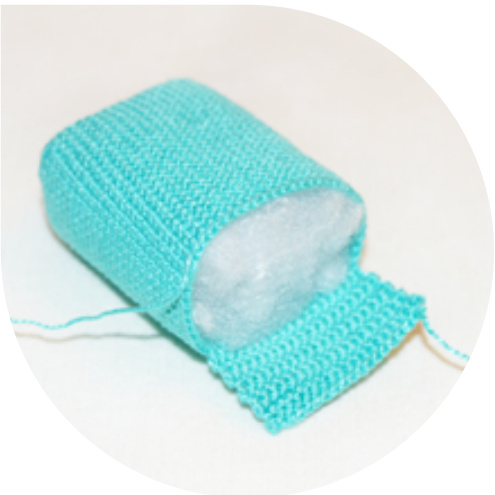
Image 10
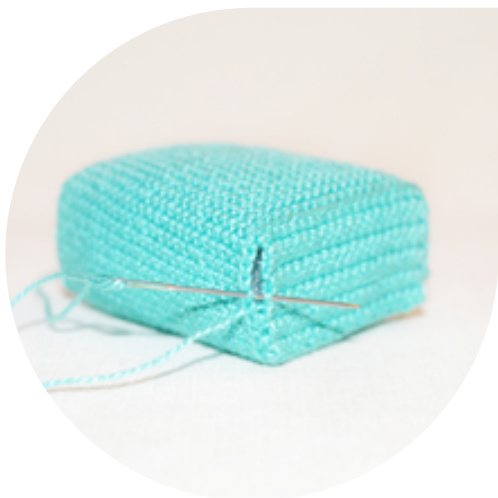
Image 11
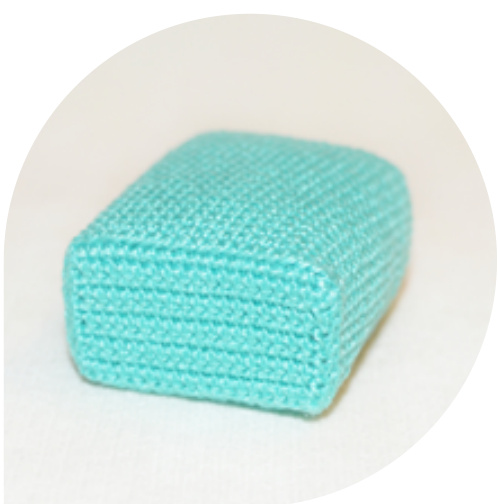
Image 12
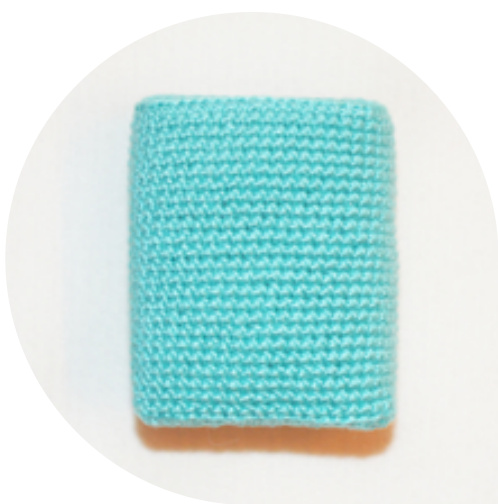
Image 13
4. Screen
With light turquoise yarn, 1.00 mm hook Ch15 1 row Sc in the second stitch, 13Sc, Ch turn (14) 2 - 8 rows 14Sc, Ch turn (14) 9 row14Sc (14) Crochet the whole circumference: 8Sc (into transverse loop), INC (corner), 12Sc, INC (corner), 8Sc (into transverse loop), INC (corner), 13Sc (47), SI Cut the yarn.
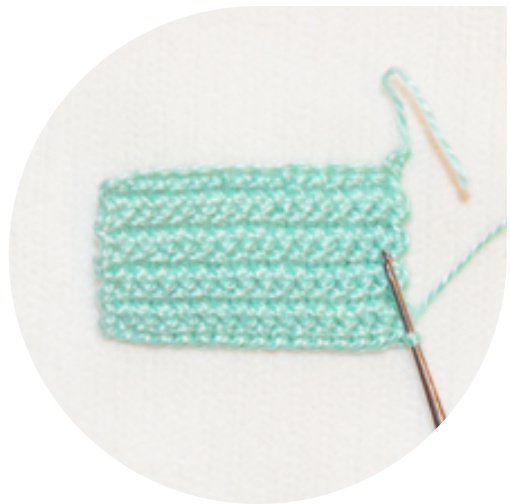
Image 14
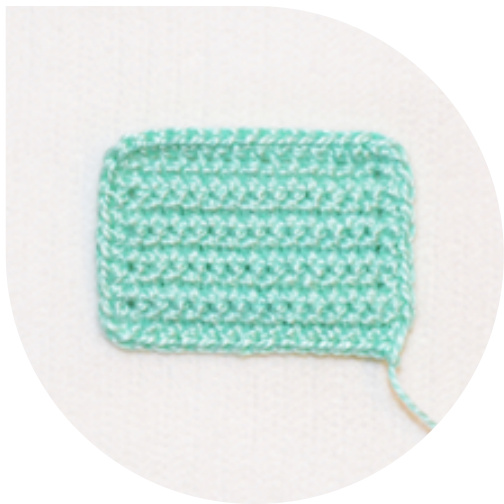
Image 16
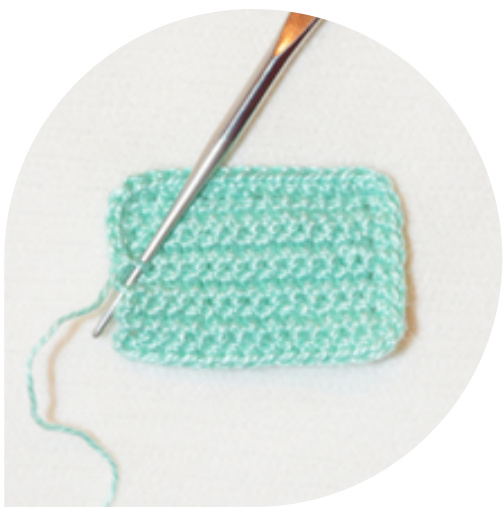
Image 15
5. Legs
With turquoise yarn, 1.00 mm hook 1 row 6Sc in magic circle (6) 2 row Sc in each Sc around (6) 3 row 6Sc, Ch turn (6) 4 row 2Sc, Sl (in the base of 6Sc), Ch turn (2) 5 row (skip Sl) 2Sc, 1Sc (into transverse loop), Sl (in the base of 6Sc), 2Sl (by the base), 1Sc (in Ch) (7) 6 row 3Sc, FLO3Sc, 1Sc (7) 7 - 15 rows Sc in each Sc around (7), Sl Cut the yarn, leave a long end for sewing. Make 2 details.
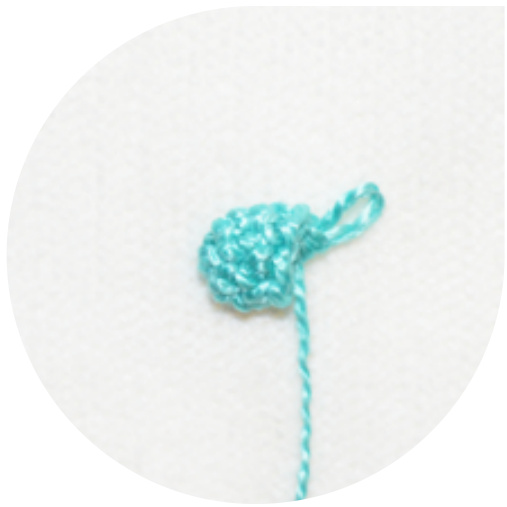
Image 17
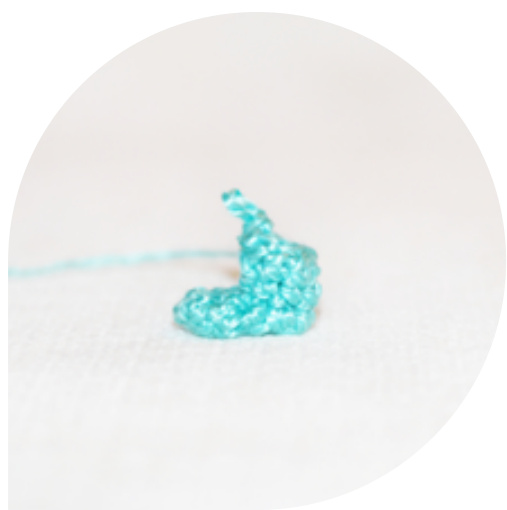
Image 18
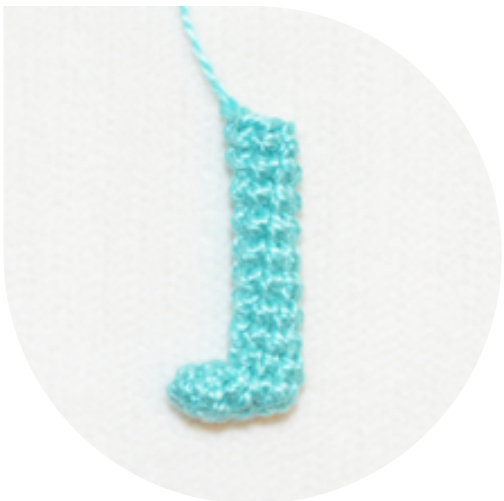
Image 19
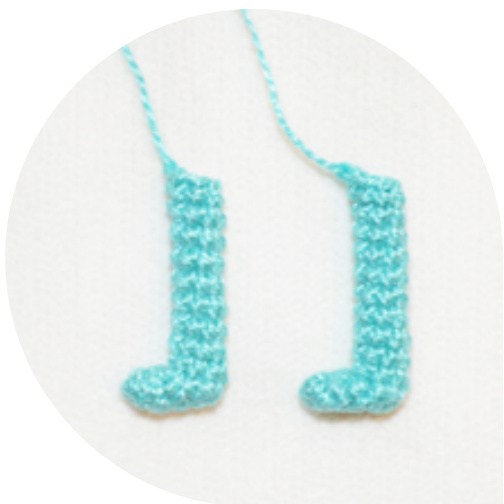
Image 20
5.1 Legs
Take some soft wire, fold it in two and curl it up to make it more rigid. Make a carcass for each leg. (lmage 21) Insert the carcass into the crocheted leg. (lmage 22) Bend the foot to make the leg more stable. (lmage 23) Repeat with the second leg.
Image 21
Image 22
Image 23
6. Arms
With turquoise yarn, 1.00 mm hook 1 row 6Sc in magic circle (6) 2 - 11 rows Sc in each Sc around (6), Sl Cut the yarn, leave a long end for sewing. Make 2 details.
Image 24
7. Blue button
With blue yarn (two threads of DMC 3846), 0.75 mm hook
Ch4 I row Sc in the second stitch, 1Dc, 1Tr (3) Cut the yarn, leave a long end for sewing. Leave one thread, fasten the end from the beginning of crocheting on the back side of the detail with the second thread. Do the same with all other buttons.
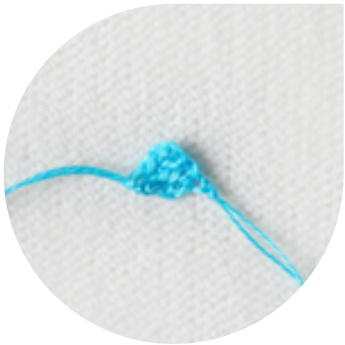
Image 25
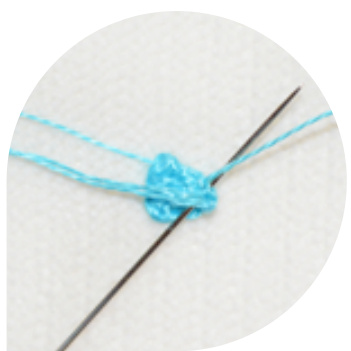
Image 27
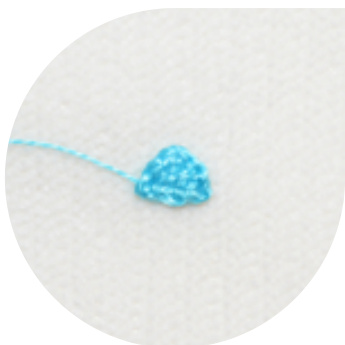
Image 28
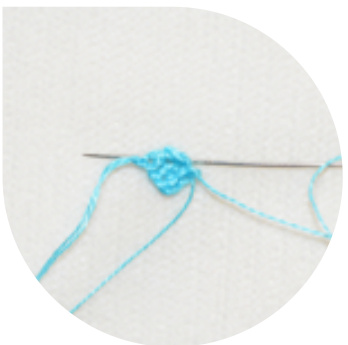
Image 26
8. Green button
With green yarn (two threads of DMC 906), 0.75 mmhook 1 row 4Sc in magic circle (4), SI Cut the yarn, leave a long end for sewing.
Image 29
Image 30
9. Pink button
With pink yarn (two threads of DMC 3801), 0.75 mm hook 1row 6Sc in magic circle (6) 2row 6INC (12), SI Cut the yarn, leave a long end for sewing.
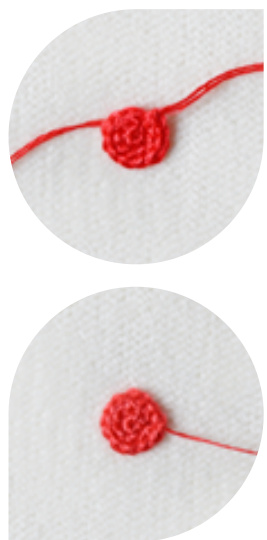
Image 31 Image 32
10. Yellow button
With yellow yarn (two threads of DMC 444), 0.75 mm hook Ch3 1 row Sc in the second stitch, 1Sc, Ch turn (2) 2 - 5 rows 2Sc, Ch turn (2) 6row 2Sc (2) Cut the yarn, leave a long end for sewing. Connect yellow thread to the center of transverse loops and crochet: 1row 2Sc, Ch turn (2) 2 row 2Sc (2) Cut the yarn. Connect yellow thread symmetrically from the other side and crochet: 1row 2Sc, Ch turn (2) 2 row2Sc (2) Cut the yarn.

11. Skate. Top deck
With brown yarn, 1.00 mm hook
Ch6 1 row INC in the second stitch, 3Sc, INC, Ch turn (7) 2 row INC, 1Sc, connect dark orange yarn, and do not cut brown one, 3Sc (dark orange), 1Sc, INC, Ch turn (9) 3 row INC, 2Sc, 3Sc (dark orange), 2Sc, INC, Ch turn (11) 4 - 16 rows 4Sc, 3Sc (dark orange), 4Sc, Ch turn (11) 17 row INVDEC, 2Sc, 3Sc (dark orange), 2Sc, INVDEC, Ch turn (9) 18 row INVDEC, 1Sc, 3Sc (dark orange), 1Sc, INVDEC, Ch turn (7) Cut dark orange yarn, continue crocheting with brown one. 19 row INVDEC, 3Sc, INVDEC (5) Crochet the whole circumference Sc. Cut the yarn.
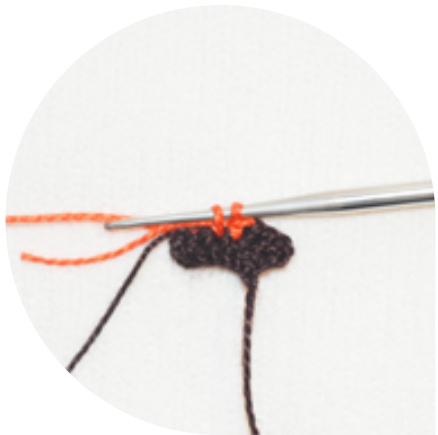
Image 38
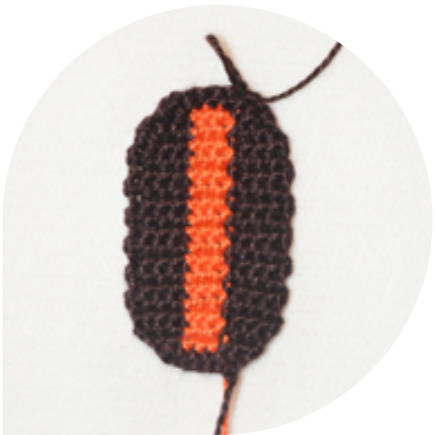
Image 39
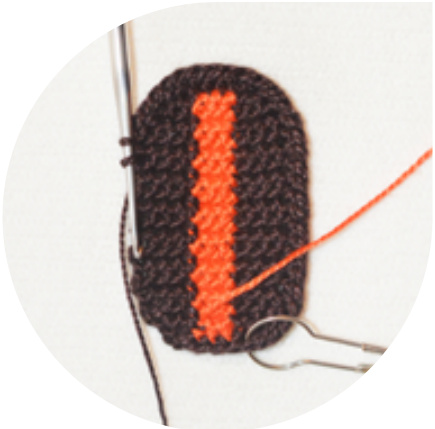
Image 40
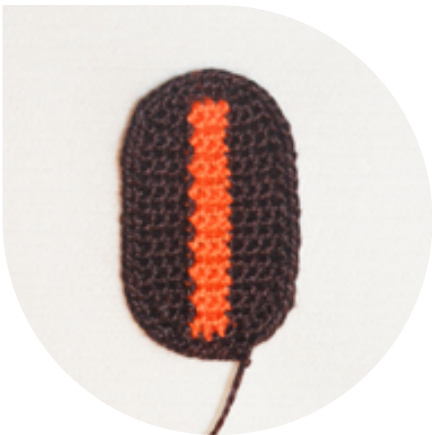
Image 41
12. Bottom deck
With orange yarn, 1.00 mm hook
Ch6 1 row INC in the second stitch, 3Sc, INC, Ch turn (7) 2 row INC, 5Sc, INC, Ch turn (9) 3 row INC, 7Sc, INC, Ch turn (11) 4 - 16 rows 11Sc, Ch turn (11) 17 row INVDEC, 7Sc, INVDEC, Ch turn (9) 18 row INVDEC, 5Sc, INVDEC, Ch turn (7) 19 row INVDEC, 3Sc, INVDEC (5) Crochet the whole circumference Sc.
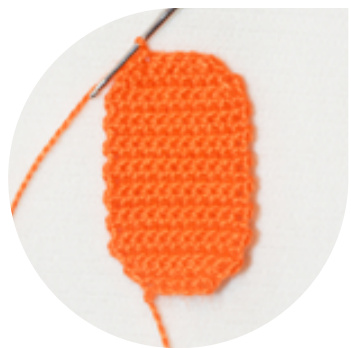
Image 42 Cut the yarn.
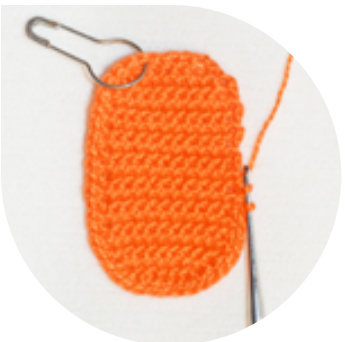
Image 43
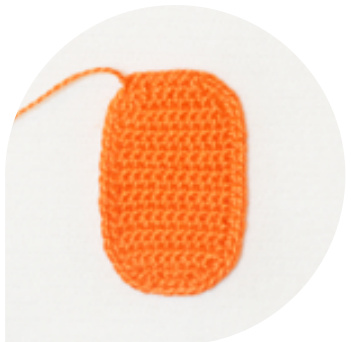
Image 44
13. Top part of suspension
With dark orange yarn, 1.00 mm hook 1 row 6Sc in magic circle (6) 2 row 6INC (12), SI Cut the yarn, leave a long end for sewing.

Image 45 Make 2 details.
14. Bottom part of suspension
With dark orange yarn, 1.00 mm hook
1 row 4Sc in magic circle (4) 2 row 4INC, 2Sc (extra stitches made to help conceal the unshapely edges) (4) 3 row 3INC, 1Sc (7) 4 - 7 rows Sc in each Sc around (7) 8 row 3INVDEC, 1Sc (4) 9 row Sc in each Sc around (4), Sl Cut the yarn. Make 2 details.
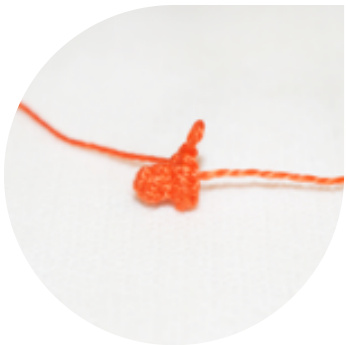
Image 46
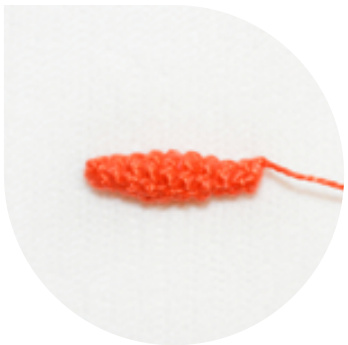
Image 47
15. Wheels
With white yarn, 0.75 mm hook
1 row 6Sc in magic circle (6) 2 row 6INC (12) 3 row BLOSc in each Sc around (12) 4 row BLO6INVDEC (6), SI Cut the yarn, leave a long end for sewing. Make 4 details.
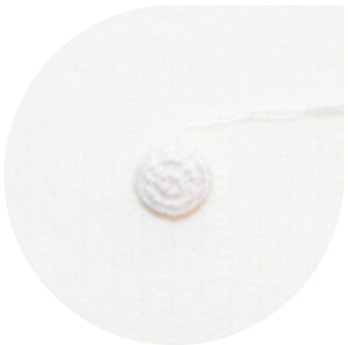
Image 48
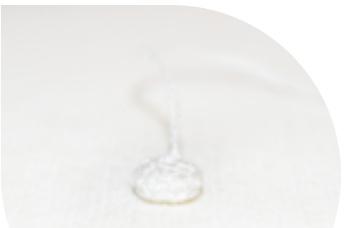
Image 49
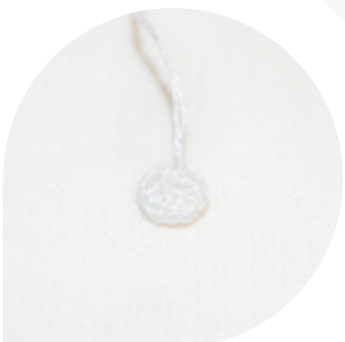
Image 50
16. Skate assembly
Take the top and bottom decks, put them one onto the other with wrong sides together. Connect thin brown thread of the color that is very similar to the main brown yarn and sew both parts together along the edge. (lmage 51) Fasten and cut the yarn, hiding the end inside the detail. (lmages 52 and 53) Take a wheel and squish it by sewing it back and forth through the center. Repeat with all other wheels. Do not cut the yarn. (lmage 54) Take the bottom part of suspension and sew the wheel to one of its edges with the end of white yarn that we left before on the wheel. (lmage 55) Fasten and cut the yarn, hiding the end inside the detail. (lmage 56)
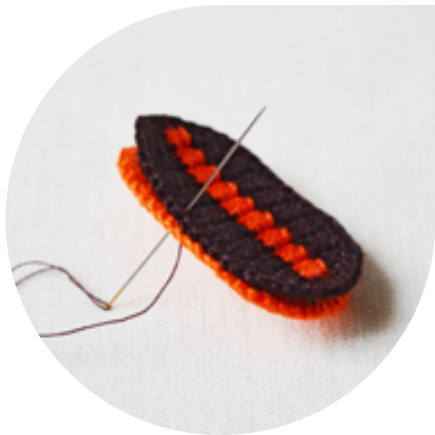
Image 51

Image 52
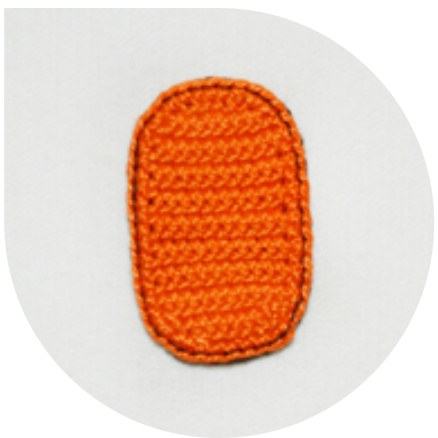
Image 53
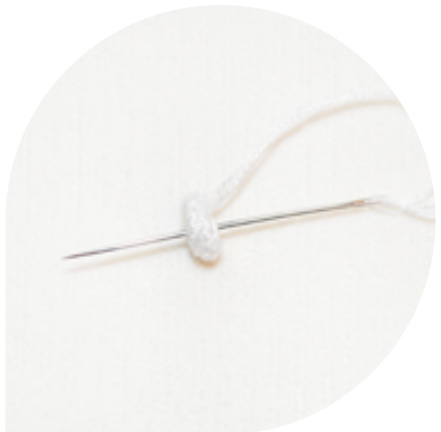
Image 54
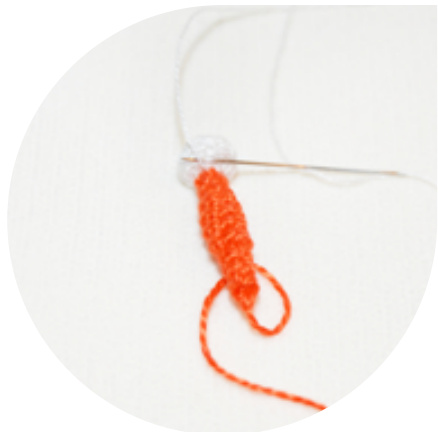
Image 55
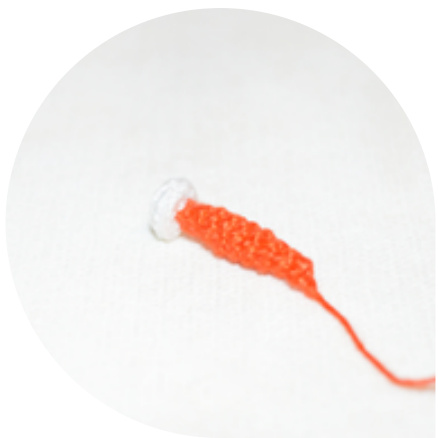
Image 56
16.1 Skate assembly
Sew the other wheels in the same way. (Image 57) Take the top part of suspension and place it to the center of bottom part of suspension. (lmage 58) Sew it with the end of dark orange yarn that we left before. Fasten and cut the yarn, hiding the end inside the detail. (lmage 59) Embroider the white lines as shown on the photo. (lmage 60)
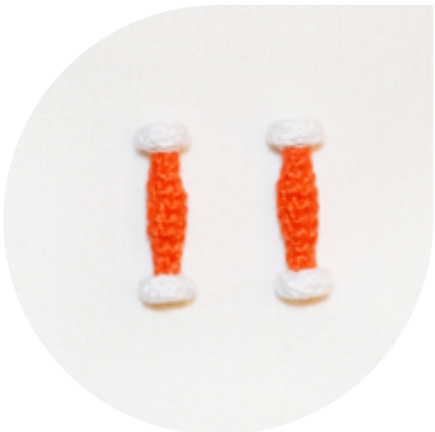
Image 57
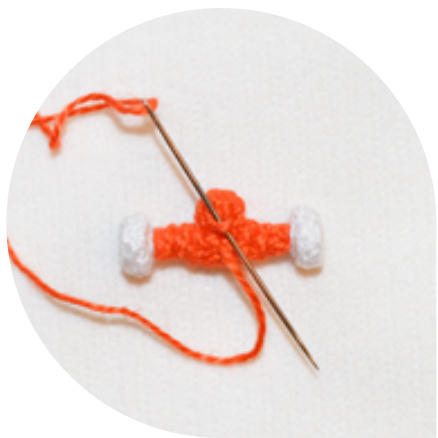
Image 58
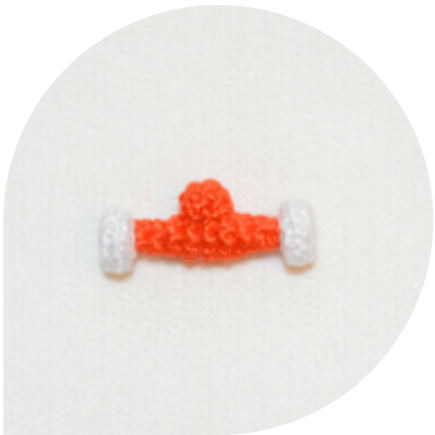
Image 59
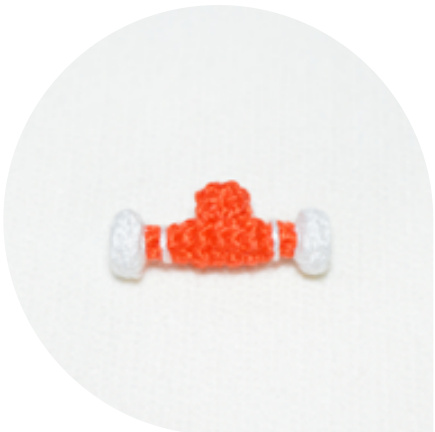
Image 60
16.2 Skate assembly
Place the suspension on the bottom part of the deck and fasten it with a pin. (lmage 61) Connect dark orange yarn and sew it. Fasten and cut the yarn, hiding the end inside the detail. (lmage 62) Place and sew the second suspension symmetrically. (Image 62) The skate is ready.

Image 61
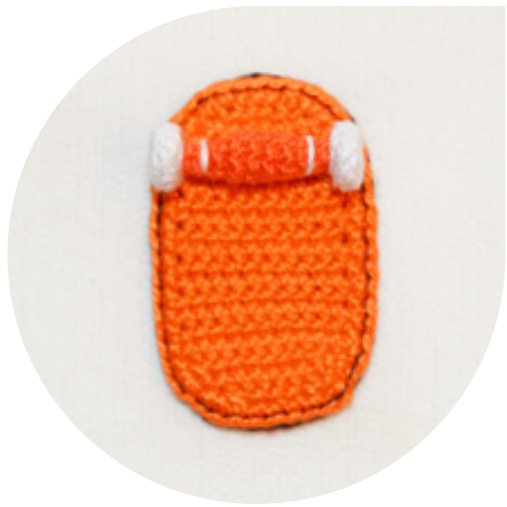
Image 62
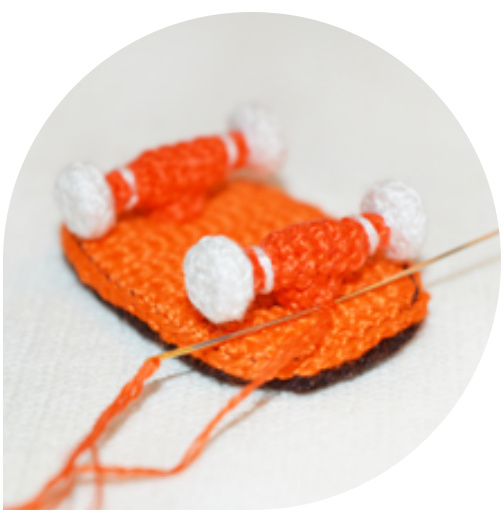
Image 63
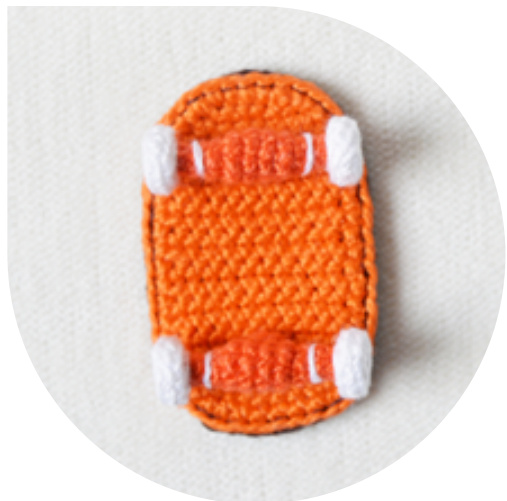
Image 64
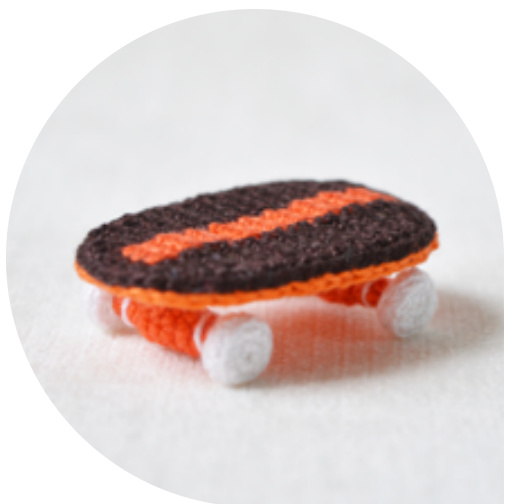
Image 65
17. Assembly
Place the screen on the top part of the body and fasten it with pins. Connect the thread with suitable color (l used mouline DMC 964) and sew the edges of the screen. Fasten and cut the yarn, hiding the end inside the detail.
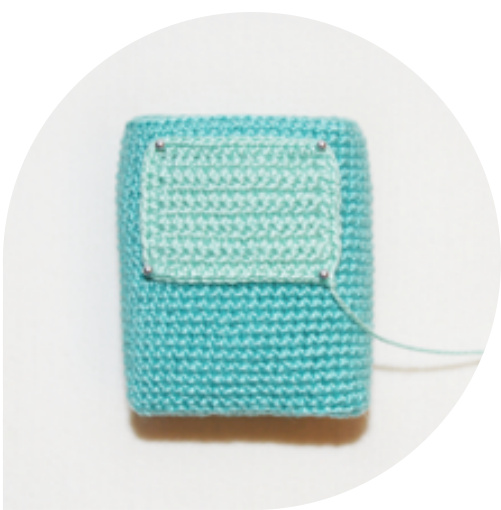
Image 66
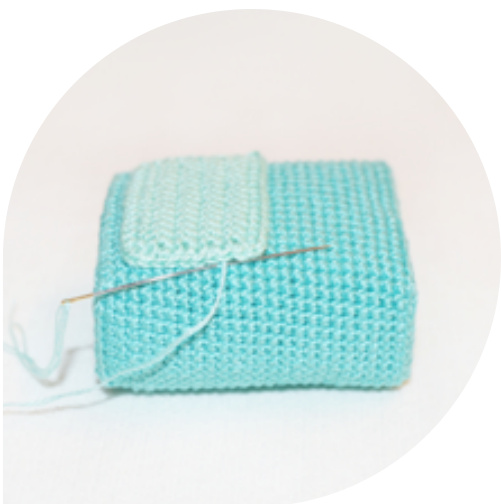
Image 67
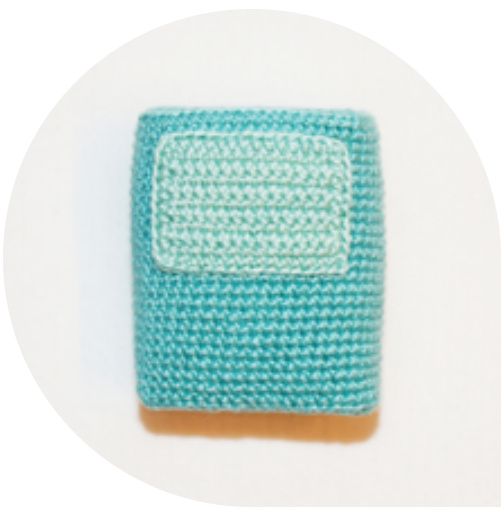
Image 68
17.1 Assembly
Place the legs on the bottom part of the body, inserting the protruding wire into the body. (lmage 69) Sew the legs with the end of turquoise yarn that we left before. Fasten and cut the yarn, hiding the end inside the body. (lmages 70 and 71) Place the legs so that BMO can stand. (lmage 72)
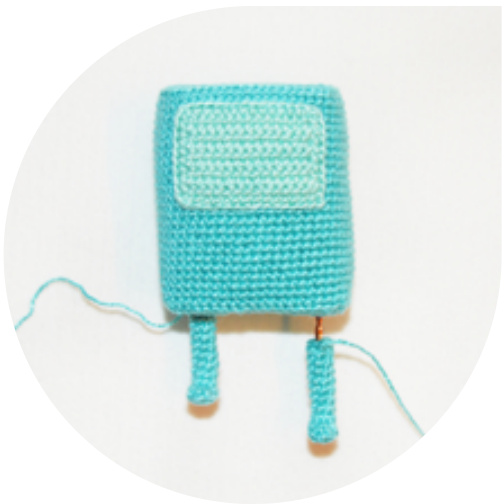
Image 69
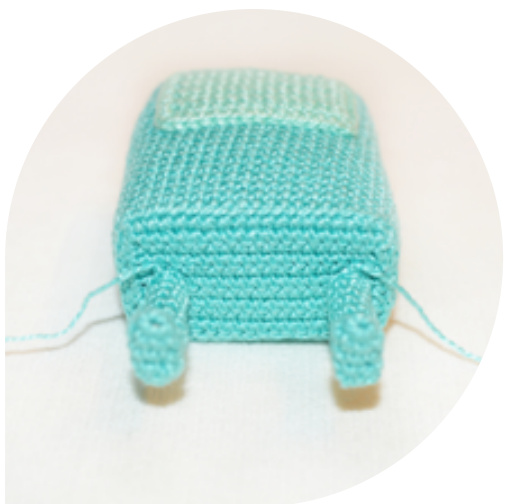
Image 70
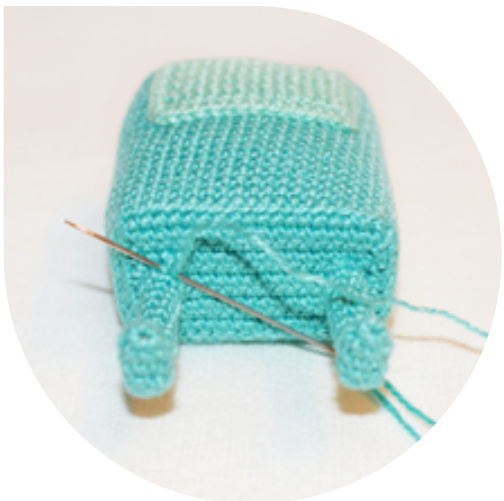
Image 71
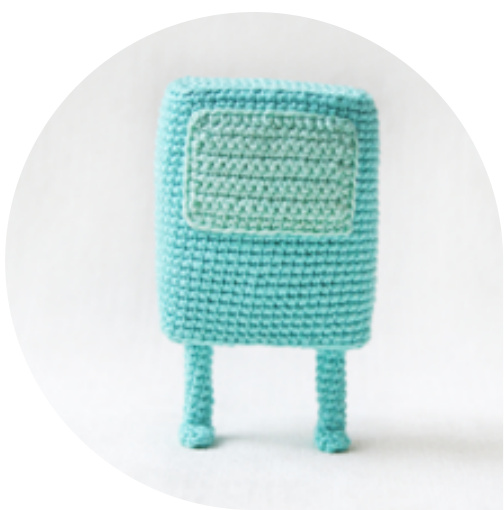
Image 72
17.2 Assembly
Template of the letters for BMO with a height of 7 cm. It is drawn on a standard squared paper. (lmage 73) Take a piece of black felt and cut the 2 sets of letters following the template for both sides of BMO. You should not cut out the holes in letter 《B》, because it is too small. Connect the mouline DMC 964 thread and embroider ovals,simulating the holes of letter 《B》. Repeat with the second letter 《B》.

Image 73
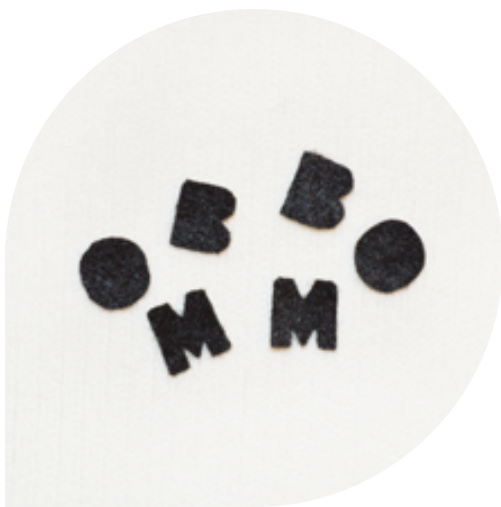
Image 74
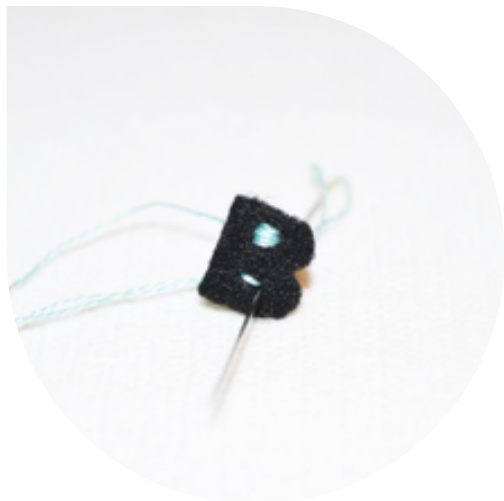
Image 75
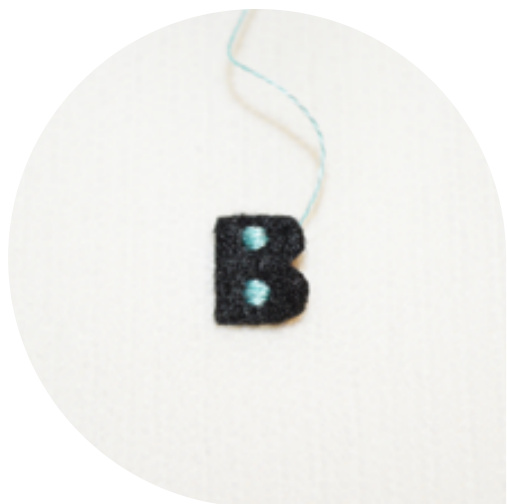
Image 76
17.3 Assembly
Skip 2 rows from the bottom edge of the body and place <O》 letters on both sides. Connect black thread and sew them. (lmage 77) Place the other letters in one line with small gaps between them. Sew them one by one with the black thread that you connected before. Embroider 7 dots on each side above letter 《B》. (lmages 78 and79) Embroider the electronic elements on the back side of the body. (Image80)
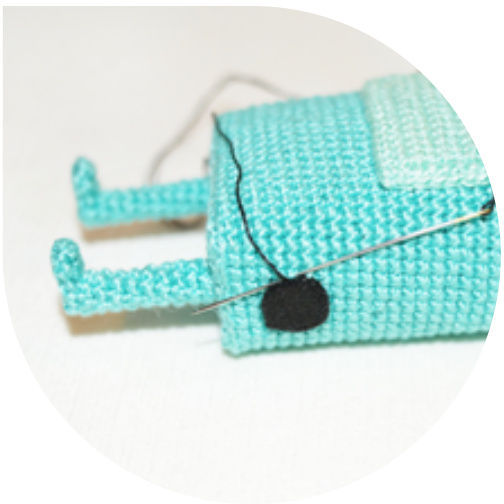
Image 77
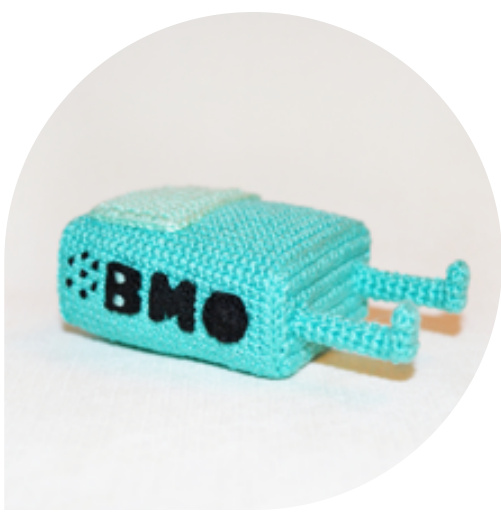
Image 78
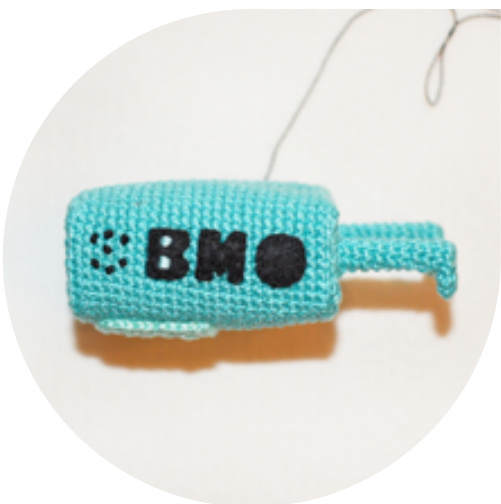
Image 79
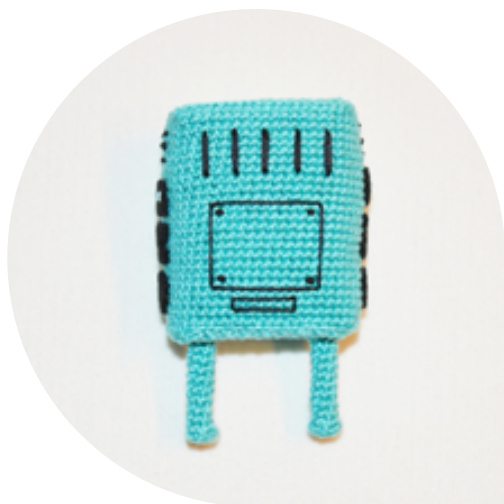
Image 80
17.4 Assembly
Place the arm to the center of letter <O》 and fasten it with a pin. Sew it with the end of turquoise yarn that we left before. (lmage 81) Fasten and cut the yarn, hiding the end inside the body. (lmage 82) The second arm must be sewed symmetrically. (lmage 83)
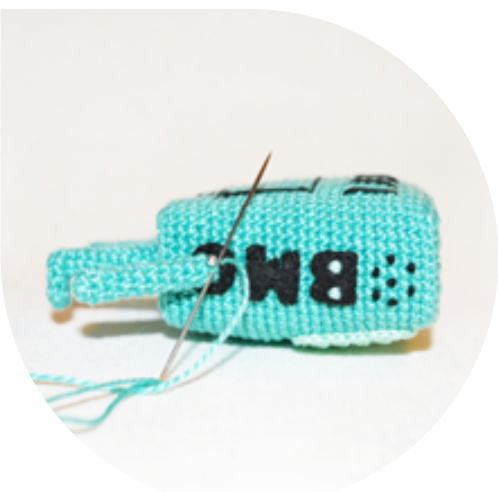
Image 81
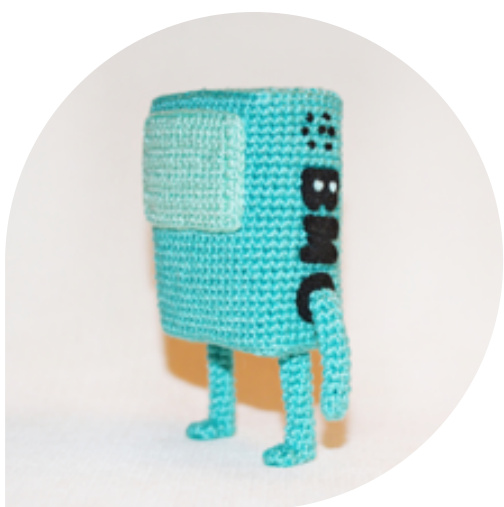
Image 82
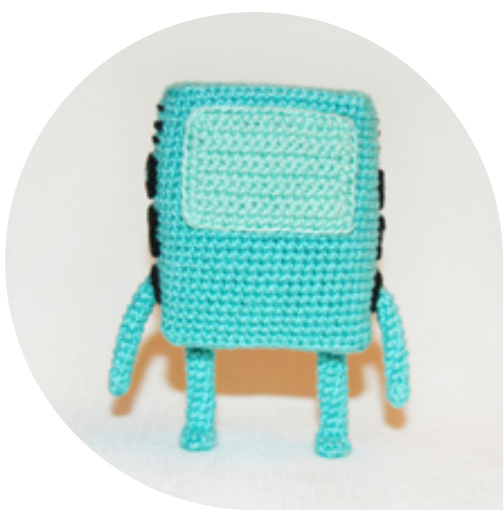
Image 83
17.5 Assembly
Place and fasten the buttons with pins on the frond side of the body, right under the screen. (Image 84) Sew the buttons with the end of thread that we left before. (lmage 85) Connect navy blue mouline DMC 796 thread and embroider some elements as shown on the photo. (lmage 86) Connect black mouline DMC 310 thread and embroider one more element as shown on the photo. (lmage 87) Choose the place for eyes and mouth on the screen. Embroider the eyes and the mouth with black yarn. (lmages 88 and 89)
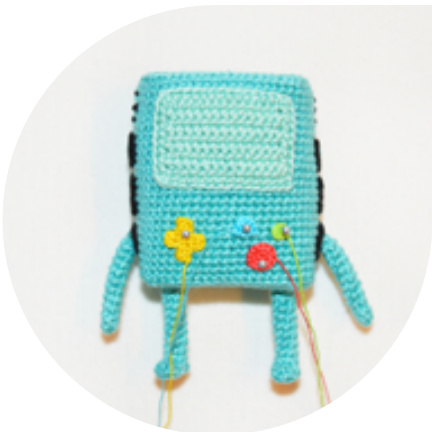
Image 84
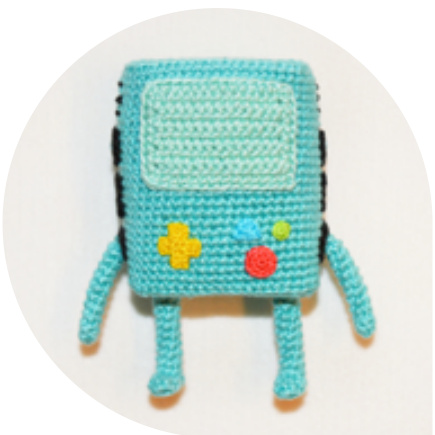
Image 85
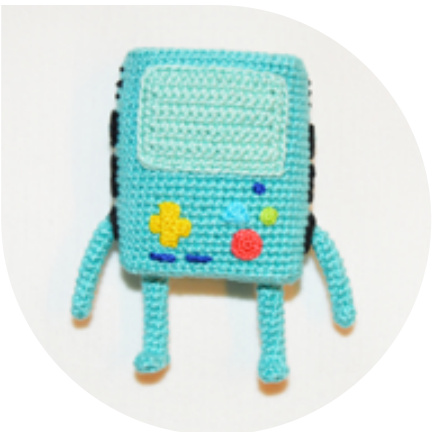
Image 86
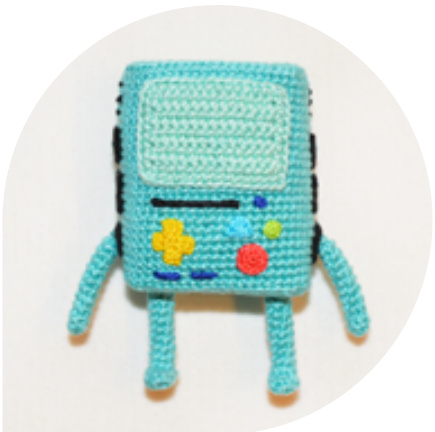
Image 87
Image 88
Image 89
17.6 Assembly
Congratulations, your BMO is ready!
Don't forget to share your final result on Twitter and Instagram using #AradiyaToys hashtag. If you enjoyed this pattern, subscribe for more!
Image 90 All links below are clickable (touchable).
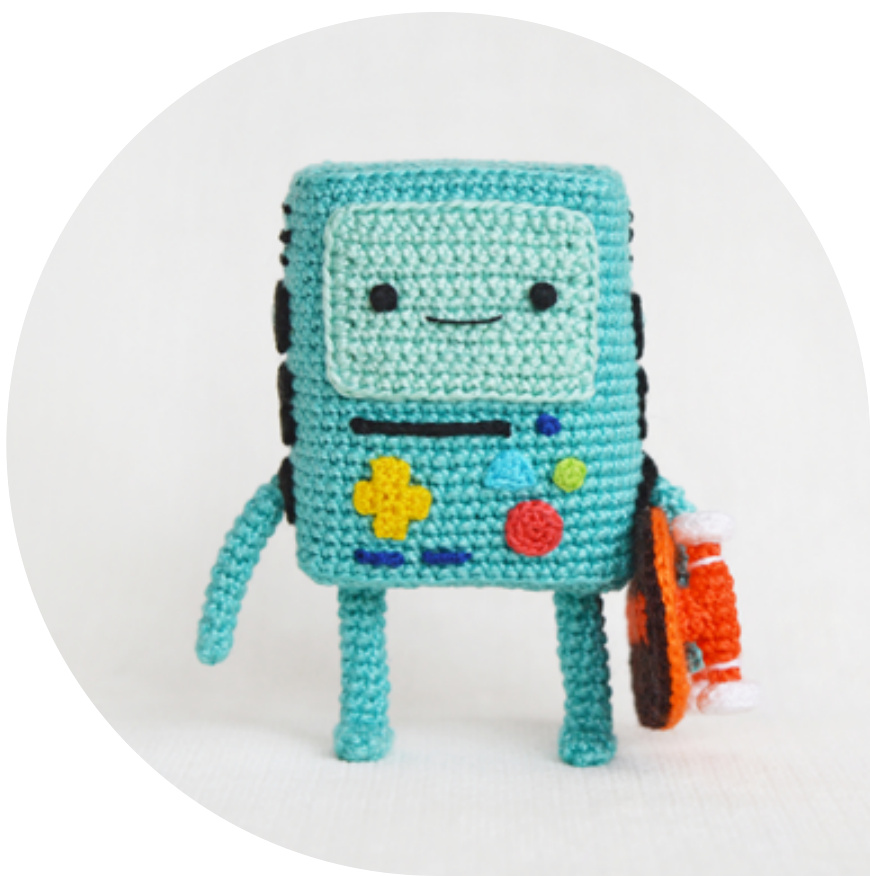
Image 93
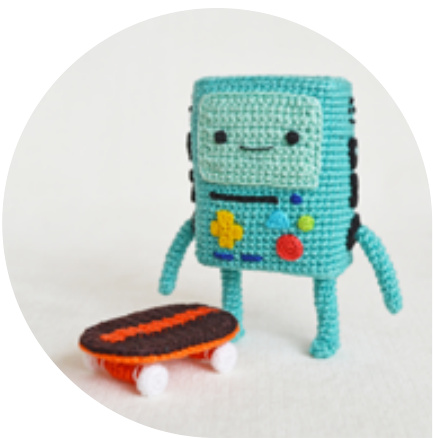
Image 91
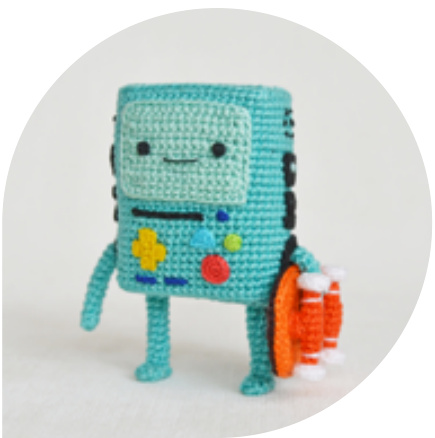
Image 92

/AradiyaToys /AradiyaToys

aradiyatoys.deviantart.com /AradiyaToys aradiyatoys.tumblr.com AradiyaToys
Other patterns from Adventure Time collection
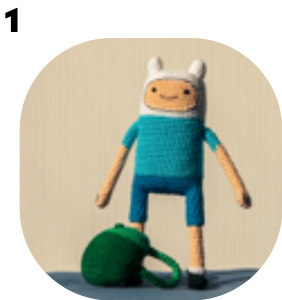
Finn the Human
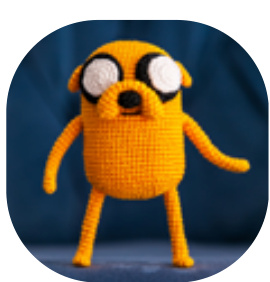
Jake the Dog
Get this pattern on: Etsy Craftsy Ravelry Get this pattern on: Etsy Craftsy Ravelry
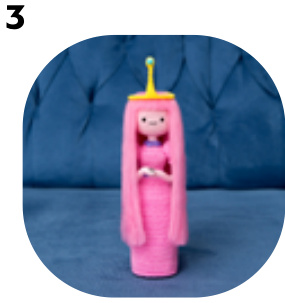
Princess Bubblegum Get this pattern on: Etsy Craftsy Ravelry


