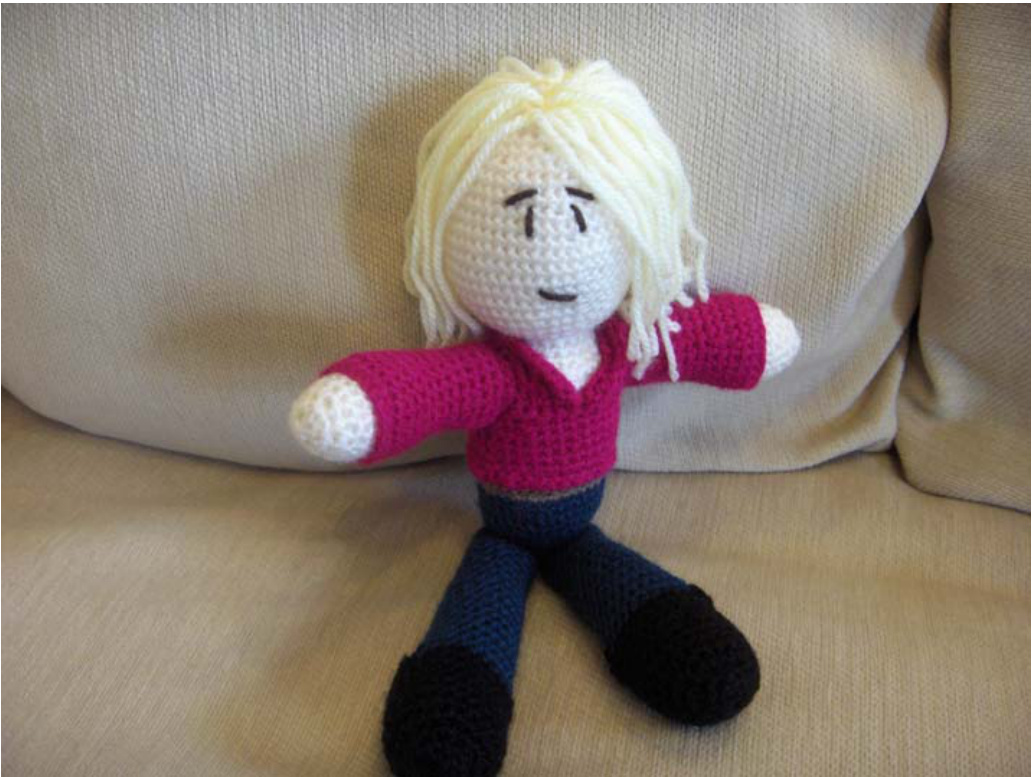
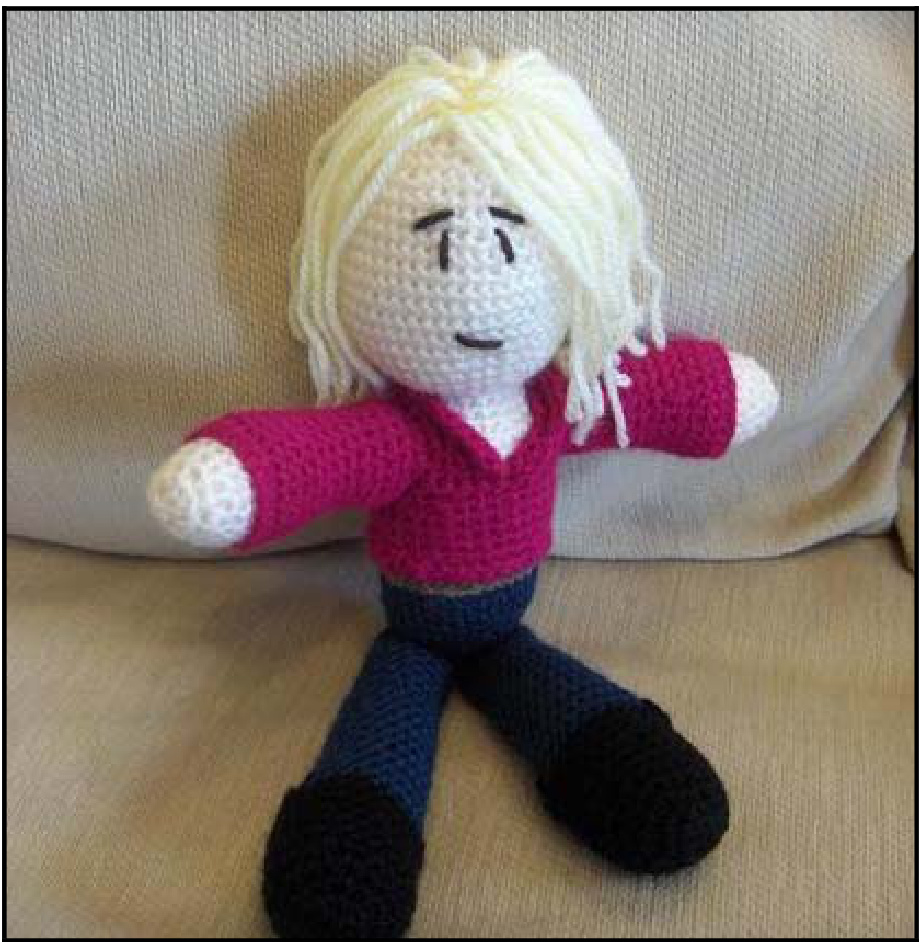
Rose!
Uy Linda
Rose
This pattern is heavily based on pixelatedmushroom's 'David Tennant Big and Cuddly' doll. It uses the same materials and abbreviations so you will need to see her pattern to understand the instructions in this one, which is only right and proper because what I'm quoting here is mostly her work! Her pattern can be found here: http://pixelatedmushroom.blogspot.com/2010/03/free-crochetpattern-david-tennant-big.html
Materials
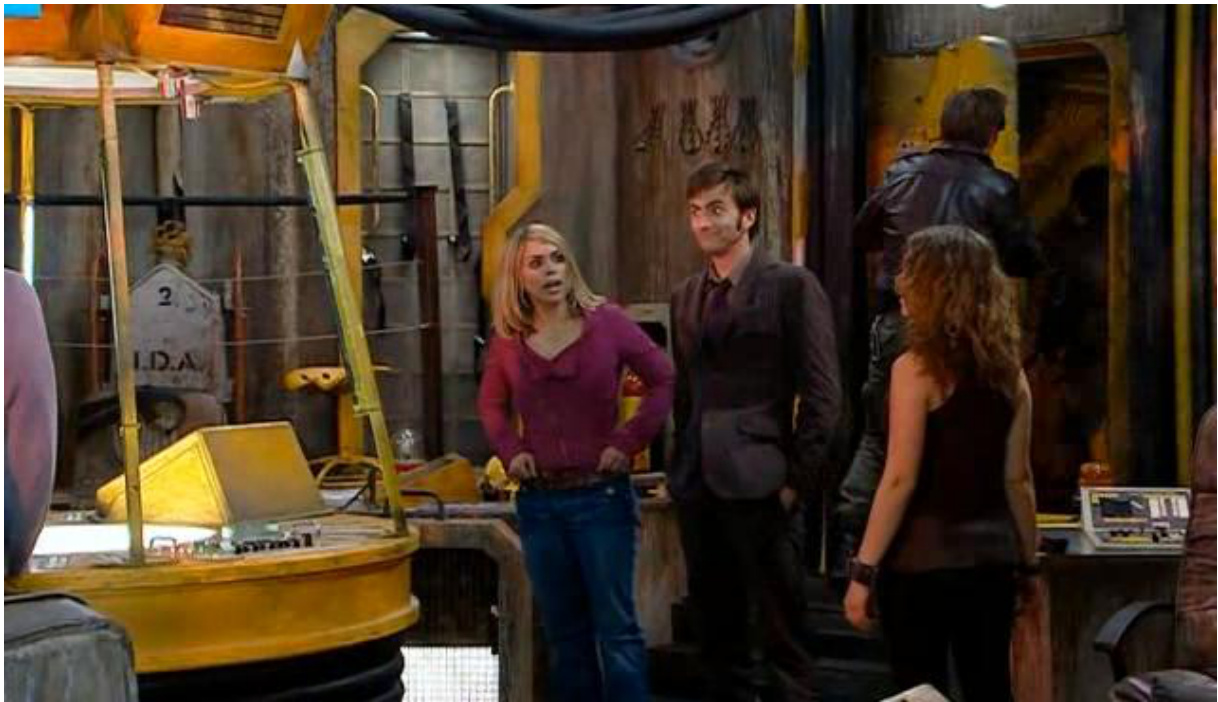
Rose!doll is wearing Rose's outfit from The Impossible Planet/The Satan Pit. So you will need some cerise pink for her top, light brown for her belt and blue and black for her jeans and shoes (as well as pale pink, yellow and dark brown for her skin and hair and face detail).
We would love to hear about any plushies made using these patterns! 10_point_5 on live journal: http://10-point-5.livejournal.com/profile PixelatedMushroom blog: http://pixelatedmushroom.blogspot.com/ Link Ravelry projects to: http://www.ravelry.com/patterns/library/david-tennant-big-and cuddly-drwho
Arms (make )
Using PALE PINK 1) magic circle 6 2) inc every s $\mathbf{t}=12$ 3) inc every $2^{\ n d}=18$ 4) inc every $5^{\mathrm{th}}=21$ 5) SC 6) SC 7) dec every $4^{\mathrm{th}}=17$ 8) SC 9) sC 10) dec every $4^{\mathrm{th}}=14$ 11) dec every $6^{\mathrm{th}}{=}~12$ 12) SC 13) SC 14) SC 15) SC 16) SC Cast off.
Head
Using PALE PINK 1) magic circle 62) inc every $s t=12$ 3) inc every $2^{\ n d}=18$ 4) inc every $3^{\mathsf{r d}}=24$ 5) inc every $4^{\mathrm{th}}=30$ 6) inc every $5^{\mathrm{th}}=36$ 7) inc every $7^{\mathrm{th}}=41$ 8) inc every $10^{\mathrm{th}}=45$ 9) sC 10) sc2, inc 1, inc every $11^{\mathrm{th}}=49$ 11) SC 12) inc every $24^{\mathrm{th}}=51$ 13) SC 14) SC 15) dec every $24^{\mathrm{th}}=49$ 16) SC 17) sc2, dec 1, dec every $11^{\mathrm{th}}=45$ 18) SC 19) dec every $10^{\mathrm{th}}=41$ 20) dec every $7^{\mathrm{th}}=36$ 21) dec every $5^{\mathrm{th}}=30$ 22) dec every $4^{\mathrm{th}}=24$ Cast off
Body
I worked some shaping into Rose's torso to make her a little more feminine:
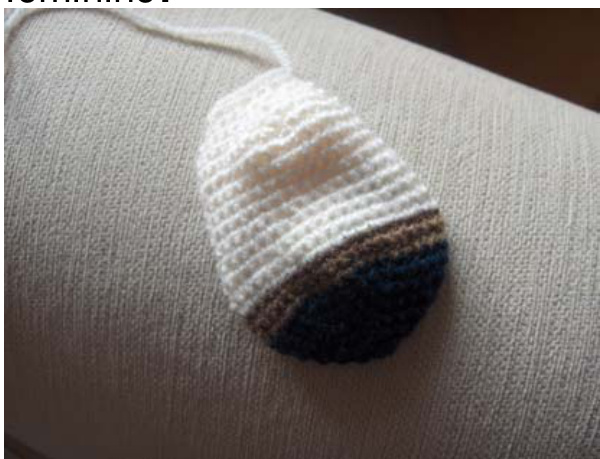
USIng BLUE 1) magic circle 6 2) inc every st $=12$ 3) inc every $2^{\ n d}=18$ 4) inc every $3^{\mathsf{r d}}=24$ 5) inc every $4^{\mathrm{th}}=30$ 6) inc every $5^{\mathrm{th}}=36$ change to BROwN (for the belt) 7) sC 8) sc change to PINK 9) sc 10) SC 11) dec every $15^{\mathrm{th}}=24$ 12) SC 13) dec every $8^{\mathrm{th}}=31$ 14) SC 15) SC 16) SC 17) begin shaping front and shoulders: sc 12, inc 1 in each of the next 2 st, sc 3, inc 1 in each of the next 2 st, sc $12=35$ 18) (sc 5, dec 1) twice, sc 11, (dec 1, sc 5) twice $=31$ 19) (sc 4, dec 1) twice, (sc 1, dec 1) twice, sc 4, (dec 1, sc1) twice, dec1, sc4, dec1, $\mathtt{s c}3=23$ 20) dec every $4^{\mathrm{th}}=19$ 21) dec every $2^{\mathsf{n d}}=13$ 22) SC Legs (make 2) using BLACK 1) magic circle 6 2) inc every $s t=12$ 3) inc every $2^{\ n d}=18$ 4) inc every $3^{\mathsf{r d}}=24$ 5) sC 6) sC 7) sC 8) sc 9) sc 10) SC 11) turning ch1, sc 14 12) turning ch1, sc 14 change to BLUE 13) $\mathtt{s c}=24$ 14) SC 15) sC 17, dec 2, sc $5=22$ 16) SC 17) sC 16, dec 1, sc $5=21$ 18) sC 15, dec 1, sC $5=20$ 19) SC 20) dec every $9^{\mathrm{th}}=18$ 21) SC 22) dec every $8^{\mathrm{th}}=16$ 23) SC 24) SC 25) SC 26) SC 27) dec every $7^{\mathrm{th}}=14$
Top
Method: The sleeves and body of the top are worked separately and then put on the doll. Then the sleeves are joined to the top and the collar is crocheted in situ. Using DARK PINK 1) ch 24 and join at end with slip stitch to make a circle 2) sC 3) sC 4)decevery $5^{\mathrm{th}}=20$ 5) sC 6)dec every $5^{\mathrm{th}}=17$ 7 - 16) 10 rows of sc Cast off. Now you will have all these parts:
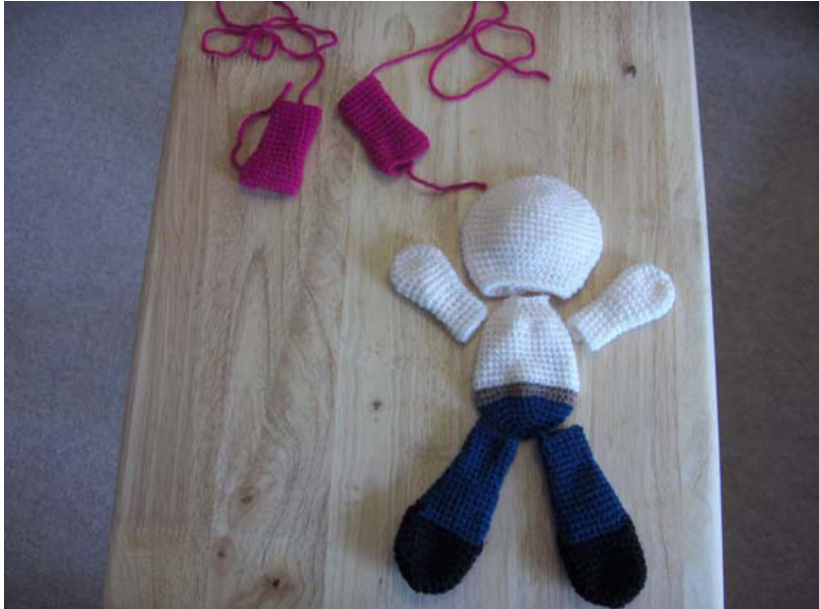
At this point make up the doll, stuffing the body parts and sewing them together. Finish the bottom edges of the sleeves and slip them onto the arms. Then begin on the main part of the top:
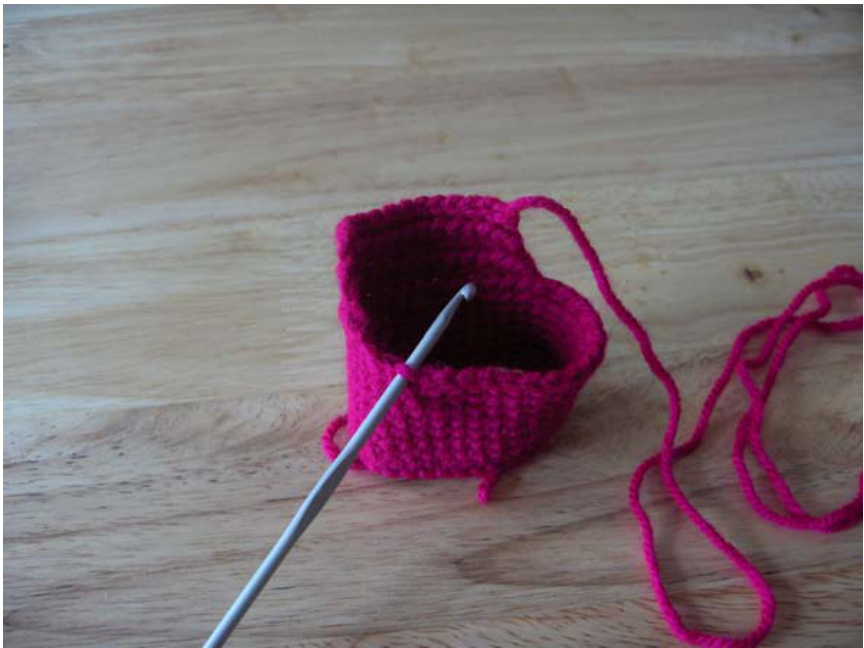
Main garment Using DARK PINK
1) ch 32 and join at end with slip stitch to make a circle 2) sc 3) sc 4) sc 5) sC 6) sC 7) sC Work the back (with sleeve shaping) as follows: 8) sc 7 stitches 9) turning ch1, sc 14 10) turning ch1, sc 1, dec 1, sc 10, dec 1, sc $1=12$ 11) turning ch1, sc 1, dec 1, sc 8, dec 1, sc $1=10$ 12) turning ch1, sc 10 13) turning ch1, sc 10 Cast off. Front. The left and right sides are worked separately. Start at the left side: leave two stitches for arm hole and re-join the yarn:
14) sc 2, dec 1, sc 8, dec 1, sc $2=12$ 15) turning ch1, sc 1, dec 1, sc 8, dec 1, sc $1=10$ a. turning ch1, sc 1, dec 1, sc 1, dec 1, sc $\mathsf{I}=3$ (i.e. working left side only) 16) turning ch1, sc 3 17) turning ch1, sc 3 18) turning ch1, dec 1 st at neck edge, sc 2 19) turning ch1, sc 2 20) turning ch1, dec 1 st at neck edge, sc 1 Cast off. Repeat rows 14-21 to work the right side of the top, rejoining the yarn two stitches from the right back and remembering to dec at the end of rows 19 and 21 instead of the beginning so that the decrease is at the neck edge. You will then have a piece that looks like this:
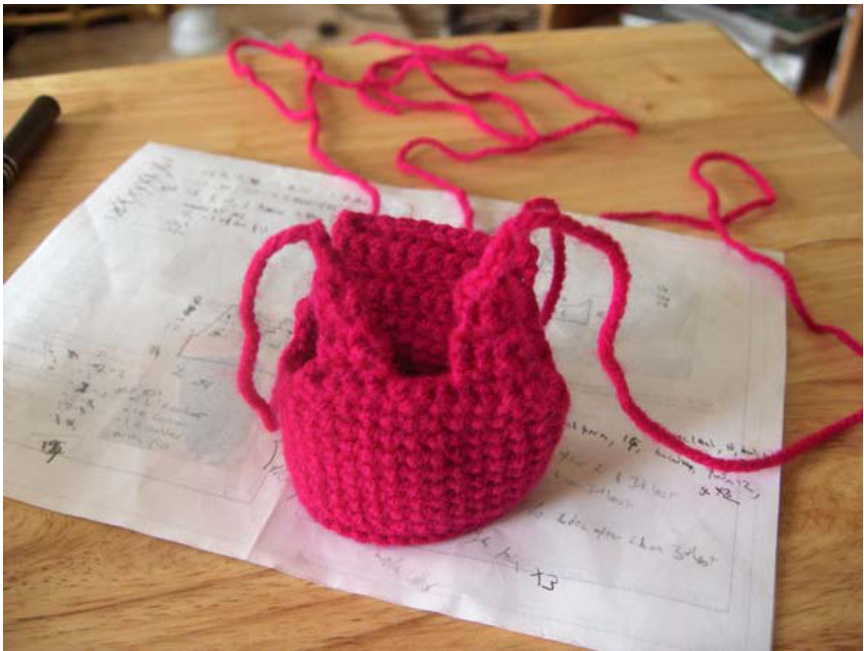
Put the body of the garment onto the doll (this may be a bit of a struggle):
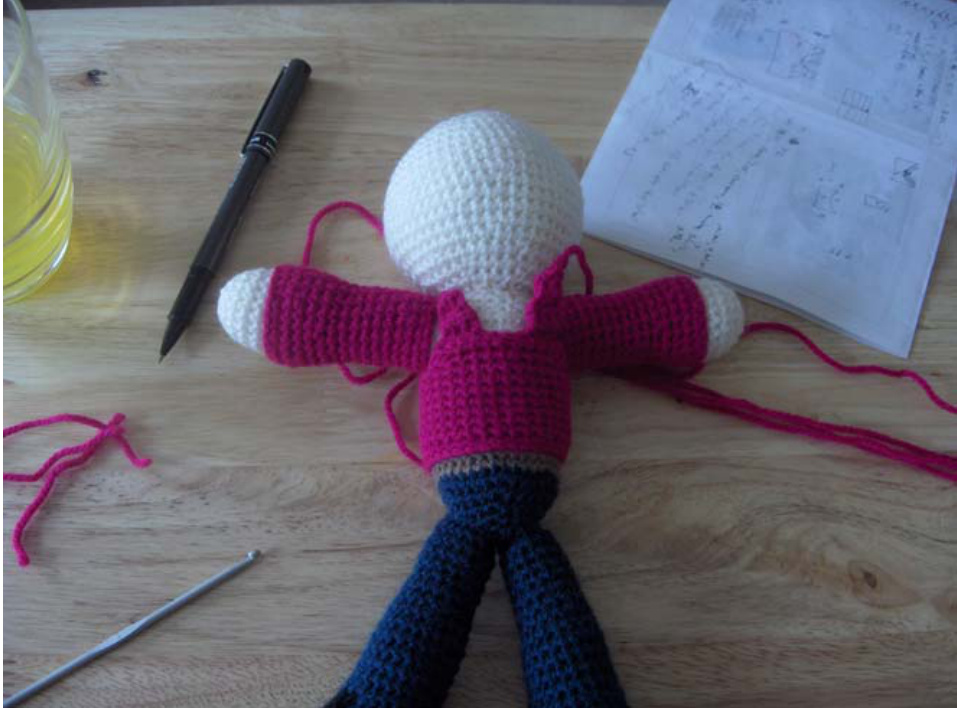
Next, sew the sleeves to the body of the garment and tidy up loose ends.
Collar:
21) To work the right of the doll's collar, join the yarn in the centre of the v-neck and work one row of sc, picking up stitches as best you can along the edge until you reach the shoulder. Turn, work a row of sc back to centre and cast off. 22) For the left side of the collar, start from the shoulder, picking up stitches and working one row of sc to the centre. Turn and work one row of sc back to the shoulder. 23) Use some of the yarn end from casting on and off at the front of the v neck, slip stitch the two collars together at the front. 24) Tidy up all loose ends.
Hair
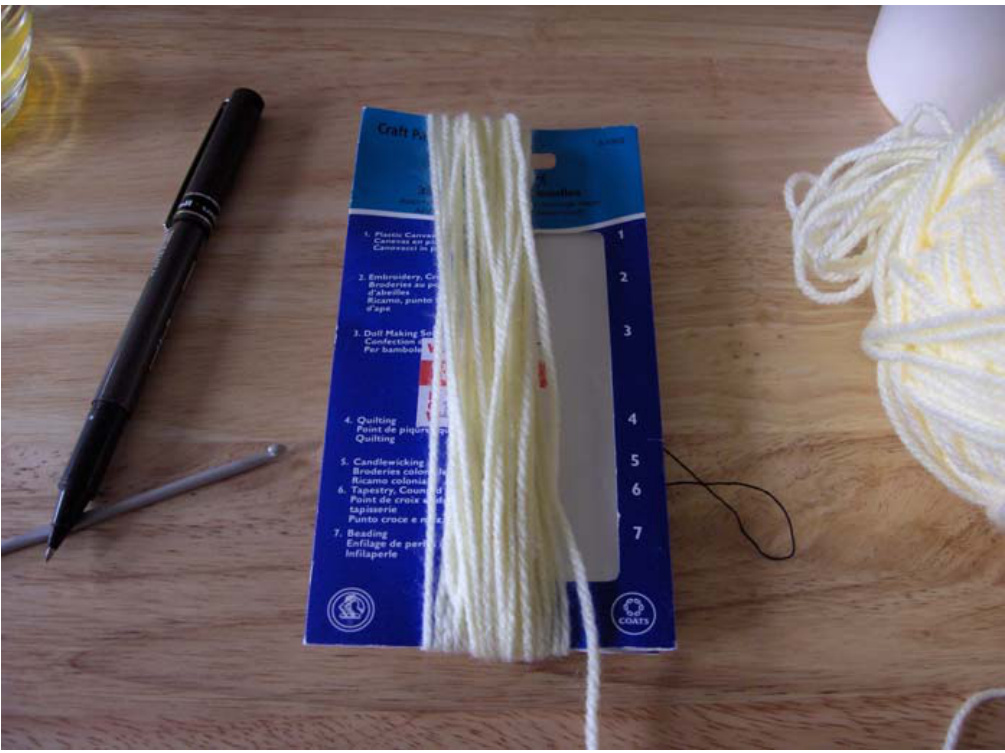
You can follow pixelatedmushroom's instructions for a little wig or attach each strand separately (details below on how to do that). This method basically involves folding a strand of wool in half, pulling the looped end through one of the stitches in the head and drawing the two loose ends through the loop to make a knot. It's basically the same as you would do for putting tassels on a scarf. Step 1: Cut some yellow wool in to strips of about 8 inches long (twice as long as you need plus a little more so you have room to trim the hair into shape when it is all attached). I found a piece of card half the length I wanted, wrapped it around and then cut it at one end.
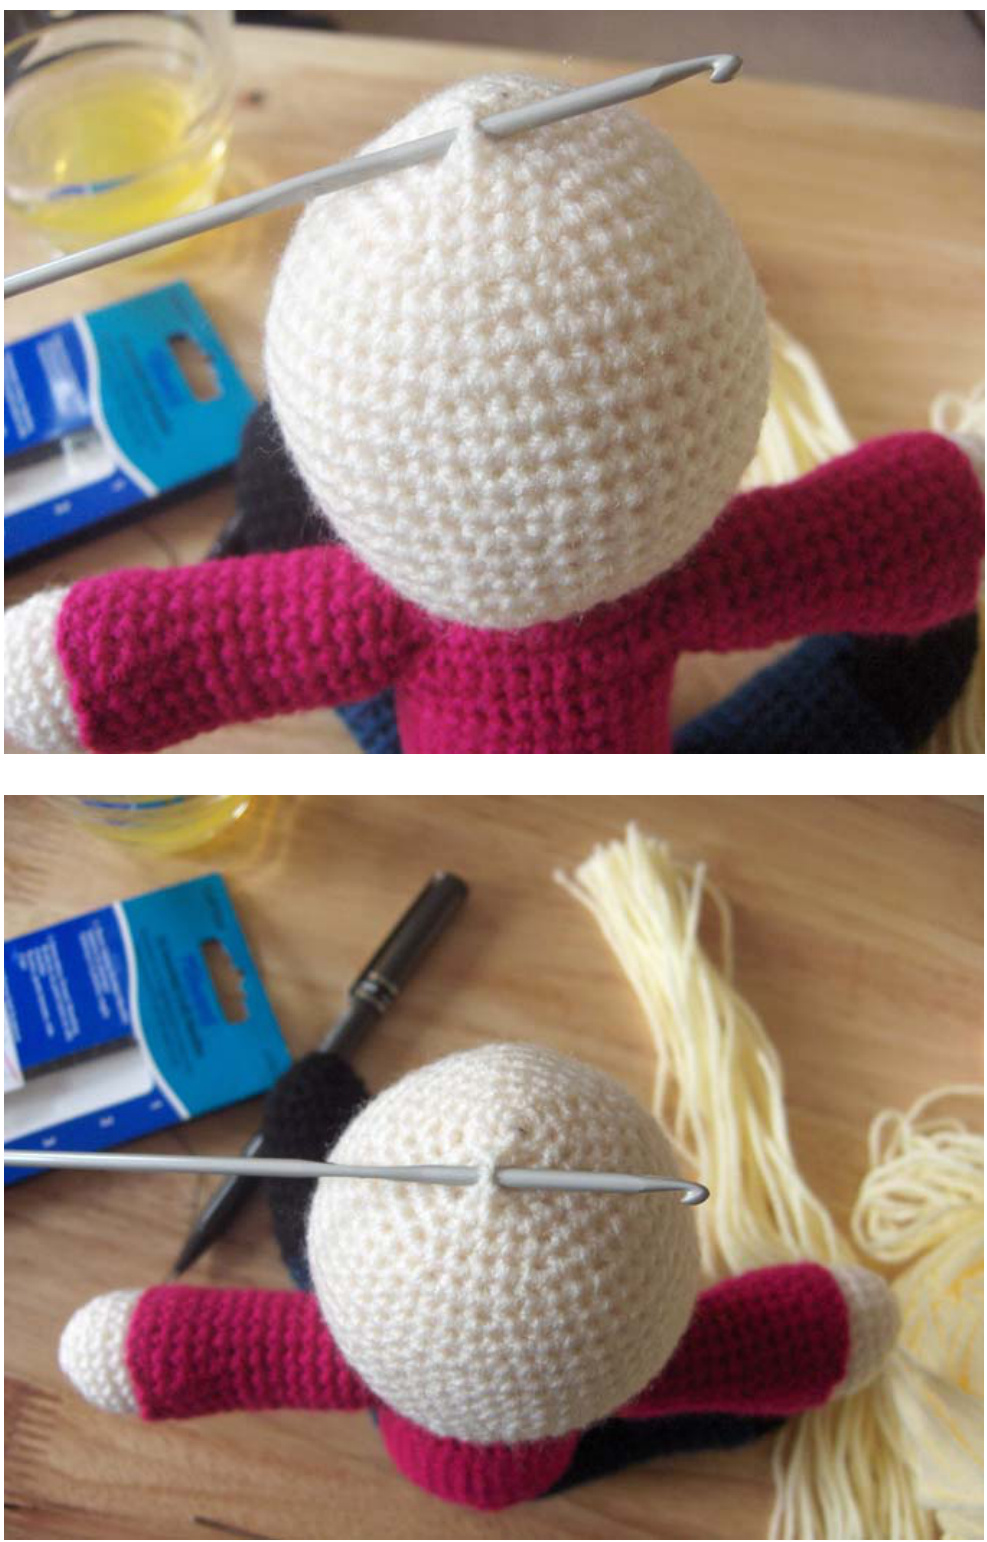
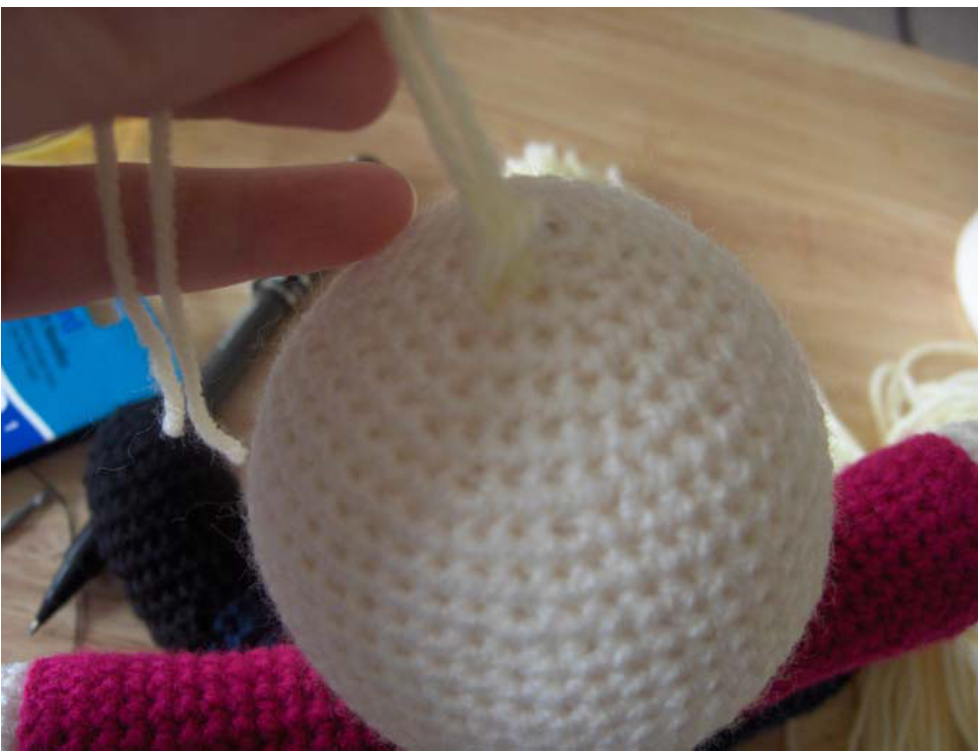
Step 2: Insert the crochet hook through one of the stitches (in to one of the indentations and out through an adjacent one): NOTE: I'm left handed so this may look a little odd to you right-handers!
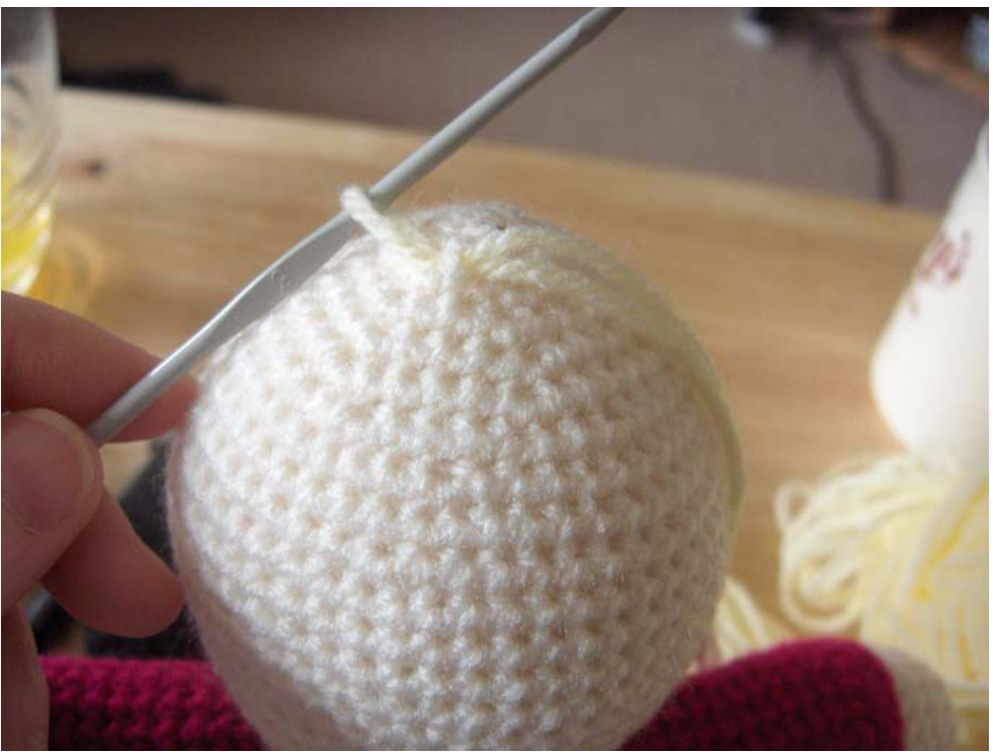
Step 3: Pick a strand of wool, drape it on the end of the hook and draw the hook and wool through to the other side.
Step 4: Draw the wool tail through the loop to secure the wool.
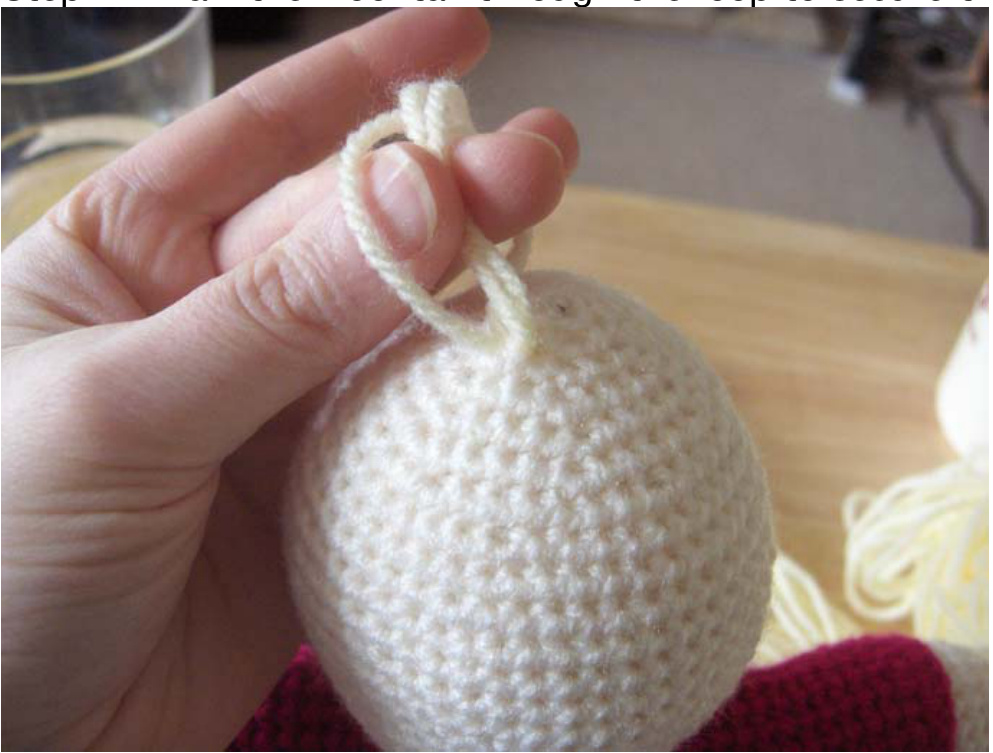
Continue adding strands of hair, working from the crown of the head down for three of four rows. Arrange the hair into a bit of a side parting and trim. Face. Using BROwN wool and following pixelatedmushroom's instructions, embroider eyes, nose and mouth. You're done!