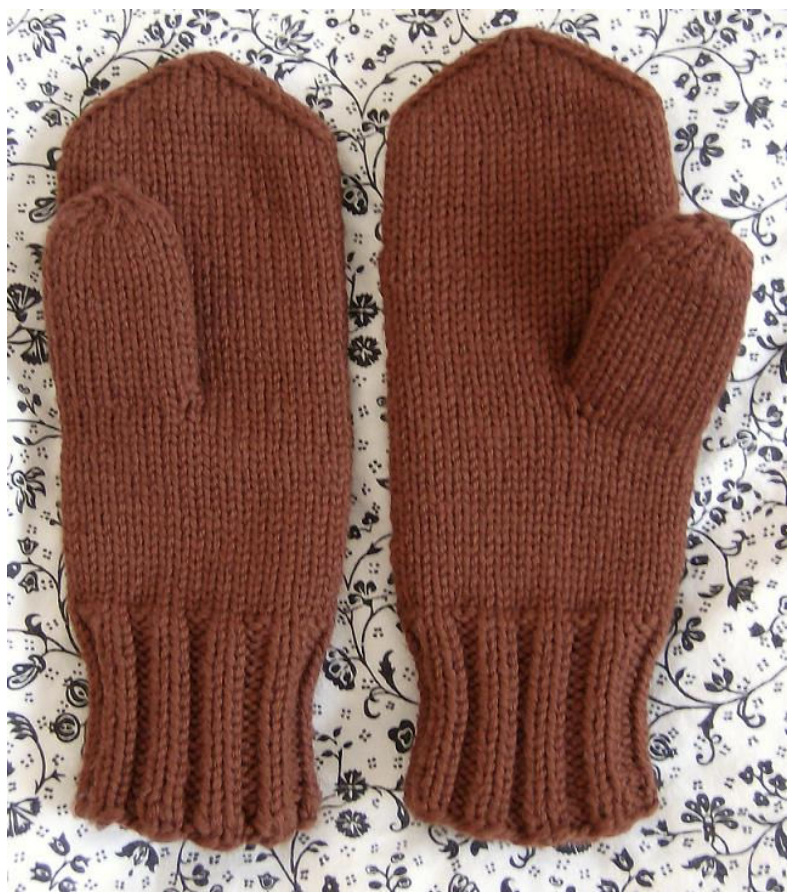
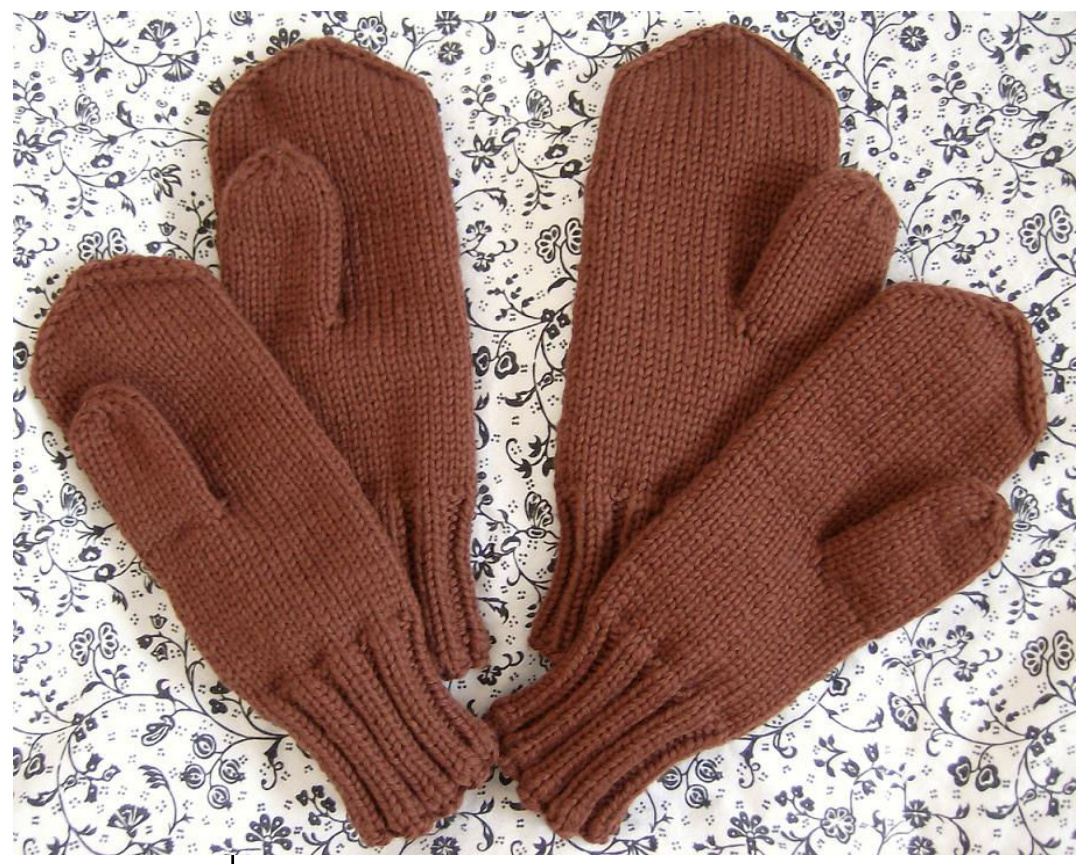
Gaugeless Mittens
By Audrey Paquin This pair of mittens is actually two pairs of mittens. A smaller pair is inserted into a larger one. The idea came to me to make this very thick mitten when my boyfriend complained that hand knit mittens let the air pass through the stitches and made his fingers cold when he had to work on snow removal. Also, I had a bag of yarn I didn't much care about because of the color... what better way to de-stash yarn you don't like AND keep a loved one toasty warm. To knit these mittens, I used $6\times50$ gram balls of DK weight yarn, holding two strands together, but you can use any yarn you like, and any size of needles you are comfortable knitting with. You could, for example, knit with one strand of bulky yarn and size Us9 needles. Just make sure you can knit a tight enough fabric without making the work too hard on your hands. You could also knit only one pair using double strands... i's up to you! This pattern is gaugeless because you will be working off an outline of the person's hand for whom you are knitting the mittens. You will take notes as you go along to make sure you reproduce the same mitten to complete each pair. Instructions are given for double pointed needles, but you can adapt to magic loop or two circulars easily. As you willbe doing most of the figuring out, I guess | can't really call this a pattern, but rather a "suggestion" :)
Outline
Place the hand of your recipient on a piece of paper, making sure his/her fingers are grouped together and the thumb is out, also make some room to trace the sides of the wrist.
A - Set-Up
With the needle of your choice and the long tail cast-on method, cast-on some stitches. Without stretching them on the needle, set them up against the hand outline and determine which width you want your mitten to be. I suggest using the widest point of the hand between the crook of the thumb and the knuckles). Count the number of stitches you need for that width and double it for your total cast-on number, making sure it's an even number. Write down that number under A in the "inner mitten" column on page 4. To get the measurement for the outer mitten, add 4 to that number.
B-Cuff
Put stitches on four double pointed needles, join in the round and knit as many rounds of ribbing as you like (K1, P1 if your total number of stitches is not a multiple of 4, or K2, P2 if it is). Write down how many you knit under B in the Notes page. Transfer that number to the "outer mitten" column.
C - Stockinette rounds up to thumb placement
Knit following rounds in stockinette until the hand part of your mitten reaches the crook of the thumb when you measure your kniting on the hand outline you drew. Write down the number of rounds you knit in stockinette under C in the notes page. Transfer that number to the "outer mitten" column.
D - Thumb placement
Measure your knitting on the outline of the thumb and determine the number of stitches you will need to knit your thumb. Write down that number of stitches under D in the notes page. For the "outer mitten" number of stitches, add 1 to that number. Right mitten - With a length of yarn in a contrasting color, knit the first D stitches of needle 1 (being the beginning of the round), put those stitches back on the left needle and re-knit them with your regular yarn. It will look like this:
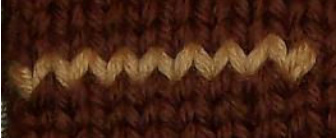
At the end, when you are ready to knit the thumb, you will be able to pick the live stitches up, remove the temporary piece of yarn and complete the thumb. There's a very good tutorial at http://akittenknits.blogspot.com/2006/12/thumb-trick.html if you don't already know this technique. Left mitten - you will do the same, but on the last D stitches of the second needle (to place the thumb on the other side of the hand).
E - Stockinette rounds up to mitten cap
Knit subsequent rounds in stockinette until the hand part of your mitten reaches the longest finger of the hand when you measure your knitting on the hand outline you drew. Write down the number of rounds you knit in stockinette under C in the notes page. For the "outer mitten" number of rounds, add 2 to that number.
Cap decreases
Needles 1 & 3 - ssk, knit rest of stitches Needles 2 & 4 - Knit to last two stitches, K2tog Repeat this round until you have a maximum total of 8 stitches on your needles (it can be 6 or 4, as you wish). Cut yarn, thread through a needle, pass through remaining stitches once or twice, thread through to the inside, weave in end.
F- Thumb
As explained in the tutorial cited above, pick-up the stitches you temporarily left on a piece of yarn, divide stitches equally on 4 double pointed needles. As you start knitting in the round, pick up and knit one or two stitches on each side of the thumb, to make sure you don't get holes on the side. Knitting those new stitches through the back look will make them nice and tight. Knit a few rounds and measure your kniting against the outline of the thumb. Count the number of rounds you have knit for the length of the thumb, write it down under F in the notes page. For the number of rounds for the outer mitten, add two and write that number under the "outer mitten" column. When your thumb is as long as the outline, decrease over two rounds (suggestion: (K2tog) all round for even number of stitches, (K1, K2tog) for odd number of stitches). Cut yarn, thread through a needle, pass through remaining stitches once or twice, thread through to the inside, weave in the ends.
NEXT
Knit a second inner mitten, making sure to place the thumb on the other side of the mitten. Knit the outer mitten using the measurements you noted in the appropriate column on the Notes page. $\circledcirc$ Audrey Paquin. 2009. This pattern is provided as a freebie. You may copy it, distribute it, print it and make origami with it, how would I know? Just don't pass it as your own or sellit as that wouldn't be fair. If you need any advice or help with this pattern, you can e-mail me at inukshuk71@sympatico.ca You can also read my often neglected blog at: http://www.stitchintime71.blogspot.com/
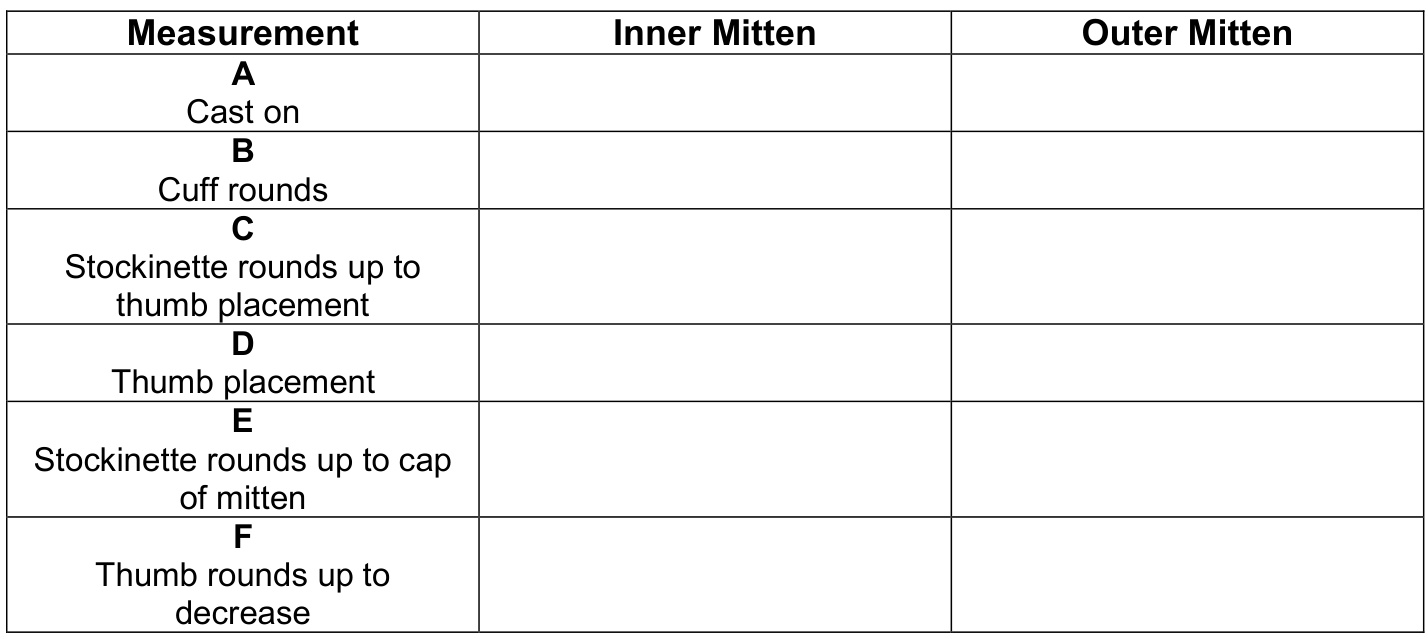
NOTES