The teach-your-friend-how-toknit-a-hat hat!
The Teach-Your-Friend-How-To-Knit-A-Hat Hat!
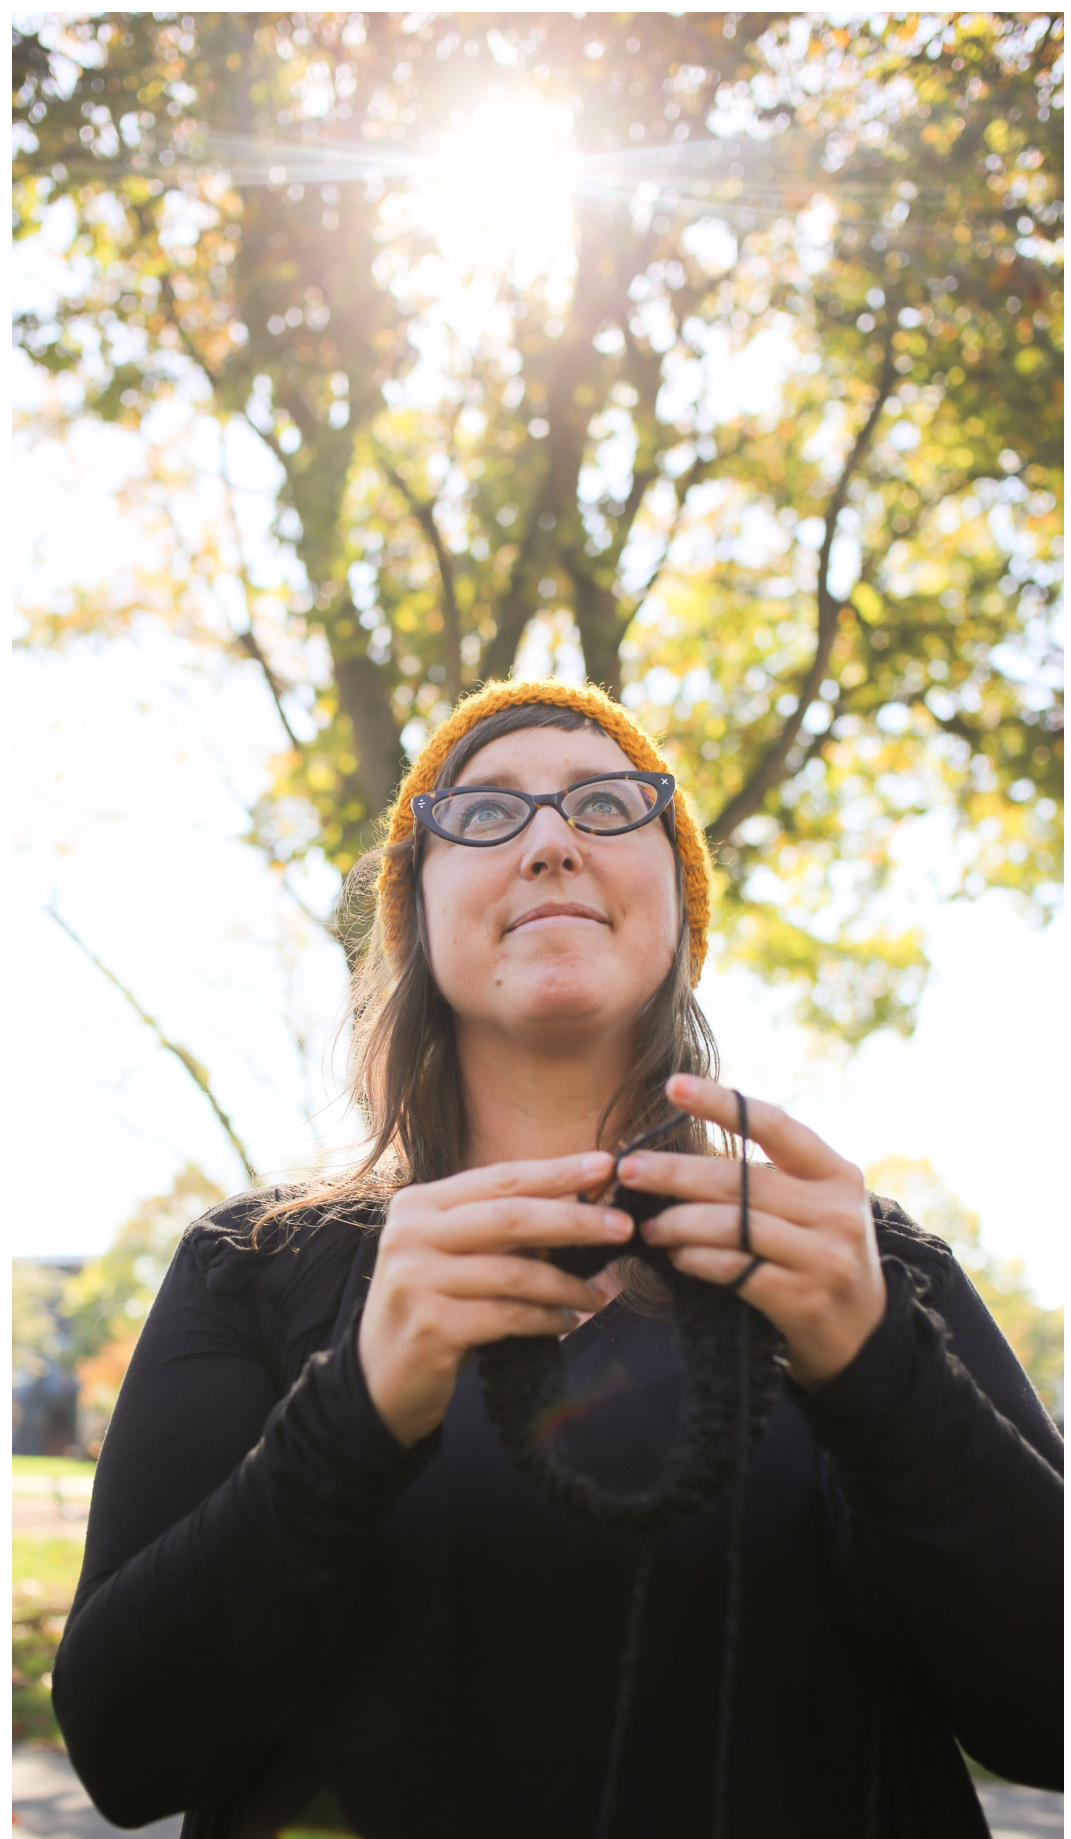
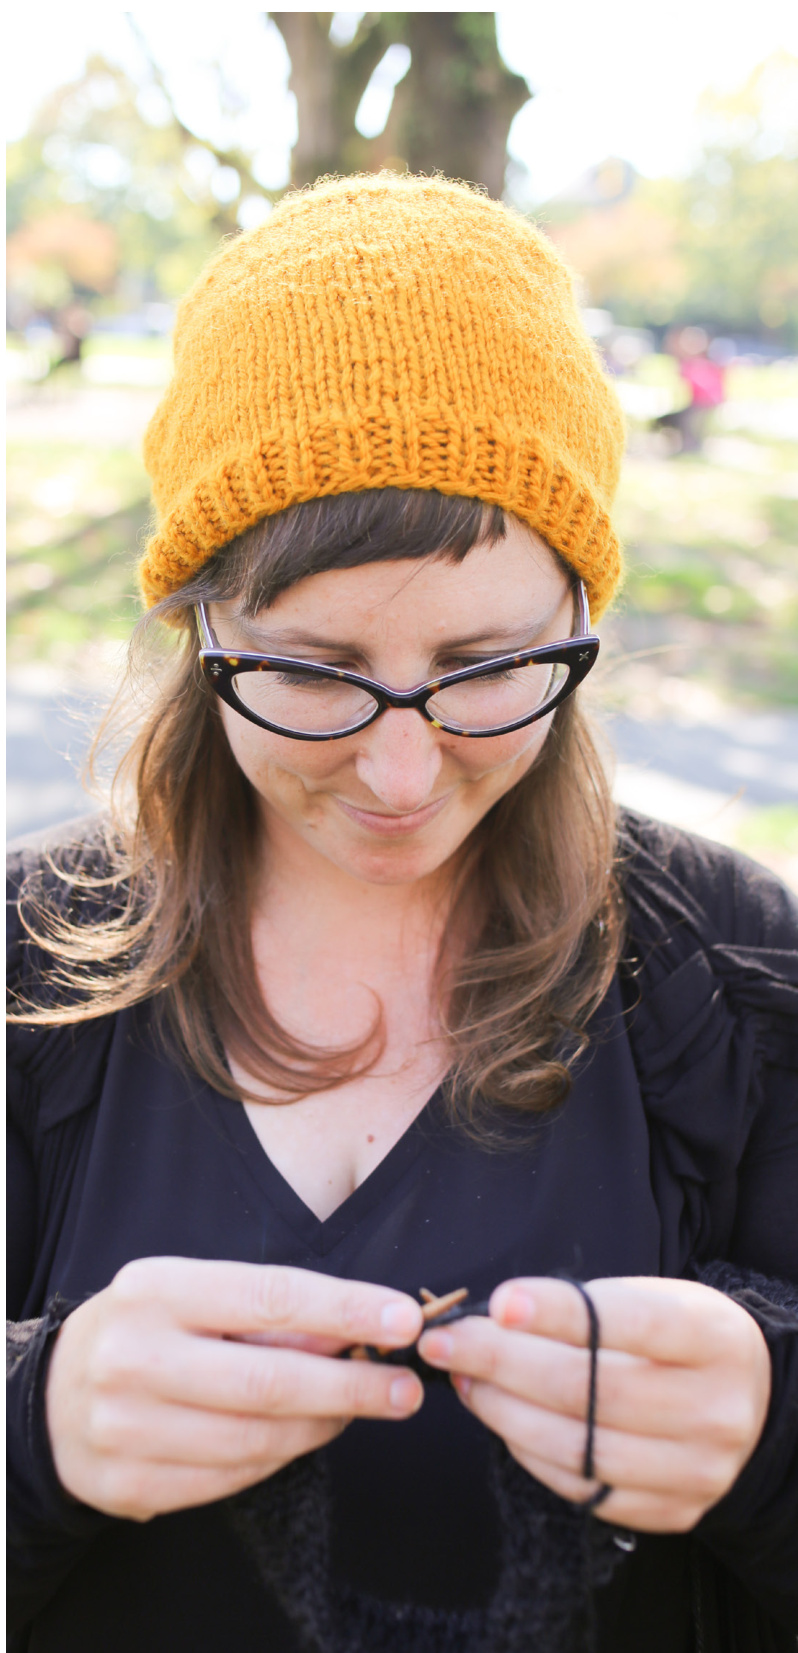
I have taught how to knit this hat to many people, many times over the years. Always with the same kind of yarn and needles just passed from friend to friend. I want to teach you to teach your friend how to knit this hat. Don't worry about gauge (although gauge is provided). Just teach them how to knit a hat and then have them try it on all their friends to see who it looks best on. My lovely model and sample knitter Vivienne McMaster is the brilliant mind behind Be Your Own Beloved Photography! www.beyourownbeloved.com She teaches wonderful body positive photography in person as well as providing awesomely accesible ecourses. Pop over to her website to see what she's offering!
All the beginning things:
Needles: A set of 6.5mm (US 10) 16" circular needles and a set of 6.5mm double pointed needles (DPNs)(or whatever it takes to get gauge) Yarn: 1 skein of Galway Chunky in the mustard colourway. Notions: 1 stitch marker for marking the start of round. Gauge: 12 stitches × 20 rows = 4" × 4" square of fabric. Worked in stockinette (knitting every round) Size: This hat will fit a 22" - 24" head. It's 2o" around at the brim unstretched, and 9.5" tall from brim to very top of hat.
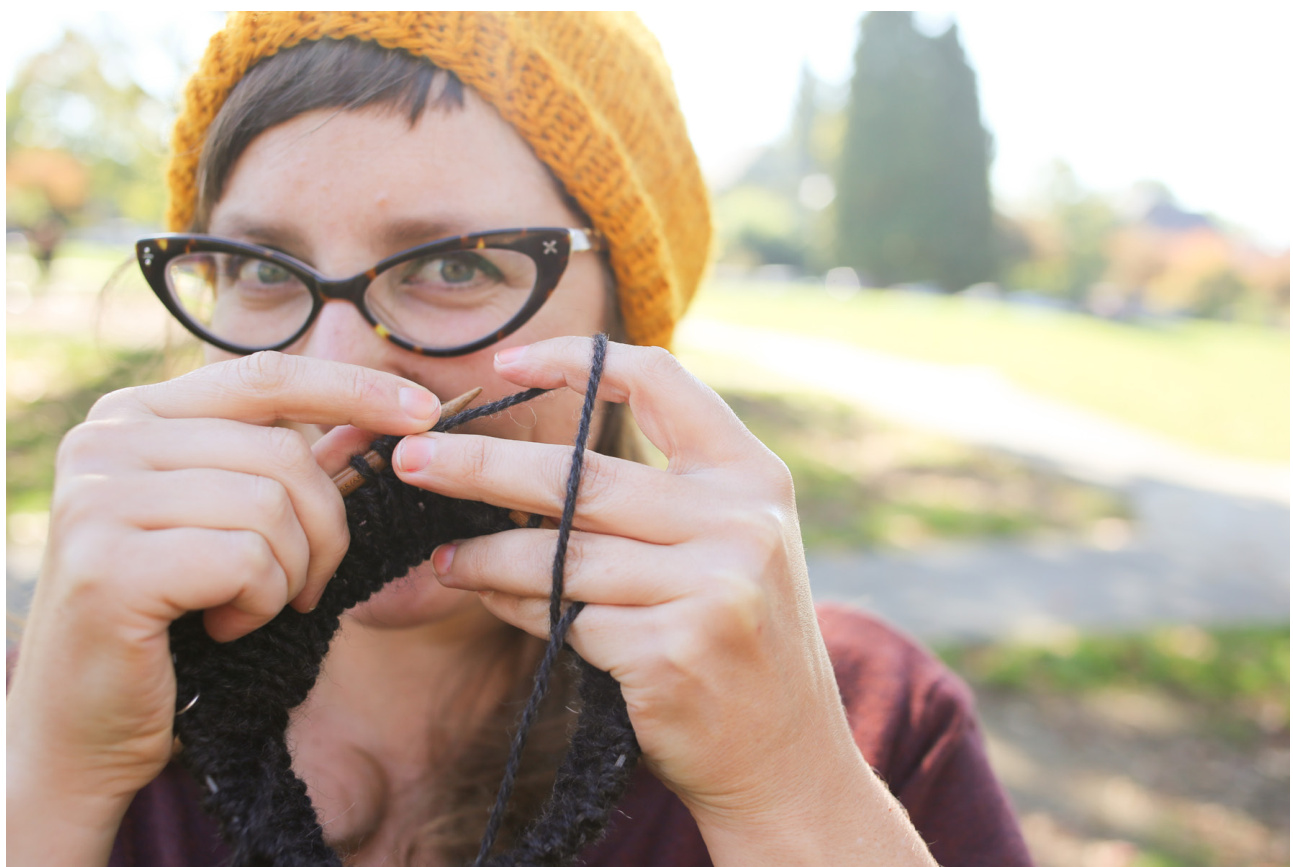
Let s get started! Cast on 70 stitches using the Long Tail Cast On method. You can actually use any method you'd like for this. The long tail is my go-to cast on so l recommend it. Place a stitch marker and join in the round making sure that you're not twisting your stitches. You want all of your stitches to face the same way and not twist around the knitting needle at all. The marker is just there to show you where the beginning of the round is. Just slip it from the left hand needle to the right hand needle when you come to it.
The Brim of the Hat:
Round 1: [Knit one stitch, Purl one stitch] repeat the stitches in brackets for the whole round (you're knitting one stitch and purling one stitch over and over for the whole round) Repeat Round 1 for 2 inches worth of fabric. That's going to be 6 or so rounds.
The Main part of the Hat:
Knit every stitch in the round, and keep on knitting until you have 7" of fabric on your knitting needles. You can knit a bit less if you'd like it to be more like a fitted beanie, and you can knit more if you'd like it to be a bit slouchier.
The Decreases (crown of the Hat):
At this point people find it more comfortable to switch to DPNs. Decrease Round 1: [Knit 8 stitches, Knit 2 stitches together] repeat stitches in brackets for the whole round Decrease Round 2: Knit all stitches Decrease Round 3: [Knit 7 stitches, Knit 2 stitches together] repeat stitches in brackets for the whole round Decrease round 4: Knit all stitches Decrease Round 5: [Knit 6 stitches, Knit 2 stitches together] repeat stitches in brackets for the whole round Decrease Round 6: Knit all stitches Decrease Round 7: [Knit 5 stitches, Knit 2 stitches together] repeat stitches in brackets for the whole round Decrease Round 8: Knit all stitches Decrease Round 9: [Knit 4 stitches, Knit 2 stitches together] repeat stitches in brackets for the whole round Decrease Round 10: Knit all stitches Decrease Round 11: [Knit 3 stitches, Knit 2 stitches together] repeat stitches in brackets for the whole round Decrease round 12: Knit all stitches Decrease Round 13: [Knit 2 stitches, Knit 2 stitches together] repeat stitches in brackets for the whole round Decrease round 14: Knit all stitches Decrease Round 15: [Knit 1 stitch, Knit 2 stitches together] repeat stitches in brackets for the whole round. At this point you should have a few stitches left on your kntiting needles. Break the yarn, leaving about a 6" tail. weave the tail of yarn through the live stitches on your needles and take out your knitting needles, pull the yarn tight and knot it on the inside of the hat. Weave in ends, wear and enjoy!


