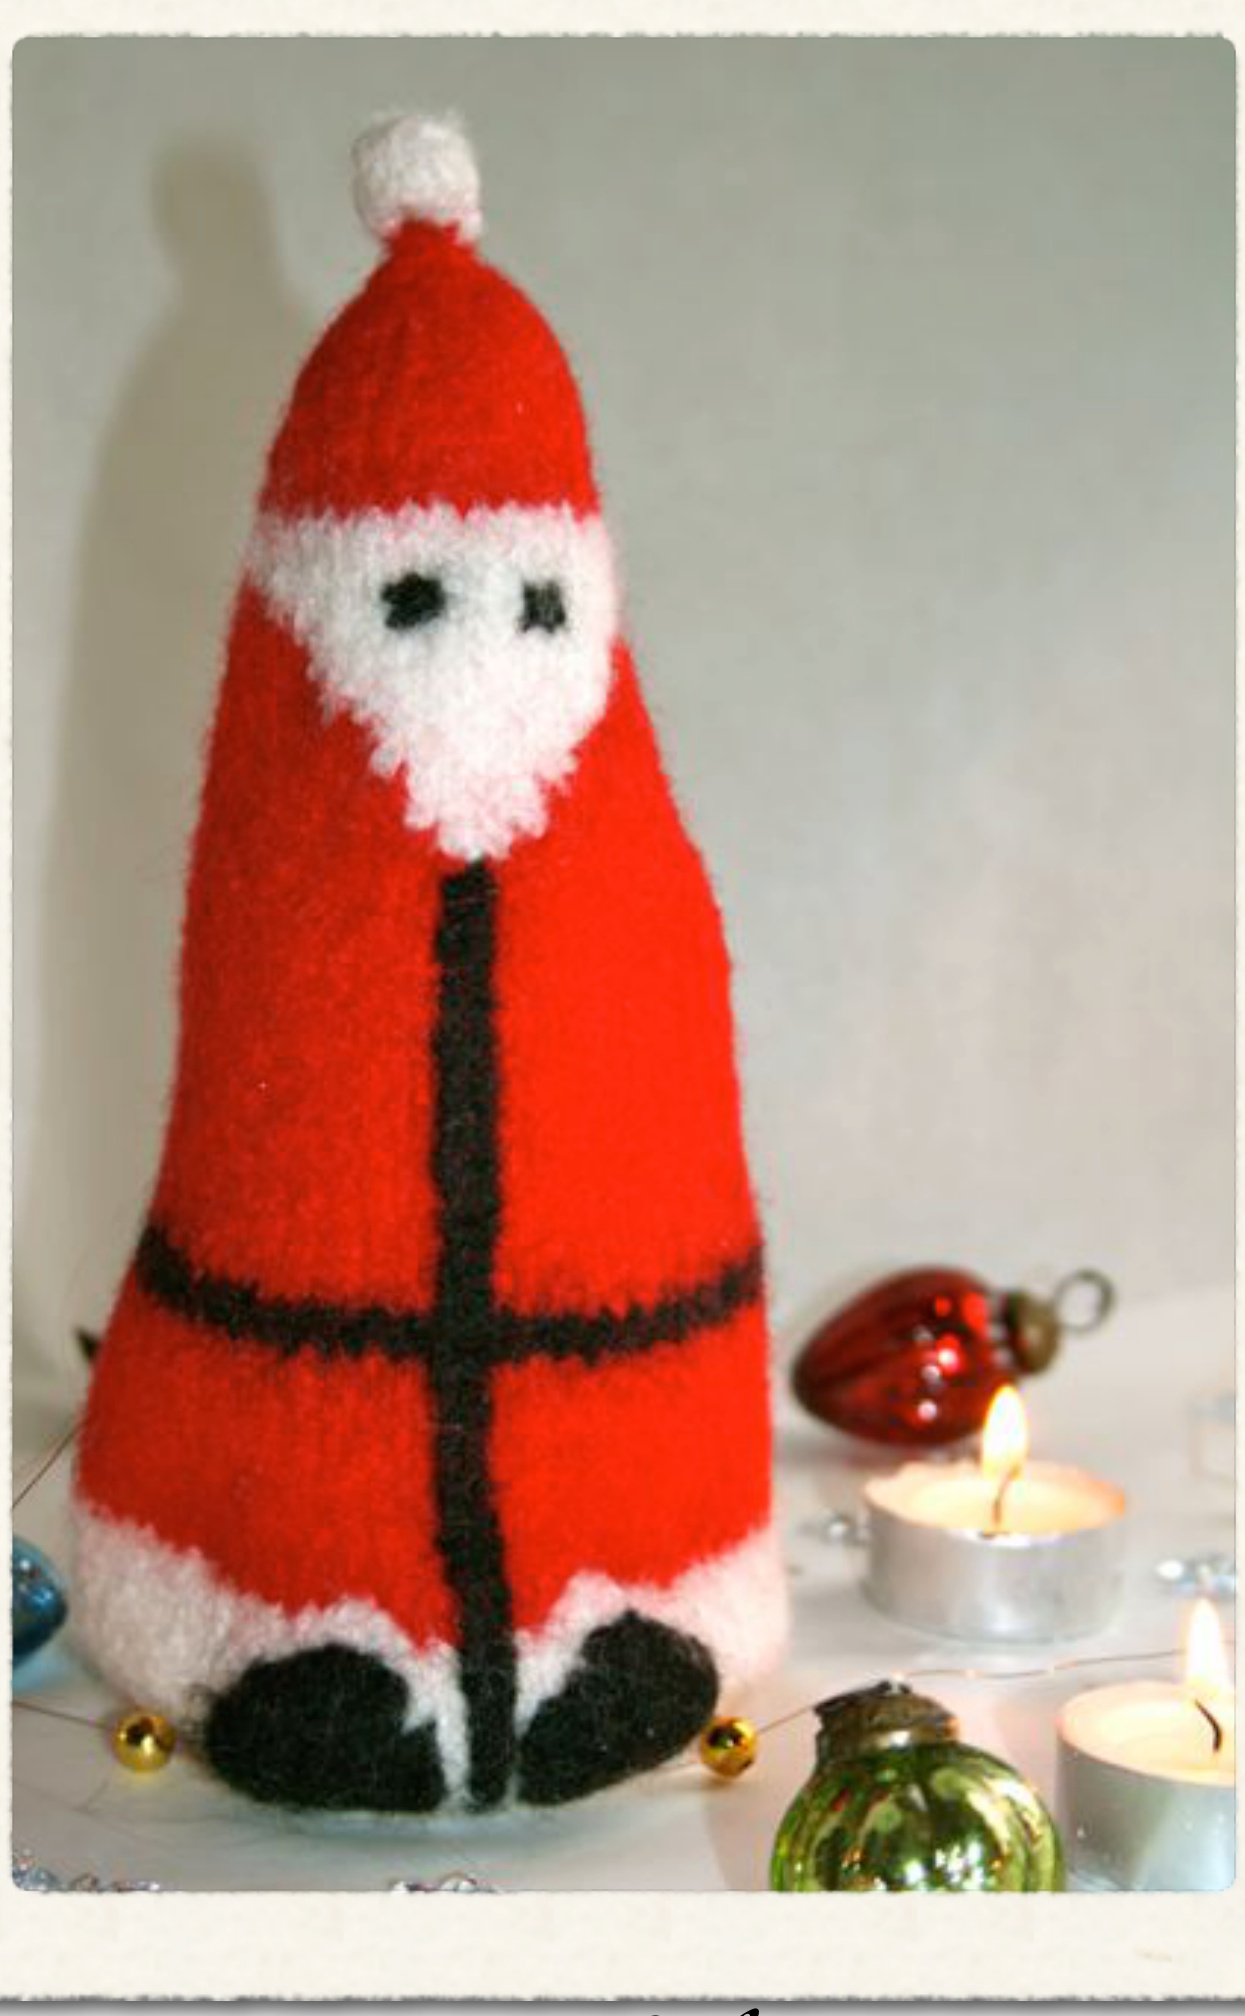
Nikolaus
Karen Wessel
Size:
Approx. 31 cm (12.25 in) high and 12 cm (4.7 in) diameter before felting and 9.5 x 8 cm (3.7 x 3.1 in) after felting, the final size will depend on how hard Santa is felted.
Yarn:
Approx. 50 g each feltable DK yarn in red and white (Cascade 220, 100% Peruvian Highland Wool, 200 m/100 g, red: colour 8895, white: colour 8010) and approx. 25g feltable DK yarn in black (Cascade 220, 100% Peruvian Highland Wool, 200 m/100 g, 200 m/ 100 g, black: colour 8555).
Needles:
One set of 5mm (US size 8) double pointed needles.
Notions:
2 cable needles (or spare dpns), tapestry needle for tidying up the ends and duplicate stitch, stitch marker, Hook & Loop Tape for closing the back opening, sewing needle and thread
Gauge:
before felting: 19 stitches and 26 rows in stocking stitch for 10cm (4 in) square.
Notes:
Nikolaus/Santa is worked in the round from the centre of the bottom upwards until the back opening. For the length of the opening the piece is worked in rows back and forth but I recommend to keep working on the dpns for ease. For the “hat" the knitting is joined into the round again. For this project I very much recommend working the colour work sections (the feet “bulges” and the face/ beard) with the other colour (red) in long floats and not twisting the two strands as this shows through after felting and Santa will be rather “blushed".
Felting:
I have had the best felting results with non-biological washing powder and a 60°C (140 F) wash with towels (I have a front-loading machine). Please keep in mind that felting works best on best if the item is knitted with a loose gauge and please do not add any bleaching reagents etc as these will impede the felting process.
Abbreviations:
k2tog: knit 2 stitches together kf&b: knit into front and back of the same stitch p: purl p2tog: purl 2 stitches together Red: work stitch in red yarn sl1 k2tog psso: slip 1 stitch, knit 2 stitches together and pass slipped stitch over ssk: slip 2 stitches knitwise, then knit both stitches together through the back loop sts: stitches W: work stitch in white yarn
Casting on:
With white yarn cast on 8 sts using a circular caston method and place marker for the beginning of the round. A good circular cast-on tutorial can be found at: http://techknitting.blogspot.com/ 2007/02/casting-on-from-middledisappearing.html
Pattern:
Round 1: k to end of round Round 2: [kf&b] 8x (16sts) Rounds 3 to 5: k to end of round Rounds 6: [kf&b] 16x (32sts) Rounds 7 to 10: k to end of round Round 11: [kf&b] 32x (64sts) Rounds 12 to 15: k to end of round Rounds 16: p to end of round This round marks the end of the base. Rounds 17 to 24: k to end of round Join in red yarn. Round 25: k26 Red, k4 W, k4 Red, k4 W, k26 Red Round 26: k27 Red, k2 W, k6 Red, k2W, k27 Red Cut white yarn and continue working in red Only. Round 27: [kf&b] 4x, k to end (68sts) Round 28: You will now stop working in the round, and you will work back and forth to create an opening. Slip 1 to cable needle and hold at front, slip 1 to a second cable needle and hold at back. \*Slip next stitch to cable needle at front, slip next stitch to cable needle at back; rep from \* twice more. The 4 sts on the cable needle at the back can now be returned to the left-hand needle without twisting them. Knit the 4 sts on front needle, turn work, knit 4 sts (the same you just knitted), p60, knit 4 sts (these are the sts from the back cable needle). Row 29: [k4, k2tog, k10] 4x, k4 (64sts) Row 30: k4, p56, k4 Row 31: k to end of row Row 32: as row 30 Row 33: [k8, k2tog, k5] 4x, k4 (60sts) Row 34: k4, p52, k4 Change to black yarn: Row 35: k to end of row Row 36: k4, p52, k4 Change back to red yarn and cut black yarn: Rows 37 to 40: repeat rows 35 and 36 twice Row 41: [k12, k2tog] 4x, k4 (56sts) Row 42: k4, p48, k4 Row 43: k to end of row Rows 44 to 46: repeat rows 42 and 43, ending with row 42 Row 47: [k4, k2tog, k7] 4x, k4 (52sts) Row 48: k4, p44, k4 Row 49: k to end of row Rows 50 to 52: repeat rows 48 and 49, ending with row 48 Row 53: [k7, k2tog, k3] 4x, k4 (48sts) Row 54: k4, p40, k4 Row 55: k to end of row Rows 56 to 58: repeat rows 54 and 55, ending with row 54 Row 59: [k9, k2tog] 4x, k4 (44sts) Join in white yarn: Row 60: k4 Red, p19 Red, p2 W, p15 Red, k4 Red Row 62: k18 Red, k4 W, k22 Red Row 63: k4 Red, p18 Red, p4 W, p14 Red, k4 Red Row 64: k17 Red, k6 W, k21 Red Row 65: k4 Red, p17 Red, p6 W, p13 Red, k4 Red Row 66: k4 Red, k2tog Red, k8 Red, k2tog Red, k8 W, [k2tog Red, k8 Red] twice (40sts) Row 67: k4 Red, p13 Red, p10 W, p9 Red, k4 Red Row 68: k12 Red, k12 W, k16 Red Row 69: k4 Red, p12 Red, p12 W, p8 Red, k4 Red Row 70: k11 Red, k14 W, k15 Red Row 71: k4 Red, p10 Red, p16 W, p6 Red, k4 Red Cut red yarn and work in white yarn only: Row 72: [k7, k2tog] twice, k7, ssk, k7, k2tog, k4 (36sts) Row 73: k4, p28, k4 You will now stop working in rows, and knit in the round again to close the opening you have created. Slip the last 4 sts of the previous row (the ones you just knitted) to cable needle and hold at back, slip the first 4 sts of row to a second cable needle and hold at front. \*Slip left-most stitch of the front cable needle to your left dpn, slip left-most stitch on the back cable needle to left dpn\* repeat from \* to \* three more times. Round 74: [k2tog] 4x, k to end of round (32sts) Rounds 75 to 76: k to end of round
Change to red yarn only: Round 77: [k3, k2tog, k3] 4x (28sts) Rounds 78 to 79: k to end of round Round 80: [k5, k2tog] 4x (24sts) Rounds 81 to 82: k to end of round Round 83: [k1, k2tog, k3] 4x (20sts) Rounds 84 to 85: k to end of round Round 86: [k1, sl k2tog psso, k1] 4x (12sts) Round 87: k to end of round Round 88: [k1, k2tog] 4x (8sts) Round 89: [k2tog] 4x (4sts) Round 90: [k2tog] twice (2sts) Change to white yarn only: Round 91: \*[kf&b] 3x in same st\*, this will make 6 sts, repeat from \* to \* once more (12 sts) Round 92: p to end of round Round 93: k to end of round Round 94: [p2tog] 6x (6 sts) Round 95: [sl1 k2tog psso] twice (2 sts) Pull yarn through remaining 2 stitches and to the inside of work.
Finishing:
With black yarn and using duplicate stitch (also known as Swiss darning), embroider on Santa's shoes, eyes and the coat opening. Work the black line for the coat opening from the middle of his bearddownwards. Carefully weave in all ends on the inside of Santa. Adjust any tension problems (tight or loose stitches) in the colour work sections. Felt Santa according to instructions. Take him out promptly, shape and stuff him to dry (I have used plastic bags or socks). Once dry sew on the Hook & Loop tape (or fastening of choice) on the Overlapping part of the opening, this will enable you to “close” Santa's back properly once filled.
This design is copyright Karen Wessel 2011. This pattern is for personal use and charitable donation only. Please do not reproduce, distribute or makes items for sale without the express written permission of the copyright owner. For comments and errata please contact me at quesselchen@yahoo.co.uk or visit my website at http:// www.quesselchen.com. You can find me on Ravelry as quesselchen.


