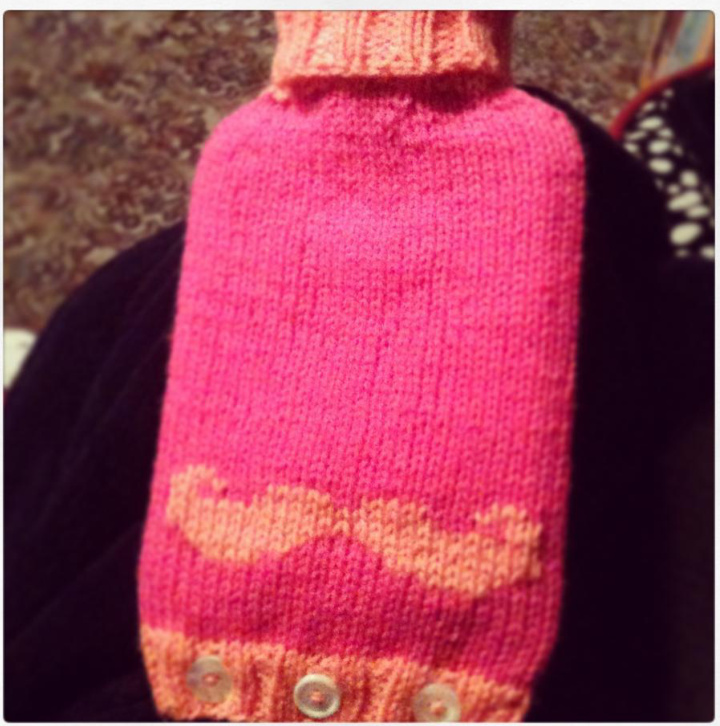
Mini Hot Water Bottle Cover
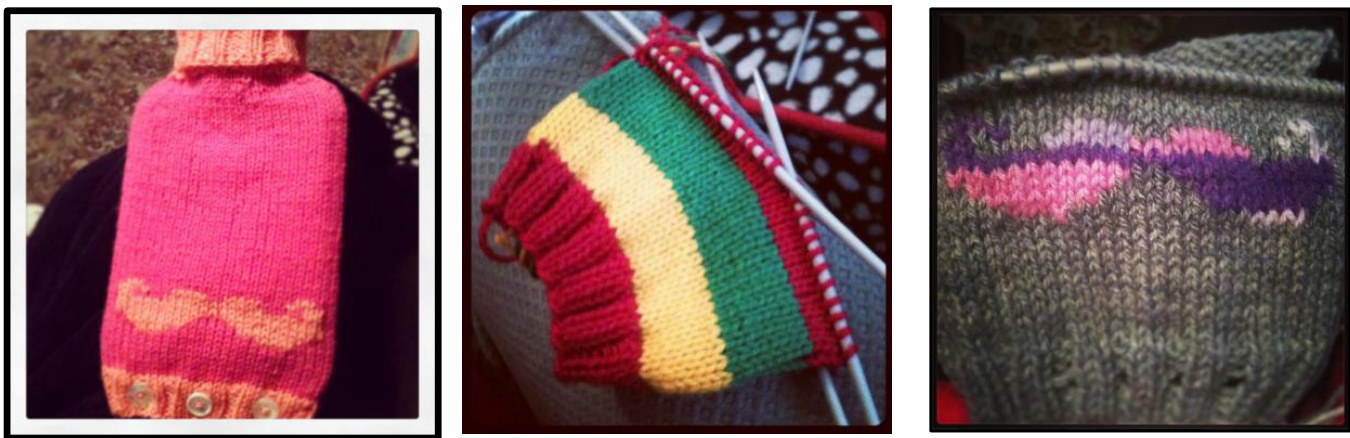
This pattern is for a mini hot water bottle cover, intended to fit a 5o0ml hot water bottle that measures approx 14.5cm wide and 26.5cm tall. It features three button holes and a ribbed neck which means that it is easy to remove or fill the hot water bottle as needed. I used 4mm dpns with some spare wool (not certain on brand), but I'm sure that you can use what you have around the house by changing the needle size to obtain gauge. The gauge is not essential to the working of this item, although it is recommended to knit on the tight side as it will probably get a bit bigger after the heat of the hot water bottle; and it helps if you're going to use different needles or Wool. You can choose to alternate the colours in the cover, or even add motifs. You can also knit so that the ribbed neck is just long enough to cover the neck of the hot water bottle, or keep going so that it is able to be folder over, which I feel gives it a nicer finish.
Abbreviations:
CO - Cast On K2P2 - Knit two stitches, purl two stitches YO - Yarn Over P2tog - Purl two stitches together K2tog - Knit two stitches together SSK - Slip two stitches knit wise, then slide back on to the left needle and knit the two stitches together.
Pattern:
CO 56 stitches with desired wool, place marker, and divide evenly between 4 needles; this will make it easier when it comes to decreases. (If you are knitting this for a larger or smaller project then make sure you increase or decrease by 4 stitches at a time in order to keep the ribbing.) Join in the round, being careful not to twist stitches. I like to CO 1 extra stitch, and then slip one stitch (the very first cast on stitch) from the right needle to the left (beside the very last cast on stitch) and K2tog to begin to avoid loose stitches at the beginning. Rnd1: K2P2 Rnd2: K2P2 Rnd3: K2P2 Rnd4: Create three button holes as such: k2, p2, k2, YO, P2tog, k2, p2, k2, YO, P2tog, k2, p2, k2, YO, P2tog, k2, p2, k2 - continue K2P2 ribbing the rest of the wayround. Rnd5: K2P2 Rnd6: K2P2 Rnd7: K2P2 Rnd8: K2P2 Rnd9-56: Knit plain for 48 rounds (approx 17cm), or to required length in your desired pattern.
Decrease Rounds:
Rnd 57: K1, K2tog, knit to 3 stitches before the end of the second needle, SSK, K1, K1, K2tog, knit to 3 stitches before the end of the fourth needle, SSK, K1. Rnd 58: Knit Plain (52 stitches) Rnd 59: K1, K2tog, knit to 3 stitches before the end of the second needle, SSK, K1, K1, K2tog, knit to 3 stitches before the end of the fourth needle, SSK, K1. Rnd 60: Knit Plain (48 stitches) Rnd 61: \*K4, K2tog\* to end. Rnd 62: Knit plain
Ribbed neck:
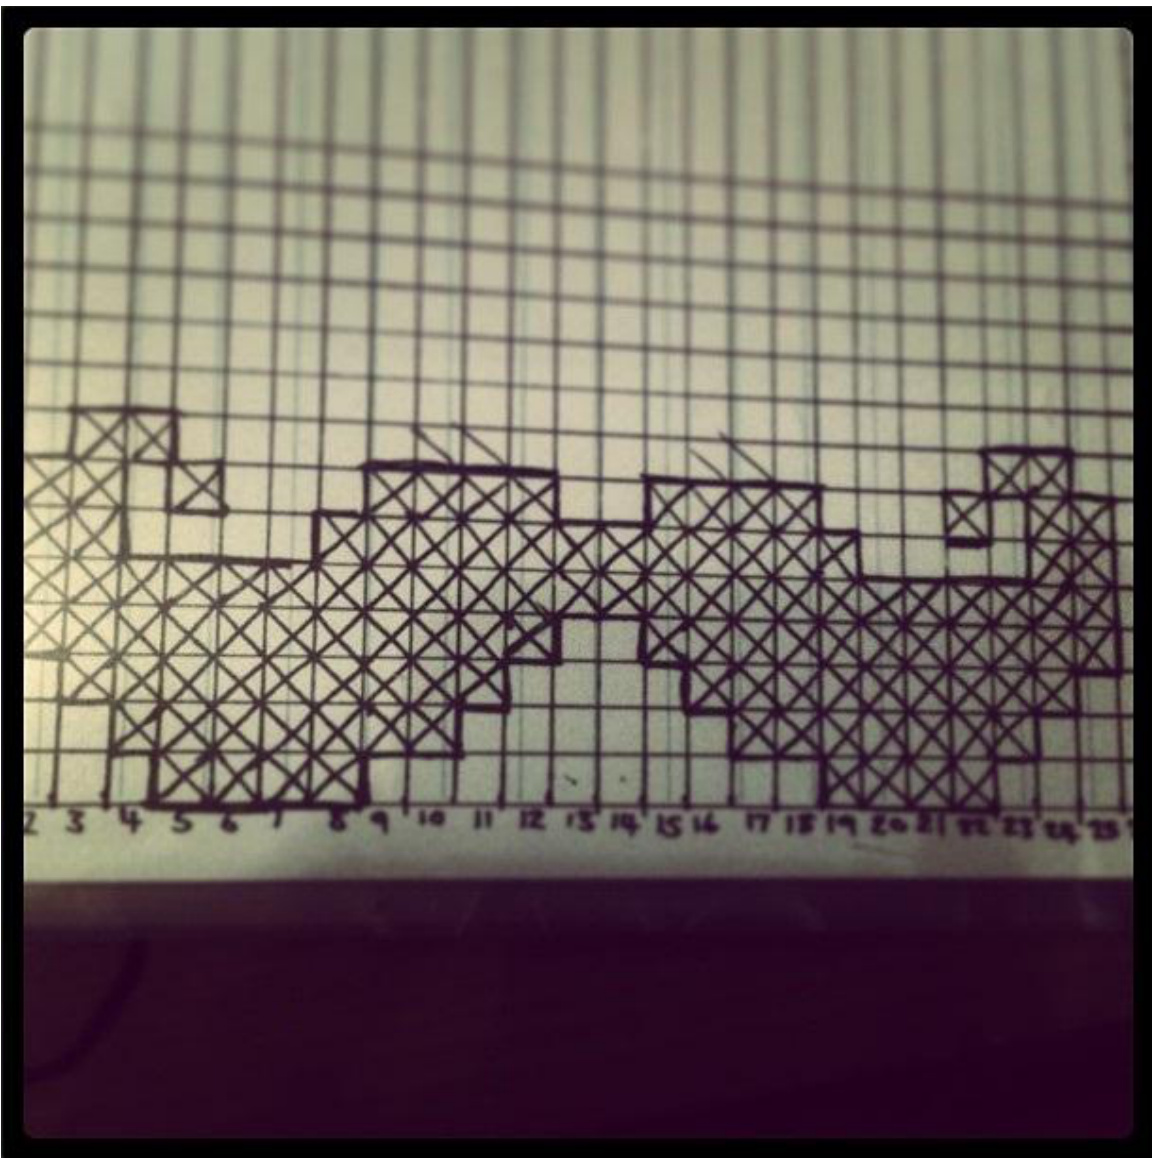
K2P2 until desired length is reached. (You may wish to change colours for this part.) BO using Jeny's Surprisingly Stretchy Cast Off technique, it's great for flexible ribbing! Sew in three buttons in line with the button holes, weave in ends and voila! An easy and cute mini hot water bottle cover! Below is the chart I used for the moustache motif, a crude thing I drew up very quickly (sorry there's not an actual chart) but it turned out well!
@ Emma Percy 2013 ww.ravelry.com/people/emmerindeed : https://www.facebook.com/emmerindeedsknitting


