Knitted Moon esiqns
Shooting Star Vest
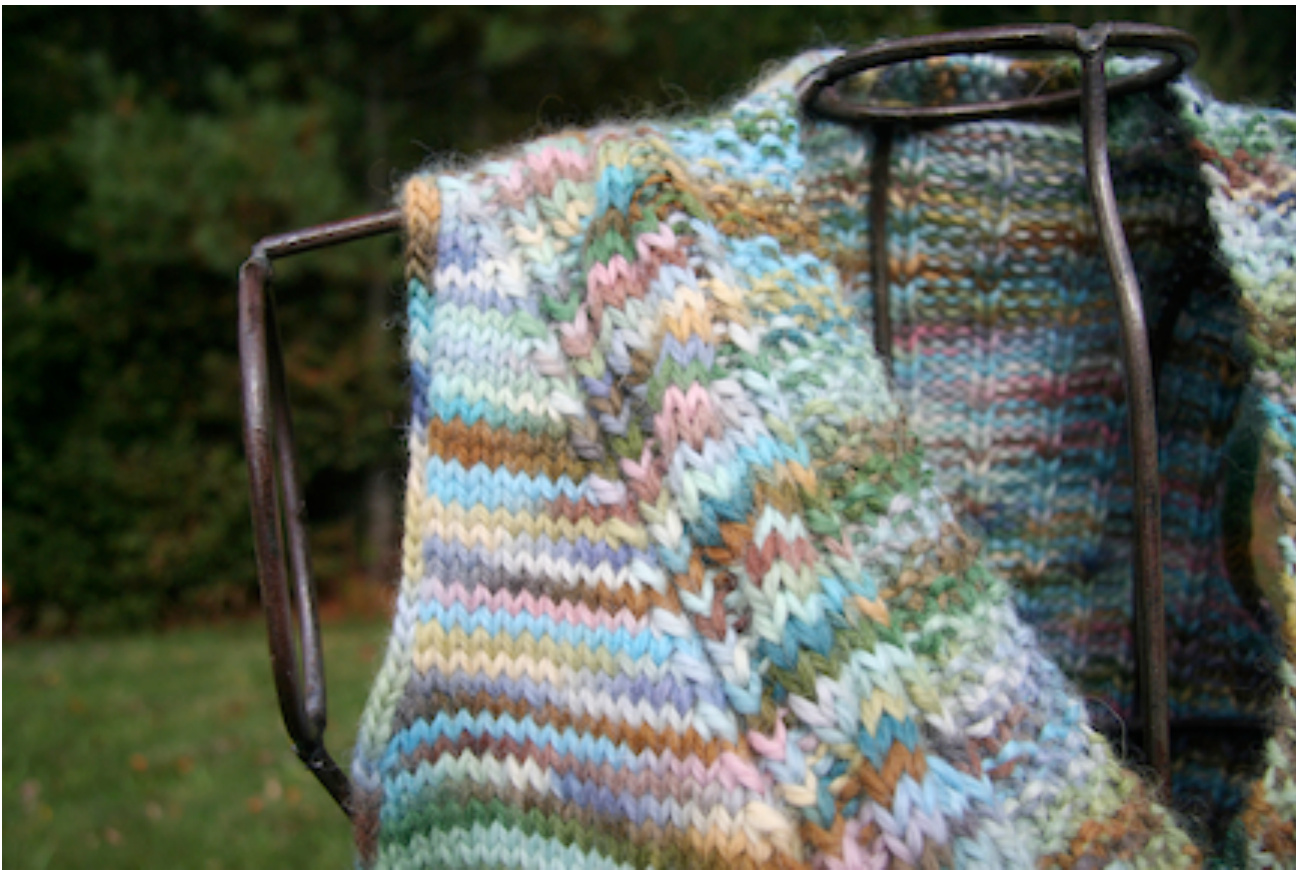
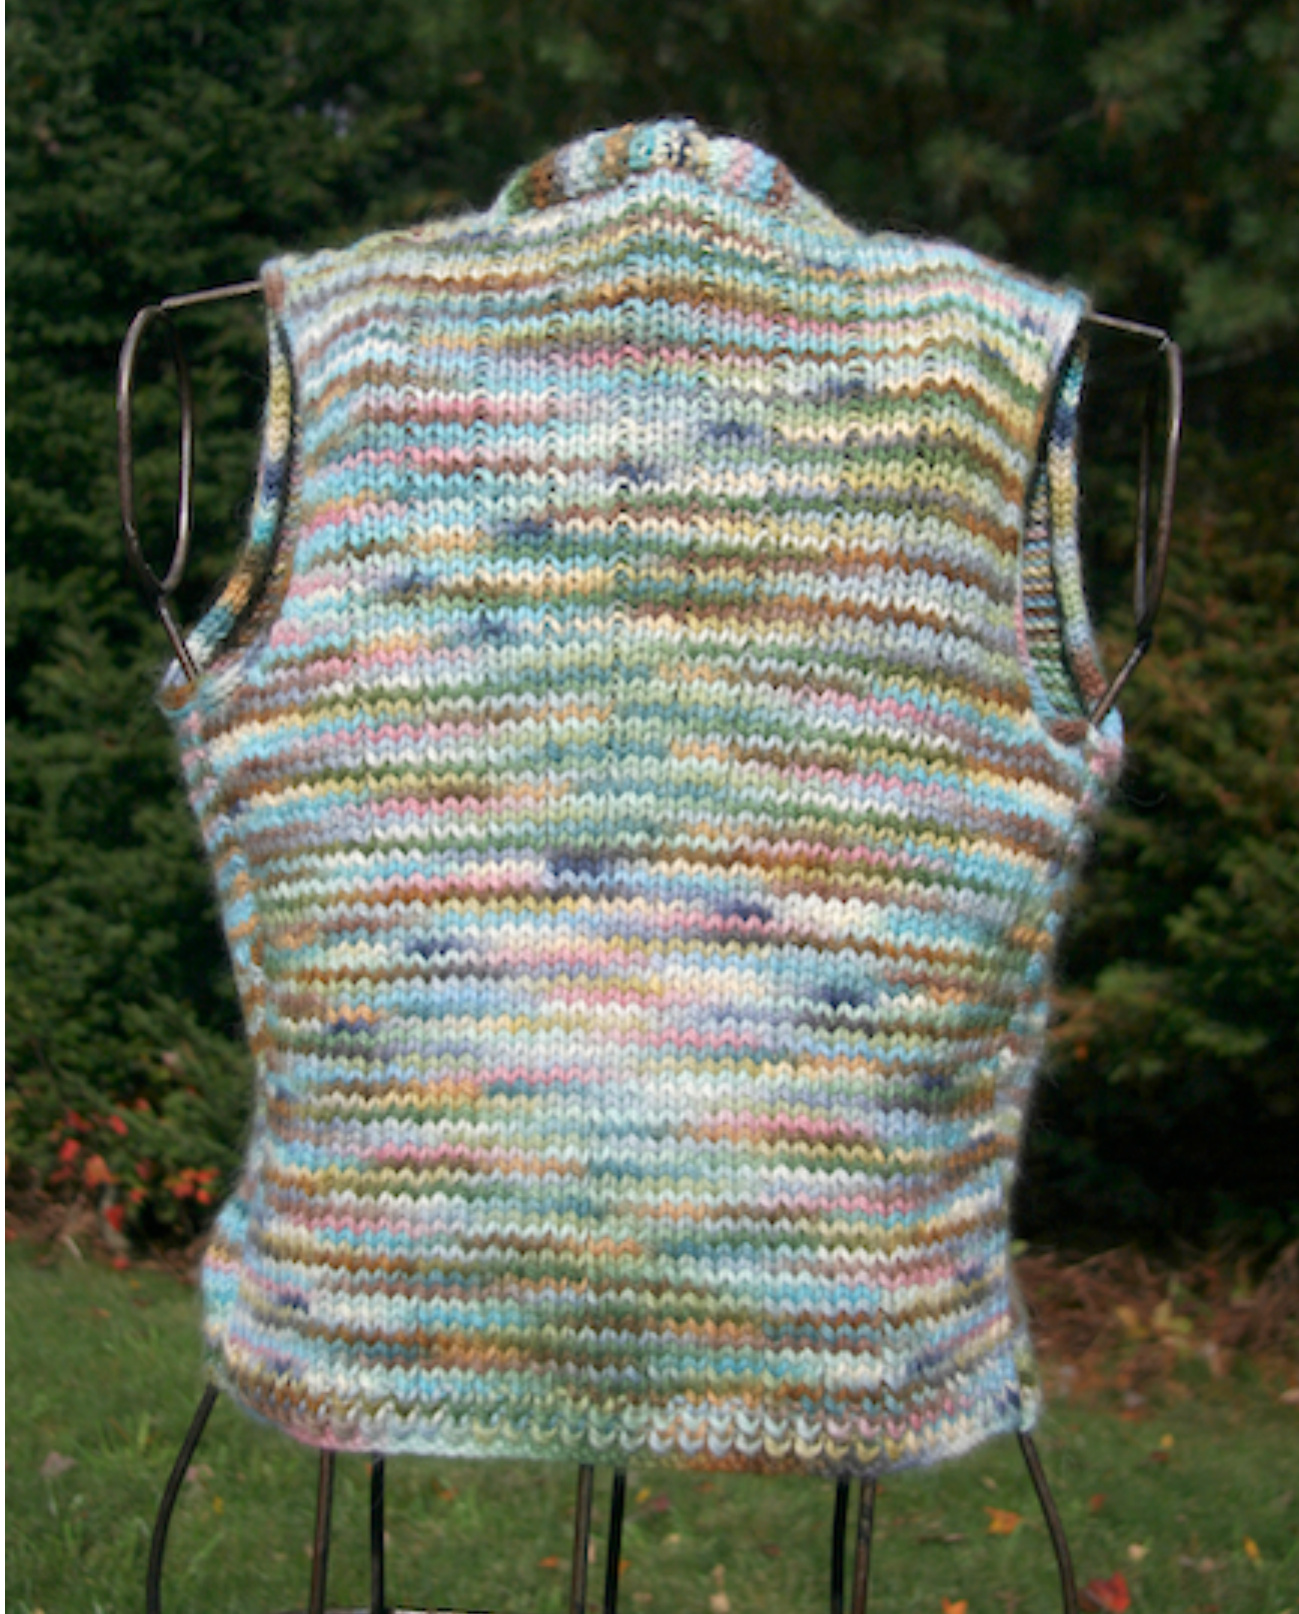
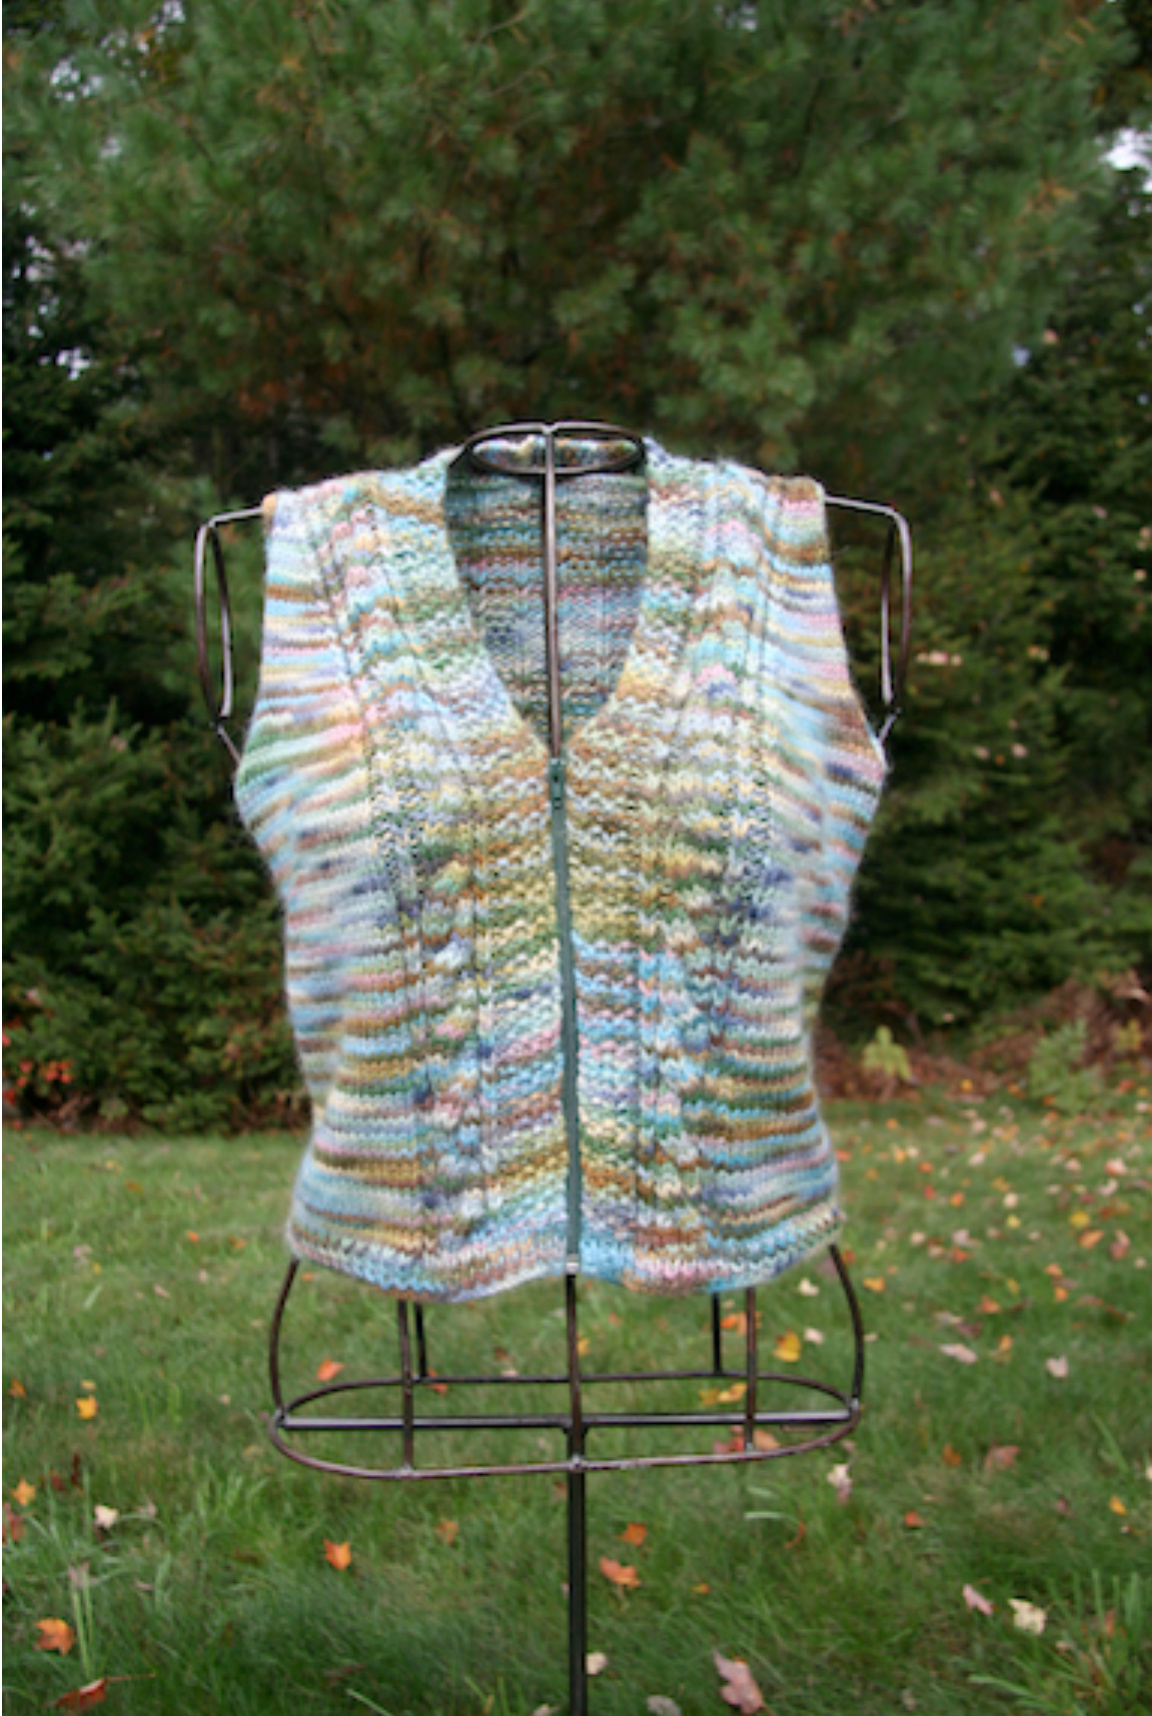
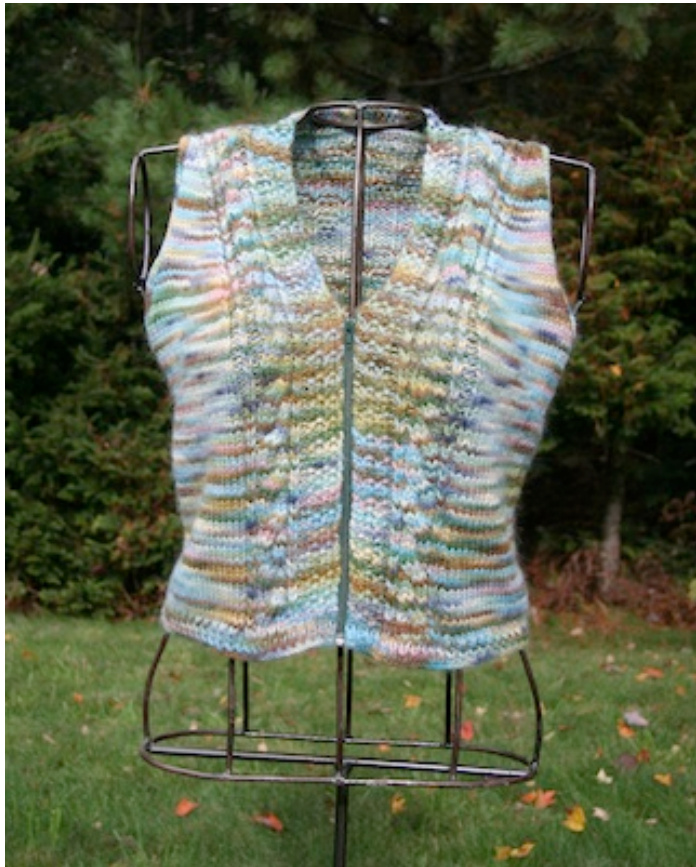
The scoop: We love vests! They are a practical solution to cooler temps without the bulkiness of sweaters. So we are always looking to try different styles and fibers. This one uses one of the popular chunky yarns by Misti Alpaca called Hand Painted Chunky. It knits up more quickly because of the fewer sts/inch and also is super warm with 1oo% Baby Alpaca fiber. It's a little bit of heaven to wear. Materials needed: Misti Alpaca Chunky 100g/108 yds (100% baby Alpaca) Small and Medium - 4 skeins, Large and 1X - 5 skeins, 2X - 6 skeins (note: add an extra skein if you choose the longer vest length) Knitting needles sizes 10 (or size needed to obtain gauge) and another needle, two sizes smaller - size 8 Stitch holders Cableneedle Blunt tapestry needle for finishing Size #3 or #4 double pointed needles 1 separating zipper - 12 inch for shorter length and 14 inch for regular length Finished size: Measurement at bust/chest: small=41 ins, medium=44 ins, Large=47 ins, 1X =50 ins, and 2X=53 ins. Length from underarm to waist is 13 ins for short length and 15 ins for regular length. (as shown, in short length) Gauge: 14 sts = 4 ins. with #10 needles Instructions: BACK Written as follows: small (medium, large, 1X, 2X) With size 8 needle, cast on 71(79,83,87,95) Work in twisted rib for approximately 1 14 ins. TwistedRib Row 1: P1, \*K1 tbl, P1 and repeat from \* across row. Row 2: \*K1 tbl, P1 and repeat from \* ending with K1tbl. Change to larger needles. (RS) Row 1: P2, \*K3, P1 and repeat from \* ending K3, P2. (WS) Row 2: K2, \*P3, K1 and repeat from \* ending P3, K2. Work in this pattern until garment measures 13 inches for short, 15 ins for regular or desired length. Shape armholes: Bind off 5 (6,7,7,7) at the beginning of the next two rows. Decrease 1 st at the beginning and end of the RS rows 5 (5,6,6,7) times. Should have 51 (57,57,61,67) sts. Work in pattern stitch until armhole measures 7 12 (8,8 12, 8 12, 9) inches. Shape shoulders: At the beginning of the next 4 rows and keeping in pattern, Bind off 5 (5,5,6,6) sts on each side. The next 2 rows, keeping in pattern, Bind off 3 (3,3,3,4) sts on each side. Then place marker for neckline and bind off remaining 25 (31,31,31,35) sts.
RIGHT FRONT
With size 8 needle, cast on 47 (49,53,55,59) sts. Work in twisted rib for approx 1 14 inches. Switch to larger needles. (RS) Work 5 sts in Seed st (K1,P1,K1 P1,K1), place marker, then P2, K1 tbl, P2, place marker, cable pattern for 6 sts, place marker, P2, K1 tbl, P2, place marker, then knit all sts. (WS) Purl all sts until 1st marker, K2, P1, K2, cable:P6, K2, P1, K2, then Seed st., K the purl st and P the knit st.
Right front cable pattern
(RS) RowS 1 & 3: K6 (WS)Rows 2&4:P6 (RS) Row 5: slip 3 sts on cable needle and hold at back, K3, then K3 from cn (WS) Row6&8:P6, (RS) Row 7: K6 Work this pattern for 4 inches, then at the side edge, increase 1 st every 4t row 4 times for 51 (53,57,59,63) sts. Then work garment until it measures 13 ins stopping at armhole side edge. Shape Neck and Armhole: At armhole edge, bind off 5 (6,7,7,7) sts then decrease every other row 1 st at armhole edge 5 (5,6,6,7) times. At the same time, begin to shape neckline. Work neck decrease as follows: On RS work across the st patterns to last marker, then SSK every RS row approx 18 times until you have 17 sts + 5 seed sts (22 sts remaining). Work until armhole length is 7 %2 (8,8 1%2, 8 %2, 9) ins long. Bind off shoulder sts but NOT Seed st edge. Change to smaller needles then work the seed st for half the back neck edge - leave 10ins of tail for seaming and place on st holder. Hint: this could be worked a bit smaller than half the back edge for a smoother facing fit.
LEFT FRONT
With size 8 needle, cast on 47 (49,53,55,59) sts. Work in twisted rib for approx 1 14 inches. Switch to larger needles. (WS) Work 5 sts of seed st, place marker, then K2, P1, K2, place marker, cable pattern: P6, place marker, K2, P1, K2, place marker, then Purl all sts. (RS) Knit all sts until first marker, then, P2, K1 tbl, P2, cable pattern, P2, K1 tbl, P2, work seed st for 5 sts.
Left front cable pattern
(WS) RowS 1,3,5: P6 (RS) RowS 2 & 4: K6 (RS) Row 6: slip 3 sts on cn and hold in front, K3, then K3 from cn (WS) Row7:P6 (RS) Row 8: K6 Work this pattern for 4 inches, then at the side edge, increase 1 st every 4t row, 4 times for 51 (53,57,59,63) sts. Then work garment until piece measures 13 ins stopping at armhole side edge. Shape Neck and Armhole: At armhole edge, bind off 5 (6,7,7,7) sts then decrease every other row 1 st at armhole edge 5 (5,6,6,7) times. At the same time, begin to shape neckline. Work neck decrease as follows: On RS rows decrease as follows: Work across RS row in pattern up until 2 sts before the first marker, then K2tog. Do this approx 18 times until you have 17 sts + 5 seed sts (22 sts remaining). Work until armhole length is 7 12 (8,8 12, 8 12, 9) ins long. Bind off shoulder sts but NOT Seed st edge. Change to smaller needles then work the seed st for half the back neck edge - leave 10ins of tail for seaming and place sts on st holder. Hint: this could be worked a bit smaller than half the back edge for a smoother facing fit.
Finishing
Weave in any loose ends. Seam side seams then shoulder seams without the facing. Join back facing edge (checking against back size). Then seam neck facing to backpiece. For armhole edge: use your favorite edge st or the I-cord finish as shown.
I-cord edge
Using two #3 or #4 double pointed needles - cast on 3 sts on one of the needles. Then with the wrong side facing, starting at the bottom edge of armhole, pick up one armhole stitch on needle with cast on sts. \*DO not - turn the needle. Keep yarn in back and slide the stitches across the needle to the right. (put needle in your left hand) Take RH needle and knit the first 2 sts, then K2tog tbl. (you now have 3 sts) Pick up an armhole st. And repeat from Note: try to keep tension even and loose enough so the edge doesn't gather. With the size #3 needles, you should be able to pick up almost every st along the armhole edge. At end, bind off last 3 sts and seam together to other end of I-cord. For closure: Use favorite pin and leave open or make I-cord loops and add buttons. As shown, pin the zipper along front edge, then hand sew with needle and thread.
Level of Difficulty: Intermediate
Care: Hand wash, dry flat