st Time for Everything: aka my first written pattern
By: Deanna Jones
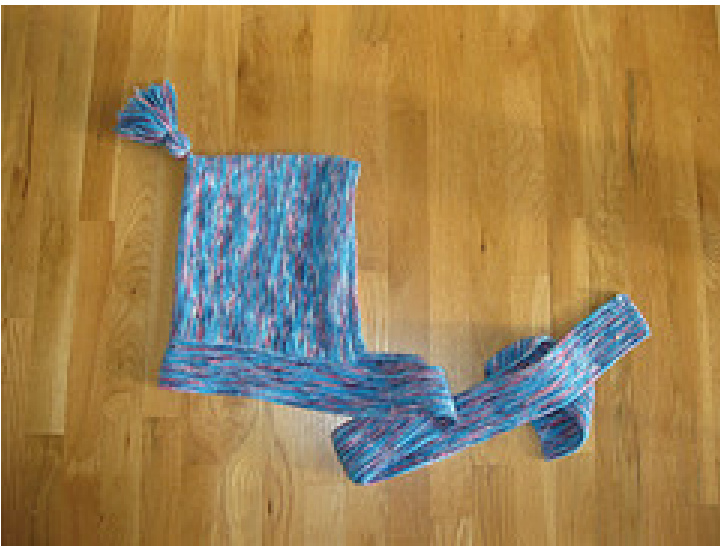
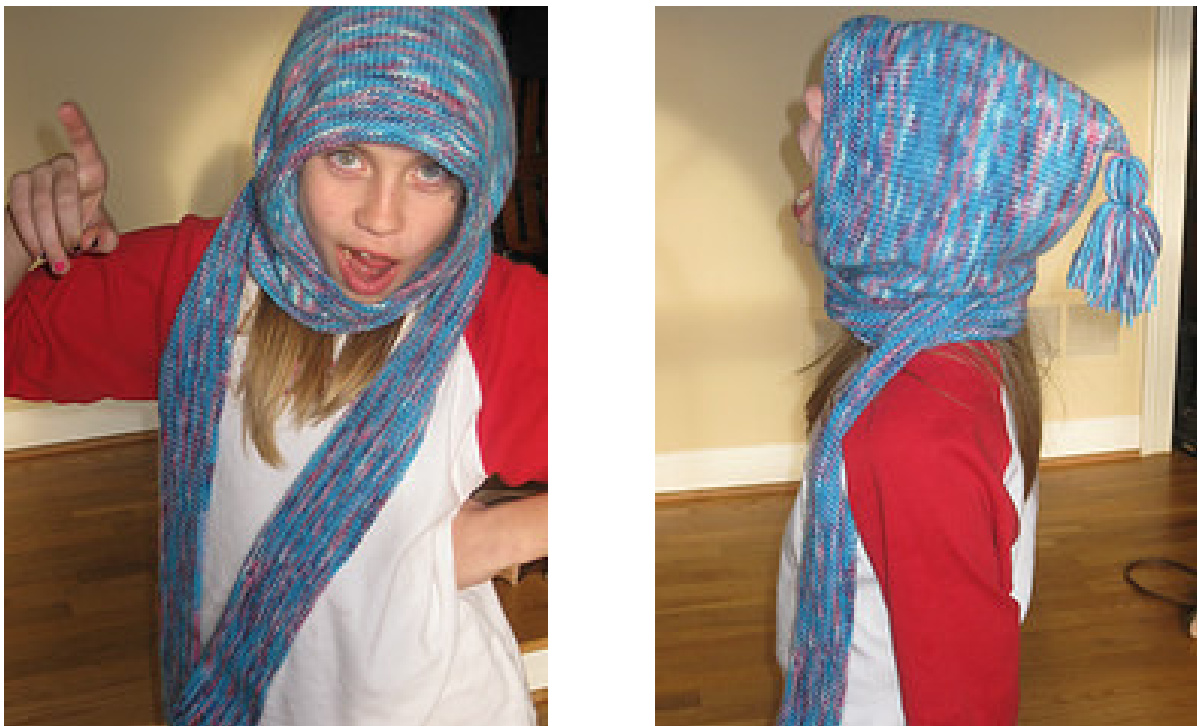
Despite being an analytical chemist by trade, I have a very laid-back, carefree and organic personality outside of work. My attitude towards life is also seen in my knitting. I view patterns for inspiration and take bits and pieces of several with me as I knit along. I rarely use the exact yarn that a pattern calls for, or worry about gauge, and often end up attempting to make a different size than one listed in a pattern. Adult size vest...sure, I can make that for an infant! This can be very frustrating while I'm knitting, but in the end I usually get exactly what I want..or something close enough. But, I decided to challenge myself to write a pattern. Knowing that a pattern should have clear and precise instructions, I choose a familiar project. This hoodie scarf is something I've knit about 5 times now, but with bulky yarn, bigger needles, for an adult, and from notes scribbled on at least two pads of paper, but this project uses worsted weight yarn and going to be for my 9 year old daughter. This hoodie scarf itself is an easy knit, but that is exactly what I wanted for my first pattern. The challenge here for me was to slow down and take careful notes about how I created the item. This is really hard for someone that approaches all projects with an "I'll just wing it" attitude. The hoodie scarf construction is split into two parts, the hood and of course, the scarf! The hood portion is knitted flat, starting with a garter stitch band that will surround your face. The knitting then continues in stockinette to the back of the hood. Kitchner stitch is used to graft the back of the hood closed. This will result in a cute elfish point to the top back of the hat. The scarf is then knitted end-to-end in garter stitch, picking up stitches across the base of the hood as you go from one end to the other. A long circular needle is necessary to accommodate the large number of stitches for the scarf. A tassel can be added to the point of the hat to keep it from sticking straight up in the air (shown in photos).
Details
Size: child's 4 to 10 Yarn: Purewool single ply (100% merino wool), 2 skeins (128 yds, 3.5 oz each) Needles: US 8, 24 in" (or longer) circular needle Gauge: 27 rows and 18 sts = 4 in x 4 in in stockinette stitch Tools: yarn needle, stitch markers to help count cast on stitches Skils: knitted cast on, Grafting/kitchner stitch Overall dimensions: Hood height 14 in, hood width 10.5 in, scarf (from back of hood to end) 47 in
Directions:
Hood
Cast on 102 stitches using long tail cast on method. If desired, use the stitch markers to keep track of how many stitches youhave cast on. Knit in garter stitch for 12 rows (1.5 in) Switch to stockinette stitch for 62 rows Arrange stitches on circular needles to prepare for grafting/kitchener stitch: t stitches between the two ends of the circular needle. There should be 51 stitches on each half. Graft the 51 stitches. Tutorial can be found here: http://www.knitty.com/ISSUEsummer04/FEATtheresasum04.html Scarf Cast on 145 stitches using the long tail cast on method. Pick up and knit 102 stitches evenly around the base of the hood. (The back of the hood will be the edge that begins with 12 rows of garter stitch, around the st st section, and back to the second 12 row garter stitch section.) Using the knitted cast on method, cast on 145 more stitches. Knit back and forth Onall r stitch for 26 rows, or until scarf is desired width (mine is 3 in). Bind off all stitches Finishing Weave in ends. Optional: Make a tassel and secure to the top point of hood. A tutorial for making a tassel can be found in many place on theworld wide web including: http://techknitting.blogspot.com/2008/06/how-to-make-tassels.html