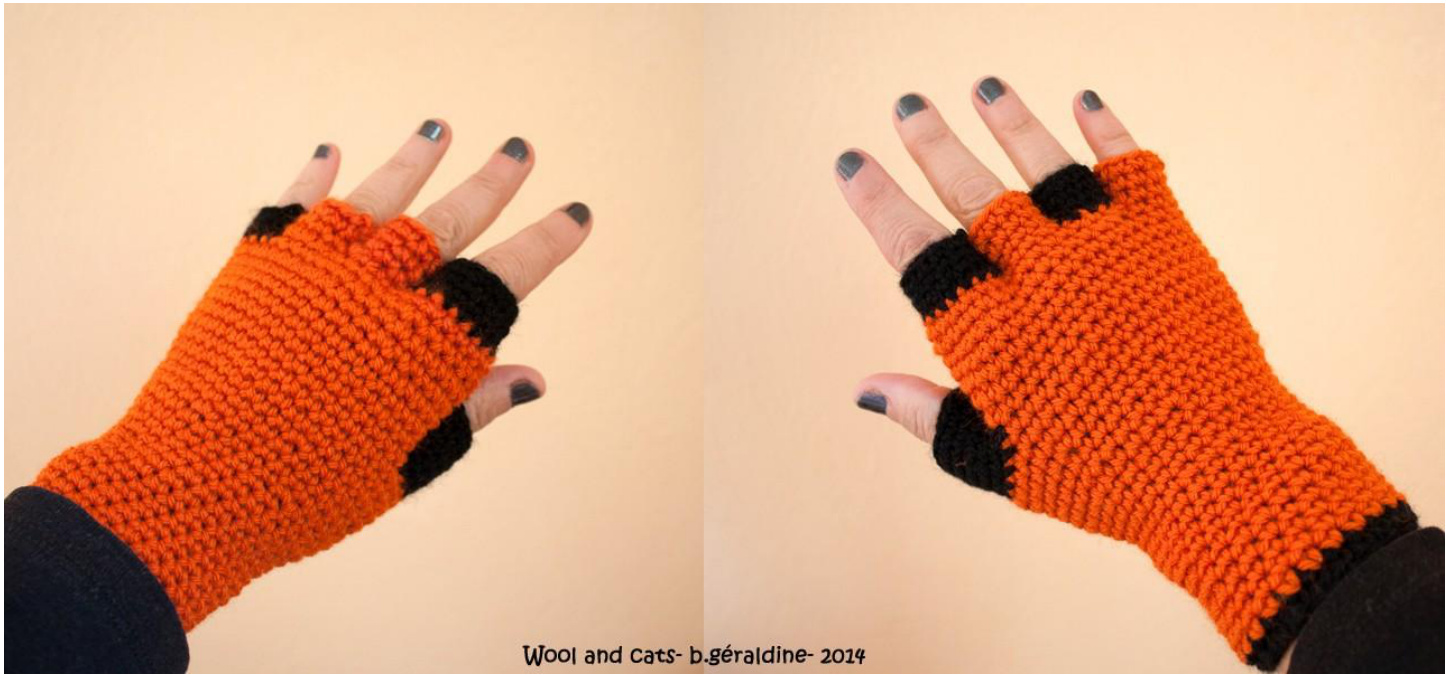
Mittens for Halloween
I wrote these so that you can crochet the mittens to suit your hand size. Also, expect to regularly put on the mittens in progress to determine the beginning of the different steps of crocheting and more specially for fingers. Material : 2 colors of wool : A (5o meters, here black yarn) and B (here at least, 150 meters of orange). 2 crochet hooks : 3,5 mm et 5 mm 3 stitch markers 1 yarn needle Hooky stitches used for this pattern is : - Chain (ch) - Double crochet (dc in Uk terms) or single crochet (sc in US terms) - Slip stitch (sl st). Rmq : only the 1st row is closed by a slip st. For the other rows we work in the round. It is therefore absolutely necessary to mark the beginning and end of each row with a stitch marker. As spirals at each row, the ring moves to the left. 2- The wool used here is Knit Picks Telemark (shade Tangelo) et Katia Super Merino (black). Gauge = 19 sts x 19 rows. 3- The cicumference of the wrist is 17cm. To fit the mittens to your hand, your can chage the numbers of the stitches at the beginning. @b. géraldine 2014- Toute reproduction est interdite. Utilisation a des fins personnelles et non commerciales.
Pattern :
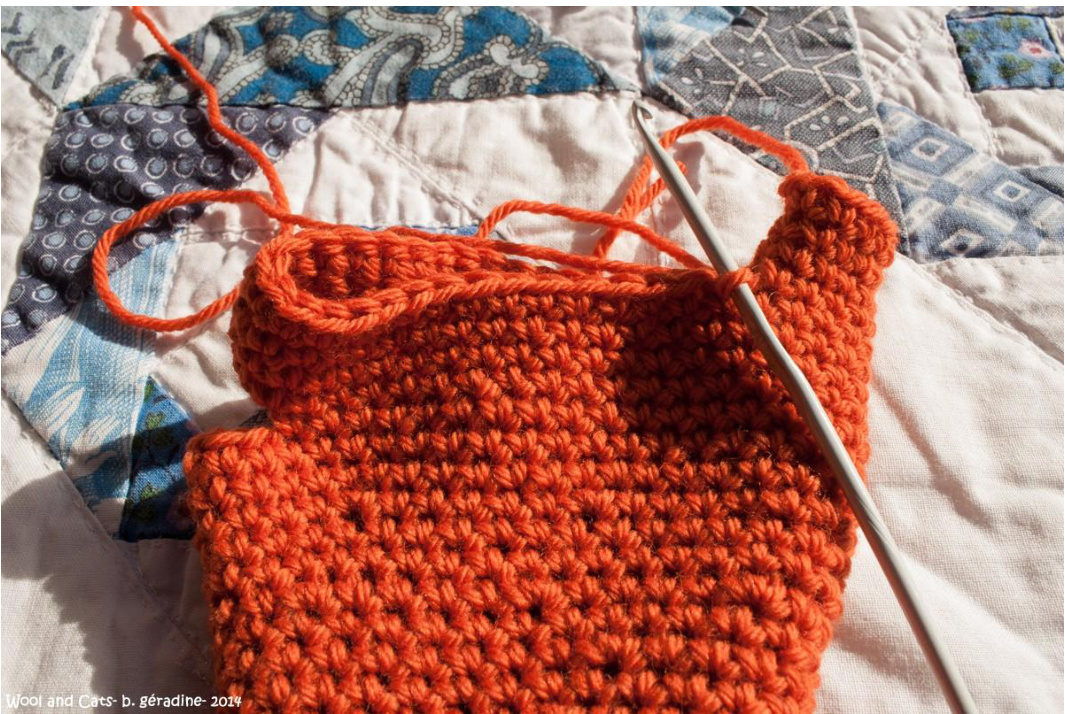
With color A and the hook 5 mm, chain 26 and close in round by a slip st. chain 1 and work 1 dc/ sc in each of 25 next stitches. at the end of the row, place a stitch marker, change color but don't close, just crochet a dc/sc. This is achieved :
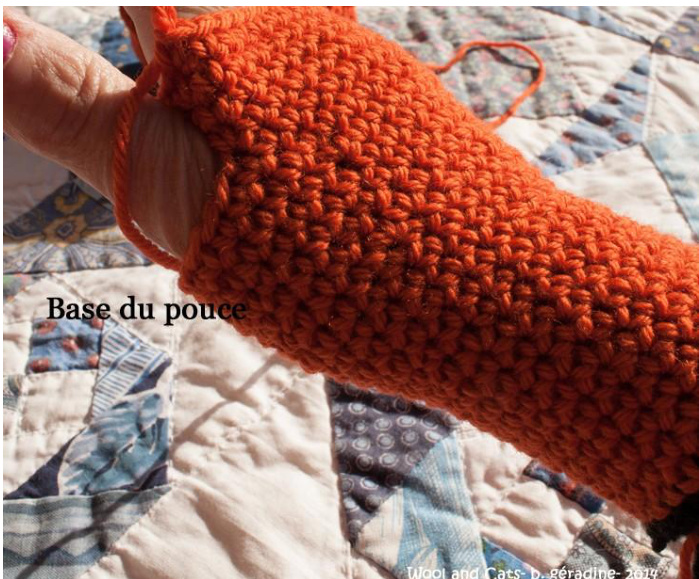
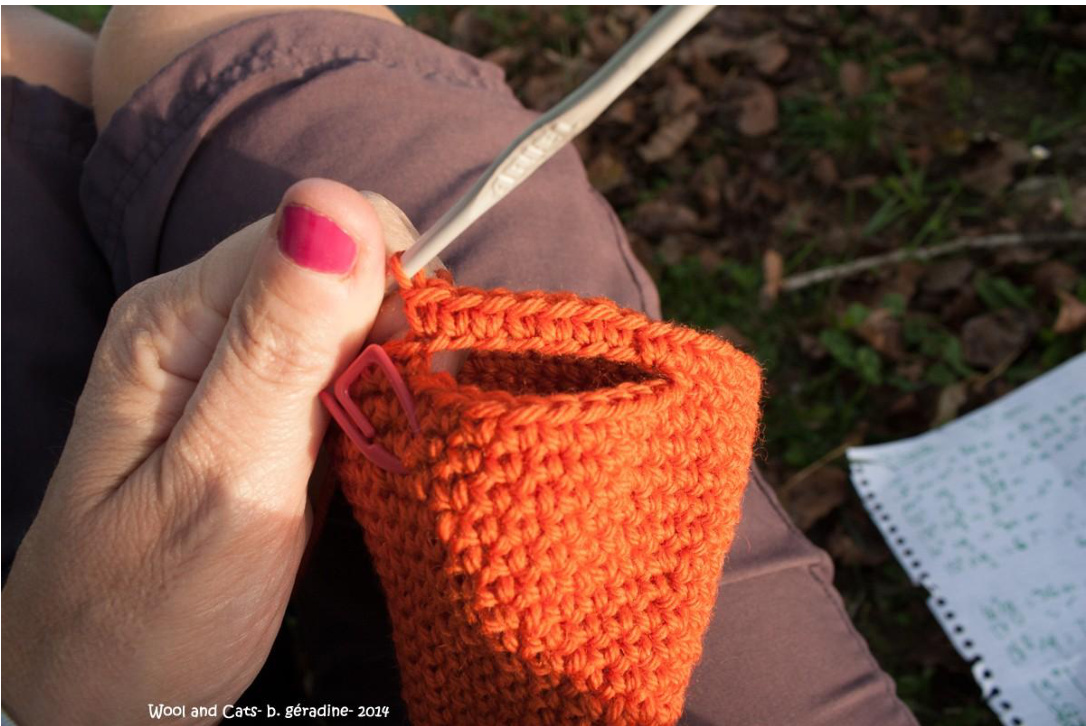
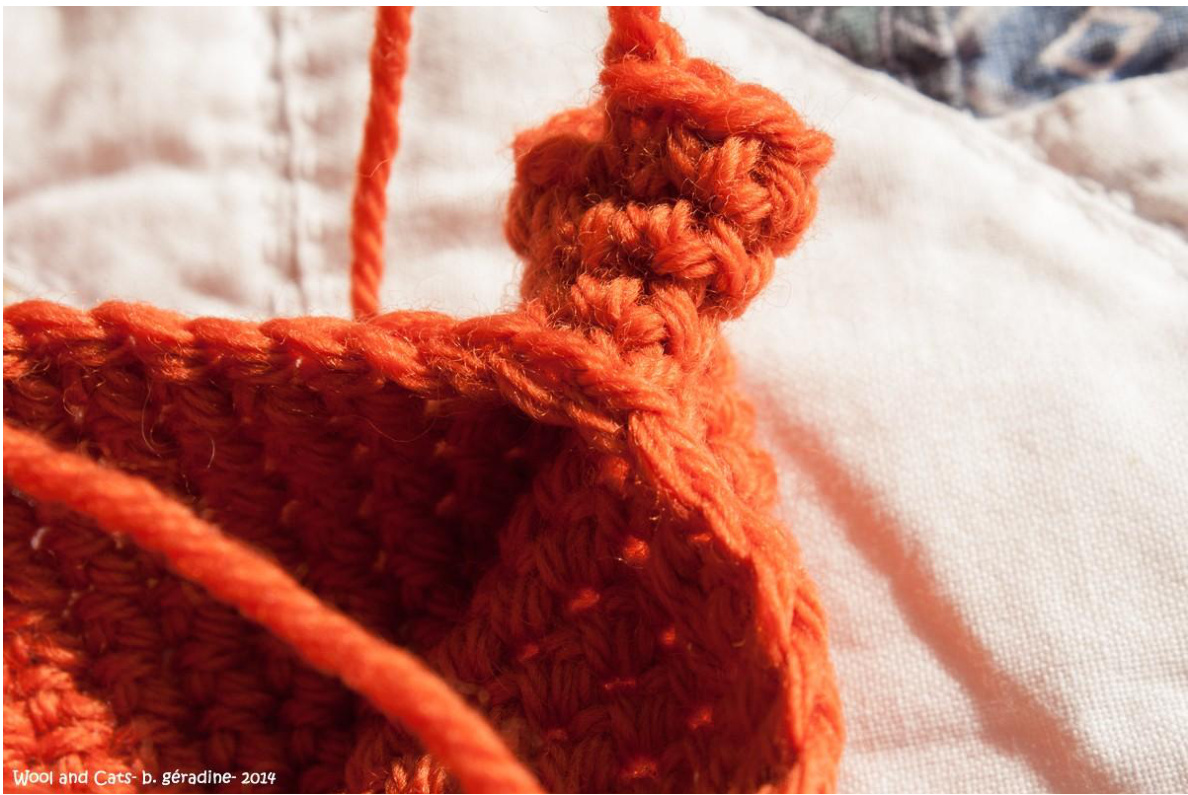
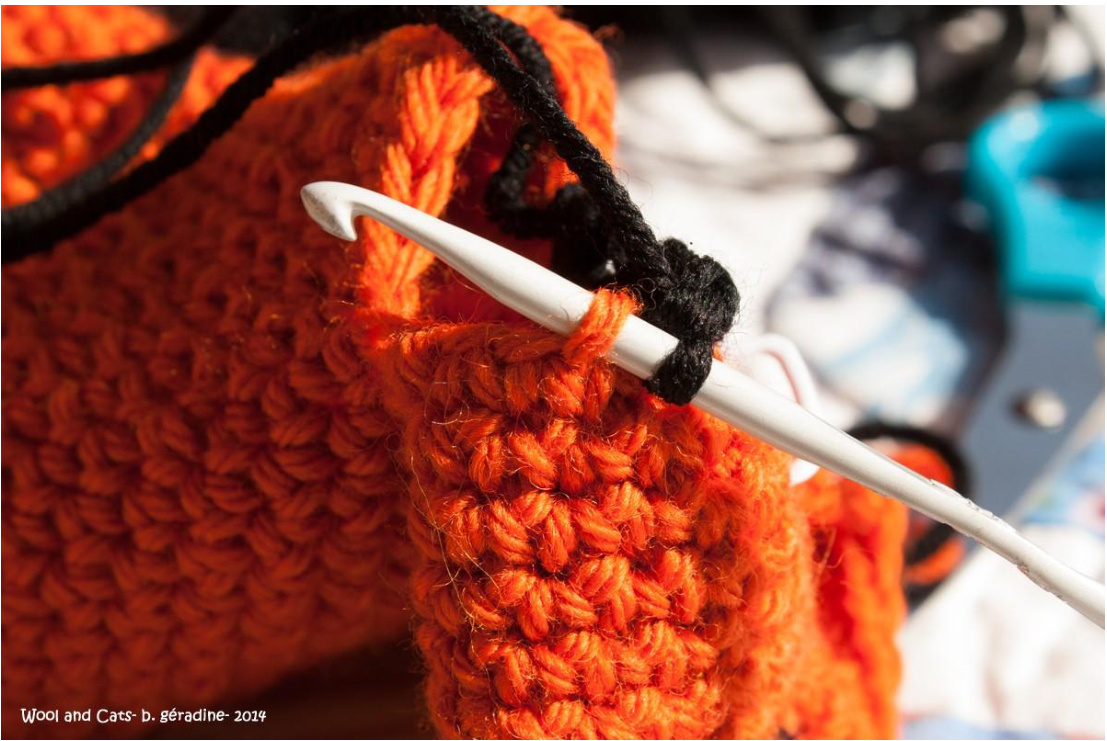
With color B and the hook 3,5 mm, work 10 rows of these 26 dc/sc. row : increase 2 st. working 2 dc/ sc in the 1st and 14th st. of the row (28 st. row : increase 2 st. working 2 dc/ sc in the 1st and 15th st. of the row (30 st - 15° row : increase 6 st. working 2 dc/ sc in the 1st, 6th, 1ith, 16th, 21st and 26th st. of the row(36 st). - 18° row : increase 6 st. working 2 dc/ sc in the 1, 7, 13°, 19, 25° et 31° stitches of the row (42 st). \* if your hand is larger, you need to increase more st.. You can do it on the 15 th or 18th rows or on additional rows if you need to increase the lenght too. Crochet until you reach the base of the thumb (see the picture below). Put on the mitten to determine your right height. Toute reproduction est interdite. Utilisation a des fins personnelles et non commerciales. To crochet the thumb opening : from the stitch marker, crochet 32 dc/sc and then chain 8. Join with the last stitch of the row.
\* if your hand is larger, or stronger, you may need more stitches to chain. or if the hand is smaller, chain less stitches. Place the stitch marker. With my mitten, the row has 40 sts. (more or less if you've had made less or more stitches for the thumb)
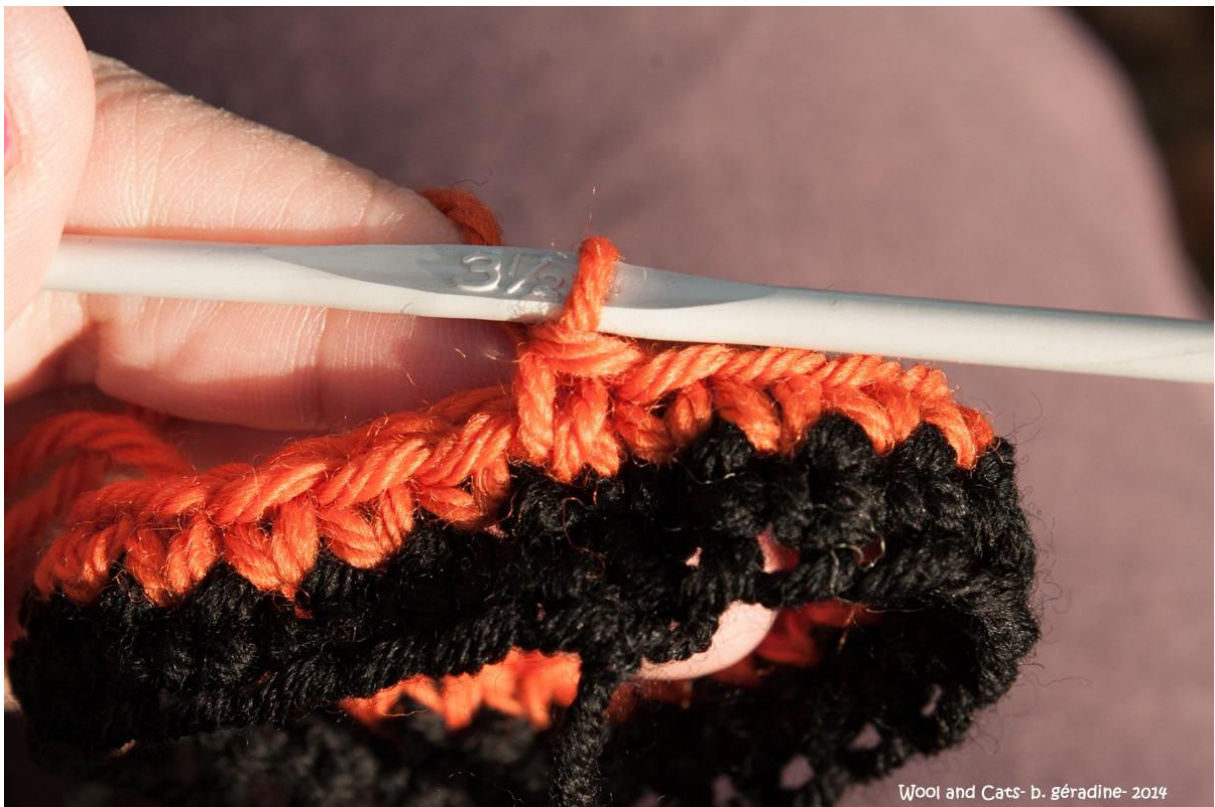
Crochet all stitches on 3 rows (less or more depending of the size of your hand). You need to crochet even until you reach the base of the little finger. Be vigilant in picking the dc/ sc in the chain making the opening thumb. Crochet in each stitch and not around. Toute reproduction est interdite. Utilisation a des fins personnelles et non commerciales. We must get this at the end of the first row:
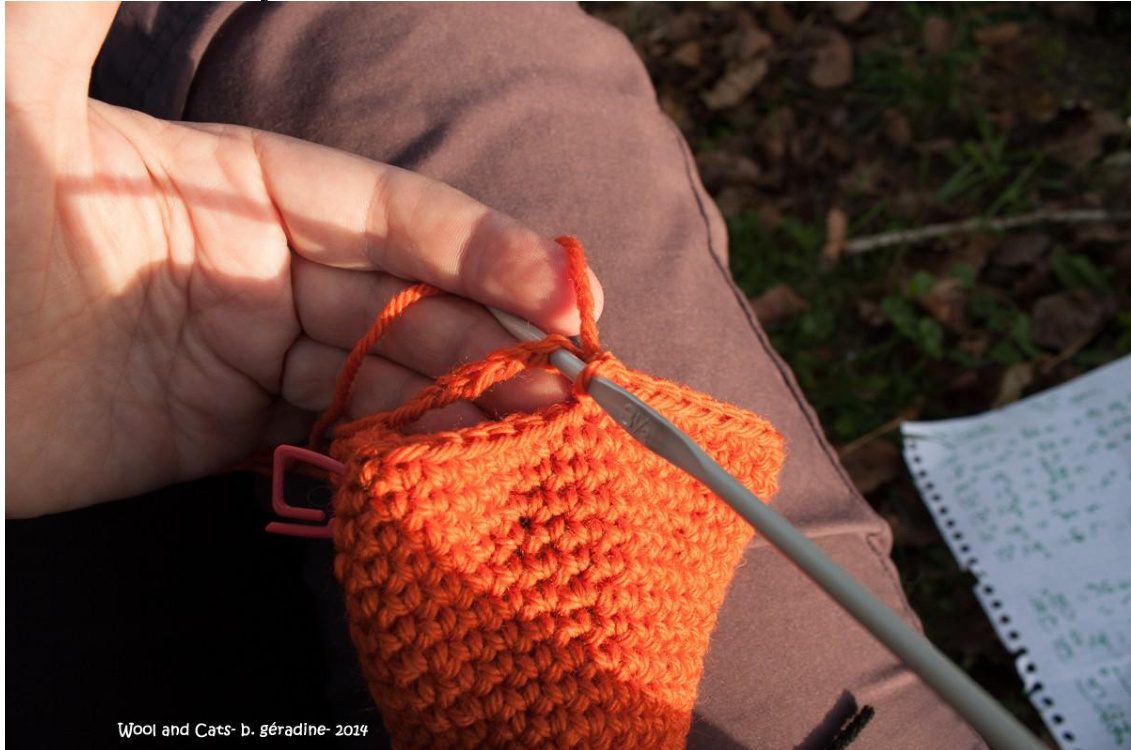
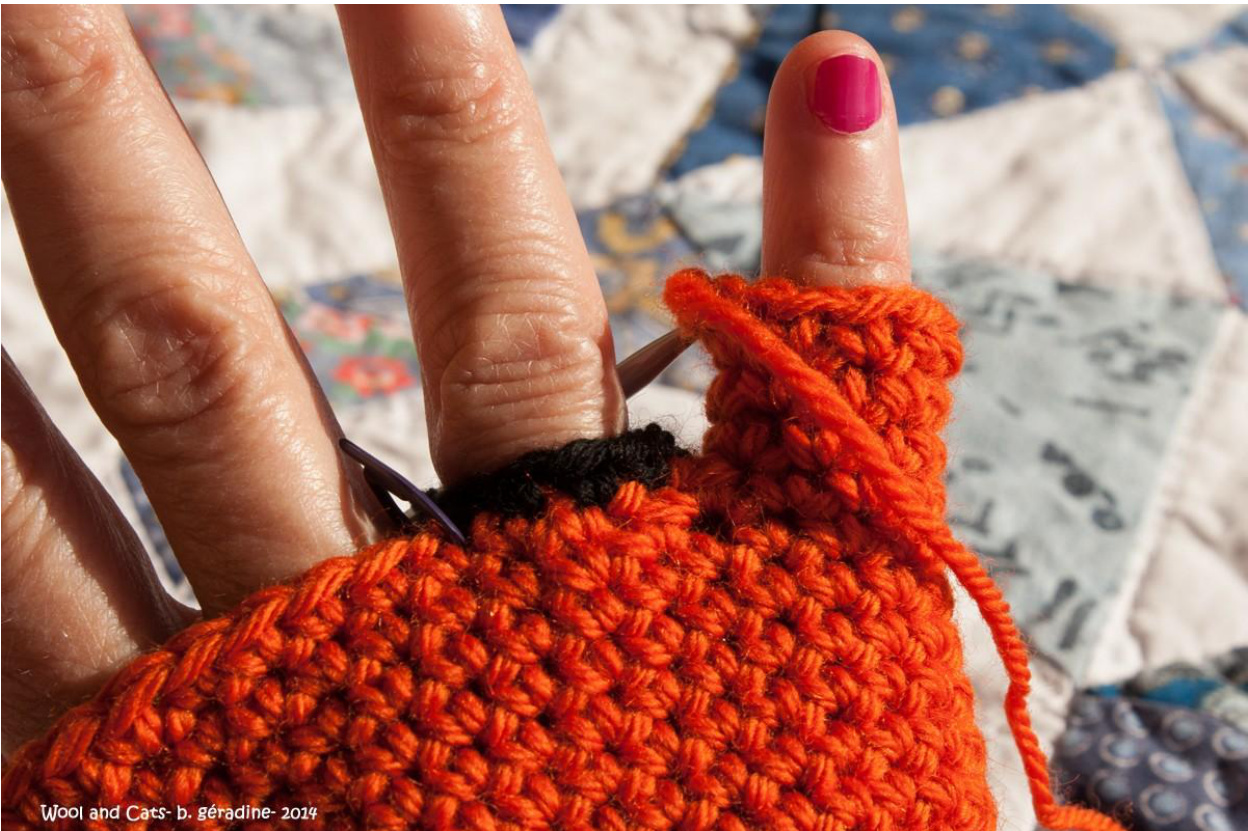
The first finger to crochet is usually the little finger. In the photo below, you can clearly see that this is the finger that the base is first reached. For other fingers, to reach the base, it takes more rows.
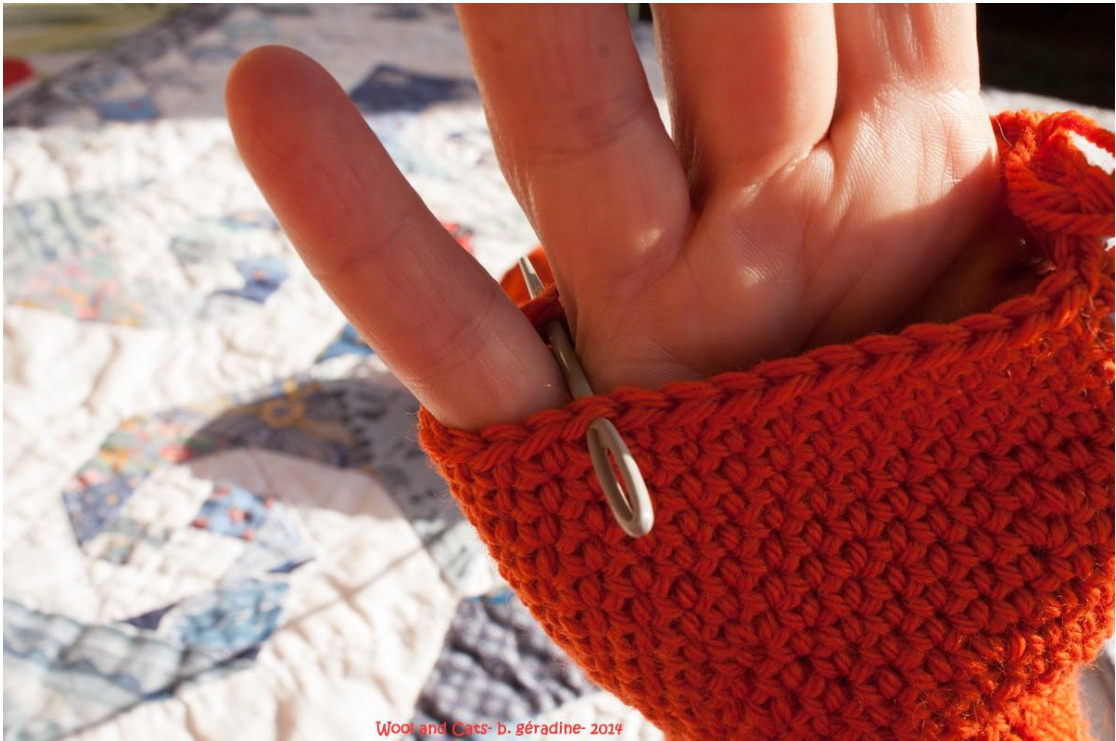
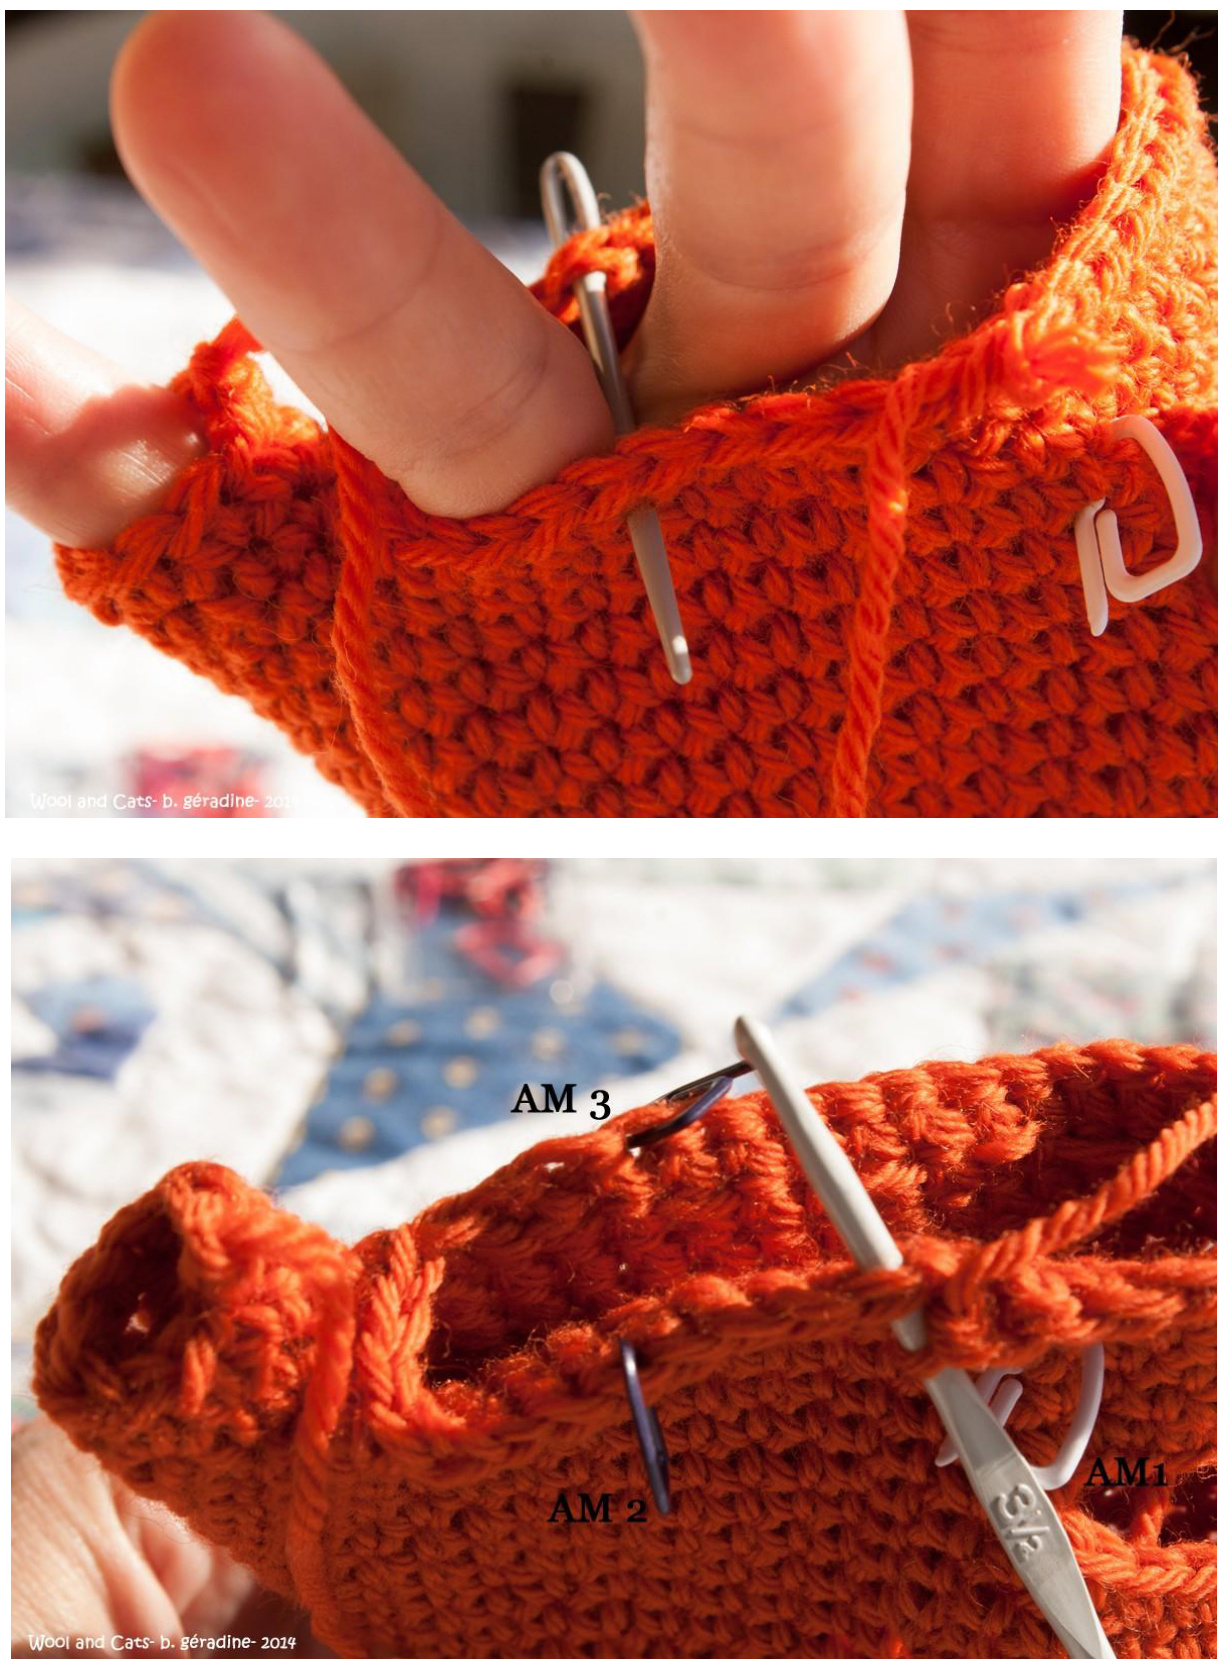
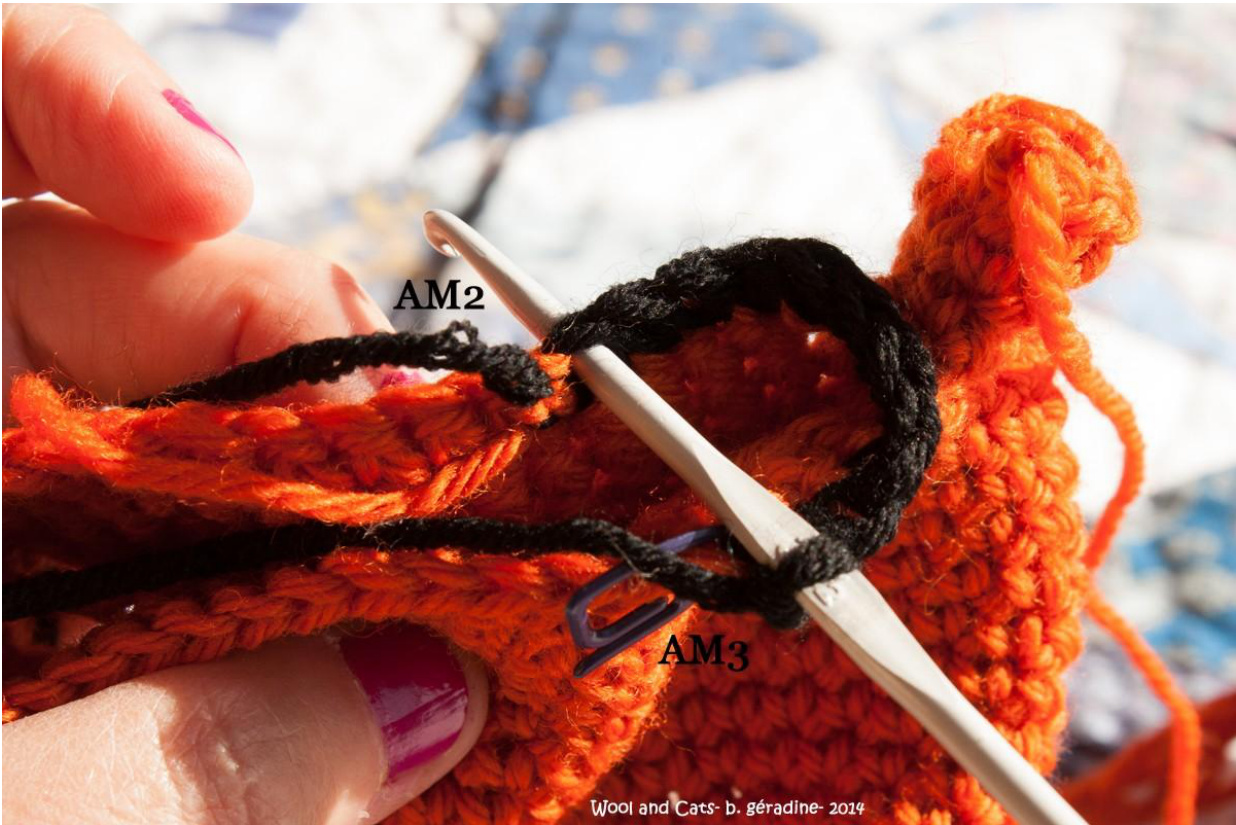
Indeed, the principle of finger picking is to start when the mitten reaches the base of each finger. Toute reproduction est interdite. Utilisation a des fins personnelles et non commerciales. The technique for determining the size of the finger crochet is to put the mitten and to "do" the finger. I always start by placing a needle which joins the palm and over the glove side as shown in the photo above. I recommend placing_one stitch marker in each of the corresponding stitch so one above and one palm side of the glove. So we have 3 stitch markers One at the beginning of row = AM1; One at the beginning of the finger (palm side of the glove) = AM2; one at the end of the finger (front of the mitten) = AM3.
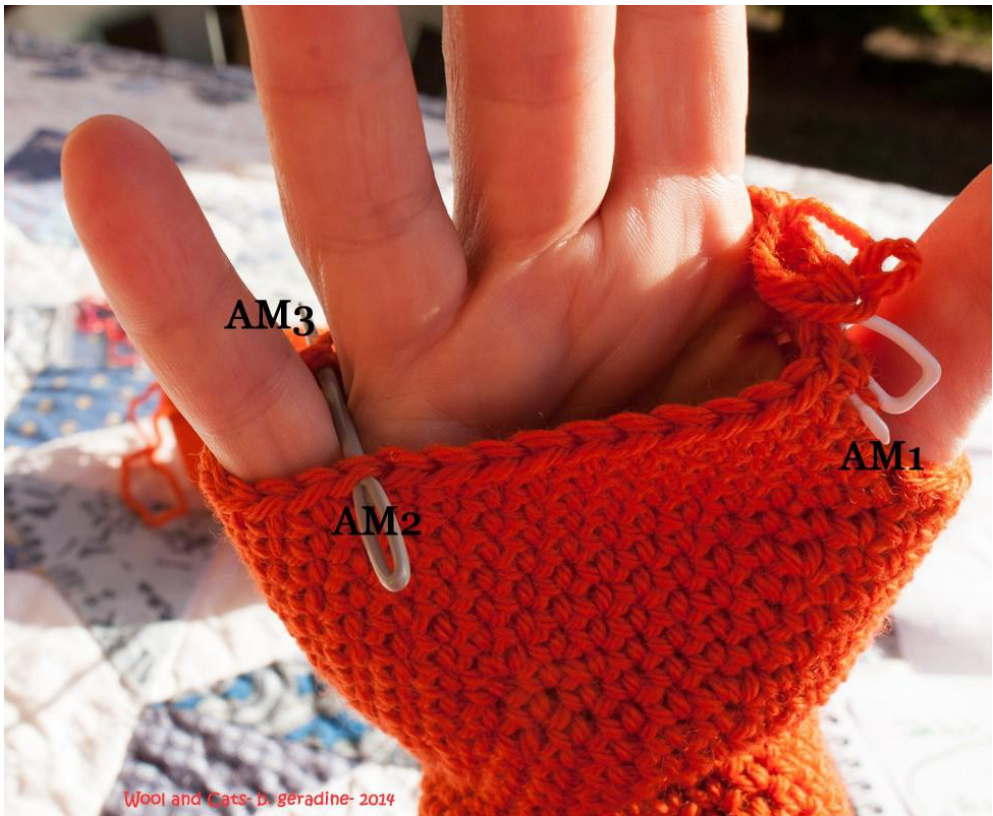
For making the little finger, crochet from AM1 to AM3. Chain 1 and join with 1 dc/sc in the stitch of AM 2.
Crochet in the round until you reach the height you want. Fasten off. To make the others fingers : continue from AM3 to AM1.
Remember that you start a finger when the mitten reaches the base of the finger. Thus, depending on the size of your hand, you make one of the other 3 fingers on the same principle as previously. Also, it is sometimes necessary to work an additional row -or more- before getting another finger. We must then remember to crochet the stitch between AM2 and AM3. Toute reproduction est interdite. Utilisation a des fins personnelles et non commerciales.
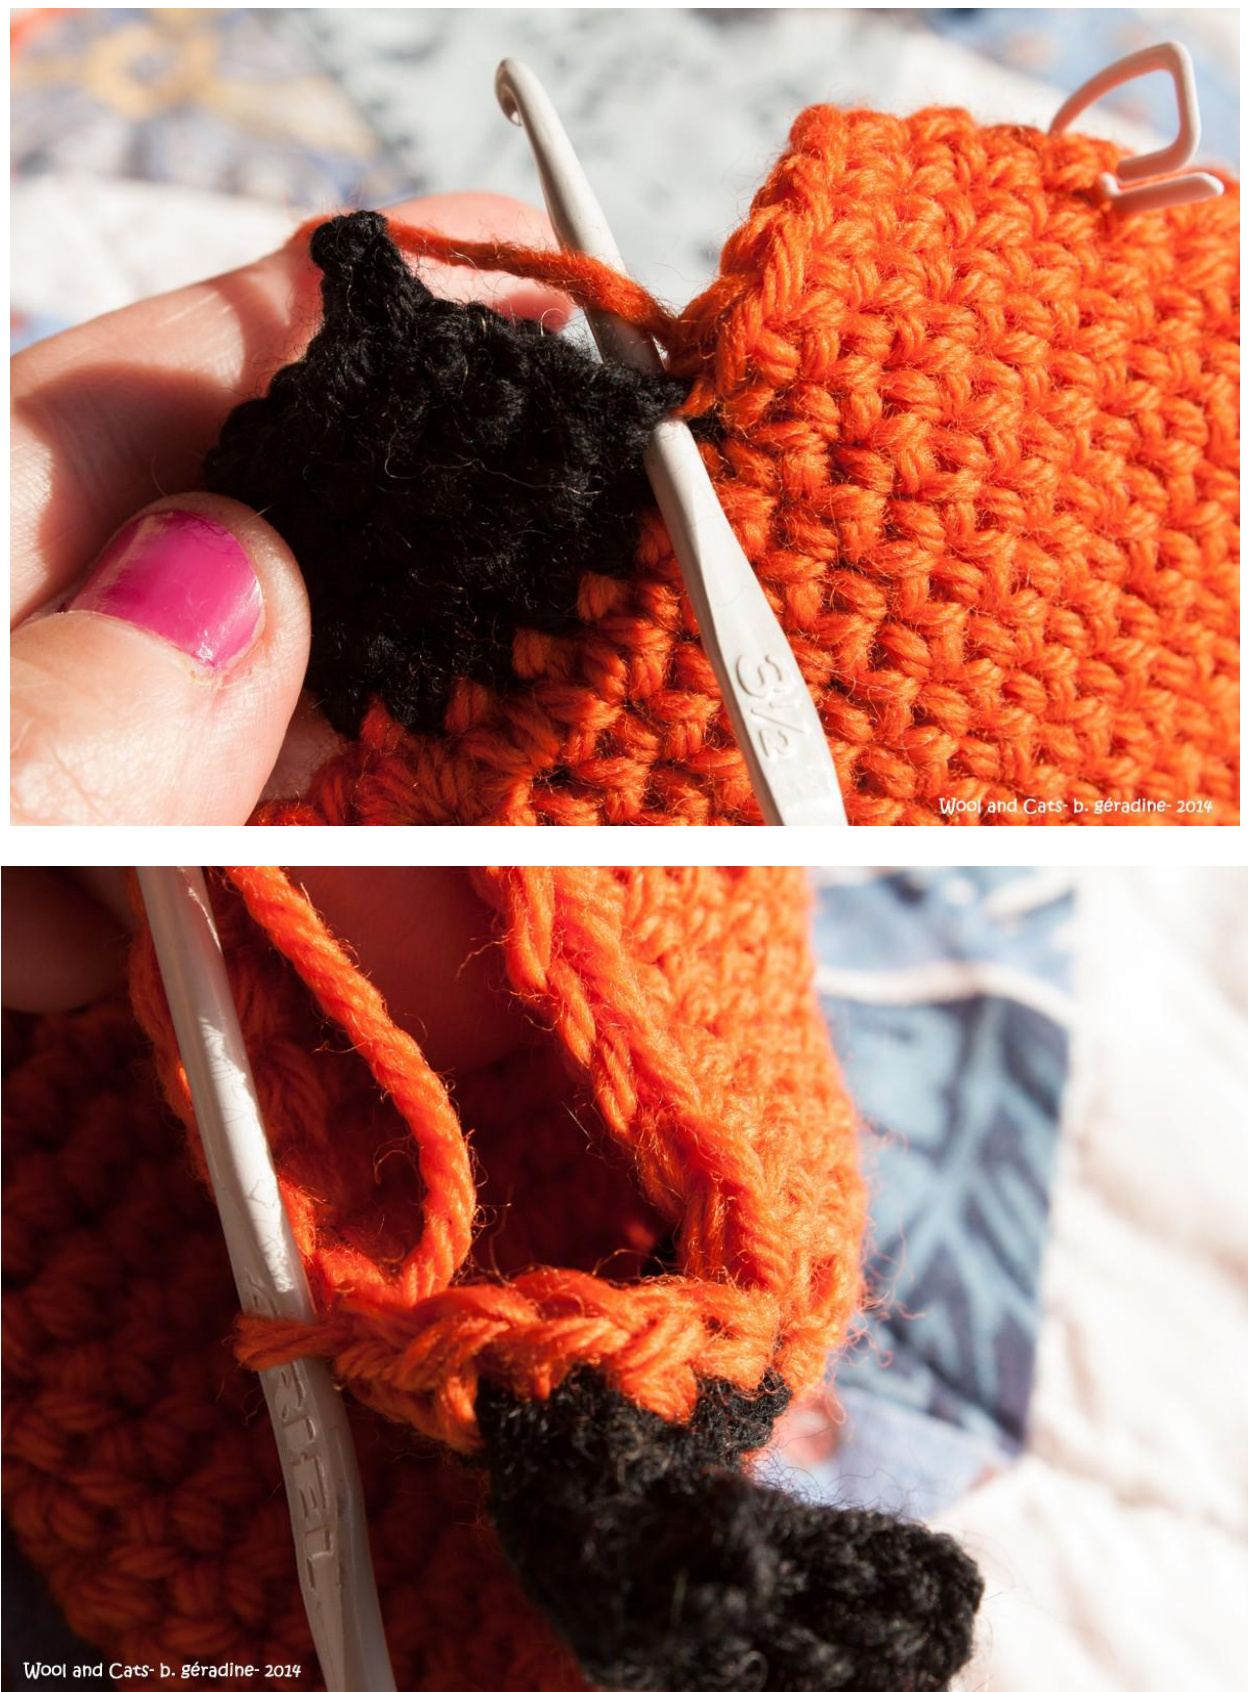
To form the next finger, we proceed as before: to determine its size, put on the mitt and place AM2 and AM3.
Here's what happens:
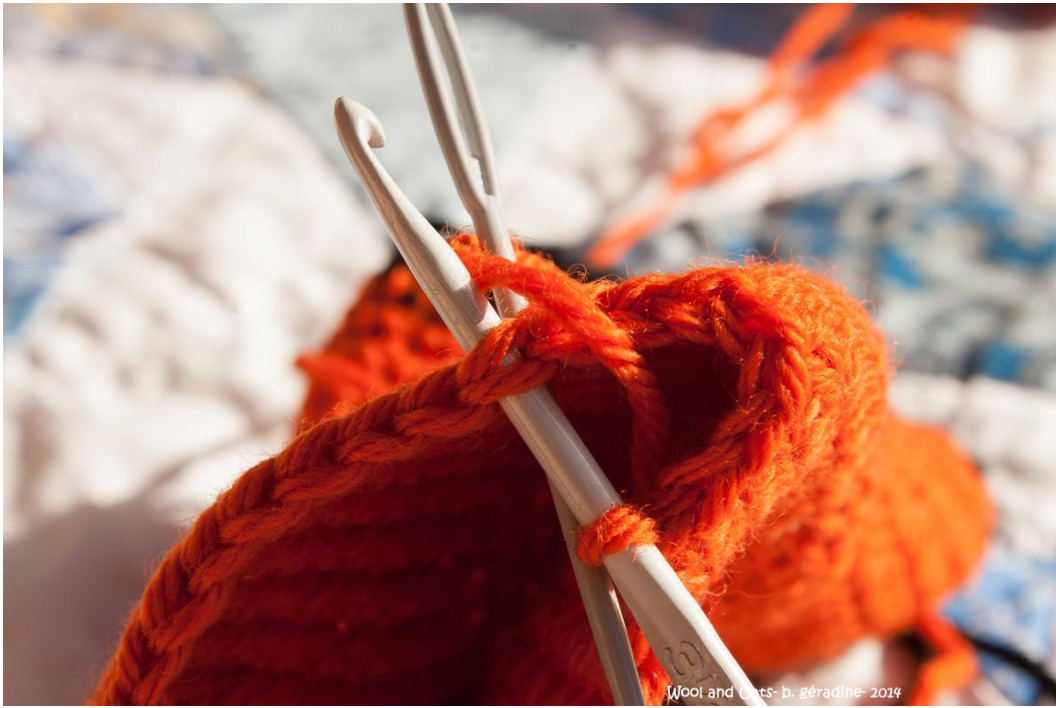
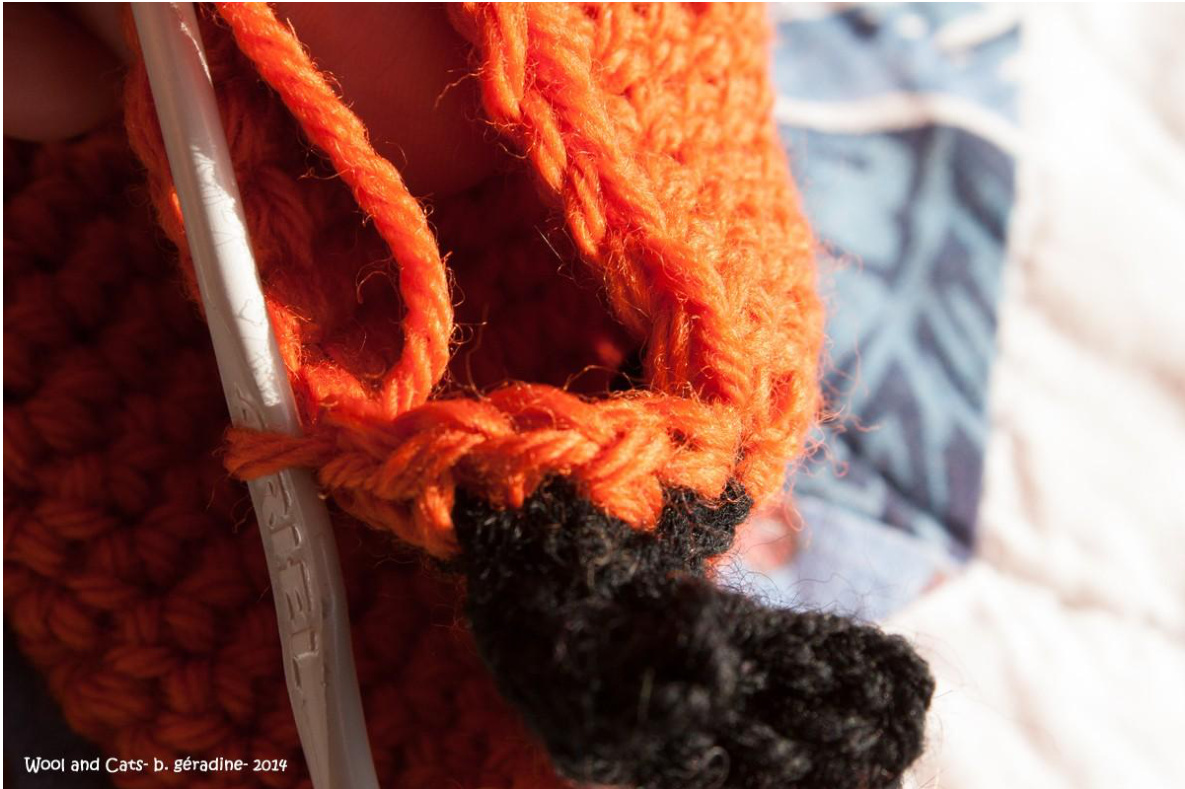
Toute reproduction est interdite. Utilisation a des fins personnelles et non commerciales. To change colors : at AM2, crochet with color A. Don't cut the thread of B
Join the 2 stitches, between both, chain1 . Check the size of the finger.
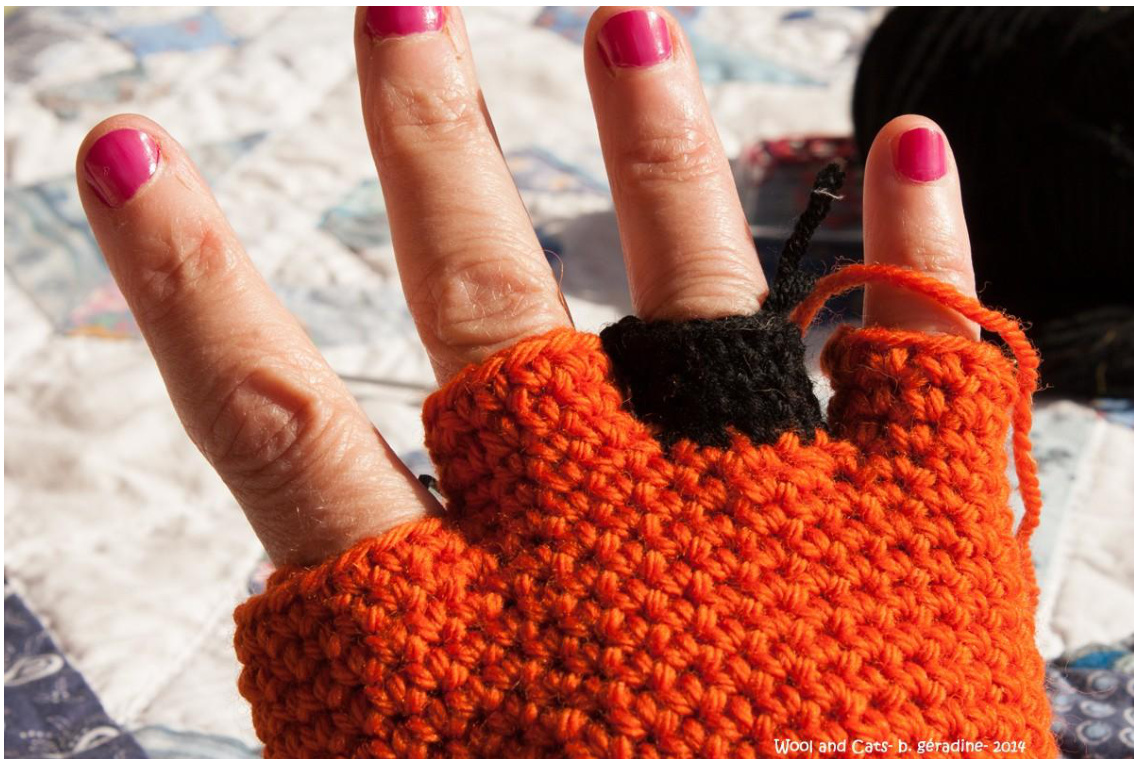
Crochet in the round and at the end fasten off. Cut the thread. @b. géraldine 2014- Toute reproduction est interdite. Utilisation a des fins personnelles et non commerciales. Back row with the yarn color B (which had not been cut and that is on the palm side of the glove, AM2). Pay attention to crochet every stitch and the stitch between AM2 and AM3.
Crochet the other fingers using the same principle. Change colors as you want.
@b. géraldine 2014-
Toute reproduction est interdite. Utilisation a des fins personnelles et non commerciales.
To crochet the thumb : Start from the corner on the palm side et work with dc/sc in all next stitches until you reach the right height.
Work the second hand following the same process. Enjoy it !! Don't forget to show me your mittens !! Thanks ! Toute reproduction est interdite. Utilisation a des fins personnelles et non commerciales.


