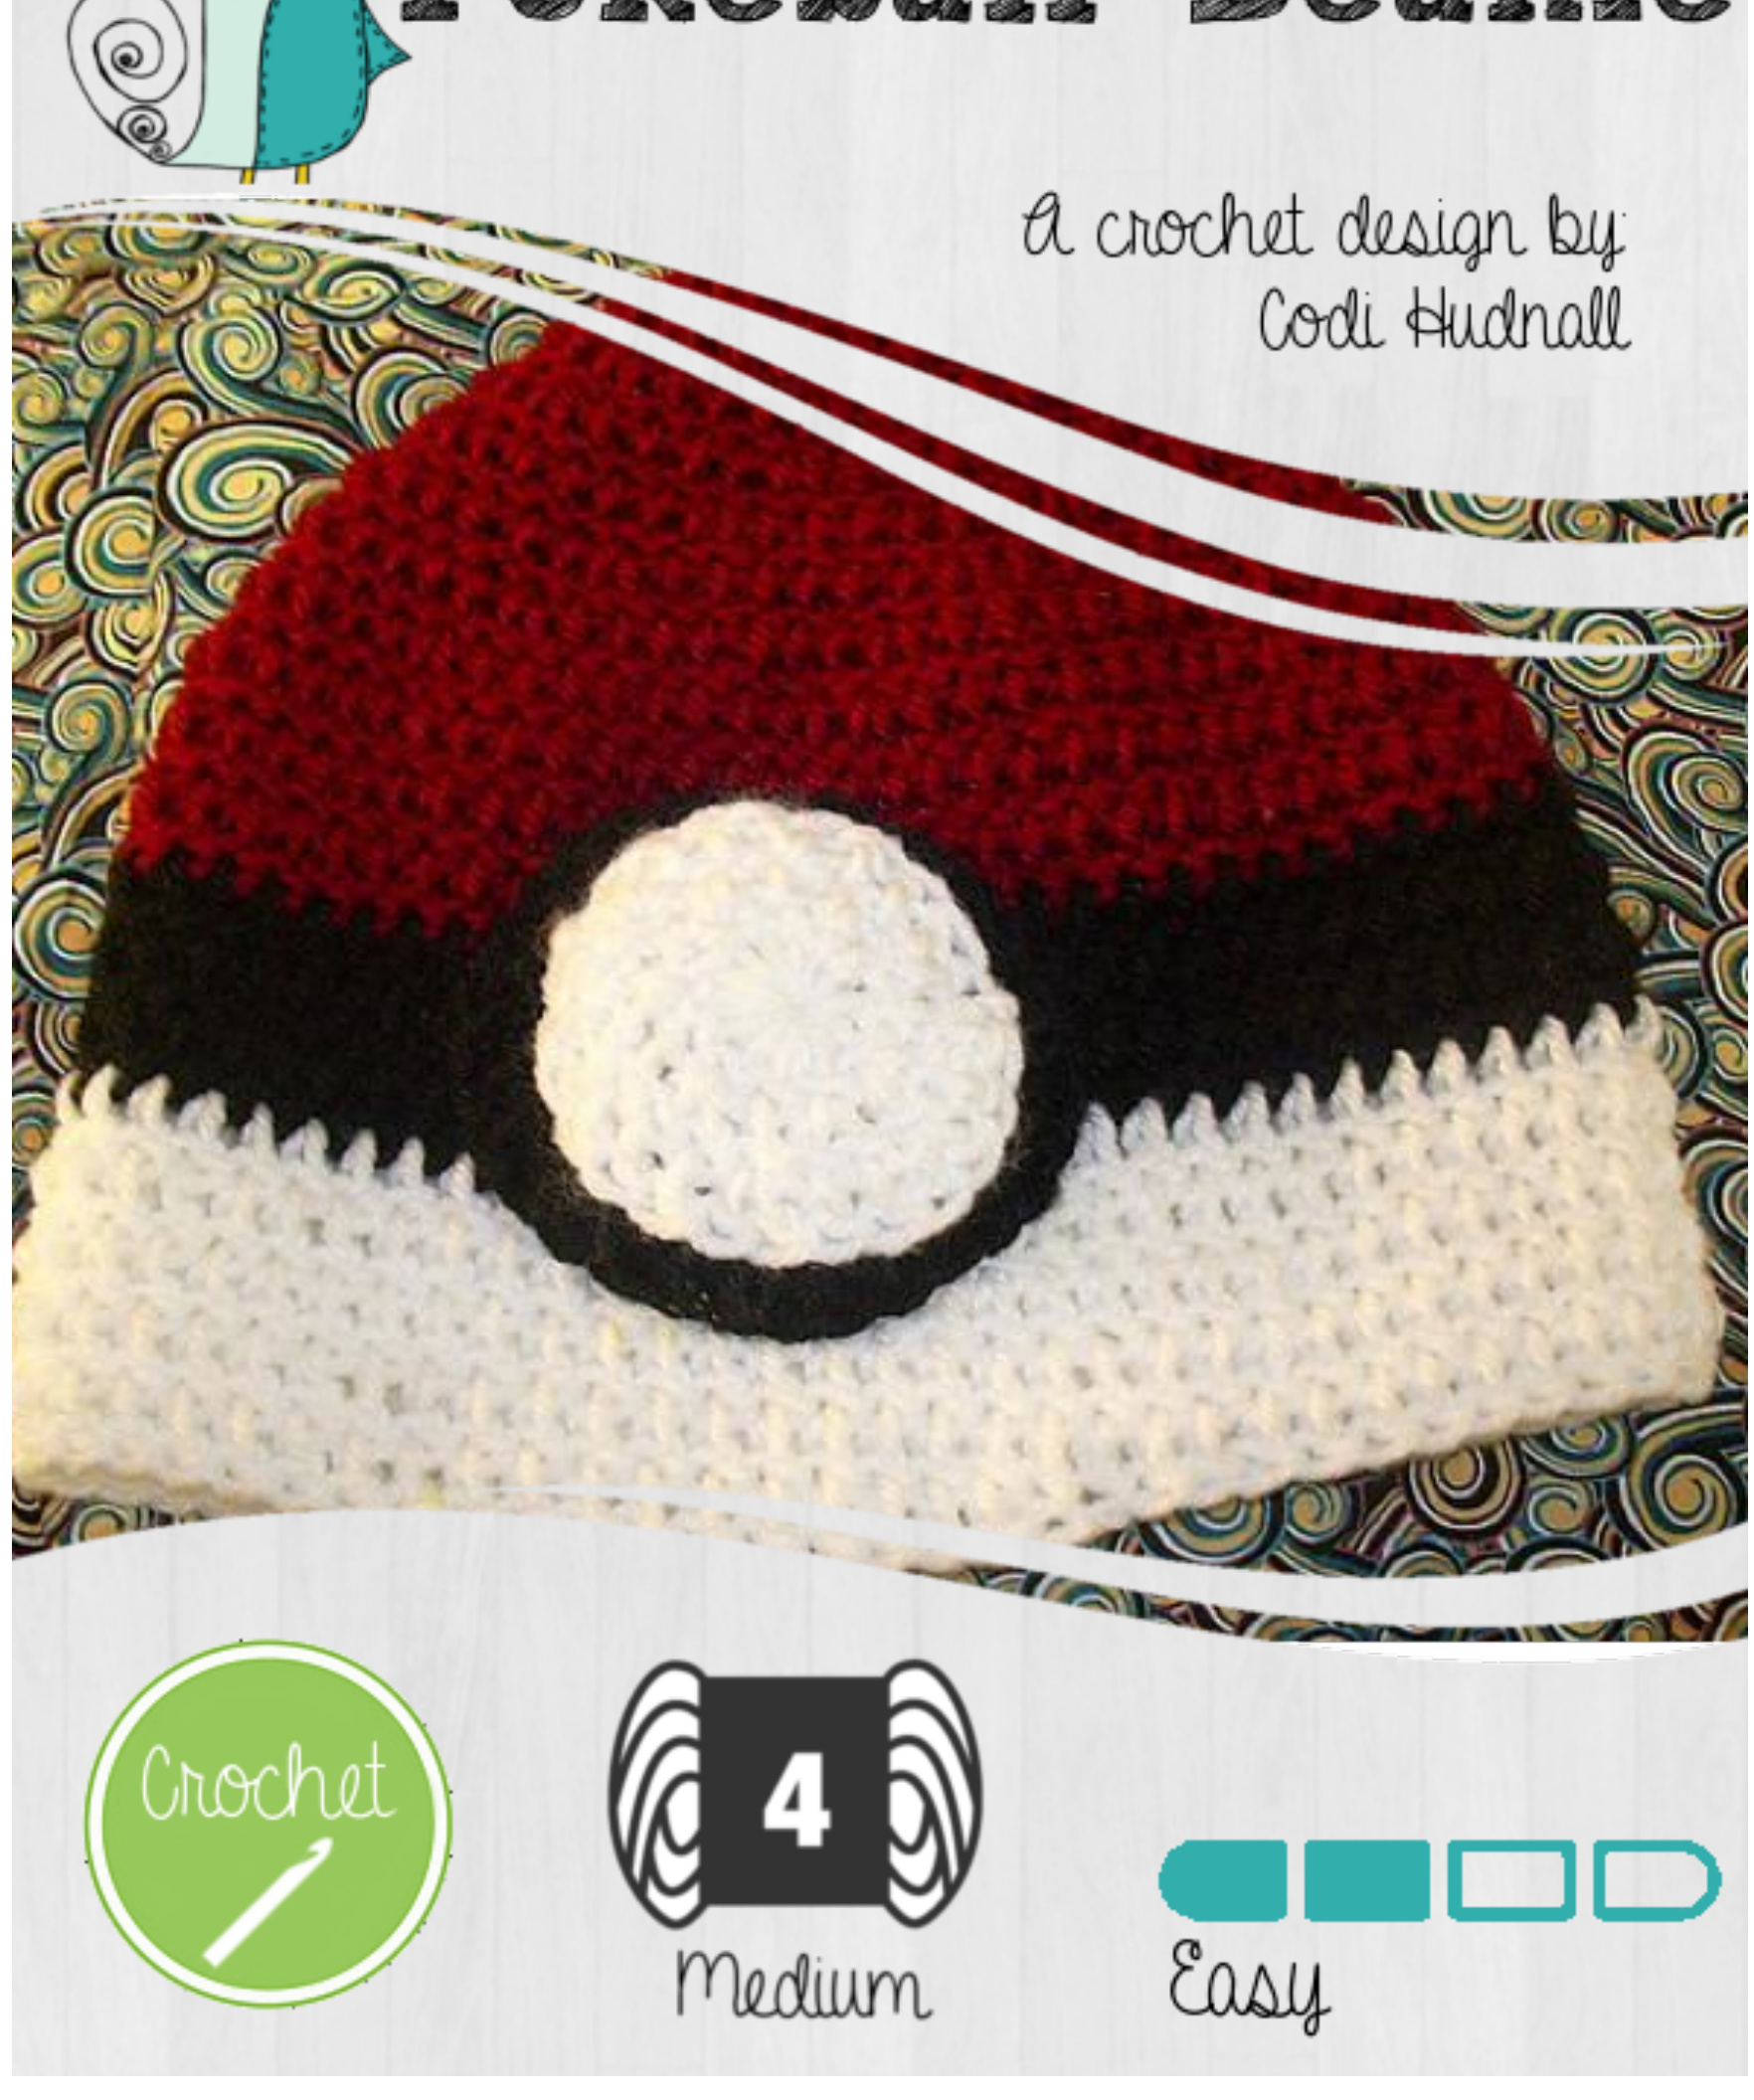
Pokeball Beanie
Basic
Information


medium
yarn:
-Red Heait Soft 100% acrylic; 5.0 oz/141 g, 256 yard/234 m Weiglht Category: 4 Medium/ Worsted. Qty: 3 balls OR -Lion Brand Heaitland 100% Acrylic; 5.00 oz/142g, 251 yd/230 m Weiglht Category: 4 Me dlium/Worsted Qty: 3 balls Iuseda combination for dlisplaye d beanie
Gauge:
4 SC within an inch.Be sure to check your tension before staiting your woik.
Hook Sige:
-Size J/6.0 Crochet Hook I prefer metal hooks to wooden ones, but beginmers may fund it easier to use wood. The stitches slip off less easily onn wood.
aaAonted needs
- Daming Needle -Stitch Markers - Felt
ContentA
Basic Information.1 Abbreviations.2 Instiuctionns.3-4 Social Media:5 Copyright Infommation. 6
Copyright Knit Guit 204
Abbreviations
Common horthand pon Knit Grit patternA STS: Stitches \*: Repeat until end Beg: Beginning R: Round SC: Single Crochet DC: Double Crochet
Instructions
Pokeball Beanie
With red yarn, chain 8 and connect to begining stitch. R1: Inside of chain circle, DC 12 stitches and connect. R2: DC2, 2DC in next DC \* R3: DC3, 2DC in next DC \* R4: DC4, 2DC in next DC \* R5: DC5, 2DC in next DC \* R6: DC6, 2DC in next DC \* R7: DC7, 2DC in next DC \* R8-12:DC \* R13-15: Attach black yarn, DC \* R16-20: Attach white yarn, DC \* Fasten off and sew in tail.
Pattern
Instructions
Button (Black Part)
With black yarn, chain 8 and connect to begining stitch. R1: Inside of chain circle, DC 12 stitches and connect. R2: DC1, 2DC in next DC \* R3:DC2,2DC in next DC \* R4: DC3, 2DC in next DC \* Slip stitch off.
Button (white Part)
With white yarn, chain 8 and connect to beginning stitch R1: Inside of chain circle, DC 12 stitches and connect. R2: DC1,2DC in next DC \* R3:DC2, 2DC in next DC \*
Sew button onto the base where you attached the colors. It will cove rup the uneven part). Once you do this, sew in the tail and you are done!

auelruycom/designea codi-hudnall
Copyright Information
(c) Codi Hudnal tll Righta Reserved You may use thia pattern gon peaonal use, aA gigta on pot charity but you ae not permitted to Aell this pattern or the ginished item qon ginancial gain