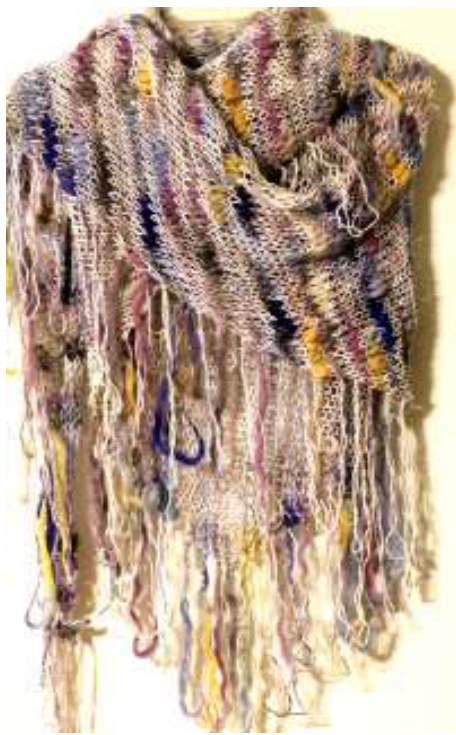
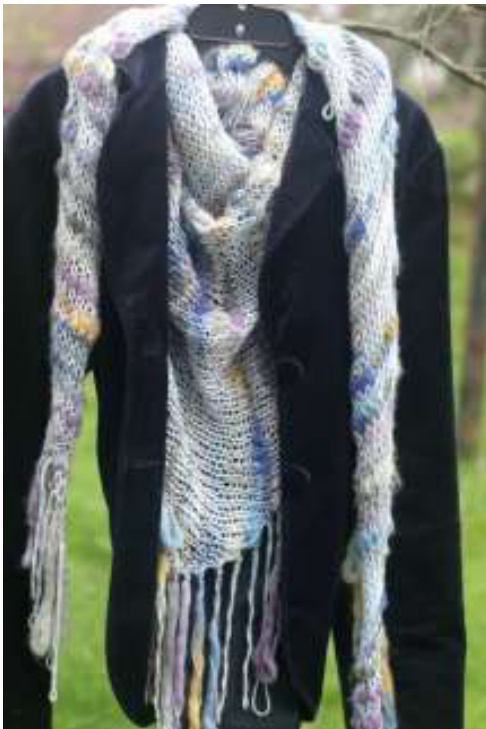
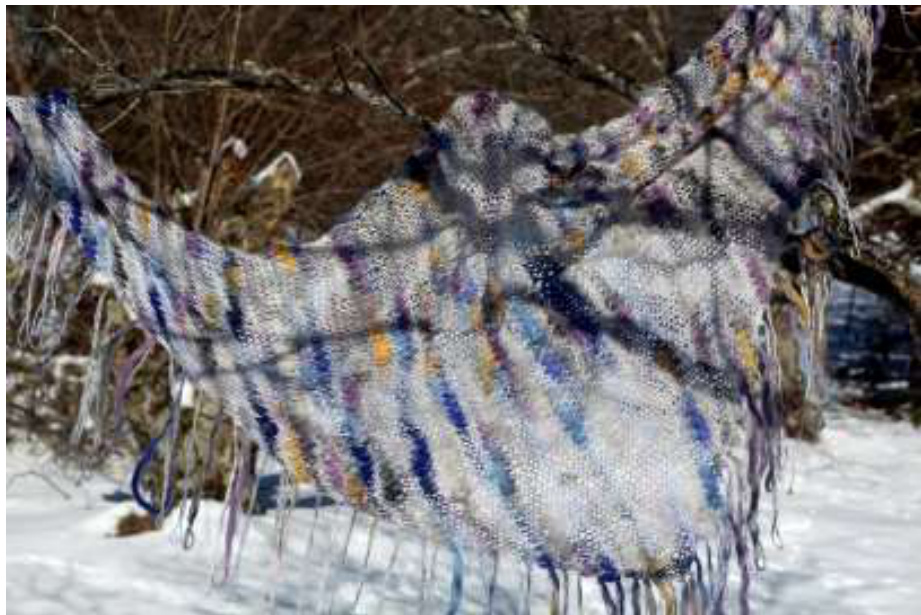
After the Storm
I designed this specifically for Universal Yarn's Bamboo Bloom Handpaints because there was just no other pattern out there that did this wonderful yarn justice. Big needles let the colorful wool slubs show off while providing a light airyness throughout the thinner bamboo. The rolled upper edge adds casualness whilst the unraveled strands at the bottom give it some funk.
Materials:
3 skeins Universal Yarn Bamboo Bloom Handpaint US 15 knitting needles 1 stitch marker Don't stress about gauge; this is a casual wrap, meant to be as deep as you want, so whatever works for you is perfect. The pattern is worked in stockinette stitch for the body of the shawl with the 5 stitches on the edge always knit (these are the stitches you'll unravel after bind off). Cast on 6 stitches BEGIN INCREASE K-KNIT P-PURL RS - RIGHT SIDE WS - WRONG SIDE KTFBL - KNIT THRU THE FRONT AND BACK LOOP (INCREASE) K2TOG - KNIT TWO TOGETHER (RS) Row 1: K1, PM, K5 (DECREASE) · (WS) Row 2: K5, SM, P1 Row 3: Ktfbl, SM, K5 (7 stitches) Row 4 (and all even, WS rows): K5, SM, Purl to end Row 5: K1, Ktfbl, SM, K5 (8 stitches) Row 6: same as Row 4 Row 7 (and all odd, RS rows): Knit to last stitch before marker, KFB, SM, K5 Continue in pattern until you have 75 stitches (70 before the marker and 5 behind it)
BEGIN DECREASE
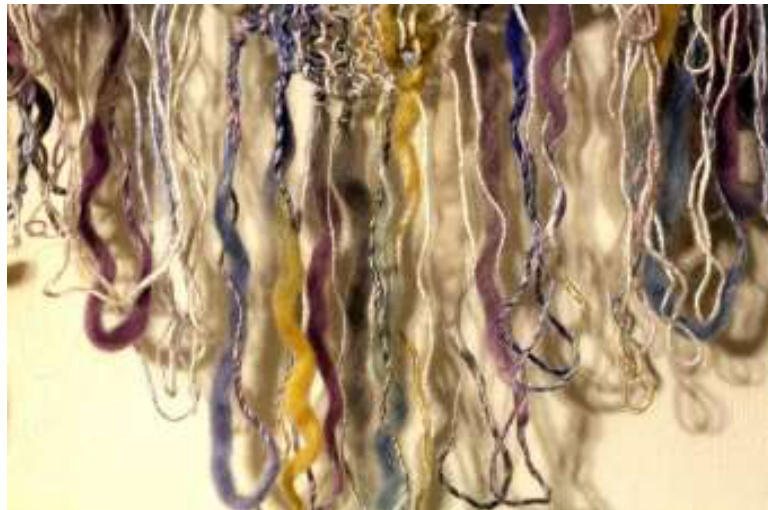
(RS) Knit to last 2 stitches before marker, K2TOG, SM, K5 (WS) K5, SM, Purl to end Continue decreasing, always K2TOG the last 2 stitches before the marker, until you have 6 stitches left (1 stitch before the marker and 5 behind it). BINDOFF&UNRAVEL Bind off that single stitch before the marker and then, holding your breath (it's really not that big a deal except for the first time ) remove your needle from the last 5 stiches. Gently start pulling that last row of those 5 stitches apart; they should naturally "stop" where the last stitches before the marker were. Wrap the piece around itself to form a knot. You'll have a lovely loop "drooping" from your shawl. Continue unraveling and knotting. You'll rows and rows of lovely loops that you can either keep intact, cut at the looped end for individual strands, or to which you can add beads.