Frankie's Knitted Stuff
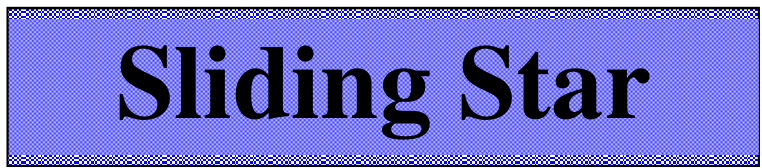
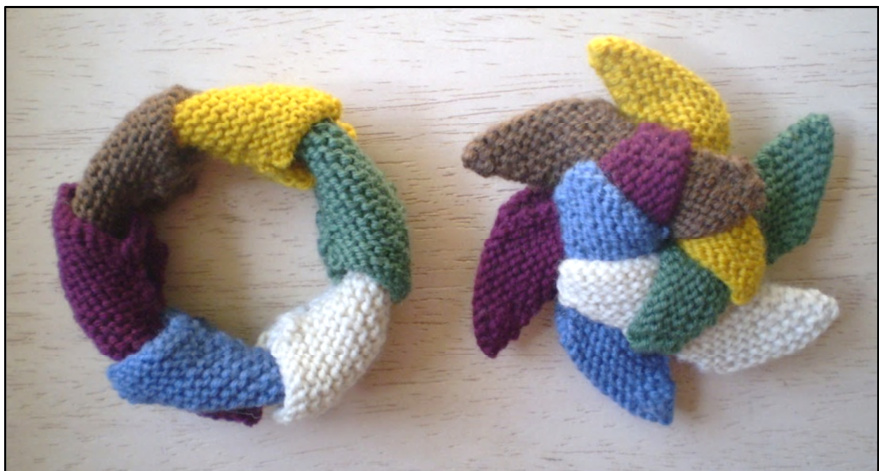
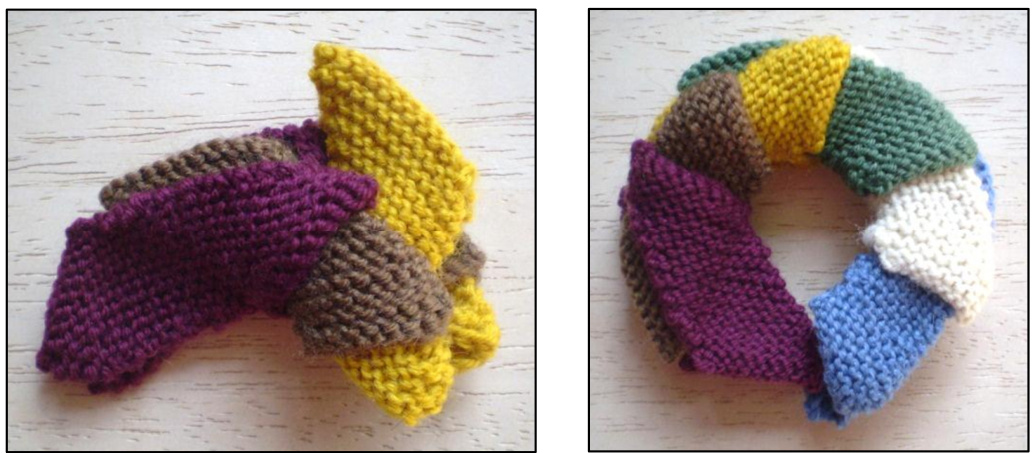
This knitted star is based on an origami design, although I gave my star six points rather than the original eight. With a bit of pushing and pulling it transforms from a ring to a star and back again. The stars in the picture above were knitted in 4 ply yarn on 2mm / US size 0 needles and measure about 10cm / 4" across. I also tried making a bigger one with the same pattern, using thicker cotton yarn, this is how big it turned out.
Whatever yarn you decide to use, working to a tight tension will give the best results. I knitted my little stars with a tension of about 9 sts to 1".
Knitting the Star
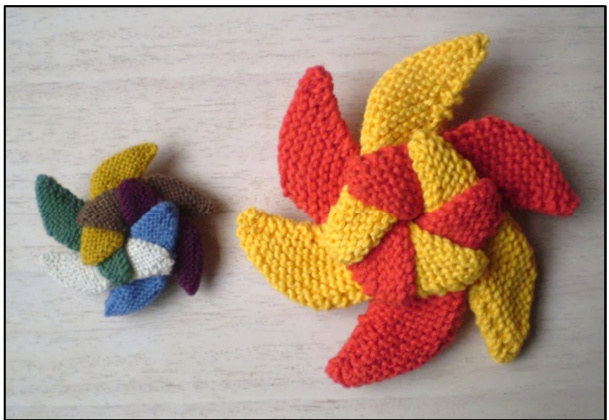
The stars are worked in garter stitch and the six points are knitted separately. Cast on 10 sts. Knit 1 row. \*Next Row: Kf&b, K to end. Next Row: Knit. Repeat from \* once more (12 sts). Now work the following two row pattern ten times (20 rows in all): Row 1: Kf&b, K9, K2tog. Row 2: Knit. Next Row: Purl. You are now halfway through the first point and your knitting should look like this.

Work the same two row pattern another ten times: Row 1: Kf&b, K9, K2tog. Row 2: Knit. \*\*Next Row: K to last 2 sts, K2tog. Next Row: Knit. Repeat from \*\* once more (10 sts). Knit 1 row. Cast off purlwise.
Now you need to knit two little strips to sew to the ends of the point, these are how the points are linked together. Cast on 8 sts. Knit 1 row. Cast off. Flip the finished point over and sew these strips to the inside, just up from the cast on and cast off edges. Only sew down the ends of the strips.
Finally, fold the point in half and join the top half of the left side as shown below.
That's one point of the star finished. Now work four more in exactly the same way.
The final point of the star needs to be knitted in two pieces so that the star can be assembled into a ring.
First Piece
Cast on 10 sts. Knit 1 row. \*Next Row: Kf&b, K to end. Next Row: Knit. Repeat from \* once more (12 sts). Now work the following two row pattern ten times (20 rows in all): Row 1: Kf&b, K9, K2tog. Row 2: Knit. Cast off purlwise. Second Piece This is begun at the top. Cast on 12 sts. Work the following two row pattern ten times: Row 1: Kf&b, K9, K2tog. Row 2: Knit. \*\*Next Row: K to last 2 sts, K2tog. Next Row: Knit. Repeat from \*\* once more (10 sts). Knit 1 row. Cast off purlwise. Add a strip to the bottom of each piece as with the other points.
Assembling the Star
Take the last, two part, point and thread the legs of the next point down through the strips on the two pieces.

Continue adding the other points in the same way, always keeping them pointing the same way and threading the legs of each point down through the strips on the previous point.
When all six points are in place, thread the tops of the final point up through the strips on the previous point. Now you can join the top of this point and also join half of the side seam as you did with the other points. The side seam to be joined will be on the inside of the ring.
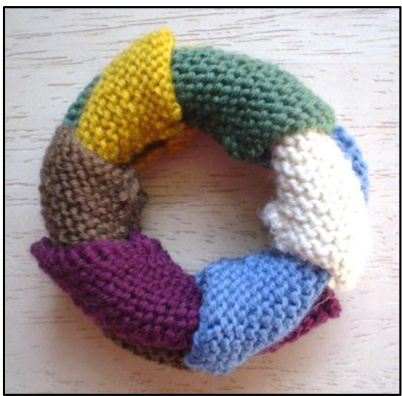
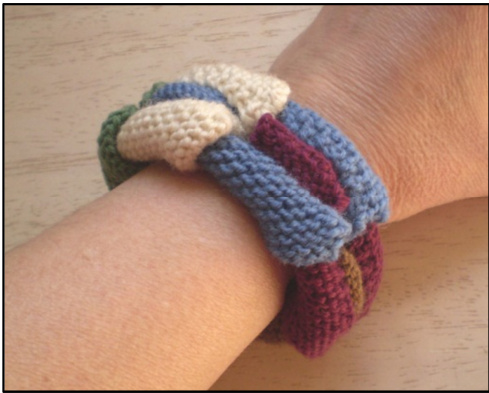
Now you have a finished ring ... or maybe a bracelet.
To turn the ring into a star, first pull out the tips of all the points.
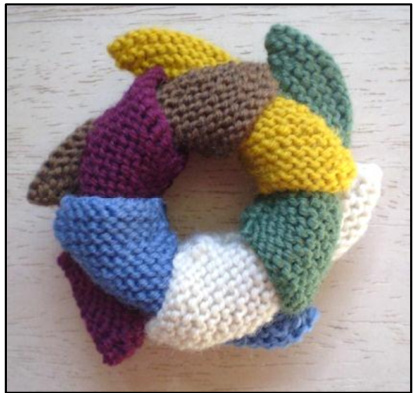
Keep turning the ring, pulling firmly on each point in turn and shaping the centre as you go until you have a neat six pointed star.
Sometimes you have to knit a thing, just to see if you can.
Abbreviations
st / sts stitch / stitches Kknit kf&b knit into the front and back of the stitch K2tog knit two stitches together Frankie Brown, 2011. My patterns are for personal use only and should not be used to knit items for sale.


