Blacklight Leaf Bracelet by
glowingforest
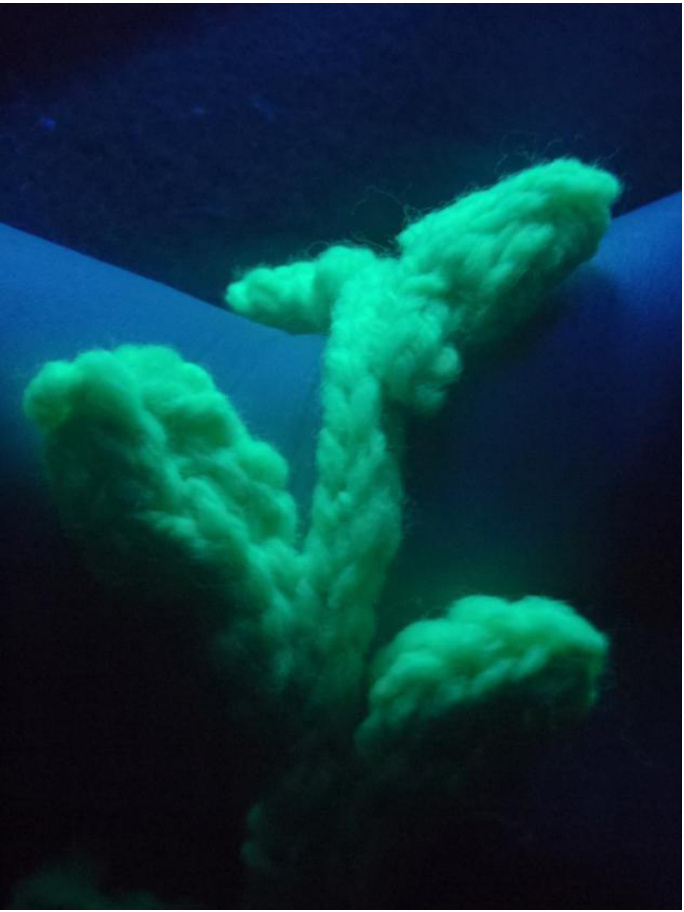
This leaf bracelet is perfect for wood elves, fairies, pixies and nature lovers. Wear it for dressup, at psytrance festivals and forest parties, on carefree summer days, and any time you're feeling leafy! Pattern notes: You'll knit the bracelet, then each leaf individually, and finally sew the leaves onto the bracelet. Read the whole pattern before you start knitting. Yarn: worsted weight in a green you like. I used Red Heart Kids in Color 2652 Lime (it also says Art. E711 on the label). This yarn fluoresces in ultraviolet light, i.e. it glows in blacklight. I've posted some advice on how to find fluorescent yarn, as well as a list of yarns I've found that are fluorescent, here: http://glowingforest.blogspot.com/2010/10/howto-find-fluorescent-yarn.html Needles: 3.5mm (size 4 Us) double-pointed needles These needles are smaller than recommended for worsted weight yarn, which makes the knitting firmer.
Gauge: not super important for this project, as you knit the bracelet to be the right length to fit your Wrist. Abbreviations: (sl2, k1, p2sso): Slip two stitches at the same time (as if you were going to knit the two stitches together, but instead just slip them onto the right needle). Knit the next stitch. Then use the left needle to lift the two slipped stitches over the stitch you just knit, and off the needle. This is a symmetrical doubledecrease. yo $=$ yarn over: Wrap the yarn once around the right needle, counter clockwise if you're looking at the tip of the needle. This is an increase. yob $=$ yarn over backwards: Wrap the yarn once around the right needle, clockwise if you're looking at the tip of the needle. This is an increase. In this pattern, when you yob, the next stitch is a purl. This combination looks weird at first - almost like the purl won't form properly - but it works. $\mathsf{k}1=$ knit one stitch $k2=$ knittwostitches $\mathsf{p}\mathsf{1}=$ purl one stitch $\mathsf{p}2=$ purltwostitches $\mathsf{s l1}=$ slip one stitch $p2\mathtt{t o g}=\mathtt{F}$ ourltwostitchestogether psso $=$ pass slipped stitch over the last stitch you made and off the needle
Knit bracelet: Cast on 3 stitches. Knit 3-stitch i-cord long enough to go around your wrist. Try it on as you go. You can make it just a little bit tight as it will become slightly looser. Once i-cord is the right length, cut the yarn, leaving a 10 - 15cm tail. Thread the tail through the 3 stitches and pull tight. Sew the tips of the i-cord together to make a loop. You can use the yarn end from one or both ends of the i-cord to do the sewing. Knit leaves: Cast on 3 st, leaving an approx. 15cm tail Knit 3 rows of i-cord. This is the stem of the leaf. Push the knitting back across the needle one more time, then do the following: 1st row k1, yo, k1, yo, k1 2nd row p2, yob, p1, yob, p2 3rd row k2, (sl2, k1, p2sso), k2 4th row purl all stitches 5th row k1, (sl2, k1, p2sso), k1 6th row sl1 purlwise, p2tog, psso Cut yarn, leaving an approx. 10cm tail. Weave in the yarn ends that extend from the tips of the leaves. Don't weave in the yarn ends that extend from the stems - you'll use them later.
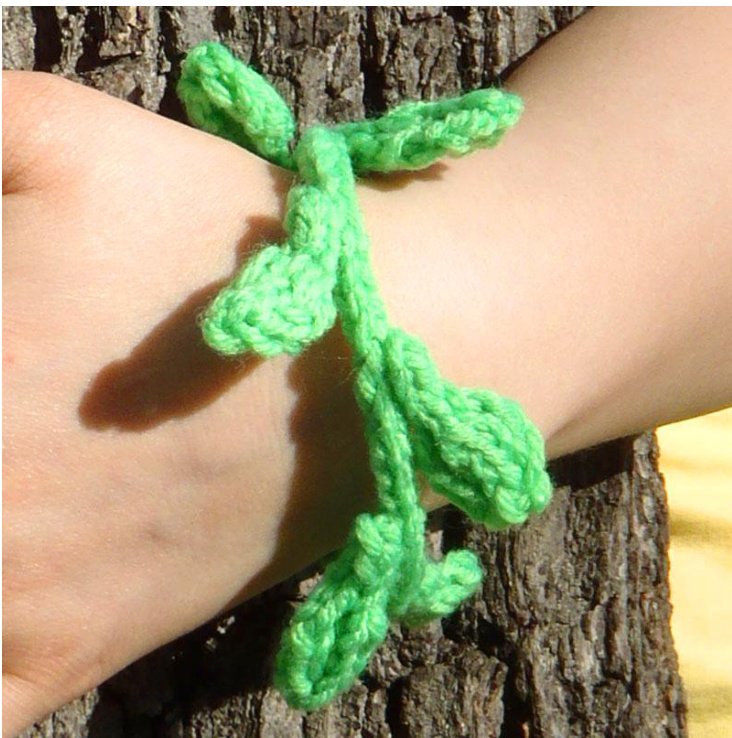
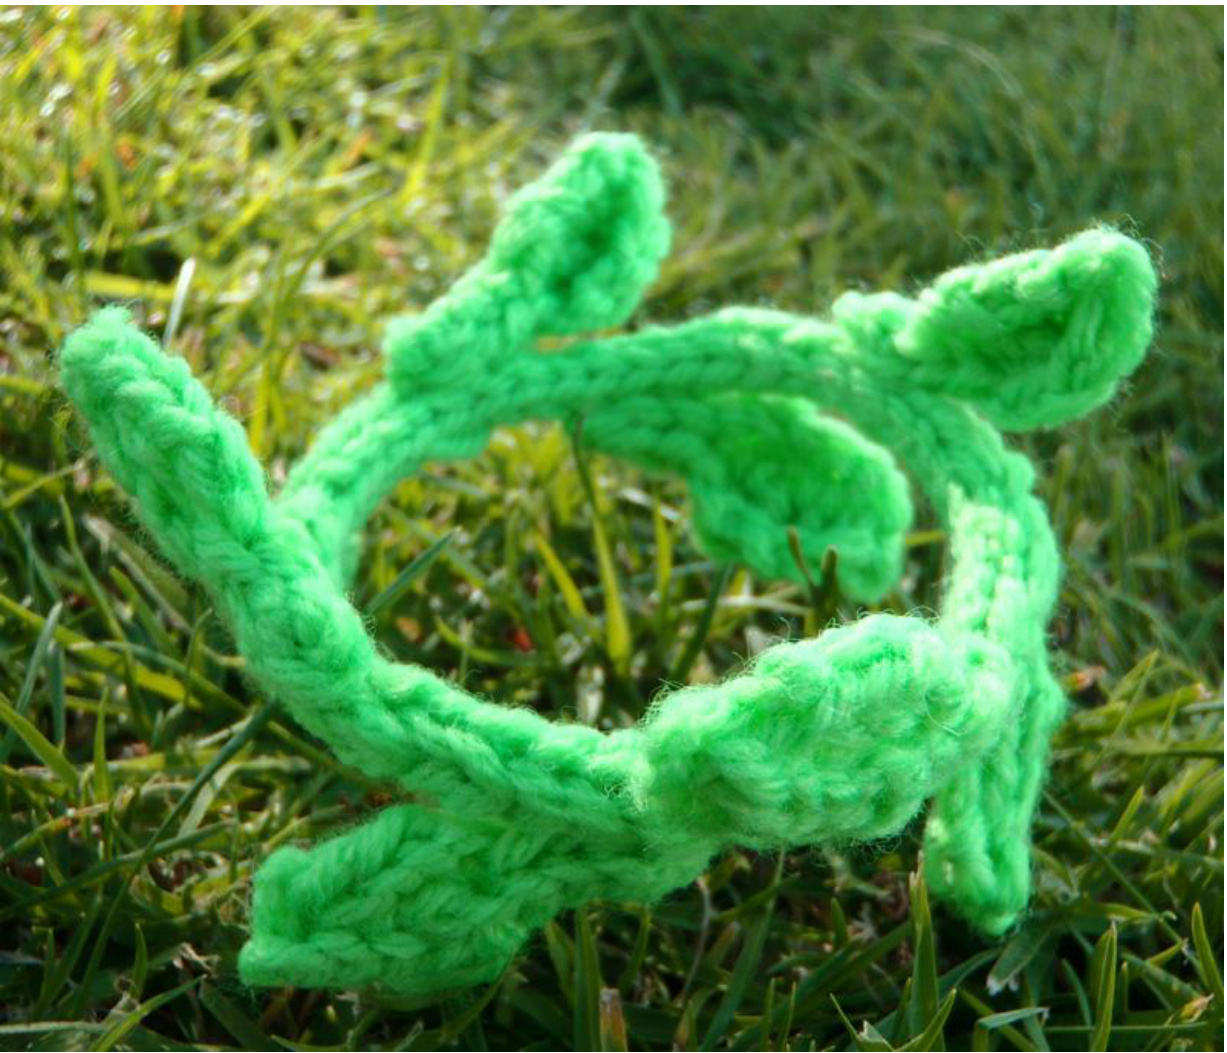
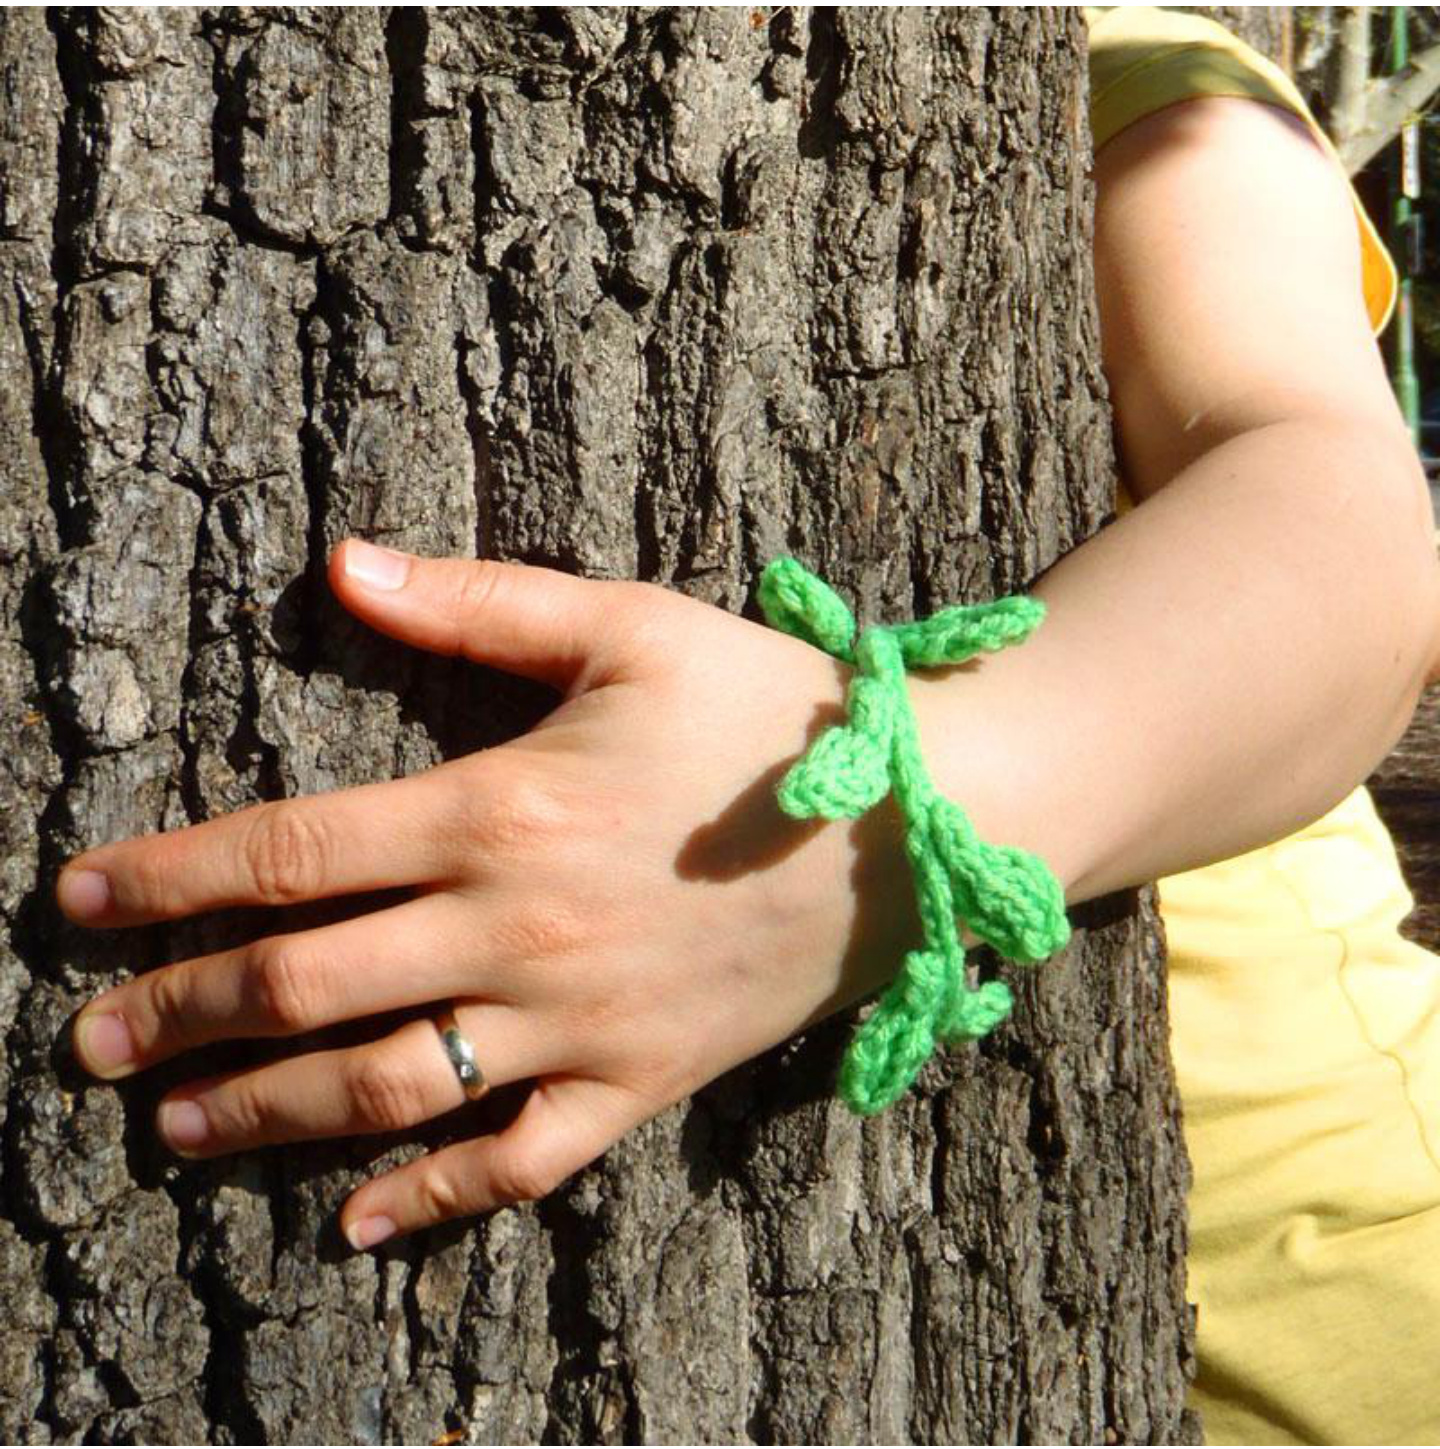
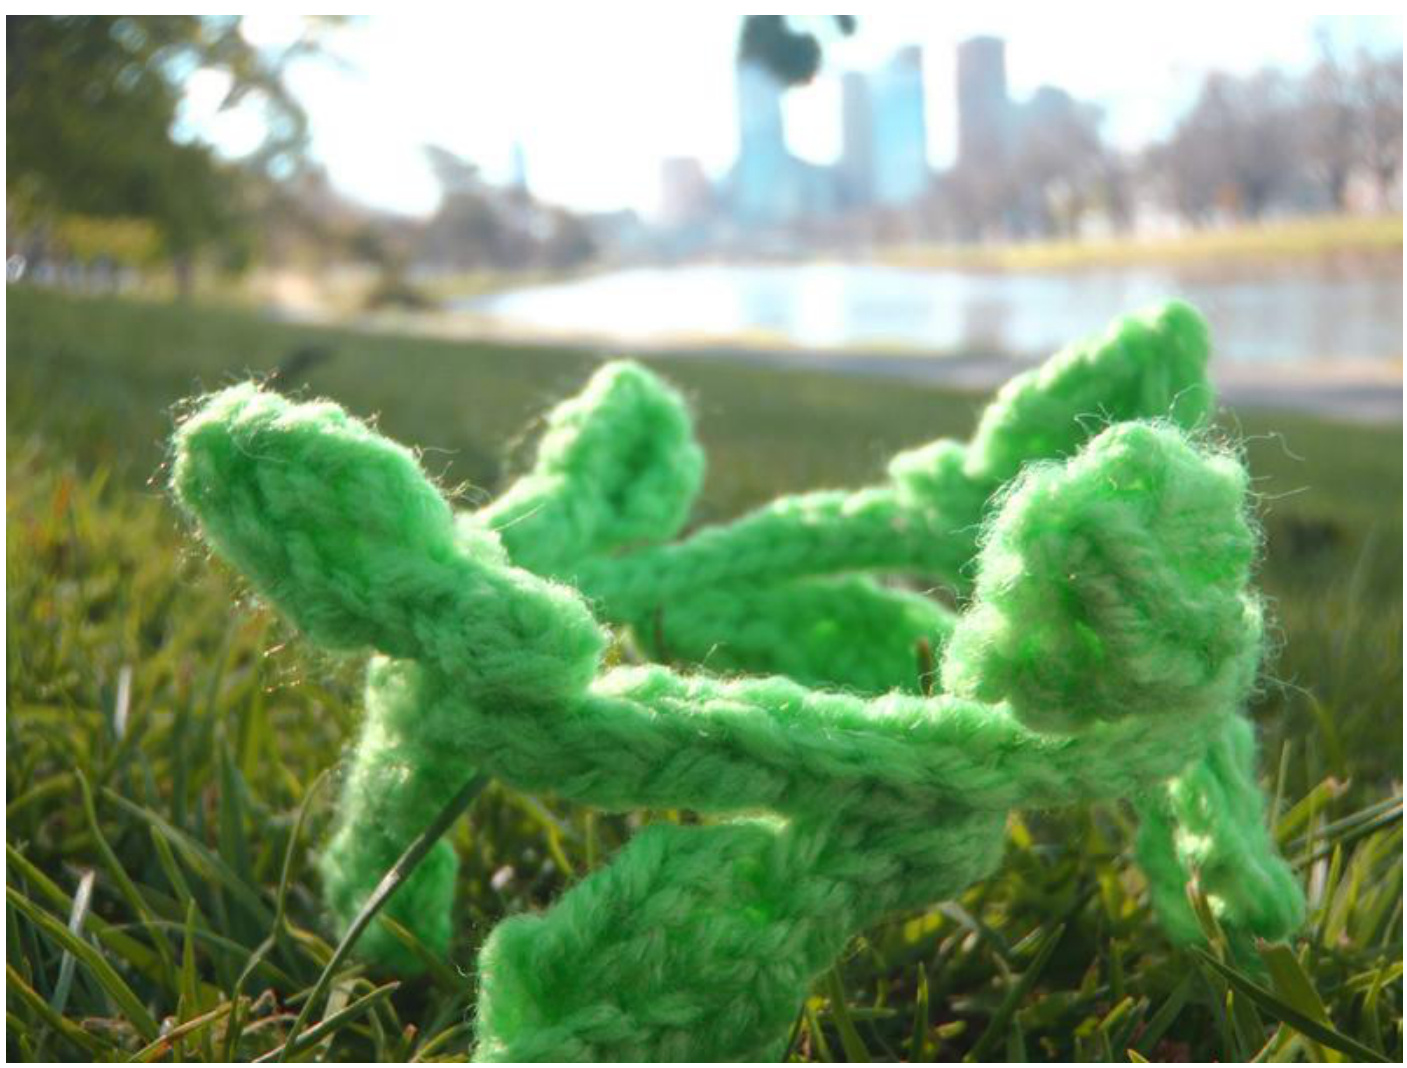
Make 8 leaves in total. Sew the leaves onto the bracelet: Check the photos to see how to orient the leaves when you sew them on. When you have the bracelet on, each leaf will have its purl side facing your wrist. Space the leaves evenly around the bracelet - four on the left side, four on the right, alternating rather than paired. Use the yarn end attachedtotheleafstemtosewontheleaf.Sew enough stitches so that the leaf is firmly attached. Weave the yarn into the bracelet for a couple of stitches. Hide the yarn end inside the i-cord of the bracelet for a tidy look. Now you're done - go hug a tree! :D
Copyright $\circledcirc$ Jessica Walcott Peters 2010. You are free to sell finished items made using my pattern. Please do not resell the pattern itself. As for sharing the pattern, if a friend wants a copy, I would love it if you directed them to my Etsy shop! http://www.etsy.com/shop/glowingforest


