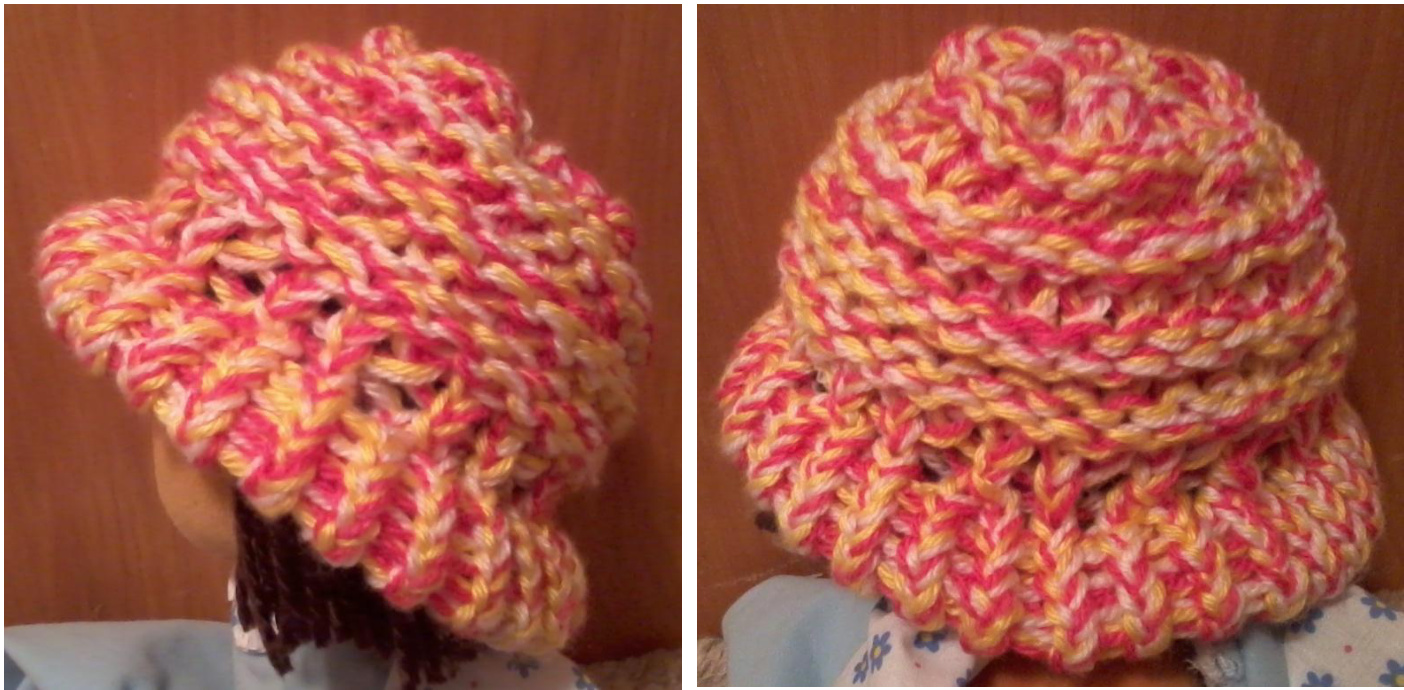
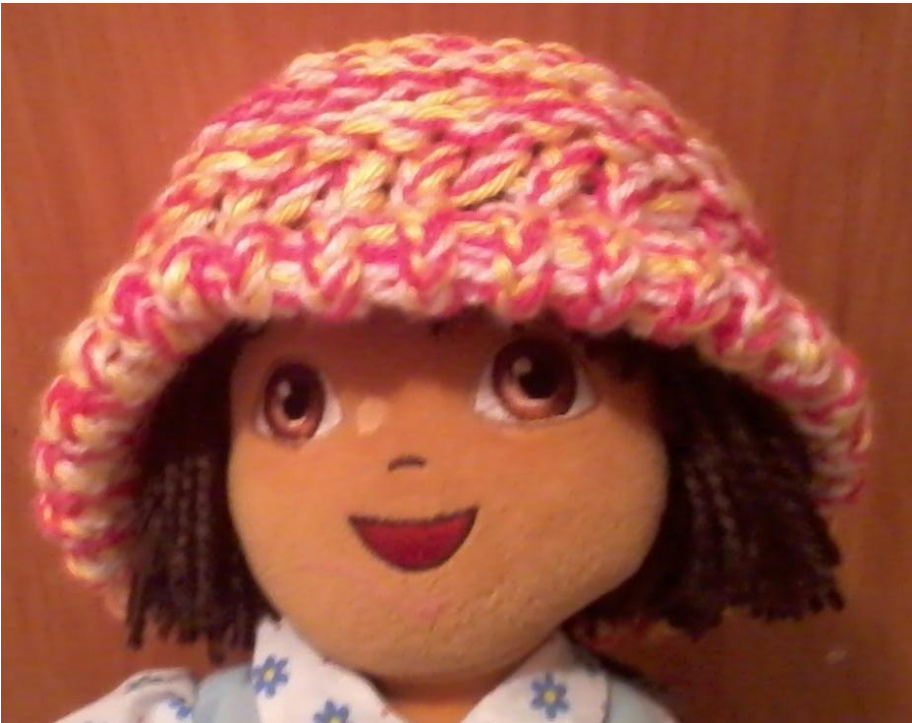
DEVO BRIM HAT
Size: Child age 3-5 Yarn: 3 Skeins: 4-Ply, 100% Acrylic Worsted Weight - choice of colors Loom: Knifty Knitter Red Loom Gauge: Not necessary in this pattern Other Materials Needed: Loom Hook Large blunt tip needle Note:Read ALL these instructions thoroughly BEFORE starting to knit.
Stitch Instructions:
iwot), ana m-wiap. 1it a sup nuut aunu sueuit n tw ue auenui peg. a. E-wrap beginning with the peg closest to the anchor peg; wrapping the yarn around it to form a cursive letter "e." (Draw the yarn from the inside of the loom around the first peg toward the outside and then back toward the inside. The top of the cursive e should be toward the outside of the loom and the yarn should cross on the inside of the loom.) b. Continue e-wrapping all the pegs in a clockwise direction. Push this row of loops downward On the pegs. c. E-Wrap second row same as first row; ending w/two loops on each peg. d. Using loom hook "knit off" - bring bottom loop over the top loop on each peg and release toward inside of loom. Continue knitting off, until all pegs have only one loop remaining. Push the loops to bottom of each peg. e. Repeat steps c & d, until desired length or number of rows for pattern is reached. \* Purl Stitch (p): This stitch is created by working one peg at a time. a. Lay the yarn flat across the peg below the existing loop. Bring the hook tool through the existing loop and over the working yarn. b. Turn the hook tool towards the peg, catch the working yarn, and pull the working yarn into a newloop. c. Remove the old loop from the peg and put the new loop on the peg. d. Pull on the working yarn to adjust the tension and size of the purl stitch on the peg. ? Copyright October 27, 2011. Pattern designed by Arlesia Wena? Knaup. Allrights reserved.
\* Eyelet (Buttonhole) Stitch:
a. Move loop on 1"t peg to 2"d peg, skip next peg. b. Bring the working yarn in front of the empty peg. c.Knit off on the peg that the loop was moved to treating both loops as if they are only one loop. d. Continue steps \*b - c' around; ending by placing loop on last peg to 1\* peg.
Bind-off Stitch (bo):
a. Start with the side opposite your working yarn. Pick up the second-to-last wrap and place it on the last wrap. b.Knit off. c. Move the wrap to the empty peg where the second-to-last wrap used to be. d. Repeat steps “a - c" for the remainder of the wraps, always placing the second-to-last wrap on the last wrap and knitting off. e.When you have reach the last wrap, cut a 6-inch tail off the working yarn and pull through the last stitch pulled off the loom.
Brim:
1. Using 3 strands of yarn, e-wrap cast on. 2. Using twSt, work 10 rows. 3. Reach inside the loom and pull the loops from your first row of knitting over the corresponding pegs, as follows: pull up the long, loose yarn at the beginning of your knitting and place it between the first and last pegs. This will help you align the loops with the pegs. The “loop” is actually the long bar of yarn that runs between two stitches. 4. Starting with the peg to the right of your original loose yarn, pull the loops up until all of the pegs are covered. You now have two rows of yarn loops on your pegs. 5. Use the hook to pull the bottom row of loops over the top row on each peg.
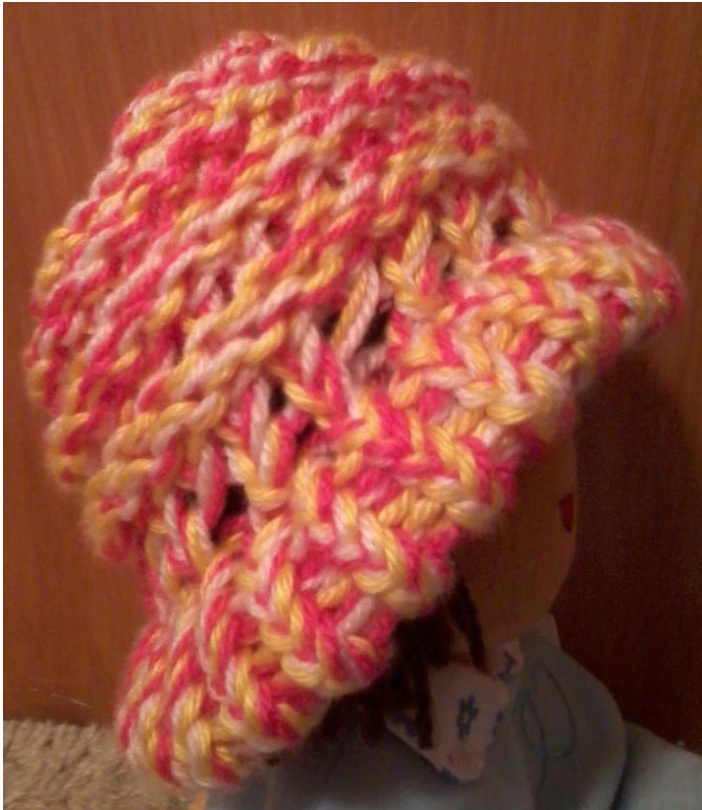
Body:
1. Using twSt, work 1 row. 2. Using eyelet stitch, work 1 row. 3. Using twSt, work 2 rows. Note: when peg reached with yarn stretched across it, treat it as you do any other loop on the peg while knitting off. 4. Using p, work 2 rows. 5. Using twSt, work 2 rows. 6. Repeat steps 4 - 5, until 18 rows (not counting brim) have been completed. 7. Using twSt, work I row. 8. Using p, work 1 row.
Finishing:
1. Push all loops downward to bottom of pegs; ensuring only one loop is on each peg. 2. Cut the end of your wrapping yarn, leaving a 3-4" tail. 3. Cut a 24" piece of yarn from your skein and thread it onto a blunt tipped needle. 4. Starting with the first peg, bo; (ensure end of the yarn is still sticking out of the first loop you pulled off.) 5. Turn hat inside out. Pull the two ends of your sewing yarn together to gather the material for the top of the hat. @ Copyright October 27, 2011. Pattern designed by Arlesia Wena? Knaup. Allrights reserved. 6.Tie the two ends of your sewing yarn together in a tight square knot. Cut the ends of all the yarn, leaving 3-4" tails. 7. Weave in all loose ends.