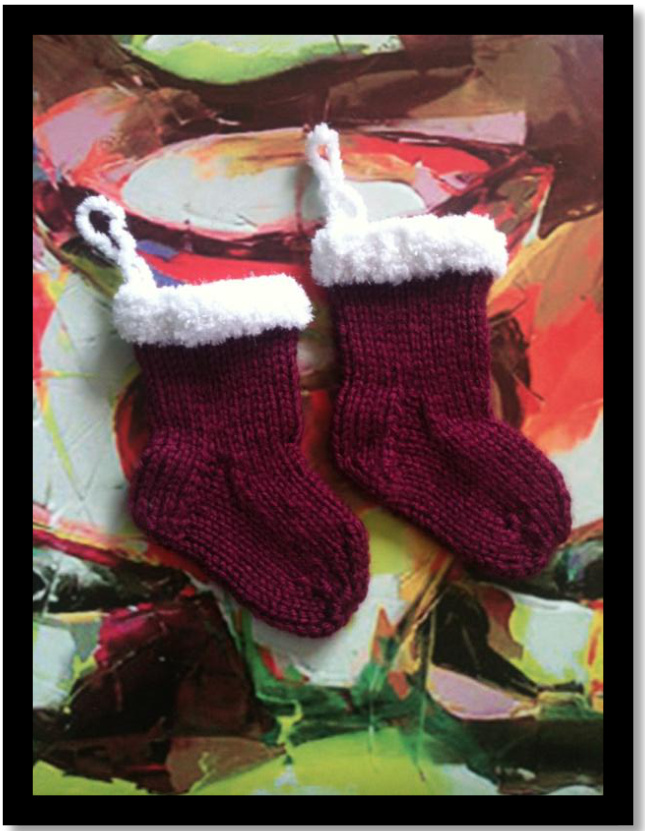
Mini Christmas Stockings
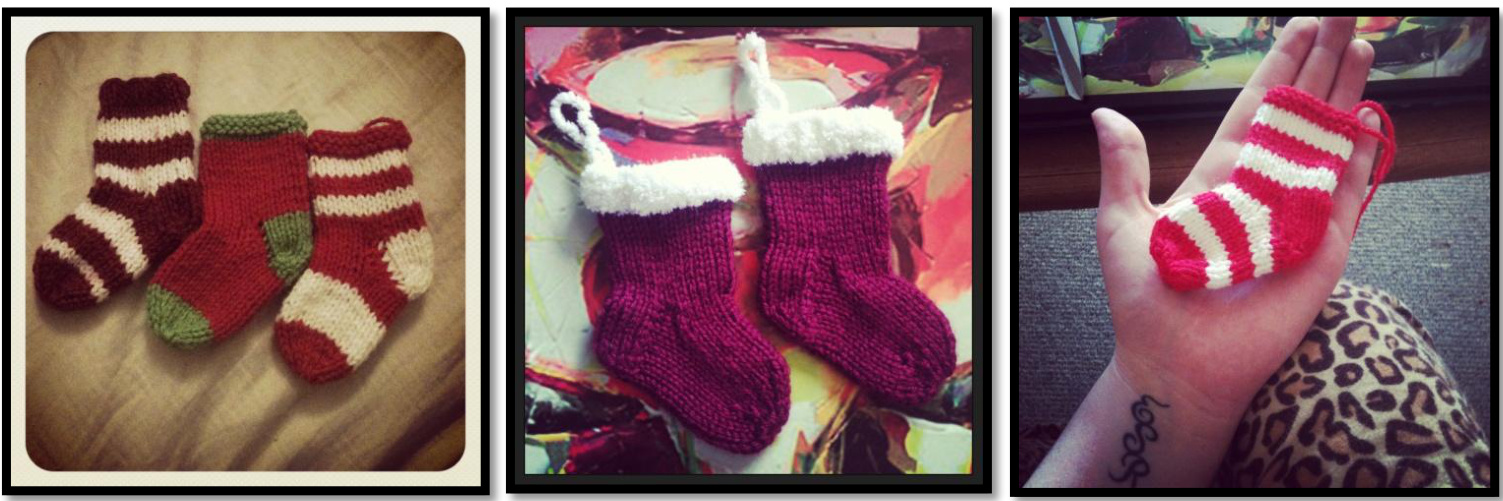
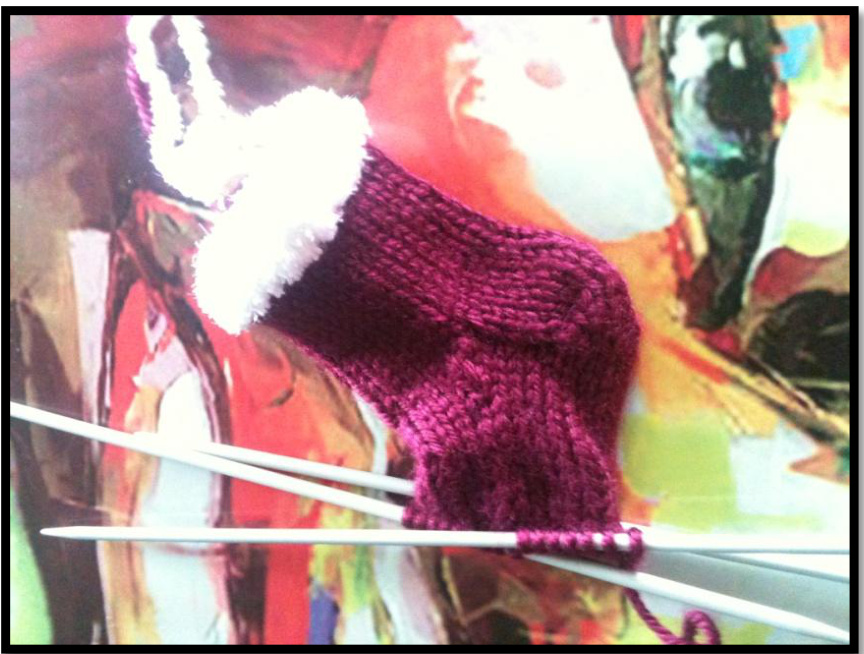
I've created this pattern to be knit in the round as I prefer to knit the stocking completely as I go. The stockings are quick and easy to knit up and this pattern is (hopefully) easy to read and follow. I created this pattern because I found that other patterns had odd shaped toes or bodies, whereas I like a small and cute stocking. A great idea for these is to make twenty four, stitch numbers or attach tags on them and create an advent calendar. I have used them as Christmas tree decorations and as small presents, usually with a small treat inside such as chocolate coins, mini candy canes, or lip balms. I like to knit these using 3mm dpns and 8ply yarn (essentially using needles a size smaller than what the yarn calls for), as I think they make a great size with nice, tight knitting. The size will change depending on needle size so it's great to experiment. As I've noted though, I think the best density comes from using a needle size smaller than what is needed, but if you're looking for a softer, more flexible stocking then use the recommended needle size. The main body consists of 14 rows so this is where you can choose to include a fairisle pattern, or striped, or anything! All photos are of stockings made with 3mm needles.
Main Body:
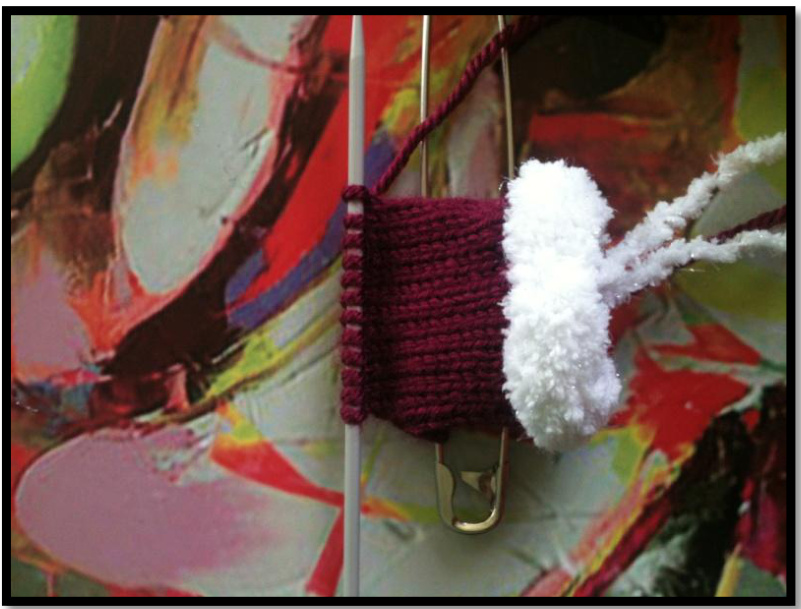
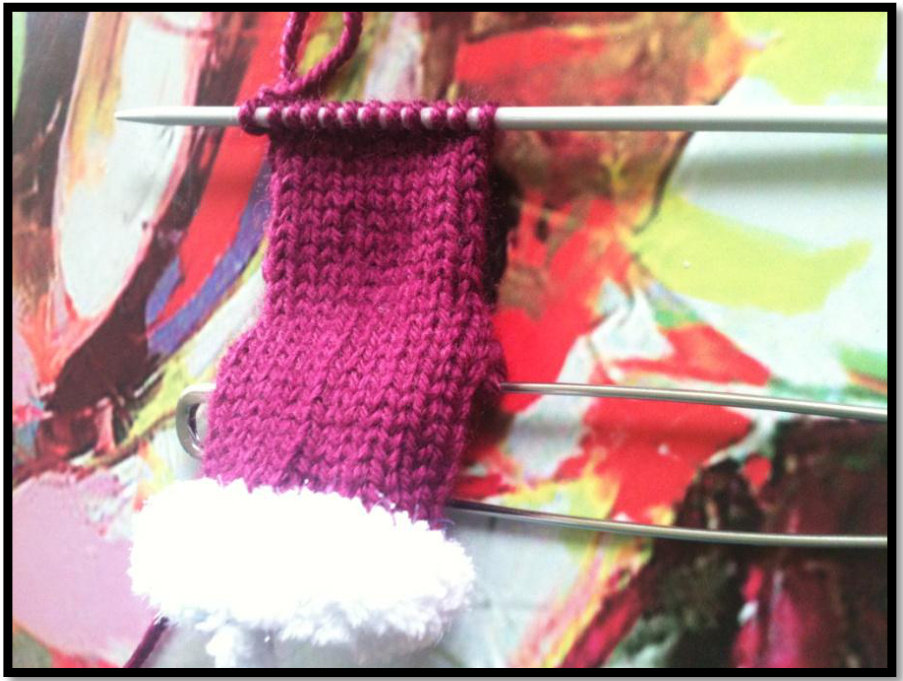
CO 24 sts evenly between 4 needles in your accent colour for the rim. Round 1-3: Purl Round 4-17: Change to main colour and work 14 rows (this is where you can choose to knit a fairisle pattern, or stripes, etc.)
Shaping heel:
Knit across six stitches on needle 1, turn work and purl these six stitches as well as three stitches from needle 4. These twelve stitches will be worked as the heel.
Place the other twelve stitches on a stitch holder to ensure that you do not lose any. Row 1: Sl1K, Knit to end Row 2: Sl1P, Purl to end Repeat these two rows until 9 rows have been worked; you should end with a knit row.
Turning the Heel:
Row 1 (wrong side): Purl 7, P2tog, P1. Now TURN the work. (11 sts) Row 2 (right side): Sl1K, K3, SSK, K1, TURN. (10 sts) Row 3: SI1P, P4, P2t0g, P1, TURN. (9 sts) Row 4: SI1K, K5, SSK, K1, TURN. (8 sts) Row 5: SI1P, P5, P2tog, TURN. (7 sts) Row 6: SI1K, K4, SSK. (6 sts) You should now have 6 stitches on the heel flap needle.
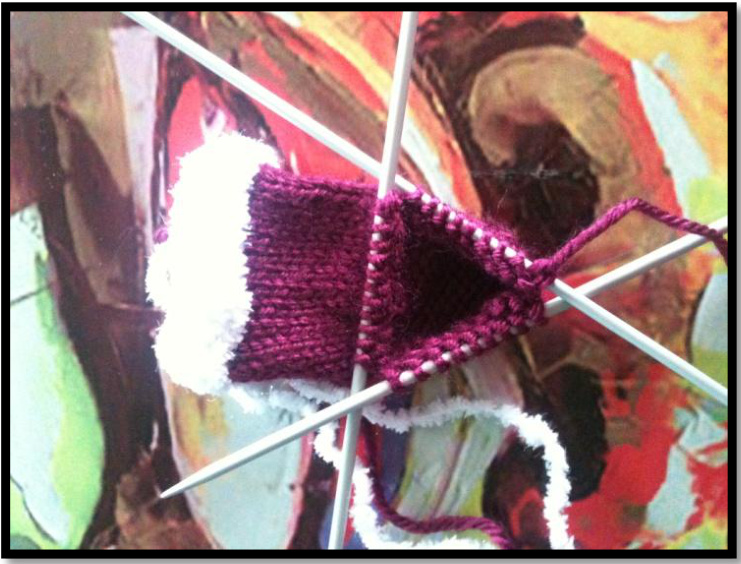
Rejoining the heel:
Pick up and knit 6 stitches from the left hand side of the heel flap. Knit the 12 stitches that were on the stitch holder. Pick up and knit 6 stitches from the right hand side of the heel flap and also 6 stitches from the heel flap needle. You should now have 9 stitches on needle one, 12 stitches on needle two, and 9 stitches on needle 3 (30 stitches).
Instep:
Round 18: Knit 14 stitches, K2tog, Knit 14 stitches Round 19: K8, K2tog, K9, K2tog through the back, K8 Round 20: K7, K2tog, K9, K2tog through the back, K7 Round 21: K6, K2tog, K9, K2tog through the back, K6 Round 22-31: Knit 9 rounds
Shaping the toe:
This is where you can change the colour for the toe cap Round 32-33: Knit two rounds K2tog through the back, K4, K2tog, K1, K2tog through the back, k4, K2tog, k Round 35: Knit Round 36: K3, K2tog through the back, K2, K2tog, K1, K2tog through the back, K2, K2tog, K3 (15 stitches) Round 37: Knit
Finishing the stocking:
n and thread through remaining 15 stitches and pull firmly to close the toe. Weave in loose ends. I like to weave in the cast on yarn leaving a loop so that I can use it to hang the stockings. You can also knit or crochet a cable and secure to have a hang loop. It's great to experiment with different colours and patterns for mini Christmas stockings! Enjoy!
Emma Percy 2013. percyemma@hotmail.co.uk


