Remembrance Poppy Crochet Pattern Elsie Pop Designs
This pattern is free BUT Can I ask that you please make a donation to the Royal British Legion Poppy Appeal if you use it? To donate f3 text POPPY to 70020\* \*Cost f3 plus standard network charges (typically f2.97 goes to the Poppy Appeal). http://www.britishlegion.org.uk/get-involved/how-to-give DK weight black yarn DK weight red yarn 3mm, 3.25mm or 3.5mm crochet hook Tapestry needle Optional: badge back Abbreviations: Ch = chain St = stitch or stitches Ss = slip stitch Dc = double crochet (UK), single crochet (US) Tc = treble crochet (UK), double crochet (US) Htc = half treble crochet (UK), half double crochet (US)
Round One
Use black yarn Start with a “sloppy slip knot" - dangle the yarn over the hook with the tail at the back, pinch together at the bottom of the hook, turn hook anticlockwise one full turn, and then you can start chaining without the need for a slip knot (credit where credit is due - this is Stacy @ Freshstitches' technique - see a tutorial here: https://www.youtube.com/watch?v=Lygl3hLg5Qg) Ch2 Work 6dc into the second ch from the hook. Pull tail end to close the hole in the middle of the round. Ss into first dc of round Fasten off, cut yarn Sew cut end into the next stitch from back to front, then thread through the central hole. This will leave you with 6st, and a knot where you've fastened off. We will work into this knot on the next round, so it will count as an extra stitch.
Round Two
Use red yarn Working into back loops only, pull up a loop through one of the 6st (not the knot) Ch1 Work 1dc into the same st Work 2dc into every other st (including the knot from round 1) Once you have worked into every st - it should look like this:
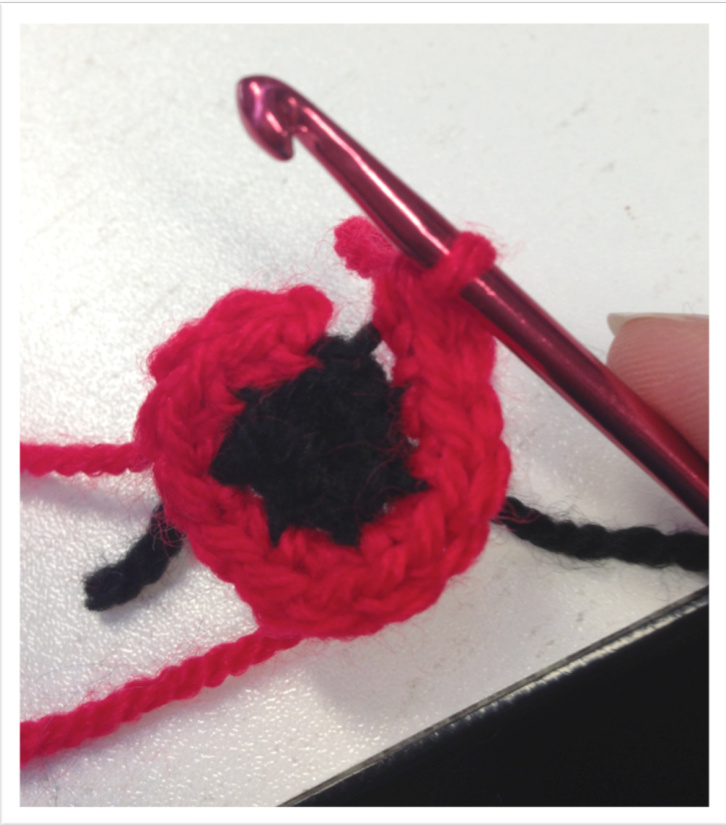
Work 1dc into the st you started in (next to your ch1) Ss into the first dc of round This will leave you with 14st (as we have worked into the knot as well as the stitches)
Round Three
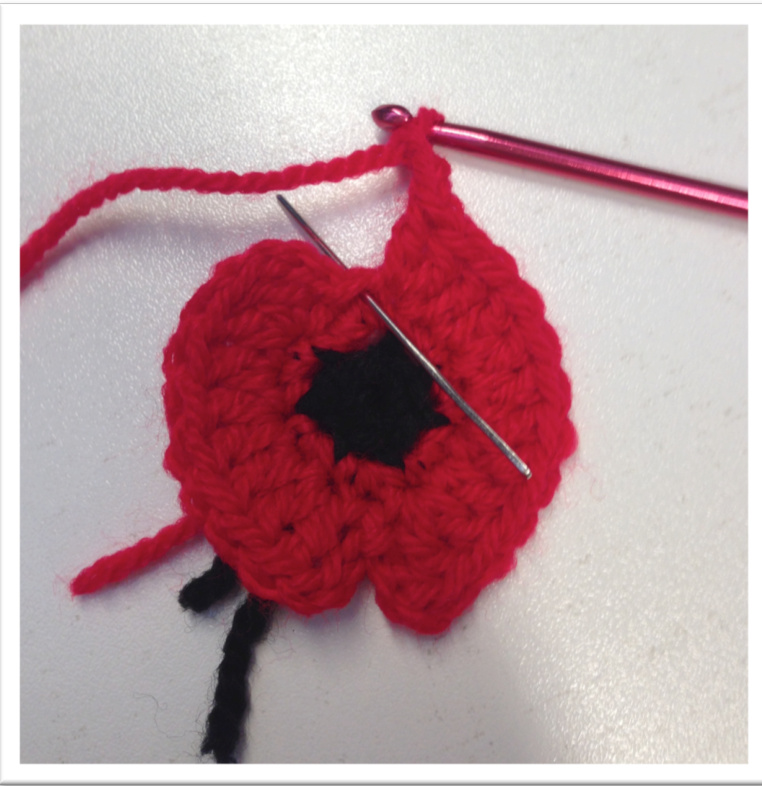
Continue with red yarn Ch3 \*Work 2tc into next st Work 1tc into next st\*\* Repeat from \* to \*\* 2tc Ch3, ss into next st, ch3 #Work 2tc into next st Work 1tc into next st## Repeat from # to ## twice 2tc Ch3, ss into base of first ch3 of round (see picture)
Round Four
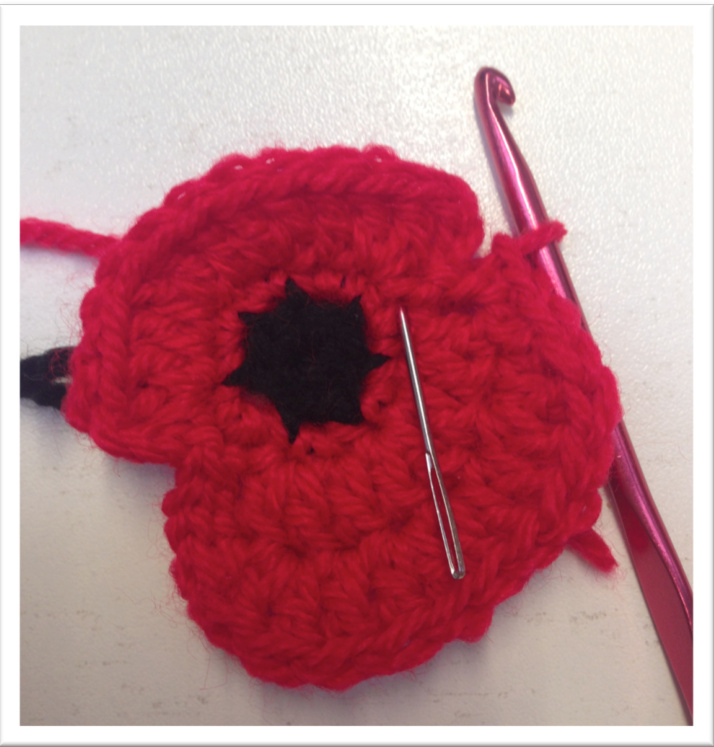
Continue with red yarn Ss in back loops of each st in the ch3 from previous round 1htc into first tc from previous round 2tc 1tc 2tc in next 2st 1tc 2tc 1htc Ss in back loops of each st in ch3 Ss into the next stitch of round two (see picture) Ss in back loops of each st in next ch3 1htc into first tc of the petal \*2tc into next st 1tc\*\* Repeat from \* to \*\* 3x 2tc 1htc Ss in back loops of final ch3 Ss into the next stitch of round two Fasten off and darn in ends
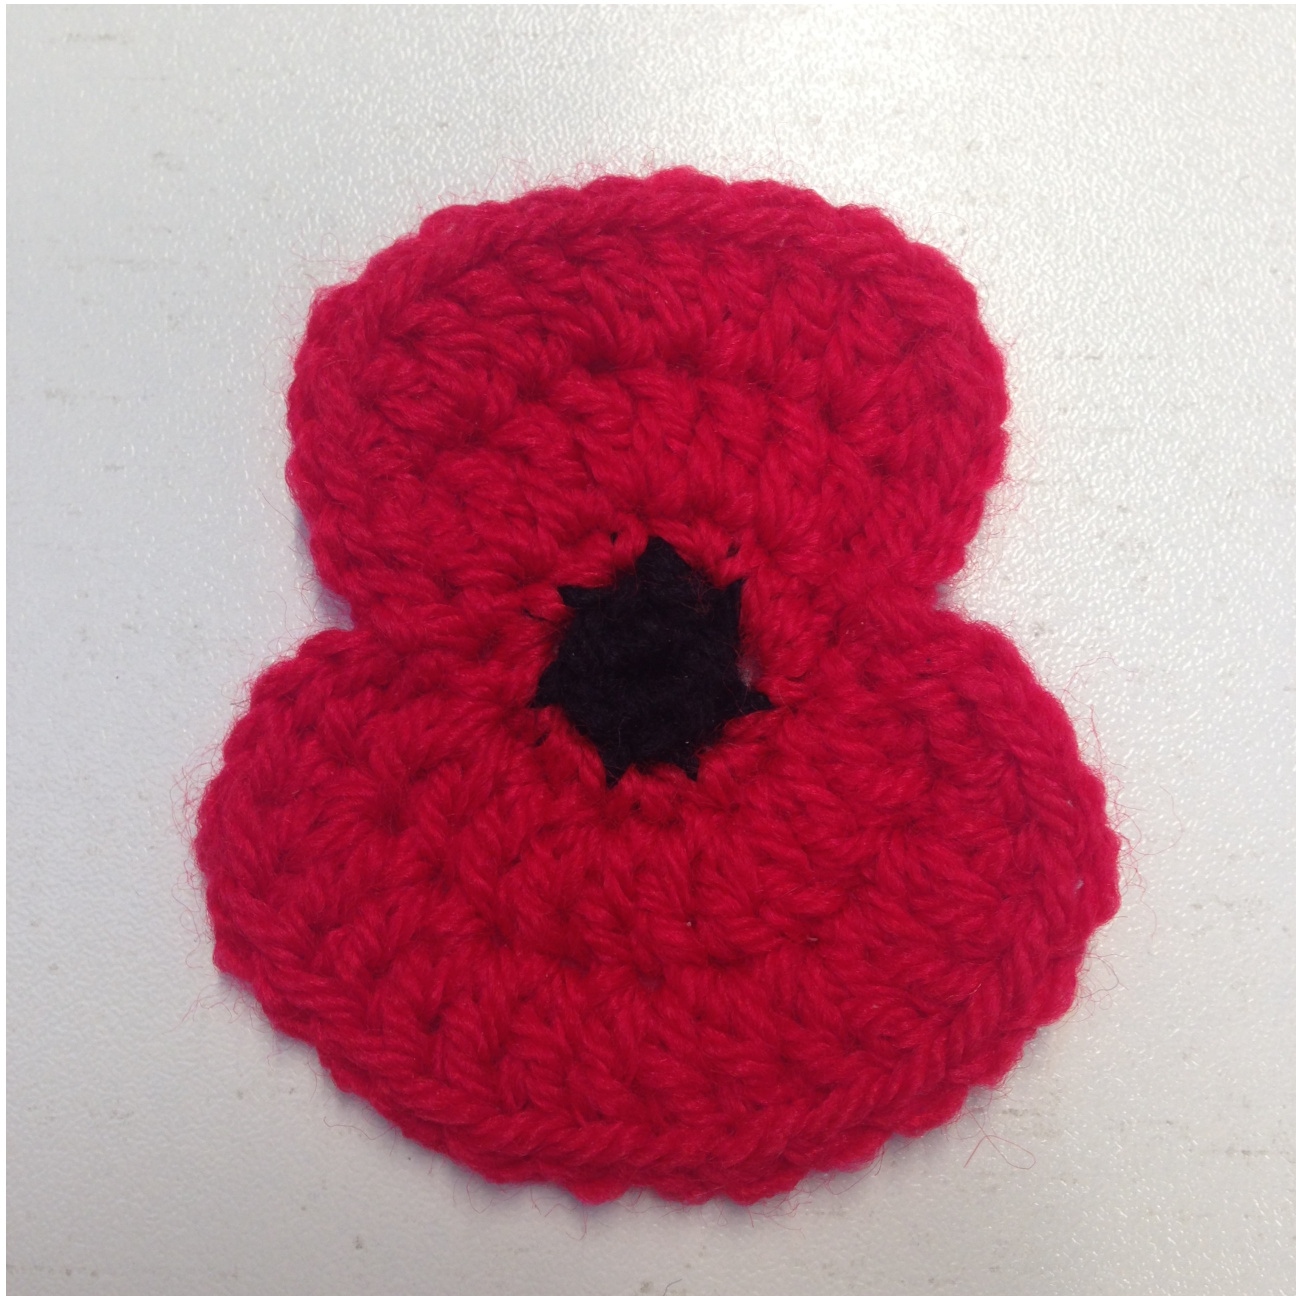
And there you have your finished poppy! A safety pin will do for attaching to your lapel, but if you want to "go pro" - sew on a badge back using your red yarn.


