NEWBORN GUINEA PIG a free crochet pattern by Kati Galusz
Items made using this pattern may be sold in your own shop, but please give me credit for the design and add a link to my Ravelry or Etsy account. Mass production, and sale and distribution of pattern pieces and instructions is expressly prohibited.
Materials
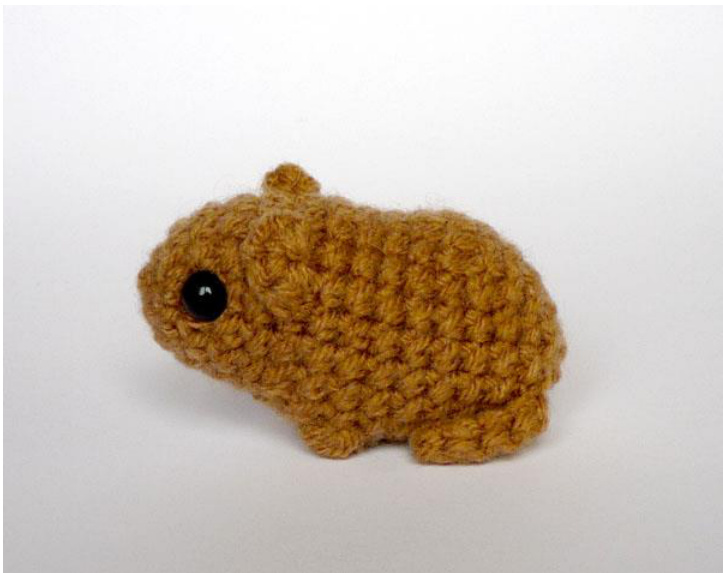
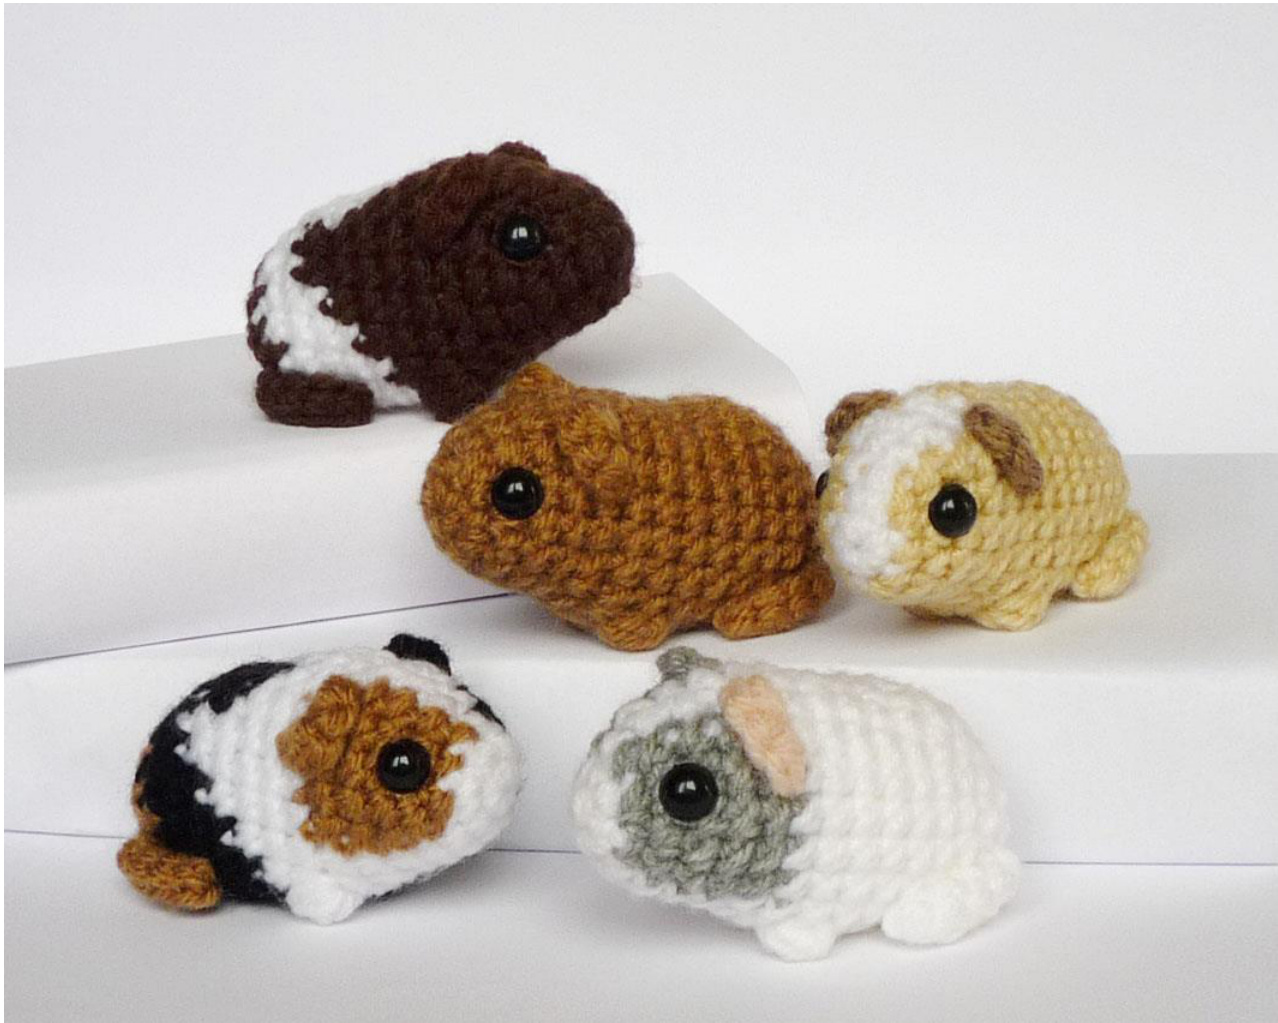
You will need a very small amount of yarn in a cavy-appropriate color (though fairytale colors would be cute as well). Any yarn weight will work as long as you choose your hook size and eyes accordingly. Example piggies were made from Red Heart Lisa (DK) and Red Heart Soft (worsted) yarn. For eyes, I used 7.5mm safety eyes with both DK and worsted weight yarn. (Please note that R.H. Soft is a relatively thin worsted; you might need to use bigger eyes for heavier worsted brands) If the eye stems are too long, a wire cutter can come handy to trim them a little. Alternatively, you can use black buttons or beads, felt, or for a child/pet safe toy embroider eyes directly on the crochet. You will need fiberfill for stuffing. These babies are rather head-heavy, so you might also need some weighting material for the belly (all of mine can sit normally with just fiberfill though). Optionally, you could use embroidery floss to create nose and mouth, but they look cute without that, too.
Hook size
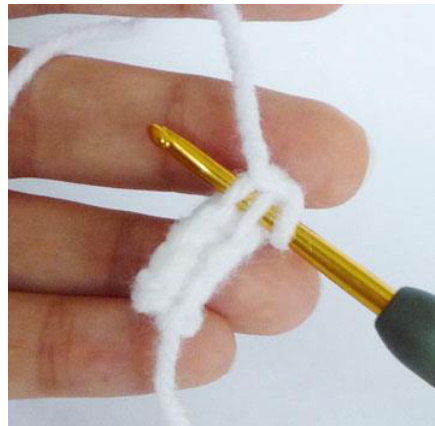
You want a tight gauge so the fiberfill won't show between your stitches, use whatever size allows you to achieve that (it will be smaller than suggested on the label). Example babies were made of worsted weight yarn and 3.5 mm/E hook, and DK yarn and 3 mm hook. Abbreviations (aka you need to know how to do): start with magic ring ch - chain st - stitch sl st - slip stitch sc — single crochet inc - single crochet increase invdec - invisible decrease (you could use regular single crochet decrease, but invdec gives a neater finish) hdc - half double crochet 4dc-bobble - \*yarn over, insert hook in stitch and pull up a loop, yarn over and pull through 2 loops on hook\*, repeat \*\* three more times always working into the same stitch below, yarn ove and pull through 5 loops on hook (see separate pdf for a tutorial with pictures) The piglet will be worked in continuous spiral without joining rounds - use a removable stitch marker to keep track of your work. The rear legs are crocheted in rows.
Head and body
Workedfrom nosebackwards 1: 6 sc in magic ring 2: [inc, sc in next st] 3 times (9) 3: [inc, sc in next st] 3 times, sc in next 3 st (12) 4: [sc in next st, inc, sc in next st] 3 times, sc in next 3 st (15) 5: sc in each st around (15) 6: sc in next 5 st, inc, sc in next 6 st, inc, sc in next st, inc (18) 7: sc in next 13 st, inc, sc in next 2 st, inc, sc in next st (20) 8: sc in next 14 st, [4-dc-bobble, sc in next 2 st] twice (20) 9: sc in next 5 st, invdec, sc in next 13 st (19) 10: sc in each st around (19) If using safety eyes, insert them now - they should go between round 4 and 5, about 6 st apart. If the stems are too long for the tiny head, use a wire cutter to chop off a few mm so they fit in comfortably. Stuff head, making sure that stuffing gets all the way to the nose, beyond the eyestems. 11: sc in next 6 st, inc, sc in next 12 st (20) 12: sc in each st around (20) 13: sc in next 4 st, invdec, sc in next 2 st, invdec, sc in next 10 st (18) 14: sc in next 3 st, invdec, sc in next 2 st, invdec, sc in next 9 st (16) 15: [invdec, sc in next 2 st] 4 times (12) Stuff body through hole. 16: invdec 6 times (6) Before fastening off, see if your piggy can sit. If it keeps falling on its nose, try pushing a little more stuffing into the butt, and tug the bobble stitches outwards so the front legs stick out more. If these don't help, you might need to rip the last round and insert weighting material in the belly (I never needed to do that though). Once you made sure the piglet's balance is OK, fasten off and use yarn end to close the remaining hole. If you didn't use safety eyes, attach/embroider your eyes now.
Ears (make 2)
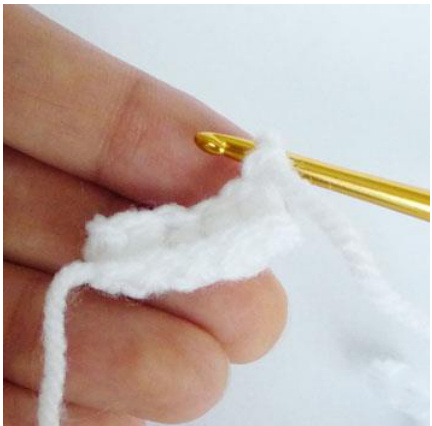
Make a magic ring, ch 2. Work 1 hdc, 2 sc, 1 hdc in the ring, ch 2 and sl st in the ring. Cut yarn leaving a long end for sewing, and pull on the last loop on your hook until the cut end is drawn through. Tighten the magic ring.
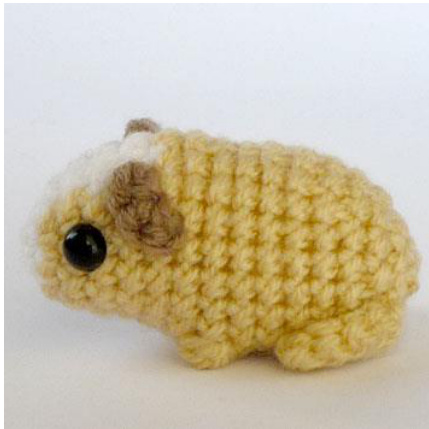
Sew ears to head (see picture for placement)
Rear legs (make 2)
1: ch 5, sc in 2nd ch from hook and in the next 3 ch (4) 2: ch 1, turn, sc in each st (4) 3: ch1, turn. Fold the piece in half. Inserting your hook through the free loops of the starter chain and the front loops (the closer ones) of the sc from row 2, sl st the two sides together. (Take care to keep these slip stitches the same size as your regular sc stitches, if you pull them tight the leg will curl) Fasten off leaving a long yarn end for sewing leg to body. :ould fasten off after row 2 and sew rather than crochet the two sides together
fold piece in half
sl st through both layers Place the legs beside the body - the tip should be 1-2 rounds behind the front legs, the end (with the yarn tail you've left) near the bottom. Sew this end to the piggy, then make a few stitches around the middle of the leg to anchor it safely to the body.