Dear Liza
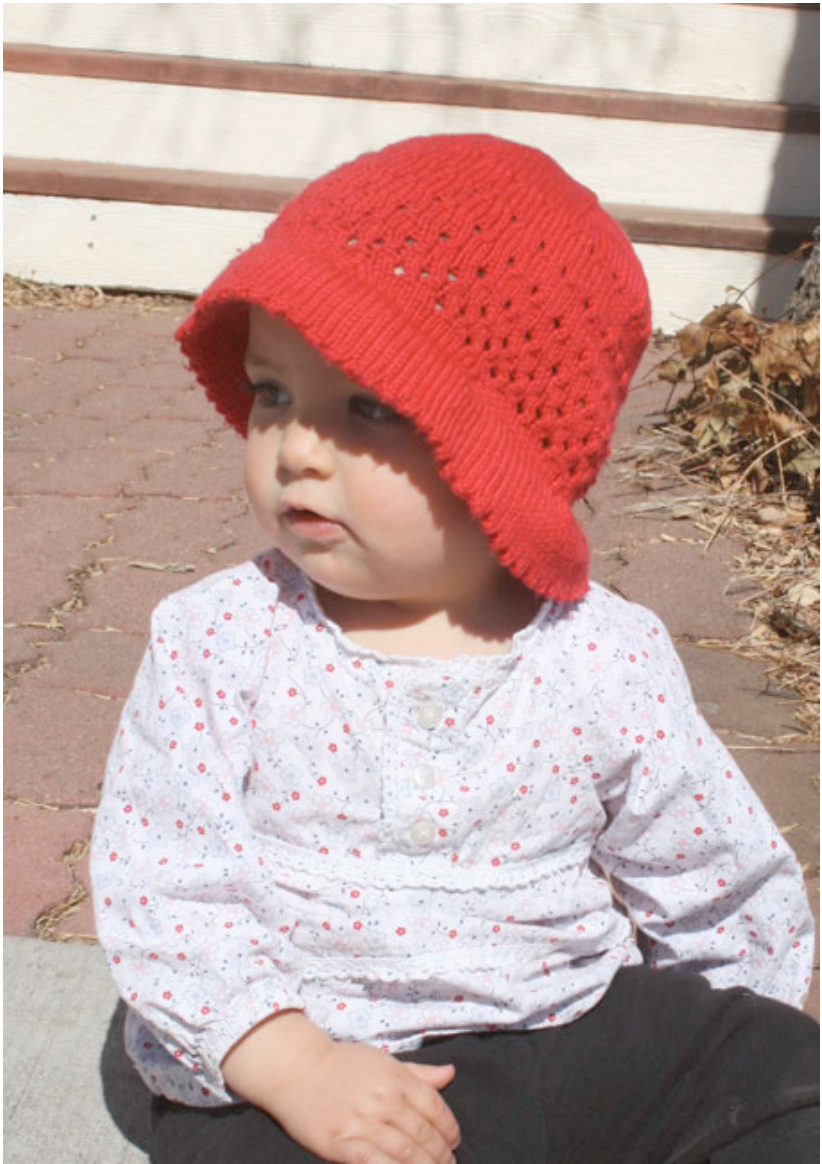
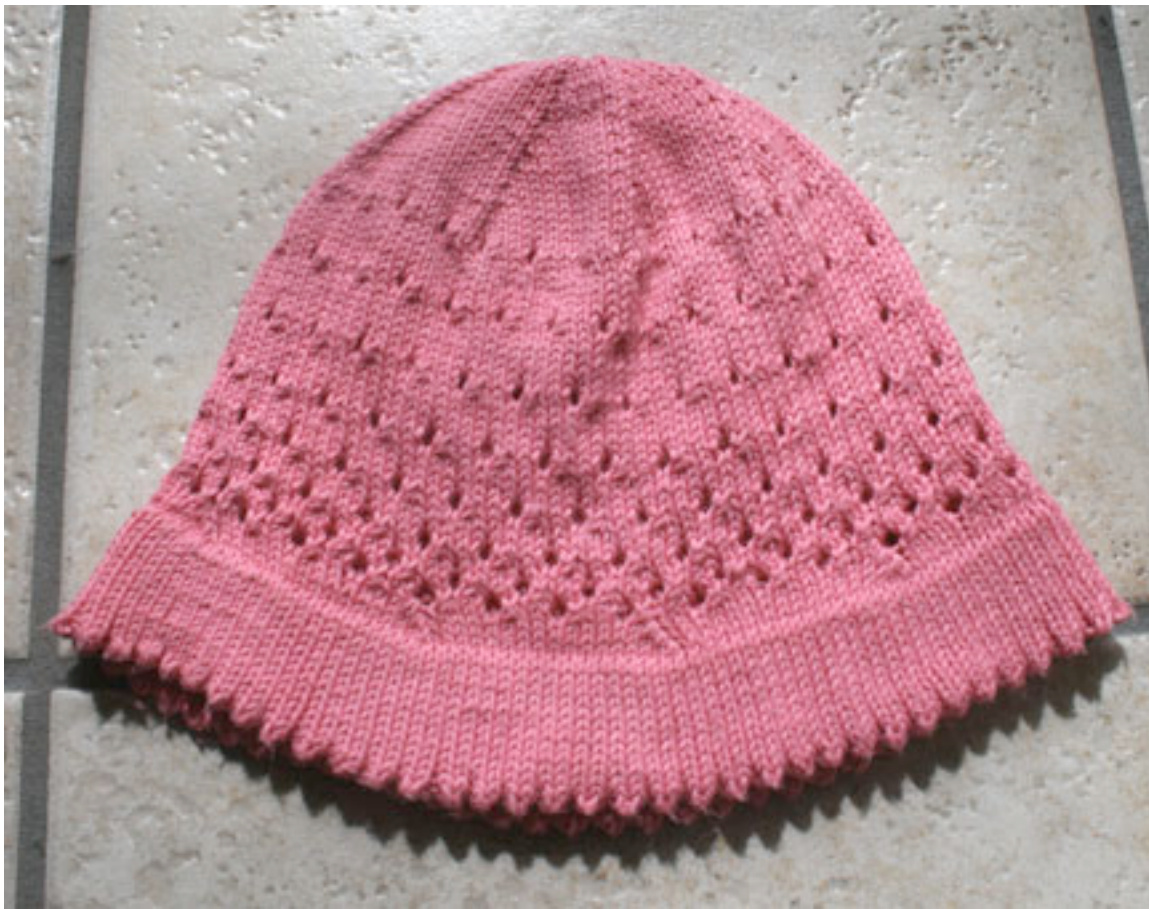
Red hat shown in size 12-24mo, pink is 2-3, cream is 0-6mo Sizes: 0-6mo (6-12mo, 12-24m, 2-3, 3-4) Finished measurements: 14.8" (16", 17.3", 18.7", 20") This hat is meant to have positive ease, so finished measurements will be bigger than thesize oftherecipient'shead Gauge: 6sts/1ince in stockinette
Materials:
1 (1, 2, 2, 2) skein(s) Patons Grace or approximately 110 (122, 155, 170, 215)yds comparable smooth sport weight cotton yarn Four double pointed needles or one circular in Us size 4 or size needed to obtain gauge. You can use a combination of the two (DPNs are good for the crown) but I don't recommend using only DPNs for sizes above 12mo. One circular needle or DPN in same size as above or smaller for picking up stitches Tapestry needle 1 stitch marker if using circular needle Skills needed: long tail cast on knitting in the round three needle join (see note at bottom) Definitions: co cast on DPN double pointed needles k knit k2tog knit two together Rnd round sts stitches yo yarn over Pattern:
Brim
Using long tail cast on, lo0sely co 112 (120, 128, 136, 144)sts You will be picking up stitches along your cast on edge lateron, so make sure your stitches are loose enough to do so. Join to work in the round. Place maker to note the beginning of the round and be careful not to twist the stitches. Knit 9 (10, 11, 12, 13) rounds [k2tog, yo] around Knit 10 (11, 12, 13, 14) rounds The yo round acts as a dotted line for the fold of the brim. This round forms the bumpy picot edging. Pick up 112 (120, 128, 136, 144) sts along the c0 edge with the spare needle. If using a circular needle you can pick up all the stitches at once. If using a DPN, just pick up as you go. Fold the work along the yo round. Working with picked up sts in the back and live stitches in the front, work a three needle join. See note below for more detailed instructions for three needle join. [k2tog, k12 (13, 14, 15, 16)] 8 times (104, 112, 120, 128, 136)sts [k2tog, k11 (12, 13, 14, 15)] 8 times (96, 104, 112, 120, 128)sts [k2tog, k10 (11, 12,13, 14)] 8 times (88, 96, 104, 112, 120)sts
Body
Rnd 1: knit Rnd 2: [K2tog, yo, k2] around Rnd 3: knit Rnd 4: [k2, k2tog, yo] around Rnd 5: knit Rnd 6: knit Rnd 7: [k2tog, yo, k2] around Rnd 8: knit Rnd 9: knit Rnd 10: knit Rnd 11: [k2, k2tog, yo] around Rnd 12: knit Rnd 13: knit Rnd 14: knit Rnd 15: knit Rnd 16: [k2tog, yo, k2] around Rnd 17: knit Rnd 18: knit Rnd 19: knit Rnd 20: knit Rnd 21: knit Rnd 22: [k2, k2tog, yo] around Rnd 23: knit Rnd 24: knit Rnd 25: knit Rnd 26: knit Rnd 27: knit 6-12mo,12-24mo, 2-3 and 3-4 sizes: Rnd 28: knit Rnd 29: [k2tog, yo, k2] around Rnd 30: knit 12-24mo, 2-3 and 3-4 sizes: Rnd 31: knit Rnd 32: knit Rnd 33: knit 2-3 and 3-4 sizes: Rnd 34: knit Rnd 35: knit Rnd 36: [k2, k2tog, yo] around Rnd 37: knit 3-4 size: Rnd 38: knit Rnd 39: knit Rnd 40: knit
Crown
3-4 size: [K13, k2tog] around (112sts) Knit 1 round 2-3 and 3-4 sizes: [K12, k2tog] around (104sts) Knit 1 round 12-24mo, 2-3 and 3-4 sizes: [K11, k2tog] around (96sts) Knit 1 round 6-12mo ,12-24mo, 2-3 and 3-4 sizes: [K10, k2tog] around (88sts) Knit 1 round All sizes: [K9, k2tog] around (80sts) Knit 1 round [K8, k2tog] around (72sts) Knit 1 round [K7, k2tog] around (64sts) Knit 1 round [K6, k2tog] around (56sts) Knit 1 round [K5, k2tog] around (48sts) Knit 1 round [K4, k2tog] around (40sts) Knit 1 round [K3, k2tog] around (32sts) Knit 1 round [K2, k2tog] around (24sts) [K1, k2tog] around (16sts) [k2tog] around (8sts) Cut yarn and pull through remaining stitches.
Finishing
Weave in both ends. Wet block and air dry.
Three needle join
A three needle join is worked exactly the same as a three needle bind off, minus the binding off.
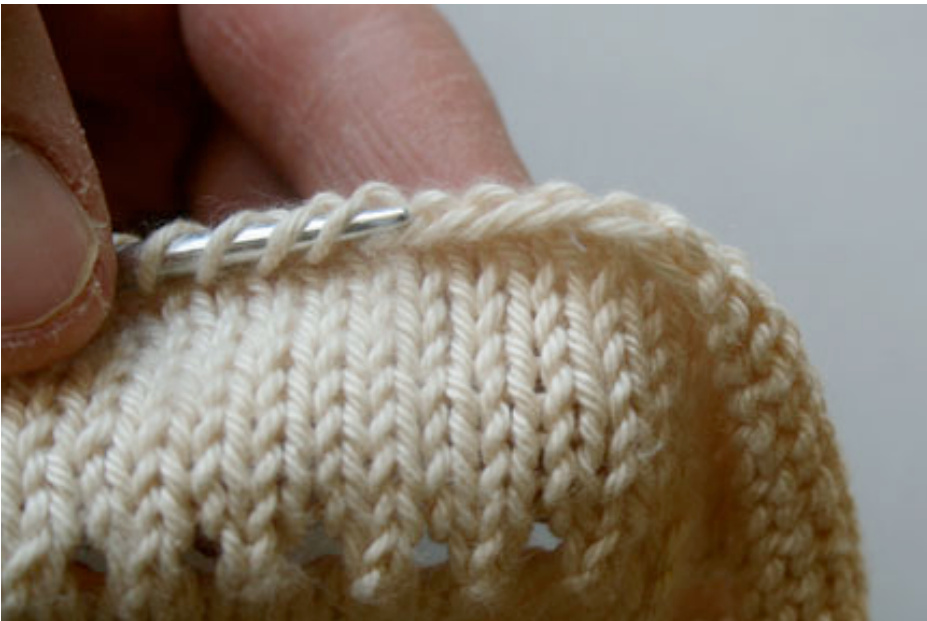

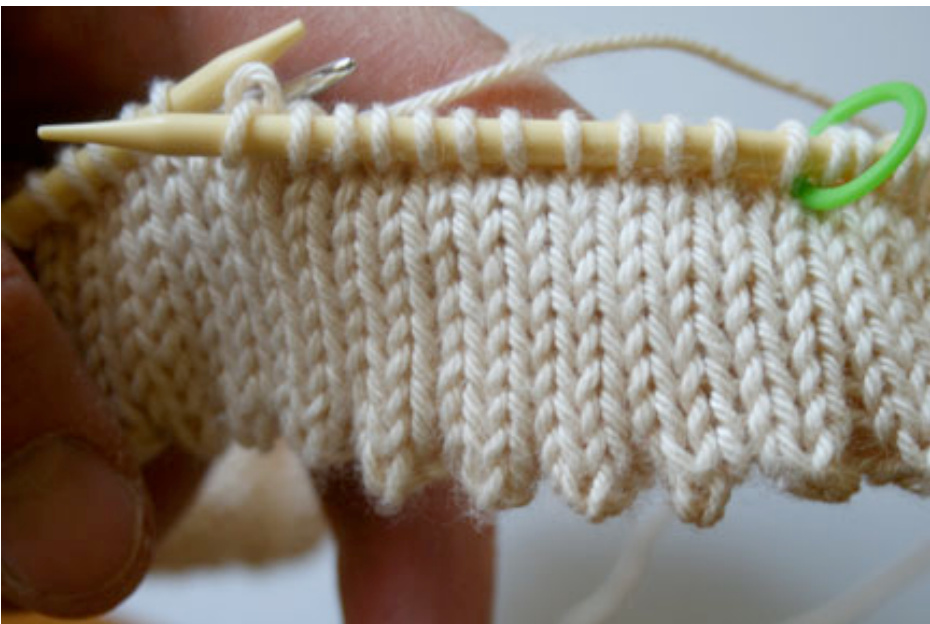
For the brim, pick up stitches along the cast on edge. A loose long tail cast on will make long stitches along the edge that are easy to pick up. Hold together the two edges to join with the wrong sides of the work together Here you can see the silver needle holds the picked up stitches and the cream holds the live stitches.
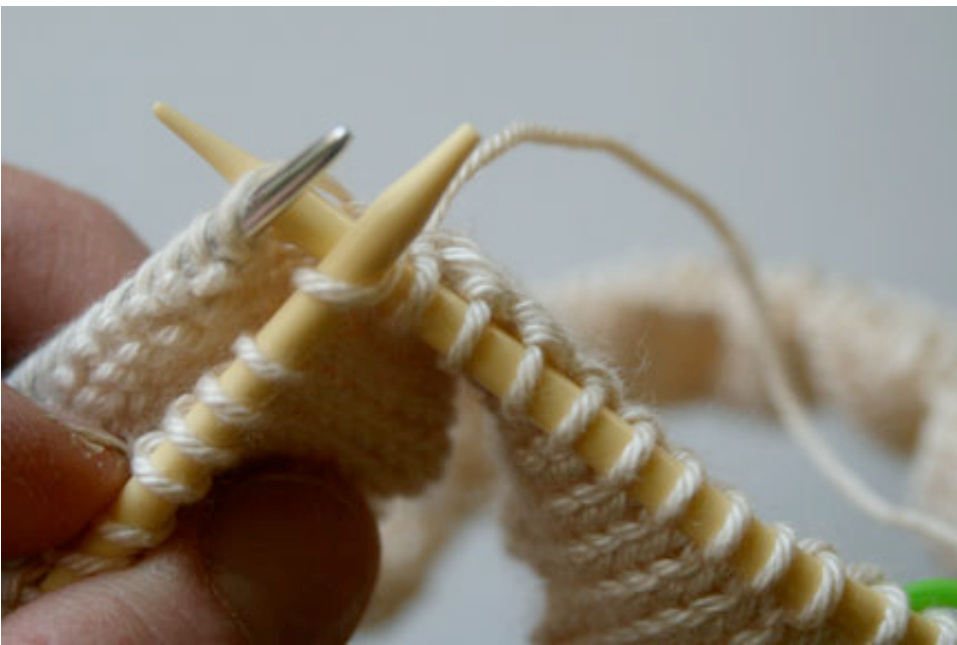
Slip the right hand needle into the first stitch of the front piece as if to knit. Next, slip the right hand needle into the first stitch of the back piece as if to knit. Note that the stitches on the back needle face a different direction (the left leg of the stitch is in the front instead of the right leg as you normally have). Do not twist the back stitch, just knit through the back loop.
Knit the back stitch, then knit the front stitch. This is essentially a k2tog with one stitch from each of the front and back pieces. Pattern and photos @ A.P. Watts 2011 Pattern for personal use only. Do not sell items made from this pattern without written consent. Please do not copy.


