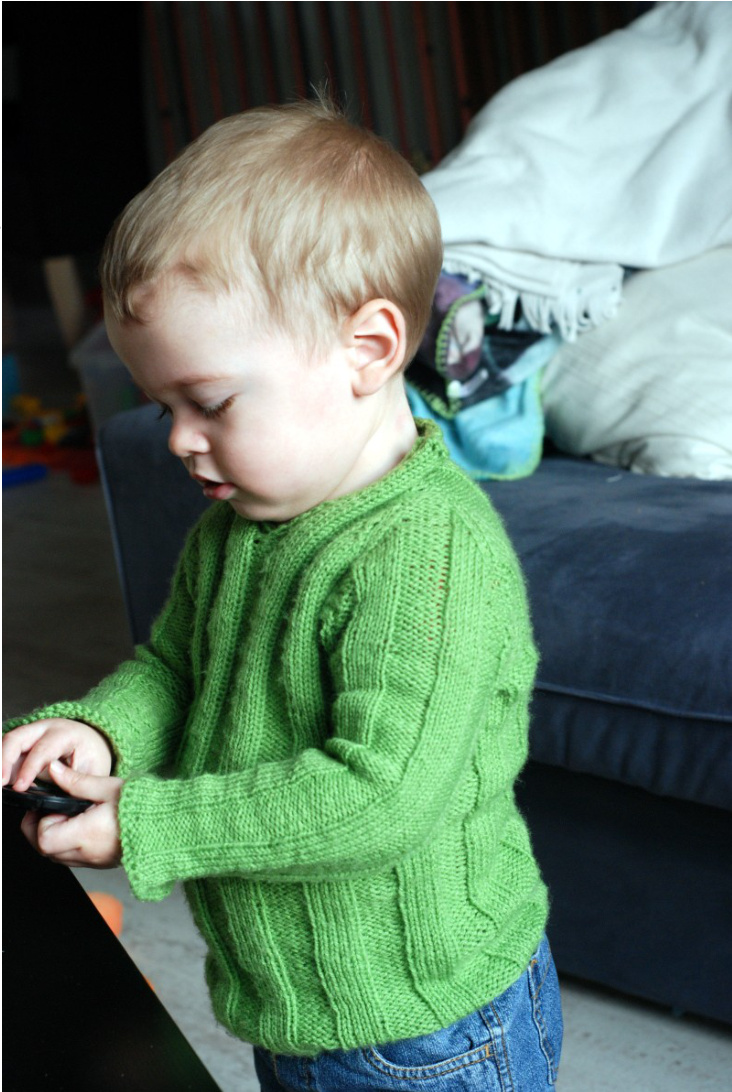
Cucumber sweater byEvelineSchaekens
If you eat your veggies, you'll grow big and strong. In fact, you might grow so fast that mommy can't keep up with her knitting: by the time she finishes her project, you've grown out of it already. Well, no more with this sweater. It's a no-nonsense, straightforward knit so it doesn't take long to knit, and because of the ribbing you'll have lots of room to grow. This sweater is knit in DK yarn, so it'll be warm but not too warm, and you'll always look cool as a cucumber. The sweater is knit in the round, with raglan decreases worked so that the ribbing seems to continue around a corner at the shoulders. It has a polo collar, buttons optional. The underarms are grafted, the end result is seamless.
Size: 12M to 3T Gauge: 20 st to 10 cm/4" Yarn: DK, \~150 m/50g ball 3 balls (2 for the smallest size) You'll need a circular needle to give you the right gauge (suggested size: 3.5 mm), and DPNs or a second circular needle (whichever you prefer) for the sleeves.
Body and sleeves:
This sweater is very stretchy because of the ribbing, so the widths for all sizes is the same. The sleeves are straight for easy dressing, the ribbing will make them follow the shape of the arm. The only variable is the length of the body and sleeves. I recommend making it a little longer than the sweaters that fit your child well now, so there'll be room to grow. The sleeves can be turned over at the cuffs if they are in the way. CO 120 stitches, loosely, for the body. K one round, then start in a 5x5 ribbing for the body. Knit until the body is the desired length (about 22 cm/9" for 12 M, 28 cm/11" for 3T). CO 40 stitches, loosely, for a sleeve. K one round, then 5x5 ribbing until the sleeve is the desired length. (about the same length as the body. My son has short arms so for him I made them a cm shorter). Make another.
Joining them up:
This is where you should pay attention to make it look neat. Take the body, make sure there are the same amount of stitches on the front and back. We're going to put 10 stitches on each side on waste yarn for the underarms, and we want to make sure they're centered around a purl stripe of the ribbing. So decide where you want one side to be, and put 2 knit stitches, 5 purl stitches, and 3 knit stitches on waste yarn. Do the same at the other side. Take a sleeve and put 2 K, 5P, 3K on waste yarn, and the same for the other sleeve. Knit in 5x5 ribbing across the front of the body, then across the remaining stitches of one sleeve, then the back of the body, then the other sleeve. The ribbing should be a continuous 5x5 without glitches. There'll be a small glitch at the underarms when you graft later, where you'll barely notice it. Put markers between the body and sleeve stitches at the 4 joining points. Continue in 5x5 ribbing for about 2,5 cm/1"'.
Raglan decreases:
1: Rib your way across the body until three stitches before the first marker. K2tog, K1, SKPO. Do the same at the other 3 markers. 2: Work the next round in pattern (knit into a knit stitch, purl into a purl stitch). 3: Work in pattern until 3 stitches before the first marker. P2tog, P1, SPPO. 4: Work in pattern. Keep alternating decrease rounds with plain rounds. The decreases are worked in knit if the
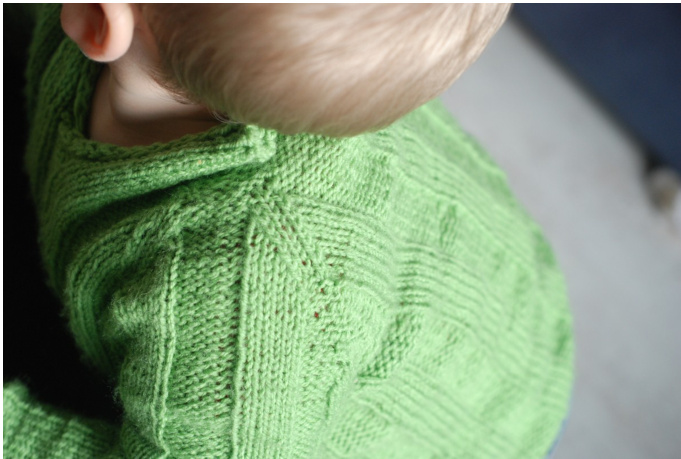
outer stitches of the decrease are knit stitches, and in purl if the outer stitches of the decrease are purl stitches. Decrease until there are about 12 sleeve stitches left. Make sure the last round is a decreaseround.
Neckline:
Mark 5 stitches in the middle of the front of the sweater (5 purl stitches) by pulling a piece of waste yarn through them. After having purled into these, turn your work, Sl1, K4, and work in pattern back around the sweater until you're at the middle again, just before the marked stitches. Now, instead of working into the next five stitches on your needle, work into the stitches below them, which are the ones you've marked with waste yarn. Turn, Sl1, P4, and work back in pattern, doing raglan decreases at the shoulders. Continue working back and forth, doing decreases on the RS rows. If you want a button, make a button hole on a WS by starting with Sl1, K2tog, YO. Continue decreasing until the back of the shoulder, sleeve stitches and front shoulder stitches have merged into one single purl stripe of width 5. Then work back and forth without decreasing until the collar is 1”" long (or longer if you like). CO loosely. Graft the underarm stitches and work in ends. Abbreviations: CO: Cast on K: knit P: purl K2tog (P2tog): knit (purl) two together SKPO (SPPO): slip knitwise (purlwise), knit (purl), pass slipped stitch over SL1: Slip one RS: Right side WS: Wrong side


