som Pin Keeper - Project 1, kpitting (AL 2015 - yer along.
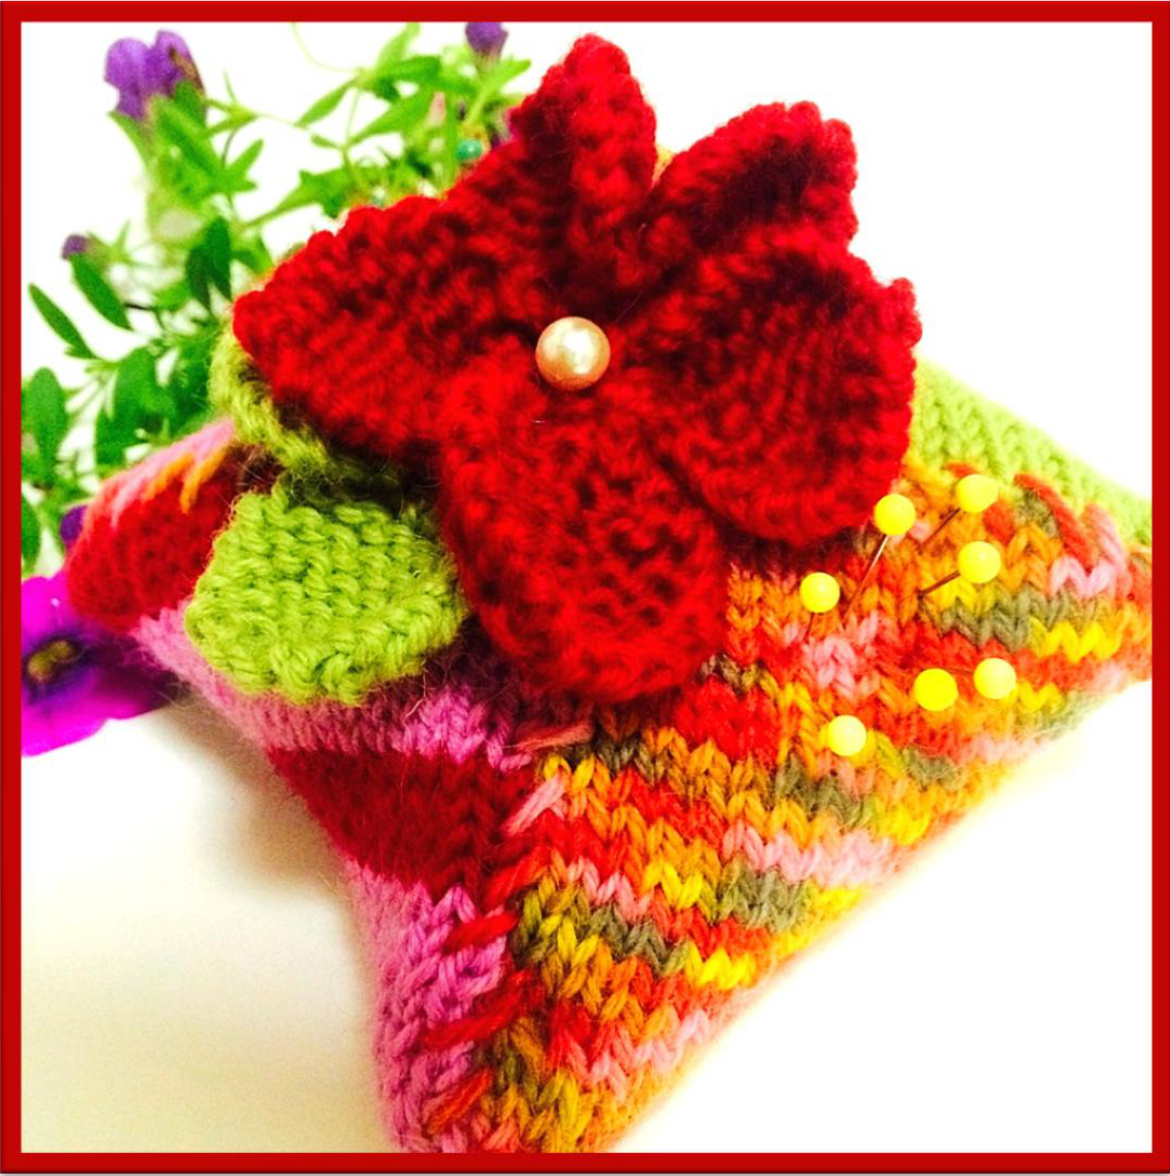
I love making functional objects that I can use to hold my notions while I create. This cushion is for the pins I use to block my knitted or crocheted projects. They lose their sharp point during the blocking process so I like to keep them separate. This would be a great gift for a friend's birthday or Christmas. This is a fast project and requires small amounts of yarn.
DETAILS
green, pink, red, multicoloured size 4mm needles Tapestry needle to sew in ends. Scissors Pearl button or feature button 2 pieces of coordinating fabric 13cm x 13cm. (insert) Toyfil fibre or sand and a funnel for the insert (Il have used toyfil) Sewing needle and cotton to stitch up the opening of the insert and to attach the button Finished size - 12cm square
METHOD -
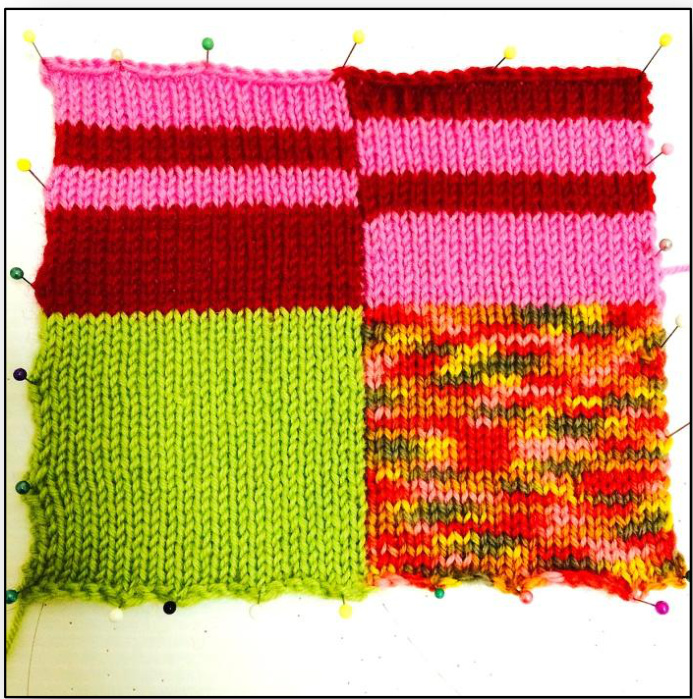
Cast on 20 stitches, Green, cast on 20 st multicoloured yarn. \*\*Ensure you cross the colours over each other at the join to avoid a gap. Knit in stocking stitch for 26 rows, ending on a purl row. Cut yarn. Join new colour Knit across the row for 20 sts in colour 3, knit next 20sts in colour4 Knit 25 more rows with these two colours. \*\* Alternate the two colours if you wish to obtain stripes. Block.
ASSEMBLY
All corners are brought to the centre and stitched along the diagonal.
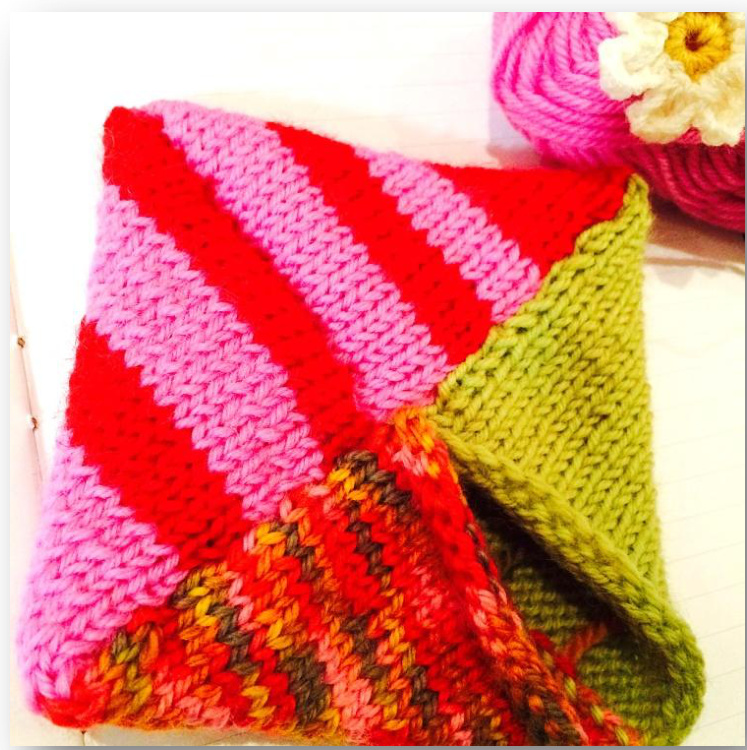
Three sides joined, leave the last join open until you have inserted the fabric inner. 1. Bring two adjacent corners to the centre and with a running stitch, join from the middle to the corner. Fasten Off 2. Work your way around the square joining corners starting at the middle first and working your way out to the edge. Leave the last diagonal open so you can insert the filled cushion inside. 3. Stitch up the last diagonal.
INSERT
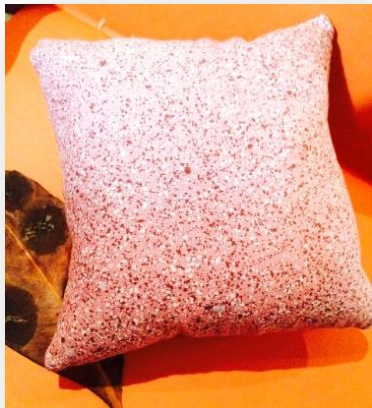
Draw a square 1cm in from the cut edge on the wrong side of your fabric. Stitch around the square leaving a 3cm opening on one side. You will turn the square through here. Fill the insert with sand or Toyfil fibre. Using a small stitch, close up the opening. Place the insert in the crocheted square before closing up the last diagonal join
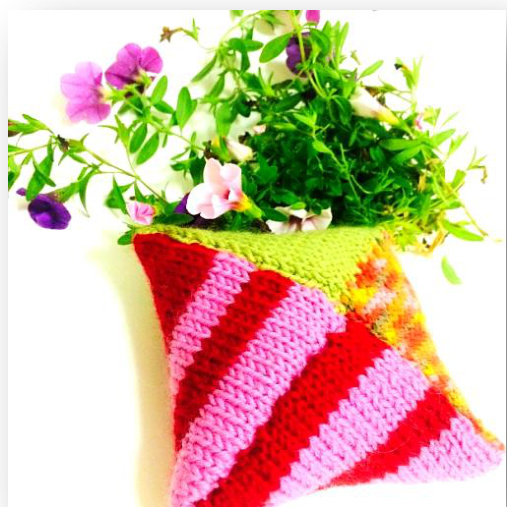
The pin keeper, awaiting the flowers. (right)
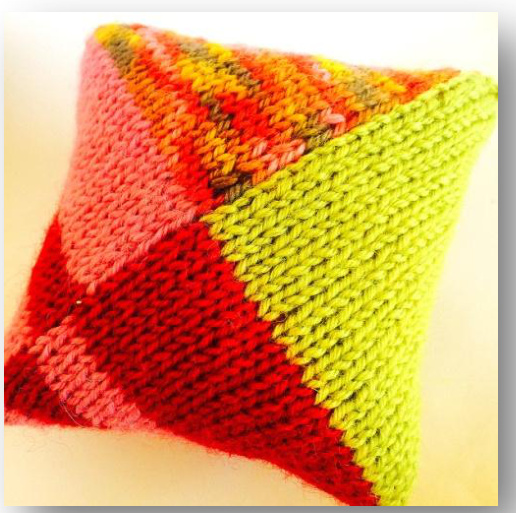
This is the underside. (left)
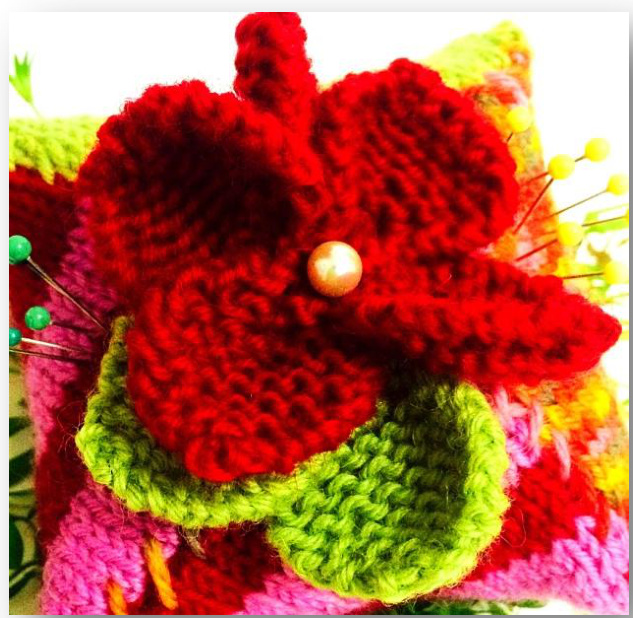
FLOWER
Abbreviation
Kfb - knit front and back into the same stitch Cast on 2 sts. Knit both stitches.
K2 tog all across (2st) K2 tog across. Fasten off. :hrough the back of the petal. Make five. Leave one tail long to join the petals together.
LEAVES
Repeat above for the petals in green. Make two
Assembly
Thread the tail into a needle and join the petals through the base of each one. Pull this up tight and secure the join with a knot. Attach a button to the centre. Position on the pin keeper with the leaves and the flower on top and attach with the long tails. Overstitch the diagonal joins on the pin keeper for neatness if you wish


