Jacques the Sea Turtle
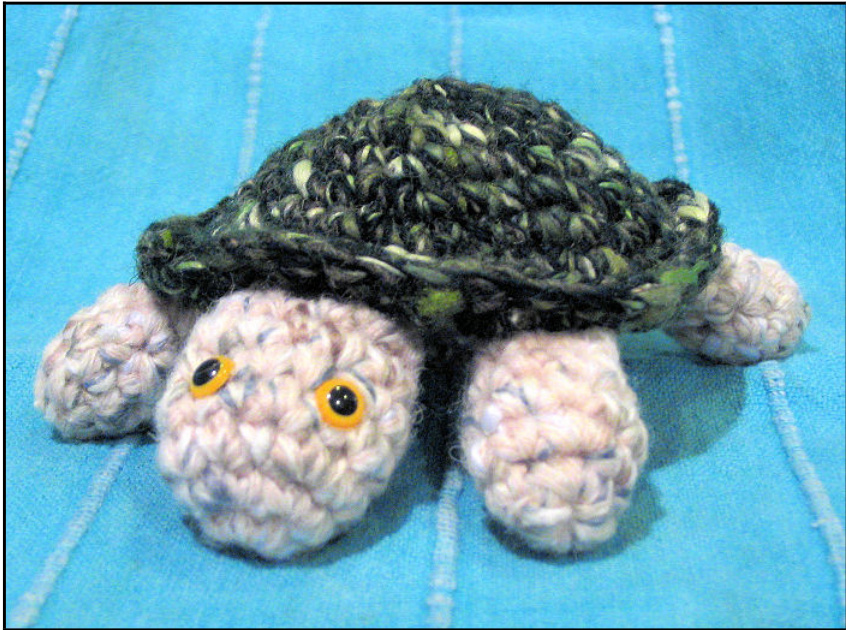
Designed by Stephanie Martin - http://www.SpritelyGoods.com I've always loved small stuffed animals - so much so that I learned to crochet, just so I could make my own! Inspired by small bean bag turtles that I use for paperweights and a recent viewing of “Finding Nemo", Jacques was designed to be a desk companion. When filled with catnip, he makes a unique cat toy! Because I'm on a Yarn Diet, he's made from bits of leftover yarn - any worsted weight yarn will do!
Skill Level: Easy
Materials:
Yarn -
Color #1 (Top Shell: \*Berroco Uxbridge Tweed (92 yards / 1.750z $(85\mathrm{~m~}/\mathrm{~50g}))$ )’ Fiber Content: $46\%$ Acrylic, $33\%$ Wool, $9\%$ Polyester, $8\%$ Cotton, $4\%$ Nylon, Color: Southbury Green, less than 1 ball ( $[\sim\!30\,\$ yards), worsted weight yarn Color #2 (Bottom Shell): \*Berroco Uxbridge Tweed (92 yards / 1.75oz ( $^{85}\,\mathrm{m}\,/$ 50g), Fiber Content: $46\%$ Acrylic, $33\%$ Wool, $9\%$ Polyester, $8\%$ Cotton, $4\%$ Nylon, Color: Oats and Barley, less than 1 ball ( $\lceil\sim\!30$ yards),worsted weight yarn Color #3 (Head, Legs, Tail): \*Berroco Uxbridge Tweed (92 yards / 1.75oz ( $\,\,85\mathrm{~m~}/$ 50g)),FiberContent: $46\%$ Acrylic, $33\%$ Wool, $9\%$ Polyester, $8\%$ Cotton, $4\%$ Nylon, Color: # (name unknown), less than 1 ball ( $[\sim\!30$ yards), worsted weight yarn \*Berroco Uxbridge Tweed is a discontinued yarn, and is generally no longer available. Copyright 2006 Stephanie Marin. This pattern is for personal use only. Reproduction of this pattern or products from it for sale are prohibited. Yarn Substitute: Any worsted weight yarn would make a good substitute - some that come to mind are: Cascade 220 Tweed/Solid (220 yards / 100g), Fiber content: $100\%$ Peruvian Wool. Cascade has a great palette to choose from so you can customize your turtle as you see fit - best approximations of the photo would be using colors 601, 625 & 628, 1 ball each color, worsted weight yarn. Knitpicks Wool of the Andes (110 yards/ 50g), Fiber content: $100\%$ Peruvian Wool. Knitpicks has a fantastic palette to choose from too - best approximations of the photo would be using colors: Fern, Wheat and Snickerdoodle, 1 ball each color, worsted weight yarn. Lion Brand Wool Ease (197 yards / 3 oz ( $180\mathrm{\;m\,/\,85\;g)}$ ),Fiber Content: $80\%$ Acrylic, $20\%$ Wool. Lion Brand also has a great palette to choose from - best approximations of the photo would be using colors: Forest Green Heather, Mushroom or Camel and Natural Heather, 1 ball each color, worsted weight yarn Knitting Needles and Crochet Hooks -- Crochet Hook: US # B1 / 2.25 mm\* $^{*}\mathrm{I}$ prefer to use the smallest possible size crochet hook because it creates a fantastially firm and tight fabric for stuffed animals. This is especially important if you intend to stuff Jacques with catnip! Notions and Accessories - Stitchmarker, for marking beginning of rounds Tapestry Needle, for seaming Polyfil or other stuffing material Contrasting yarn, buttons or safety eyes (for buttons/eyes, 6mm diameter is recommended) Catnip, optional
Finished Product Measurements:
Approximate Length, from nose to end of hind leg: 4.5 inches Approximate Diameter of Shell: 3 inches Approximate Height: 1.75 inches
Pattern Stitch:
Adjustable Ring technique for starting crochet in the round Chain (ch) Single Crochet (sc) Increase (inc) - Increase by working 2 stitches into the same space Decrease (dec) - Decrease by working two stitches from the previous row/round together.
Gauge:
Approximately 5 stitches / rows per inch.
Design Notes:
The pieces (with the exception of the tail) of this turtle are worked in the round. I do not join my rounds, and simply single crochet around in spirals, marking the beginning of my round with a stitch marker. I typically do not measure gauge when making stuffed animals, as it is more important for the fabric to be reasonably tight and firm, so it does not stretch over much when stuffing.
Pattern:
Beginning each piece:
All pieces in this pattern are started using an adjustable ring - this allows you to pull the center of the ring tightly closed. To form an adjustable ring, wrap your yarn around two or three fingers twice, then pull a loop through the center of the ring using your crochet hook. Chain 1 into this loop, proceed to single crochet the appropriate number of times around the loop, join (by single crocheting and starting your next round), and pull the center loop tight by pulling on the free end of yarn. There are some nicely illustrated online references for starting an adjustable ring. They can be found by googling: Adjustable Crochet Ring Two such links are: http://www.crochetme.com/Dec Jan 0405/reads round.html and Reference to the Amigurumi Double Ring (a sc based adjustable ring technique) can be found here:
Pattern:
Top Shell:
Round I: With Color #1, Start by forming your adjustable loop. SC 6 around the loop Round 2: SC into the first sc of the previous round to join. Place your stitch marker to note the beginning of the round. Pull the free tail of the adjustable loop to close and tighten it. Work an increase into each sc of previous round (including the one you just used to join your round). (12sc) Round 3: Increase 6 stitches evenly across the round as follows: sc1, inc1 around. (18sc) Round 4: Increase 6 stitches evenly across the round as follows: sc2, inc1 around. (24sc) Round 5: Increase 6 stitches evenly across the round as follows: sc3, inc1 around. (30sc) Round 6: Increase 6 stitches evenly across the round as follows: sc4, inc1 around. (36sc) Round 6: Increase 6 stitches evenly across the round as follows: sc5, inc1 around. (42sc) Rounds 7 & 8: SC evenly around (42sc) Leave a long enough tail to seam around the edge of the shell and pullit through the last loop to fasten off.
Bottom Shell:
Round 1: With Color #2, Start by forming your adjustable loop. SC 8 around the loop Round 2: SC into the first sc of the previous round to join. Place your stitch marker to note the beginning of the round. Pull the free tail of the adjustable loop to close and tighten it. Work an increase into each sc of previous round (including the one you just used to join your round). (16sc) Round 3: Increase 8 stitches evenly across the round as follows: sc1, inc1 around. (24sc) Round 4: Increase 8 stitches evenly across the round as follows: sc2, inc1 around. (32sc) Round 5: Increase 8 stitches evenly across the round as follows: sc3, inc1 around. (40sc) Leave a short tail to seam around the edge of the shell and pullit through the last loop to fasten off.
Legs/Feet, make 4
Round 1: With Color #3, Start by forming your adjustable loop. SC 6 around the loop Round 2: SC into the first sc of the previous round to join. Place your stitch marker to note the beginning of the round. Pull the free tail of the adjustable loop to close and tighten it. Work an increase into the next sc of previous round. Increase 2 more times by repeating sc1, inc1 around (9sc) Round 3: SC evenly around (9sc) Round 4: Decrease 3 stitches evenly across the round as follows: sc1, dec1 around (6sc) Rounds 5 & 6: SC evenly around (6sc) Leave a longish tail and pullit through the last loop to fasten off - I like to leave a tail long enough to use while attaching the Legs to the body.
Head, make 1
\*You may find it challenging to place the eyes once the head is complete, as the opening is quite small. The eyes on my version of Jacques are placed between rows 4 &5. You may want to place the eyes before completing the last rows. Round 1: With the Color #3, Start by forming your adjustable loop. SC 6 around the loop Round 2: SC into the first sc of the previous round to join. Place your stitch marker to note the beginning of the round. Pull the free tail of the adjustable loop to close and tighten it. Work an increase into each sc of previous round (including the one you just used to join your round). (12sc) Round 3: Increase 3 stitches evenly across the round as follows: sc3, inc1 around. (15sc) Round 4: SC evenly around (15sc) Round 5: Decrease 3 stitches evenly across the round as follows: sc3, dec1 around (12sc) Round 6: SC evenly around (12sc) Round 7: Decrease 3 stitches evenly across the round as follows: sc2, dec1 around (9sc) Leave a longish tail and pullit through the last loop to fasten off- I like to leave a tail long enough to use while attaching the Head to the body.
Tail, make 1
Unlike the other pieces on the turtle, the tail is crocheted flat. Row 1: Chain 4, turn Row 2: Chain 1, then SC into each stitch in the previous row (4sc) Leave a longish tail and pullit through the last loop to fasten off - I like to leave a tail long enough to use while ataching the tail to the body.
Finishing:
If you haven't already done so, attach the eyes on the head. Stuff a small bit of polyfil into the ends each of the legs and the head. For the legs, you may find it useful to use the end of a pen cap, knitting needle or chopstick to get the polyfil into the leg through the rather small opening.
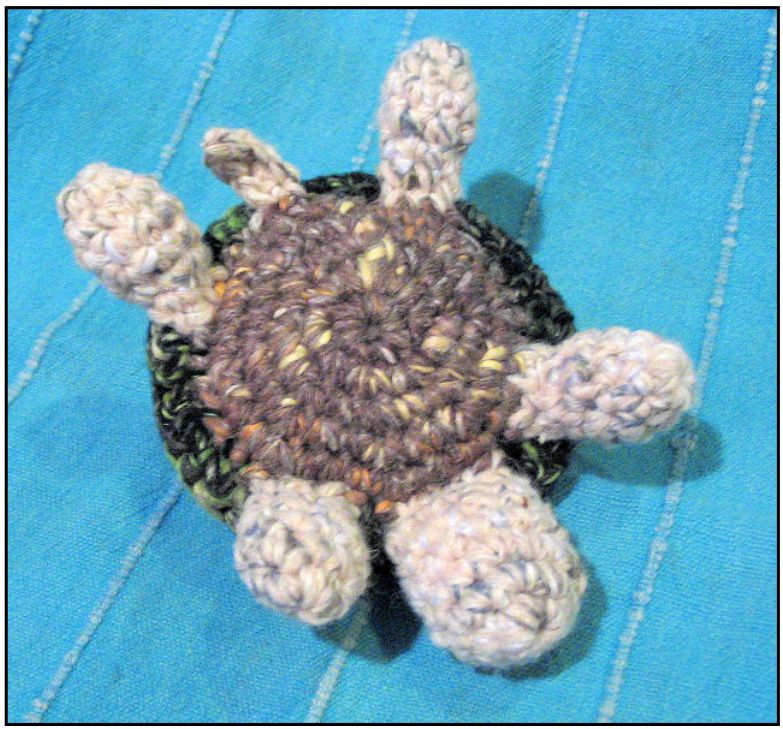
Using your tapestry needle, securely attach the legs, tail and head to the bottom shell - I used a whip stitch, making sure to close the legs and head as they were attached to the bottom shell. For a more turtle-in-action look, 5Copyright 2006 Stephanie Martin. This pattern is for personal use only. Reproduction of this pattern or products from it for sale are prohibited. attach his front legs more swept back, rather than facing straight forward. Refer to the photo for placement if necessary.
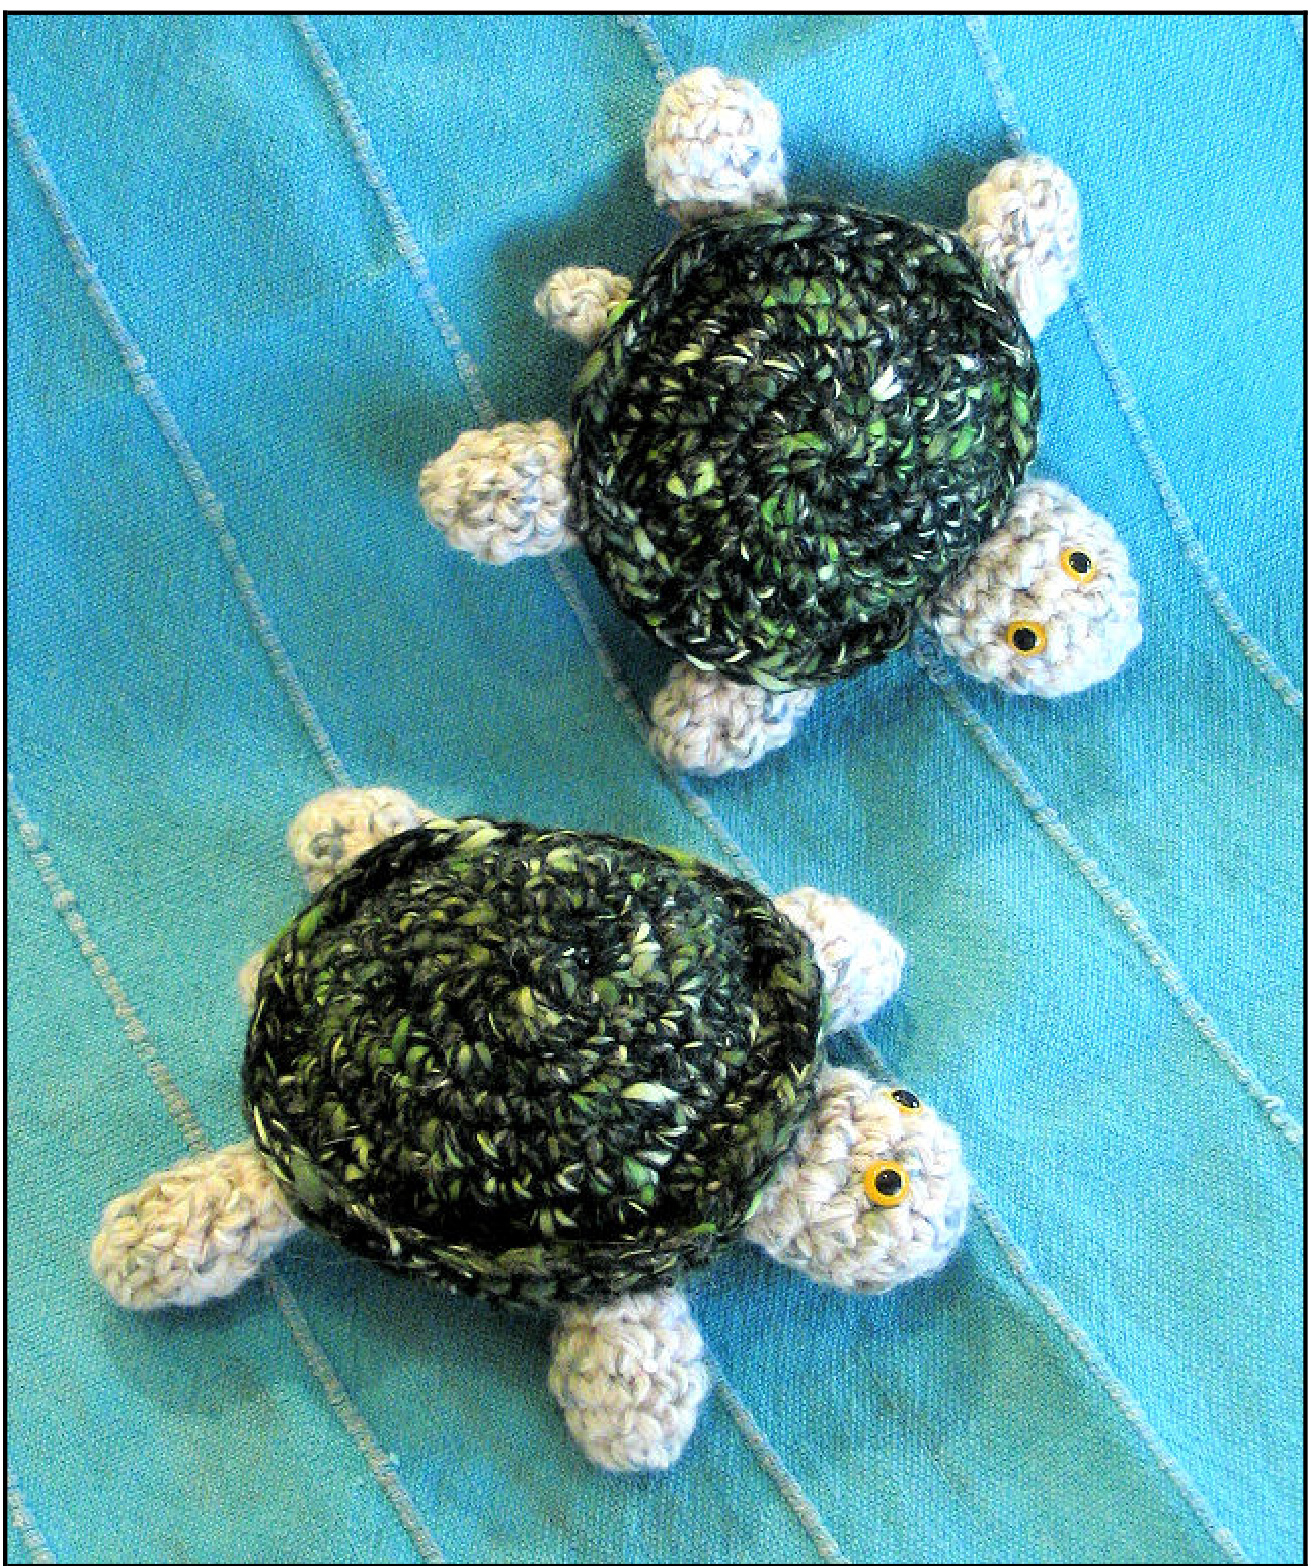
To attach the top shell, carefully center the bottom shell and the concave end of the top shell. Begin seaming the two pieces together using either the tail of the top shell or matching yarn. I used a modified whip stitch going through the top shell one or two rows in from the edge while securing the bottom shell in place. When you have only a small one or two inch opening remaining, stuff the body firmly with Polyfil or a combination of Polyfil and Catnip if Jacques is destined for your feline. Once stuffed full, carefully finish your seaming.


