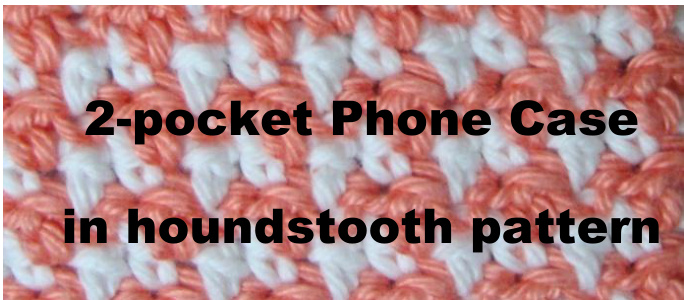
This phone case has two pockets, therefore it is suitable to store two phones or a phone and some other stuff (like keys, change stc.) It is seamless, made in one piece. For not everyone has the possibility to print files with a lot of coloured pictures, I put the photo tutorial at the end of the description, so it is up to you if you print it with or without photos. Shaping the division between the two pockets is actually the toughest part of this work (Row 3), 1 hope the photos will help you through this stage. Suggested Yarn: I used Phil Cotton 3 in the colours Blanc and Corail but any sport weight cotton yarn will do. Yardage: about 8g of colour 1, and 16g of colour 2 Hooks: 3 mm (US size 2 1/2) Measures: the described phone case is 8x13,5cm. This is the right size for two iPhones or other phones of similar size (or smaller). If you have a larger phone, you can adjust the size as follows: by adding 2 ch in the beginning you make the phone case 1 cm broader; each extra row makes it about 0,5cm longer.
Abbreviations:
ch - chain (o) (in Figure 9: 8=ch2) sc - simple corchet (x) dc - double crochet (F) sl st - slip stitch (°)
Instructions:
Ch 15+1 with colour 1. Row 1: make a "round" of 32 single crochets around the chain as follows: sc in the 2nd ch, 13sc, 3sc in the last ch, go back on the other side with 1 sc in each ch (13sc in total), in the last one 2sc. Close the row with a sl st. Now you have 32sc in total, as in figure 1. Figure 1 - Row 1
| X | X | X | X | X | X | X | X | X | X | X | X | X | X | XO | ||
| X | 0 | o | 0 | 0 | 0 | 0 | 0 | 0 | 0 | 0 | 0 | 0 | 0 | 0 | 0 | X |
| X | X | X | X | X | X | X | X | X | X | X | X | X | X | X |
Row 2: ch 1, 2sc in the first sc, 13 sc, 2sc in the next sc, sc, 2sc in the next sc, 13sc, 2sc in the next sc, 1sc, close the row with a sl st. Row 3: fasten colour 2 and start the houndtooth pattern as follows (working on the right side): ch1 holding both threads, then go on with colour 2 only. \*1dc, 1sc\*, repeat \*_\* 8x. Now continue in the This item was designed by Panka's Patterns for personal use only. It may not be sold, published or distributed without the written permission of the designer. https://www.facebook.com/pankaspatterns http://egeszenpanka.blogspot.nl egeszenpanka@gmail.com
Panka's Patterns 2-pocket Phone Case
middle repeating \*_\* 8x in the opposite direction as in Figure 2-6 (these 16 stitches will make the dividing wall between the two compartments). Connect the middle part to the first ch with a sl st (Figure 7), then turn your work and continue making the wall of the second compartment on the other side (Figure 8), still alternating 1dc and 1sc 9x. Now you have completed the row, connect to the first stitch with a sl st. From here on we work alternating Row 4 and Row 5 as described below. The houndstooth pattern is actually simpler than it looks: in each row put a dc in each sc of the previous row and a sc in each dc (see figure 9).
| X | 干 | X | 干 | X | 干 | X | 干 | X | 8 | |
| 干 | X | 干 | X | 干 | X | X | 干 | 0 | ||
| X | 干 | X | 干 | X | 干 | X | 干 | X | 8 |
Figure 9 - houndstooth pattern On one side of the bag we work with colour 2 only, in the middle and on the other side we alternate colourseachrow. Row 4: the row starts and finishes at B. Ch2 with colour 2 As in Figure 10: Step1: work in Houndstooth pattern (repeating 1sc, 1dc) with this colour from B to A on the outside. Step2: at point A change to colour 1, and work from A to B in the middle. Step 3: go on with the same colour from B to A. Remember to connect the sides with sl st each time at A and B. Figure 11 and 12 show the work at this point. Row 5: the row starts and finishes at A and is worked entirely in colour 2. Ch1 holding both threads, then go on with colour 2 according to Figure 13: Step 1: work in Houndstooth pattern (repeating 1dc, 1sc) from A to B on the outside. Step 2: work from B to A in the middle. Step 3: go on with the same colour from A to B. Remember to connect the sides with sl st each time at A and B. This item was designed by Panka's Patterns for personal use only. It may not be sold, published or distributed without the written permission of the designer. https://www.facebook.com/pankaspatterns http://egeszenpanka.blogspot.nl egeszenpanka@gmail.com
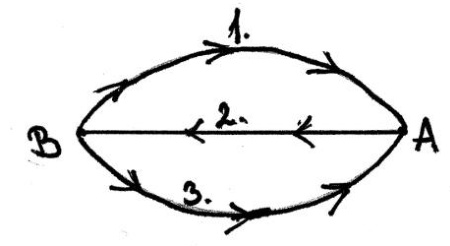
Figure 10 - Row 4
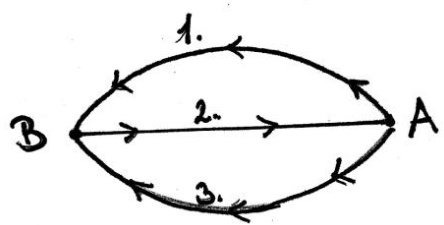
Figure 13 - Row 5
Panka's Patterns 2-pocket Phone Case
Go on alternating Row 4 and Row 5 12 more times. Finish with the row of your choice. After a total of 30 (or 31) rows weave in loose ends and your phone case is ready.
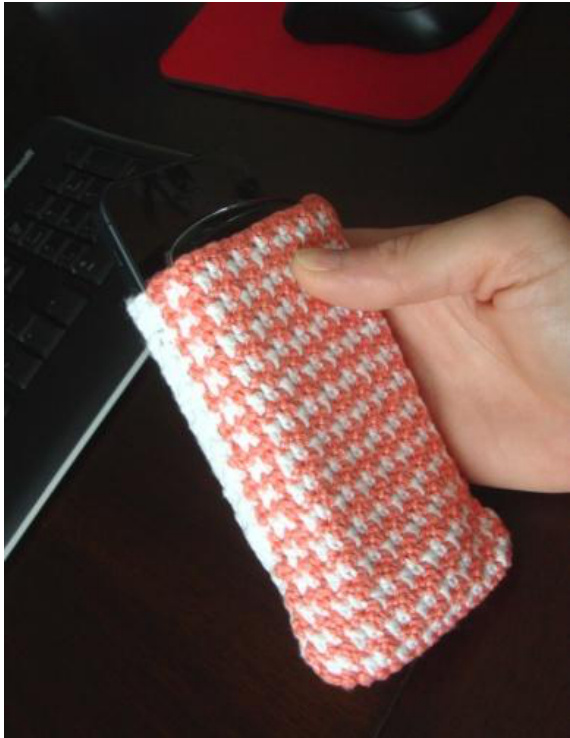
Photo aid:
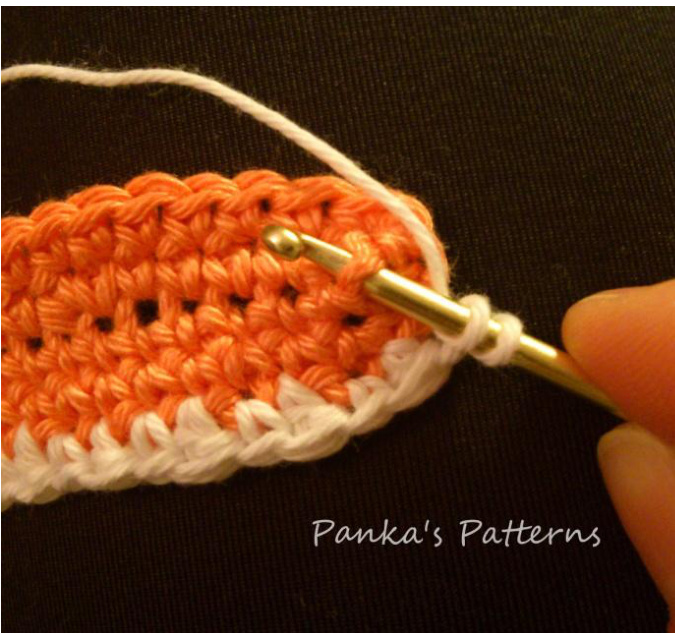
figure 2 - starting the dividing wall
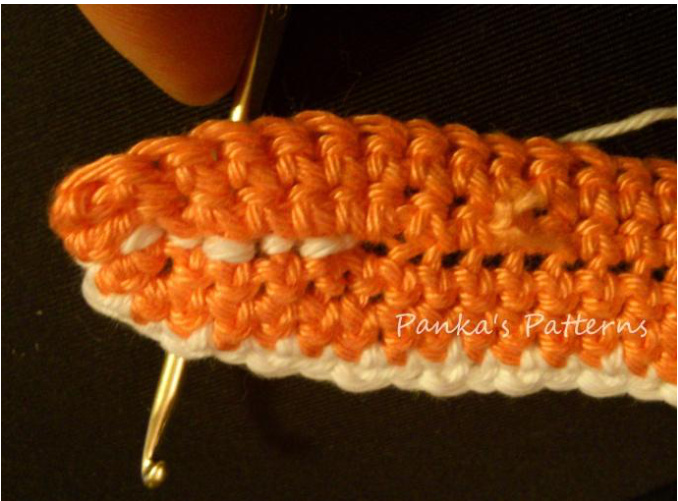
figure 4 - this is how the bottom looks like
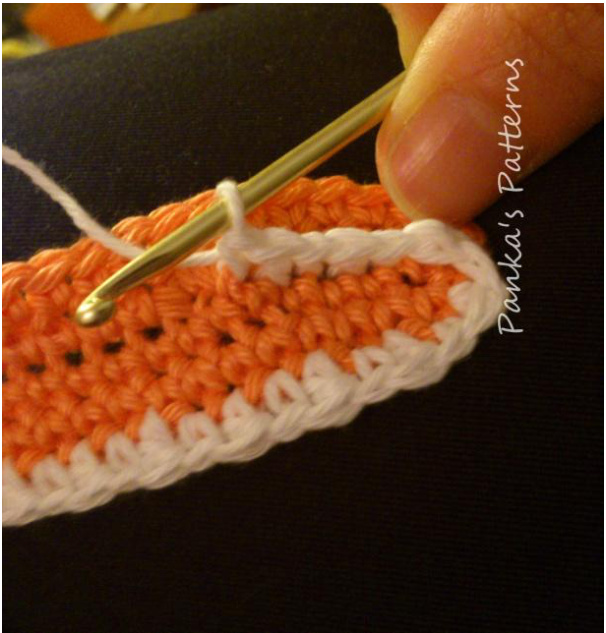
figure 3 - this is the way you make it
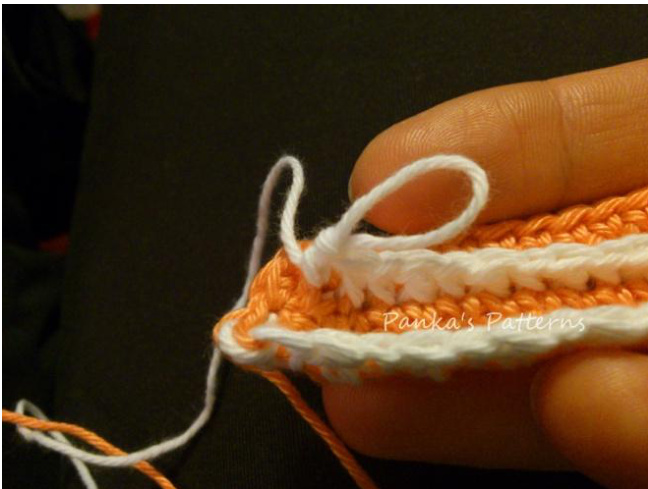
figure 5 - at the end of the dividing part
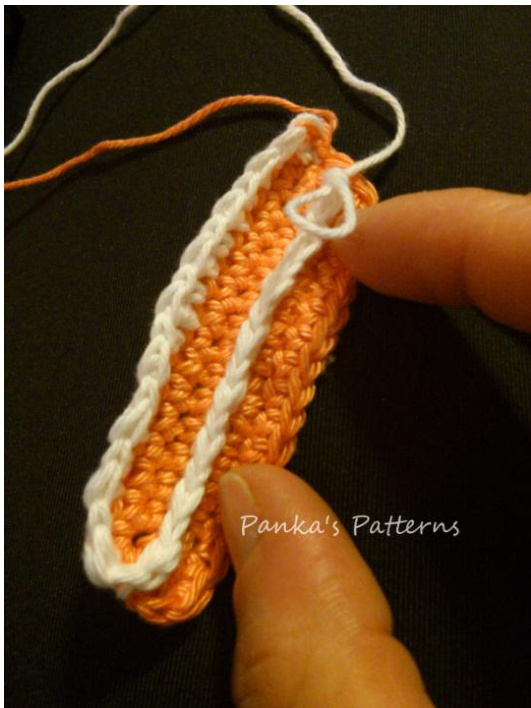
figure 6 - the same from above

figure 7 - now connect it to the first part, then continue on the other side
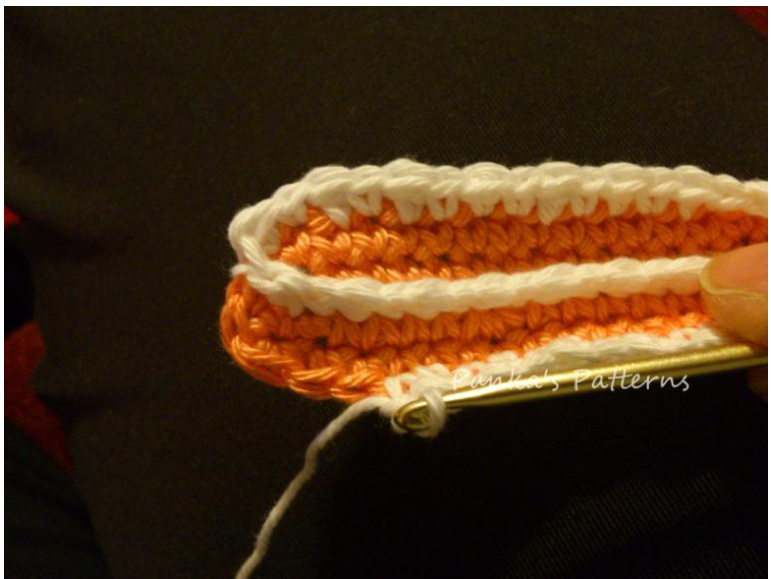
figure 8 - Row 3 is almost ready
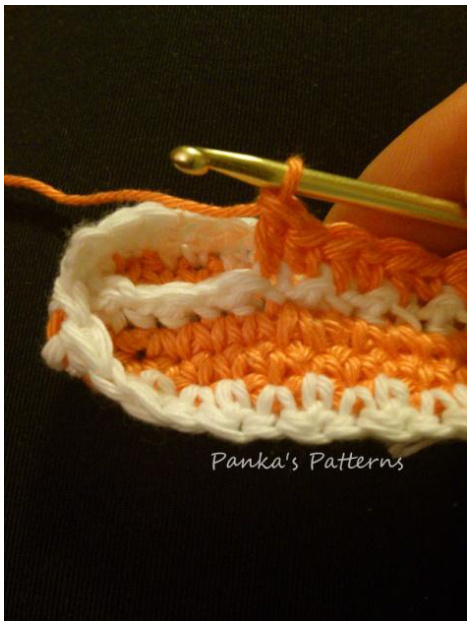
Figure 11 - working Row 4
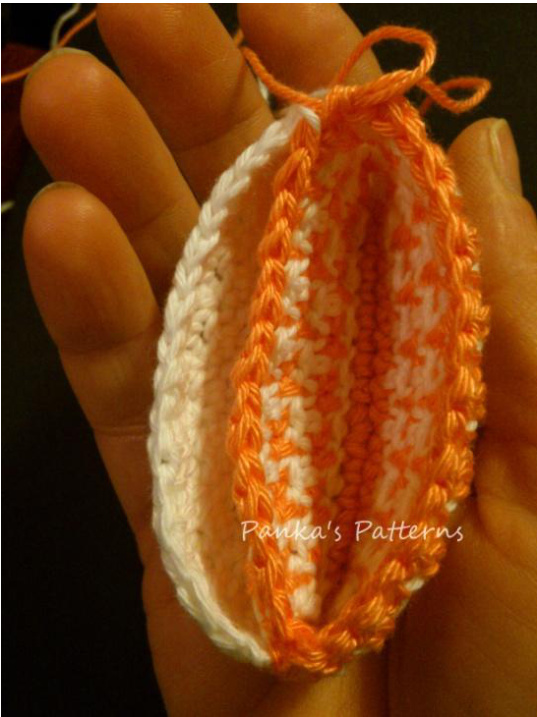
Figure 13 - after a few rows the shape shows
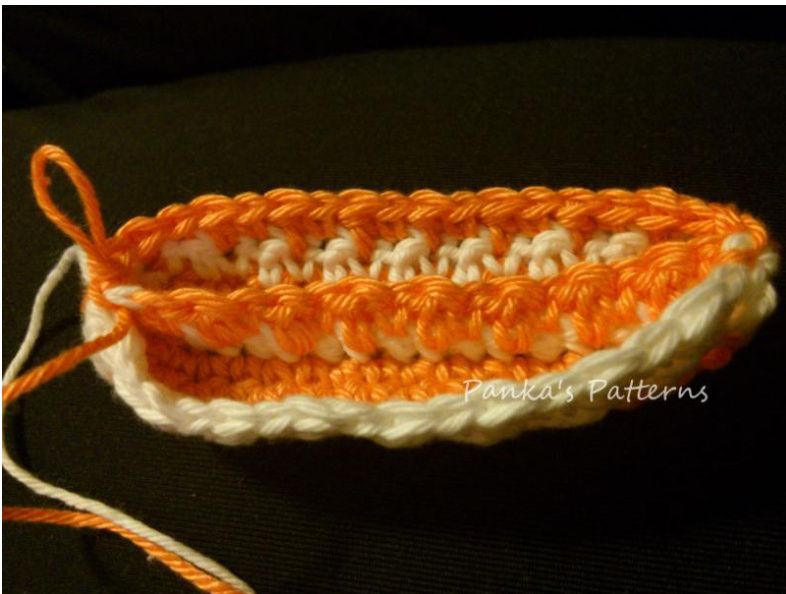
Figure 12 - Row 4 finished
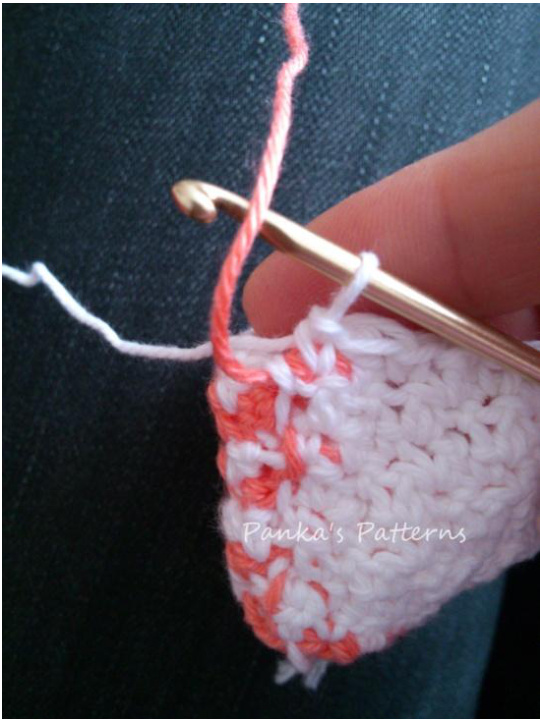
Figure 14 - switching colours


