Pond Ice Socks
a meg croft design
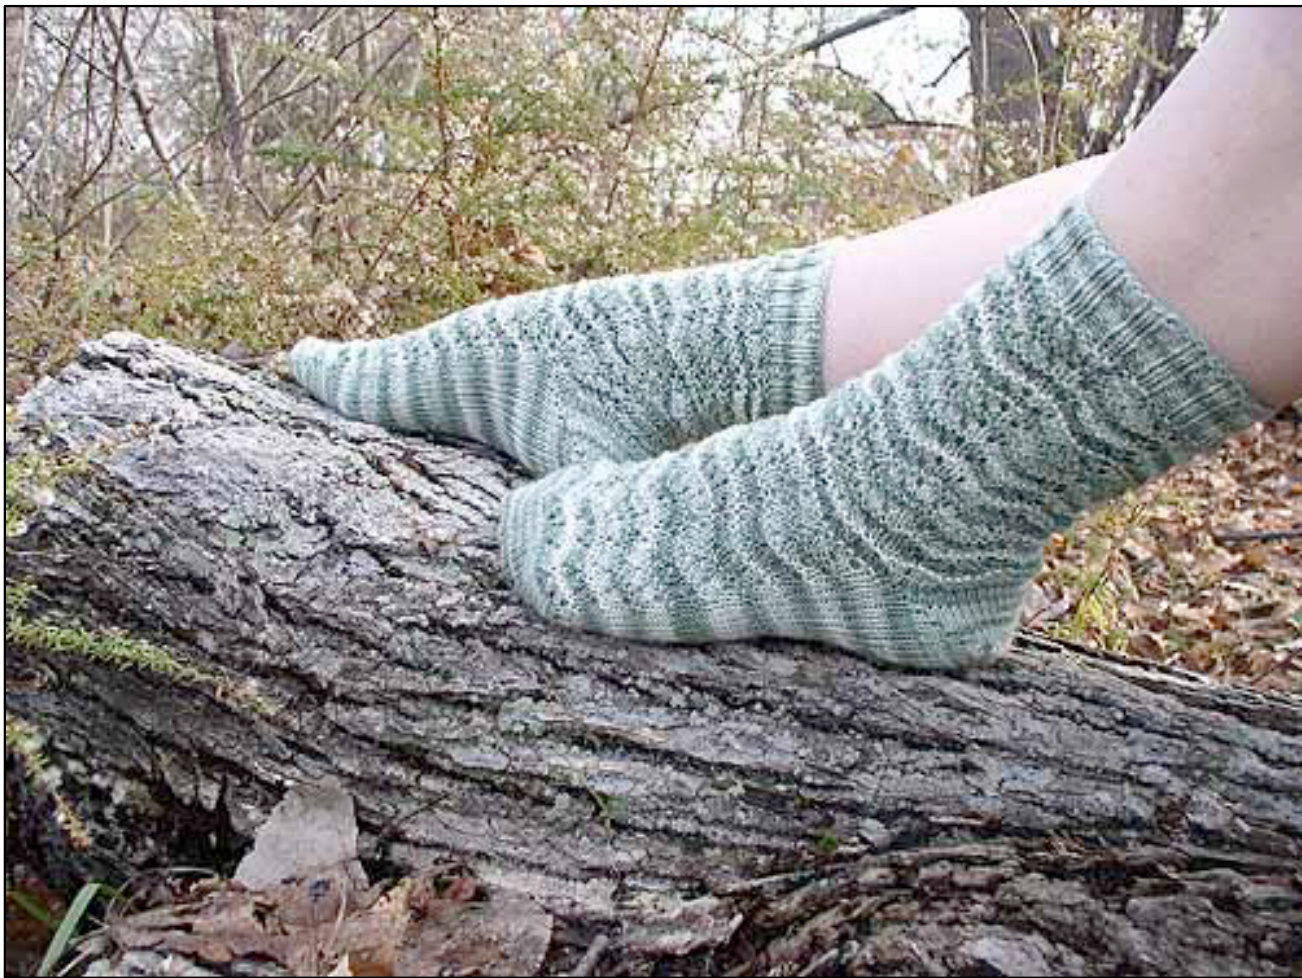
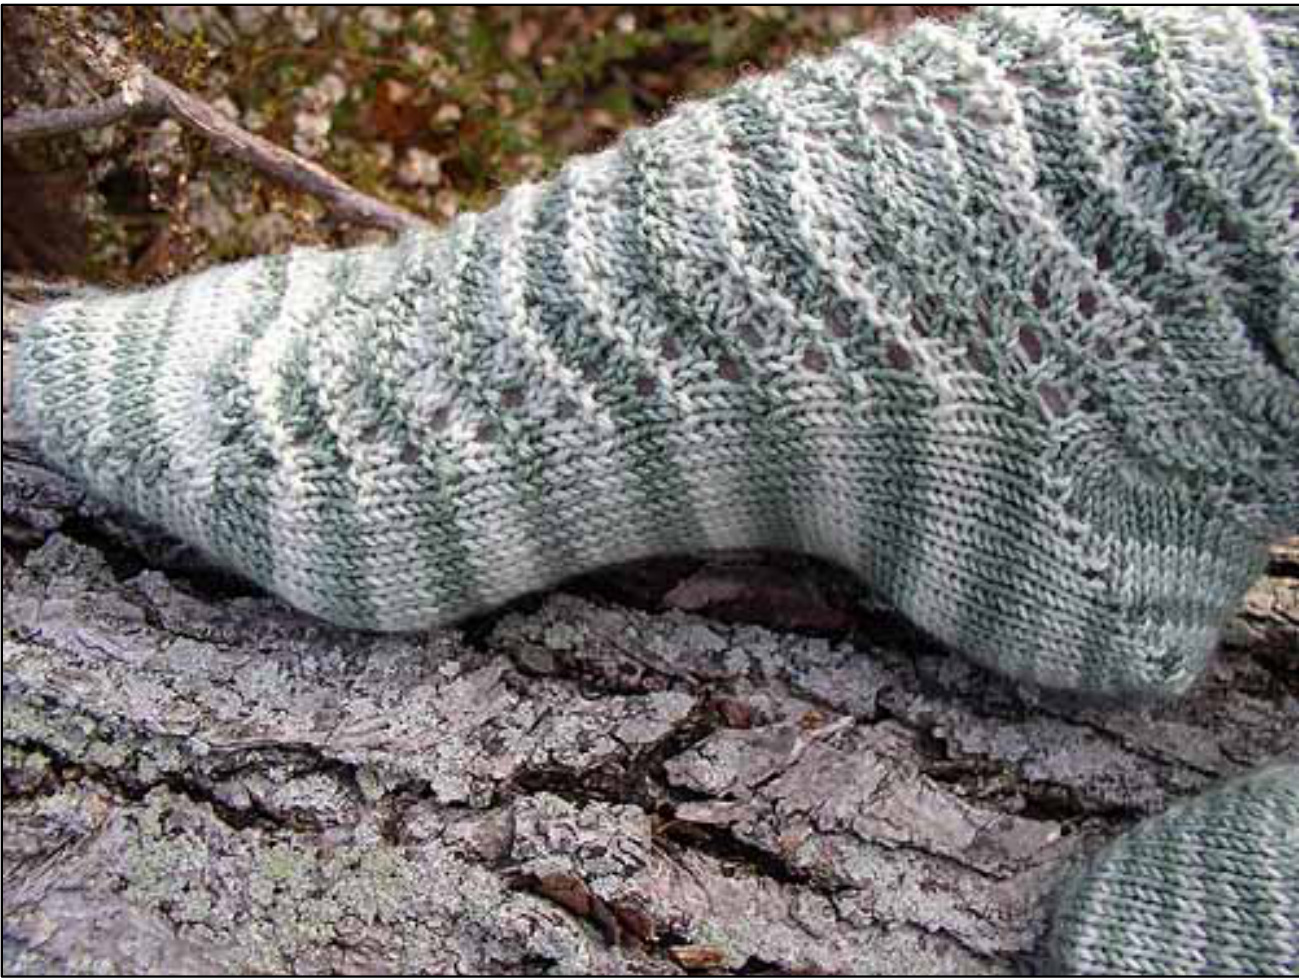
The light greens of the Socks that Rock Falcon's Eye colorway and the distortion of the stripes reminded me of frozen pond ice. No ice-skating on this rippled ice! Worked from the toe-up, these socks can be worked until you run out of the last inch of your favorite sock yarn, and can be tried on as you knit. To get a 'rippled' effect, it would be best to work this pattern with a self-striping yarn. The pattern can easily be made larger or smaller as it is a multiple of 9 stitches +2.
Materials
\*1 skein Blue Moon Fiber Arts, Socks that Rock, 100% superwash merino, light weight. Approx. 360 yards/ 45 oz or other similar sock yarn. Shown here in colorway Falcon's Eye, \*5 double pointed needles - size 1 US / 2.25mm \*1 crochet hook, size USB/2.25 mm \*fingering weight waste yarn in contrasting color from colorway used. Size 8 inches / 20 cm around foot and 8 inches / 20 cm from heel to top of leg, approx women's size 7.5 US. Gauge: 30 sts over 4 inches in stockinette stitch
Abbreviations
K -knit P-purl Yo - yarn over Skp - slip 1, knit 1, pass slipped stitch over and off the needle K2tog - Knit 2 together Wrap & turn - if knitting, bring yarn to the front, slip next stitch, bring yarn to the back around the knit stitch, slip stitch back, and turn your work. If purling, bring yarn to the back, slip next stitch, bring yarn to the front around the purl stitch, slip stitch back, and turn your work.
Provisional Cast On
Using a piece of waste yarn and crochet hook, loosely chain 35. (A helpful hint: make a small knot or insert a stitch marker in the yarn closest to the last chain you made - this will be the side where you will unzip the crochet stitches.) With project yarn, pick up 32 stitches through the bottom bump of each crocheted chain, leaving a single crocheted chain stitch on either side as a 'buffer'. Divide between 2 needles, 16 stitches per needle.
Short Row Toe
Knit across stitches until 1 stitch remains, bring yarn to the front as if to purl, slip the last stitch to the right needle without working it. Bring yarn around the stitch to the back and turn your work. Slip stitch back to the right needle without working it - yarn should remain in the front. Purl across to second to last stitch, bring yarn to the back as if to knit, slip the last stitch to the right needle and turn your work. Slip stitch to the right needle without working it - yarn should remain in the back. Knit across row until 2 stitches remain on your left needle, bring yarn to the front, repeat wrap & turn. Purl across row until 2 stitches remain on left needle, bring yarn to the back, wrap & turn. Continue working back and forth, wrapping & turning on both knit and purl rows until 12 stitches remain unwrapped (10 stitches on each side should be wrapped). This is the tipof yourtoe. Knit across 12 unwrapped stitches, slip the first wrapped stitch to the right needle. Carefully insert left needle tip under the wrap and lift it onto the right needle. Slip the picked-up wrap and the stitch back to the left needle without twisting. Knit the wrap and the stitch together firmly. Bring yarn to the front as if to purl, and wrap & turn the next stitch. (This stitch nowhastwowraps.) Purl across 13 stitches, transfer the first wrapped stitch to the right needle. Carefully insert left needle tip under the wrap and lift it onto the right needle. Slip the picked-up wrap and the stitch back to the left needle without twisting. Purl the wrap and the stitch together firmly. Bring yarn to the back as if to knit, and wrap & turn the next stitch. (This stitch now has twowraps.) Continue working back and forth, wrapping & turning AND knitting and purling the stitch and BOTH of its wraps together until you have 32 unwrapped stitches on your needles.
Unzip your Toe-Cap
You should now have a nice little toe-cap, with live stitches on one side, and the waste yarn on the other side. Carefully untie your knot and remove the waste yarn one stitch at a time (starting from where you marked your waste yarn) and put live stitches onto needles. (64 stitches) Insert locking stitch marker to mark beginning of your round. Knit one round, increasing one stitch at the short row seam between needles 1 & 4. (65 stitches) Arrange the needles: 17 stitches on needle 1, 16 stitches needles 2,3, and 4.
Foot pattern
Round 1: K3, \*k1, yo, k2, skp, k2tog, k2, yo\* finish the row with k3 Round 2:Knit Round 3: K3, \*yo, k2, skp, k2tog, k2, yo, k1\* finish the row with a k3 Round 4:knit Round 5:Purl Round 6:Knit Starting with Row 1, begin Foot Pattern across needles 1 and 2. Knit across needles 3 and 4 (this will be the bottom of the foot.) Continue working in pattern across needles 1 and 2 only. After completing a Row 5 on needles 1 & 2, and when the sock is long enough to be in line with your (or your recipient's) ankle-bone, begin short row heel.
Short Row Heel
Start the short row heel across needles 3 and 4 only (check to make sure that these are the needles used for the bottom of your foot). Follow the same directions as for the Short Row Toe, but leave 16 stitches unworked, and wrap 8 stitches on each side. When all the stitches are live again, (64 stitches) knit one row, and to prevent holes from appearing at the join of your leg and short row heel, pick up one stitch and immediately k2tog between needles 1 & 4 and 2 & 3. Continue working FOOT PATTERN on needles 1 & 2, working stockinette on your heels for another 5 rounds. Then begin working Leg pattern.
Leg pattern
Round 1: K1, \*k1, yo, k2, skp, k2tog, k2, yo\*, end with k1 Round 2: Knit Round 3: K1, \*yo, k2, skp, k2tog, k2, yo, k1\*, end with k1 Round 4: knit Round 5:Purl Round 6: knit Continue in pattern until desired length, ending with a row 6. Decrease one stitch on this last round maintaining enough yarn for 1.5 inches of knit 1, purl 1 ribbing at the top. Finish by using the tubular bind off:
Tubular bind-off
First, make sure your first stitch is a knit stitch! Using a tail approx. 4 times the circumference of the sock and a darning needle : 1. Insert your darning needle into the first knit stitch as if to knit, pull yarn through the stitch and pull the stitch off the needle. Your yarn should want to lay to the front of the sock 2. Insert your darning needle into the second stitch on the needle (also a knit stitch) as if to purl, pull yarn through and leave stitch on the needle. 3. Insert your darning needle into the first stitch on the needle (a purl stitch) as if to knit, pull yarn through the stitch and pull stitch off needle. Your yarn should want to lay to the inside of the sock 4. Insert your darning needle from back of work to front BETWEEN the first and second stitches on the needle, pull yarn through. Insert darning needle as if to knit in second stitch on the needle, pull yarn through, and leave stitch on the needle. Repeat steps 1-4 around the circumference of the sock and weave in your ends.


