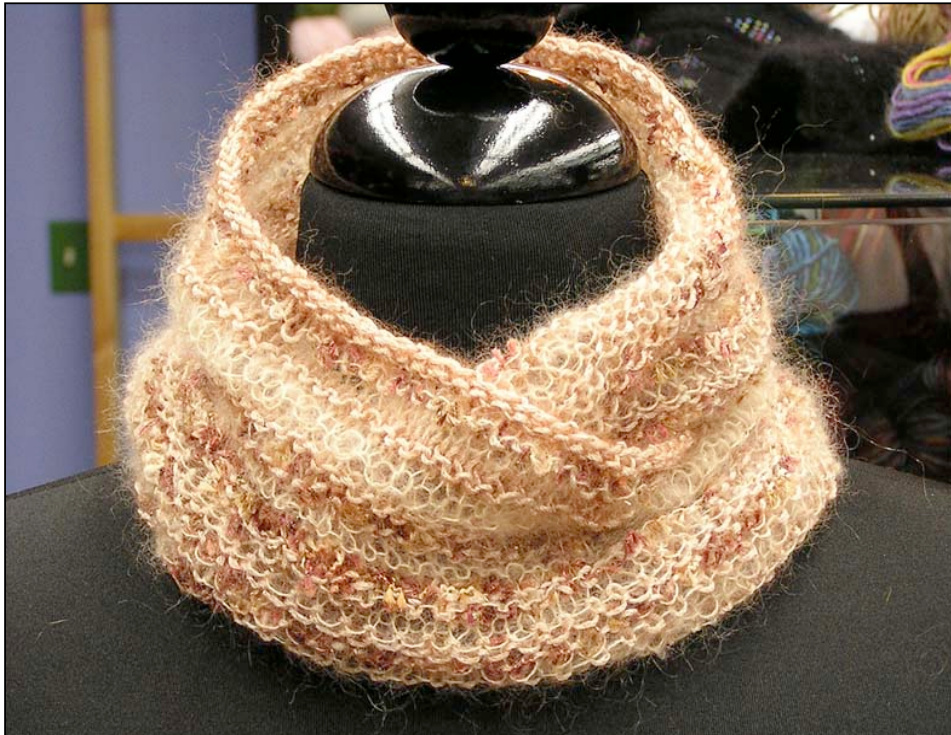
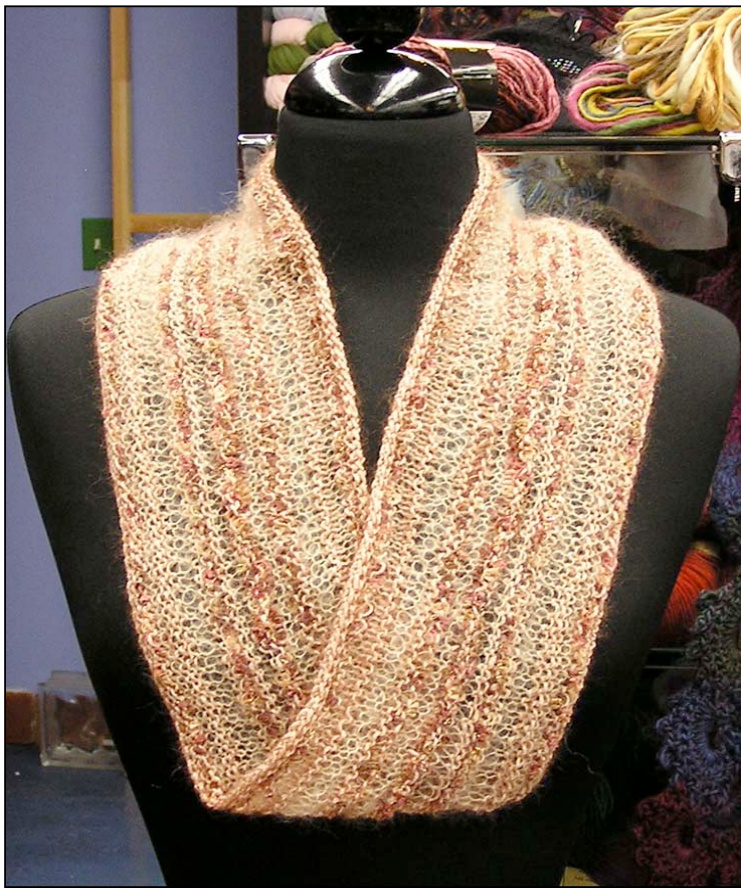
Wispy Moebius
By Diane L. Augustin You can make a Moebius with any size needles and any weight yarn. This one is knit with three different types of yarn, alternating them throughout the work. This is a unique method for casting on and knitting magical creations. The time spent learning this new technique will be very rewarding. Once you get going, you won't want to stop! I hope you have fun!
Moebius Cast On Information
There are a number of ways to learn the moebius cast on. Illustrated step-by-step instructions are included in Cat Bordhi's books, A Treasury of Magical Knitting and A Second Treasury of Magical Knitting. Both contain a wealth of information about and patterns for Moebius knitting. (She has graciously given permission to reference her ingeniousMoebius cast-ontechnique.) Here is the link to her U-Tube Moebius cast on video. http://www.youtube.com/watch?v=LVnTda7F2V4 More information is available on her website http:/ /www.catbordhi.com/ These are step-by-step instructions for the moebius cast on: 1. Make a slip knot and slip it to the center of the 47" cable. Hold the knot on your cable with your left hand, allowing the needles to dangle. 2. With your right hand, take the LEFT needle and bring it towards you and up to make the cable into a loop. Allow the other needle to hang down. We won't need it until all the stitches are cast on. 3. Hold the slipknot, needle and looped cable in your right hand. Hold the needle half way to the tapered tip. 4. Tension the working yarn above the cable in your left hand. Think of the cable as a stationary object you will be wrapping the yarn around. You will be holding it in both hands to begin the cast on, which is a wrapping sequence. 5. Point the needle towards you and bring it under the cable, over the working yarn, and back up above the cable. Do a yarn over. 6. Repeat this sequence to cast on the appropriate amount of stitches. Each time you perform this “under the cable, yarn over" sequence, you are generating 2 stitches. Count only the stitches on the top of your needle. 7. Once you have the appropriate number of stitches cast on, spread the stitches around the needle and cables and up onto the other needle, so they form a circle. 8. Position the needles and stitches around them so that you can knit the stitches. This will take some adjusting. 9. Set the work down on a table top and, starting with the left side, position the needle above the cable, follow the path around the cables, making sure they are parallel all the way around until you get near the right needle. 10. At this point the needle should be over the cable or the cable will be over the needle. Either way is ok. This should occur only once and will indicate the 180-degree twist. 11. PLACE MARKER. Knit into the slipknot to join the work. Pull the stitches together at the join to close gaps. Knit into the “triangle" stitches or V's as they come to you. These are very different looking stitches made by the wrapping we did to cast on. The marker is crucial in moebius knitting. On the first round, it will let you know that you have done the twist correctly as you knit and it travels the path of the stitches onto the looped cable below your needle tips. When you see the marker on the cable below the needles, this is one half of the first round of moebius knitting. Once you see the marker at this point, keep knitting until you can slip the marker from the left to right needle. This will be one complete round of moebius knitting. Materials: 1 ball each of Schulana Mosco and Kid Seta and 1 skein of Crystal Palace, Little Flowers and size 8 circular knitting needles, 47" in length. You will need one stitch marker. The moebius is approximately 4 inches wide x 36 inches in circumference. Carry yarn up through the rounds when changing colors. Twist the new yarn around the one just used as you continue knitting. ctions: MCO (Moebius Cast On) 140 stitches. PM (Place Marker) and join Color 1 = Mosco Color 2 = Little Flowers Color 3 = Kid Seta Round 1: C1 and C2 TOG, Knit. Round 2: C3, Knit. Round 3: C3, Purl. Rounds 4 & 5: C1, Knit. Round 6: C2 and C3 TOG, Purl. Round 7: C1, Knit. Round 8: C1, Purl. Round 9: C3, Knit. Round 10: C3, Purl. Round 11: C3, \*K1, P1\*. Round 12: C1, Knit. Round 13: C1, Purl. Round 14: C1, Knit. Round 15: C3, Knit. Round 16: C3, Knit. Round 17: C1 and C2 TOG, Purl. Round 18: C3, Knit. Rounds 19 & 20: C1, Knit. Round 21: C1, Purl. Bind off with C1.
Moebius bind off method: K2, \*Slip both stitches back to the left needle, Knit them ToG (together) through the back, K1, repeat from \*
Thank you for your purchase.
Enjoy your unique knitting experience. :el free to contact me with any questions at: dianelaugustin@mac.co Have Fun! Wispy Moebius was designed and knit by Diane L. Augustin Copyright 2011. All rights reserved.


