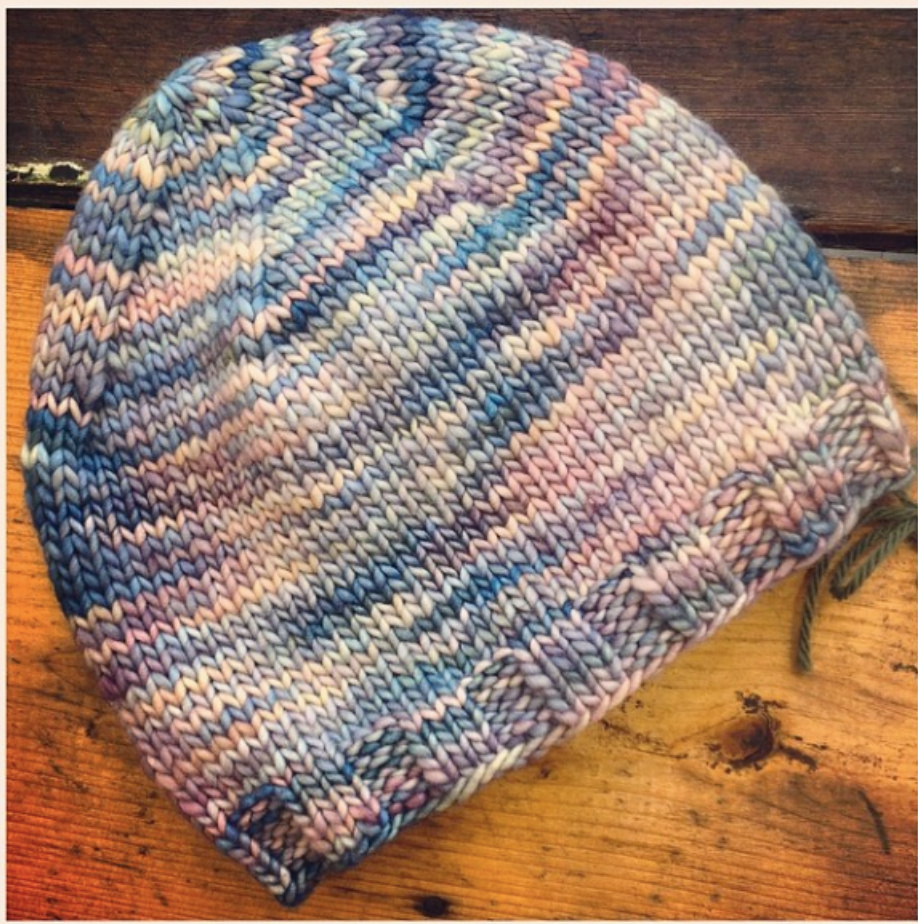
Awesome Hat
Using chunky yarns and needles, we will get you knitting a hat so sweet that you will get sick of people asking you to make one for them! Participants must be comfortable with casting on, the knit stitch, purl stitch, and casting Off.
SiZeS SM (MED, LG,XL)
Materials
1 1o0g skein of a chunky weight yarn (uses 6 mm needles) 5 mm 40 cm (US 8 16") circular needle 6 mm 40 cm (US 10 16") circular needle 1 Set of 6 mm DPNs 1 stitch marker Darning needle for finishing
Abbreviations
sts stitches rnd round - working every st to the st marker k3, p3 knit 3 stitches, purl 3 stitches repeat instructions between \*\* to end of round rep repeat st st stockinette stitch (in the round this is done by knitting every stiich, no purling) k2tog knit two stitches together as if they are one (decrease)
Let's set up our stitches!
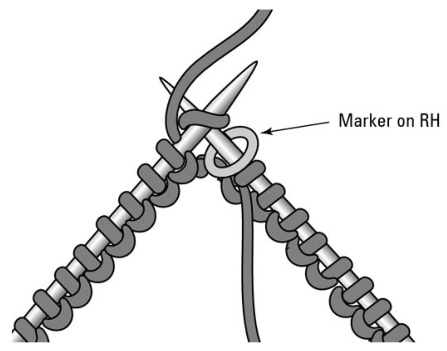
With your smaller size circular needle, cast on 66 SM (72 MED,78 LG,84 XL)sts using the long tail cast on method. Place your stitch marker onto the "right hand" needle.
We're going to do an invisible join!
The invisible join is a great way to avoid a sloppy join when knitting in the round. This technique can be used on any project in the round, even if a pattern does not call to use it! step l: Cast on one more st Step 2: Position your stitches so that all cast on "bumps" are on the inside of the circular needle loop. Your working yarn should be coming from the "right hand" needle. Step 3: Slip the first st from the "left hand" needle onto the "right hand" needle purlwise. Step 4: Working on the "right hand" needle, take the additional st made and slip it over the slip stitch, essentially casting off the stitch. Step 5: Slip the st back to the "left hand" needle without twisting it. Step 6: Take the cast on yarn and the working yarn and pull them tight until the stitch cannot be seen. For a video tutorial of the invisible seam, we recommend: https:/ /www.youtube.com/watch?v=idghalAiuzQ#t=16
Let's knit that brim!
The brim of many hats is often knit with a ribbing pattern and with smaller needles so that the hat will cling nicely to your head. It is important to establish the ribbing pattern properly in the first round. step 1: \*k3,p3\* rep to end of rnd. Step 2: Rep step l four more times. Note: if you want your brim to be longer, continue to rep step l to desired length, but you may need more yarn than the pattern calls for, or the body of the hat will need to be shorter.
Hit the knittin' highway!
Kl rond onto the larger circular needles. Knit in st st until your piece measures 14(15,16,17) cm from the cast on edge, or to desired length. If you make this hat longer then you may need more yarn than called for in the pattern.
Shape that crown!
The crown of the hat is the area where decreases shape the top. Usually we start the crown while still on a circular needle and then switch to DPN's (see note) when knitting on the circular becomes uncomfortable or distorted. It is best to switch to DPNs on a non-decrease round.
For XL, start here:
\*K12, k2tog\*, rep to end of rnc K l round in st st For LG, start here: \*K1l, K2tog\* rep to end of rnd K l round in st st For MED, start here: \*K10, K2tog\* rep to end of rnd K l round in st st For SM, start here: \*K9, K2tog\* rep to end of rnd K 1 round in st st All sizes continue with: \*K8, K2tog\* rep to end of rnd K 1 round in st st \*K7, K2tog\* rep to end of rnd K 1 round in st st \*K6, K2tog\* rep to end of rnd K 1 round in st st \*K5, K2tog\* rep to end of rnd K l round in st st \*K4, K2tog\* rep to end of rnd K l round in st st \*K3, K2tog\* rep to end of rnd K 1 round in st st \*K2, K2tog\* rep to end of rnd K 1 round in st st \*Kl, K2tog\* rep to end of rnd
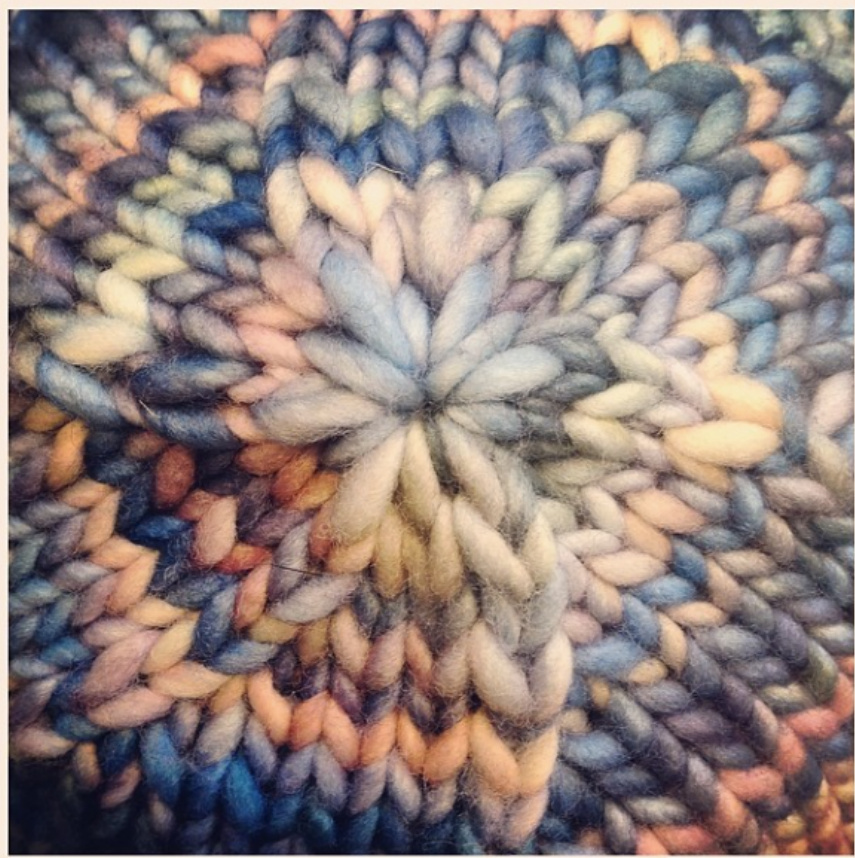
Finish that hat!
Do NoT cast off your stitches. Instead, cut your working yarn so that it is 25 cm long. Thread the tail onto the darning needle. Carefully slip each remaining stitch onto the threaded darning needle one stitch at a time. Pull on the tail and cinch the top of your hat together. Darn your tail to the inside of your hat, and turn your hat inside out so that you can better finish it. Weave in your end so that it is tight and at least 1 inch away from the last row knit. End with a split stitch. Weave the other tail into your work, away from the brim of the hat, on the inside of your hat.
How to Switch to DPNs:
Be careful when you switch to DPNs - if you are not mindful, you can inadvertently change direction and knit the crown of your hat purl-side out! Hold your knitting with the circular needle in your left hand with all stitches moved up towards the tip of the needle, ready to knit. Make sure that your working yarn from the last stitch knit is coming off of the right hand needle. The tip of this needle can be pulled out and be left hanging. Hold a DPN in your right hand. Knit 1/3 of your stitches onto this needle. Put an empty DPN into your right hand and knit another 1/3 of your stitches. Knit the final 1/3 of your stitches onto an empty DPN. Now your circular needle should be free, without stitches! Put it away and work only with DPNs.
Knitting Math:
This hat has knitting math in it! Boo! Hiss! The total number of stitches for every size hat in this pattern is divisible by six. This accommodated our K3, P3 brim (six stitch repeat) and it also allowed for a six-point crown. It helped us to plan our decreases too! For example, our XL size uses 84 stitches. 84/6 = 14 We have a 14 stitch repeat for the decrease round (K12, K2tog = 14 sts total) If we wanted to knit a hat with a K2, P2 brim (four stitch repeat) then our total number of stitches cast on would have to be divisible by 4 for the brim AND divisible by 6 for the six-point crown. These two numbers are called common denominators. When you truly understand hats you can eventually design your own - as long as you understand the knitting math involved. Excuse me while I go phone my high school math teacher and apologize for being such a brat.
Other tips:
If you want a hat with a longer brim, just keep knitting the ribbing to your desired length. This will require a lot more yarn. If you want a hat that slouches, keep knitting the body to your desired length. This will also increase yarn requirements. yarn? Use bigger needles and try knitting a smaller size


