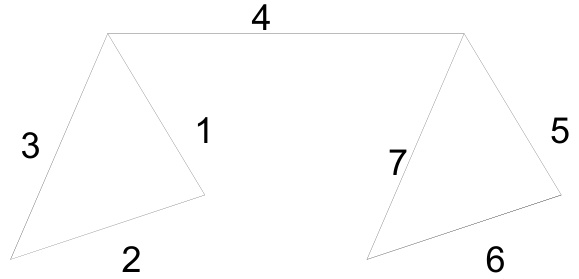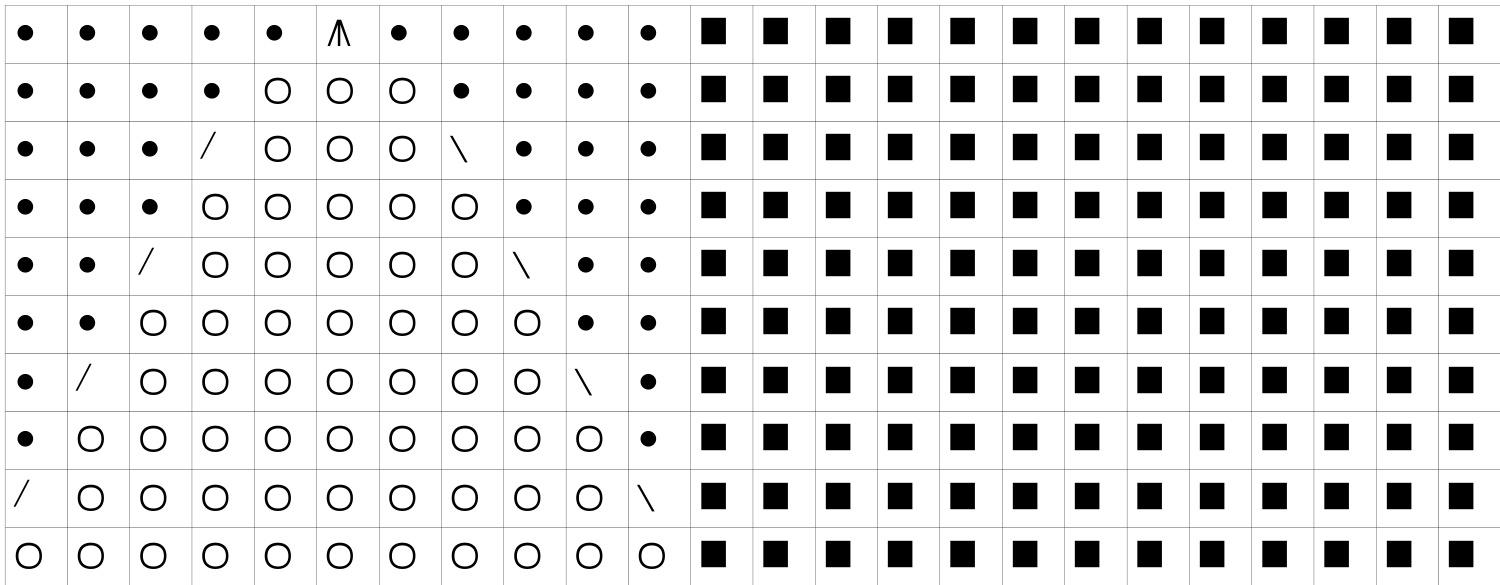
= main color (MC) O = contrast color (CC) ●= no stitch / = right-leaning decrease (k2tog) \ = left-leaning decrease (ssk) M = double decrease (sl 1——k2tog--psso) Cast on 13 sts MC, 11 sts CC, 13 sts MC, 11 sts CC. Knit two repeats of chart above. Three-needlebind off the two MC sections, slipping the CC sts over the first and last sts. Finishing: Using CC tail from peak/bind-off edge, whipstitch seam between MC and CC section to complete tent outline. Use MC tail from bind off to whipstitch ridgeline of wire frame inside ridgeline of tent. Use CC tails from cast-on edge to whipstitch CC sides of cast on to bottom edges of wire frame. Weave in remaining tails. Making the wire frame: Using rigid but easily bent wire (I used floral stem wire from the craft store) and a pair of pliers (preferably of the smooth-jawed jewelry type), bend one end into a triangle the size of one CC side of the tent, beginning at the top corner of the tent. Remember this is going inside the tent, so make it small enough to fit without stretching the knitted fabric, or it will be hard to keep everything together. With the first triangle completed, bend the wire at right angles to the plane of the triangle to form the ridge. Making the ridge just a smidge shorter than the 3-needle bind off, bend the wire 90 degrees again and make another triangle for this end. Cut off remaining wire or, if you prefer, bend it back across the ridgeline and secure the end by wrapping around one leg of the first triangle.