CABLED SNUGGLE VEST
APPLEDUCK DESIGNS Skill level: beginner Size: 4 months
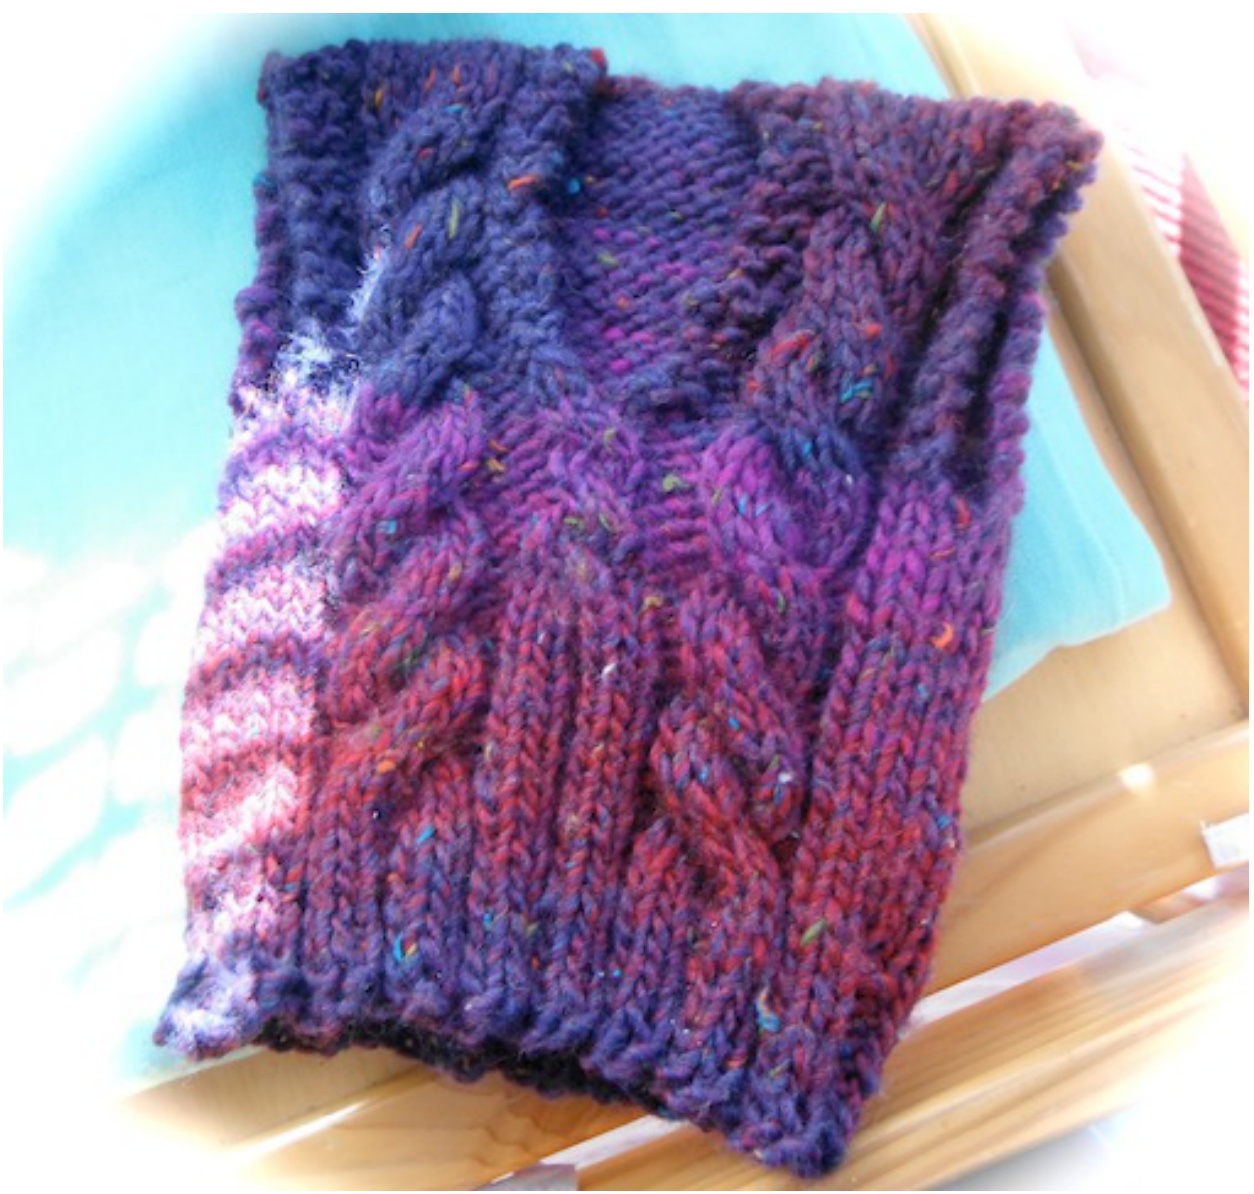
110m (75g) Patons Australia Shadow Tweed (or equivalent bulky yarn) 5mm 40cm circular needle cable needle 2 markers 2 stitch holders, one long, one short tapestry needle Gauge: 4s/5rows/inch This is a simple vest that can be knitted up in a few hours, written to be achievable for beginner knitters keen to try cabling. The pattern is easy to memorise, with two larger cables cabling every six rows, and one smaller cable cabling every three. Page 1 of 3 @ Copyright AppleDuck Designs 2013 . Version 1.1 (As of 31/07/2013)
Stitches and notation used:
Knit (k), Purl (p), Knit two together (k2tog), place marker (PM), cable two stitches forward (C2F), cable 3 stitches forward (C3F), cable 3 stitches back (C3B), kitchener stitch grafting (optional).
Body:
Cast on 61 stitches, and join in the round (60 s). K2, P2 rib for 1.5", starting on a P2 to ensure cables continue up the front of the vest. Cable set up. Row 1: (PM) k30 (PM), k2 p2 k6 p2 k2 p2 k2 p2 k6 p2 k2 Row 2-5: repeat Row 1 Row 6: k30, k2 p2 (C3F) p2 k2 p2 k2 p2 (C3B), p2 k2 (cable) Row 7-11: repeat Row 1 Row 12: repeat Row 6 (cable) Row 13-14: repeat Row 1 Row 15: k30, k2 p2 k6 p3 (C2F) p3 k6 p2 k2 (middle cable begins) Row 17: repeat Row 16 Row 18: k30, k2 p2 (C3F) p3 (C2F) p2 (C3B) p2 k2 (cable) Row 19-20: repeat Row 16 Row 21: k30, k2 p2 k6 p3 (C2F) p2 k6 p2 k2 (middle cable) Split for armholes at markers, working front and back separately.
Back:
Wrong side rows: K2 p26 k2 Right side rows: P2 k26 p2 Work for 5". Transfer work to a stitch holder, cut yarn.
Front:
Attach yarn to the left of the vest. All left/right directions are from the perspective of someone wearing the vest. FRow 1: k2 p2 k6 p3 k4 p3 k6 p2 k2 FRow 2: k4 p6 k3 p2, turn. (front right hand side of vest) Page 2 of 3 ? Copyright AppleDuck Designs 2013 . Version 1.1 (As of 31/07/2013) FRow 3: k2tog k1 p2 (C3B) p2 k2 (cable) FRow 4: k4 p6 k4 FRow 5 and 7: k2 p2 k6 p2 k2 FRow 6 and 8: k4 p6 k4 FRow 9: k2tog p1 (C3B) p2 k2 (cable) FRow 10, 12 and 14: k4 p6 k3 FRow 11 and 13: k2 p1 k6 p2 k2 FRow 15: k2 p1 (C3B) p2 k2 (cable) FRow 16, 18, 20, 22: repeat row 10 FRow 17, 19, 21: repeat row 11 Put stitches (13) on holder. Attach yarn to left hand side in centre. FRow 1: k2tog k3 p6 k4 FRow 2: k2 p2 (C3F) p2 k2 (cable) FRow 3, 5 and 7: k4 p6 k4 FRow 4 and 6: k2 p2 k6 p2 k2 FRow 8: k2 p2 (C3F) p1 k1 k2tog (cable) FRow 9, 11 and 13: k3 p6 k4 FRow 10 and 12: k2 p2 k6 p1 k2 FRow 14: k2 p2 (C3F) p1 k2 (cable) FRow 15, 17, 19 and 21: repeat row 9 FRow 16, 18, and 20: repeat row 10 Put all stitches back onto the circular needle and kitchener stitch\* shoulders to back, binding off the 4 stitches in between. If kitchener stitch scares you silly, bind off all sections individually and sew shoulders onto the back. Weave in, and secure loose ends. ener Stitch tutorial that I used: http://knitty.com/ISSUEsummer04/FEATtheresasum04.html \*\* Cabling example. (C3F). Slide next three stitches onto your cable needle, hold this at the front of your Work, and knit the next three stitches from your circular. Come back to your cable needle, knit those three stitches, and then continue on on your circular needle as the pattern directs. If cabling back, simply hold your cable needle with number of stitches on it to the back of your work, knit from the circular, then from the cable needle, then back to the circular. @ Copyright AppleDuck Designs 2013 . Version 1.1 (As of 31/07/2013)


