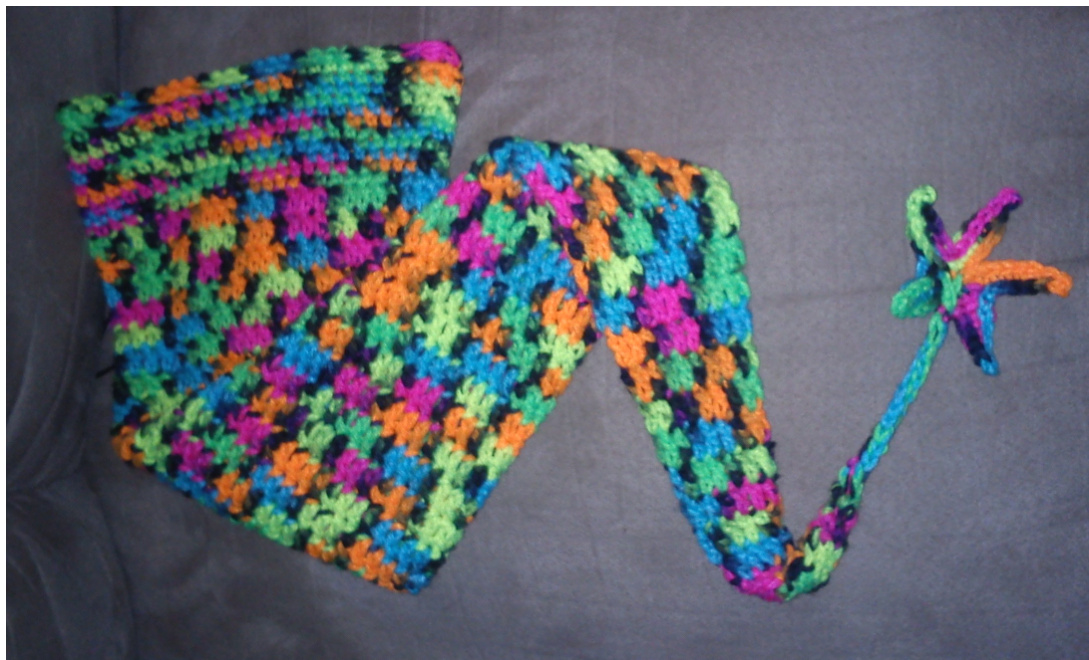
Rave Stocking Cap
This is a really easy hat to make, and though my first one was practically the very first project I did, this one is the official and refined version of it. But really! It's super easy. Yarn: any worsted (in picture RHSS Blacklight) and at least 240 yrds of it (one skein of RHSS) Guage: Not important, but I ended up making 12 dc and 7 rows into a 4x4 square. Hook: Not important, but I used 5mm, or a G hook.
Special stitches (instructions at the end):
Tdc: turning double crochet Instead of a turning chain that leaves a huge gap in the fabric, I use this stitch, which looks just like a regular dc, but it's at the beginning of a row. Tslst: triple slip stitch Much like the double sl st, but through three, creates a ridge like the crab stitch, but infinity easier to make, and thicker. Not necessary, but fun. Also, I apologize for the instructions for this stitch--I'm terrible at explaining it.
Instructions:
Ch 3, join to first chain with sl st to form a ring. Round1: Tdc into ring, 4dc, sl st to tdc to form round (5 dc total) R2: Tdc, dc into same stitch as tdc, dc around, sl st to tdc to finish round (adds 1 dc) R3-44: repeat row 2 (or until hat fits comfortably (a little loose) on your head) R45: ch1, sc around, no increases R46-55: repeat round 45, or until long enough. Add edging as desired--I did a Tslst, but you can do a crab stitch, picots, whatever. Bind off, weave in end. At the tail: insert hook through the tail, through the first round land pull a loop up land chain up until you have a suitable length Finish tail with a star motif, a pom pom, or flower :)
Star motif:
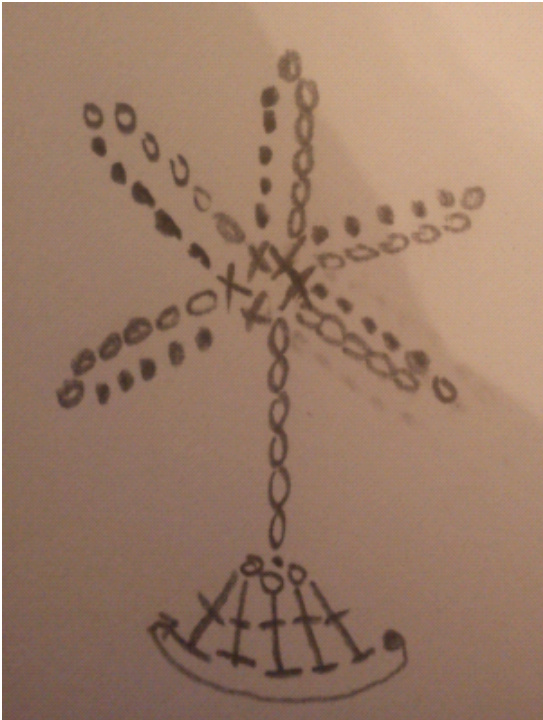
Round 1: From tail chain, \*ch6, slst into second chain from hook, slst 4 more times. Sc into last chain of the tail.\*\* Repeat from \* to \*\* 4 more times. Round 2: sl st around, at each tip of the of the star, leave another open chain. Stitch instructions: Turning dc (Tdc):
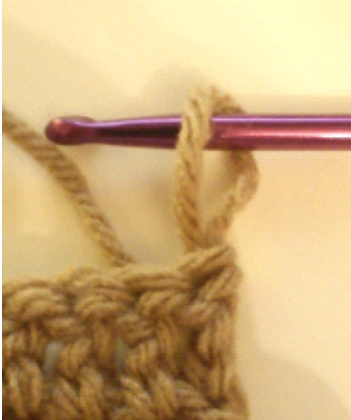
pull up a long loop yarn over with the loop linsert hook into fabric pull loop thru fabric, under loop, should have 2 loops on hook
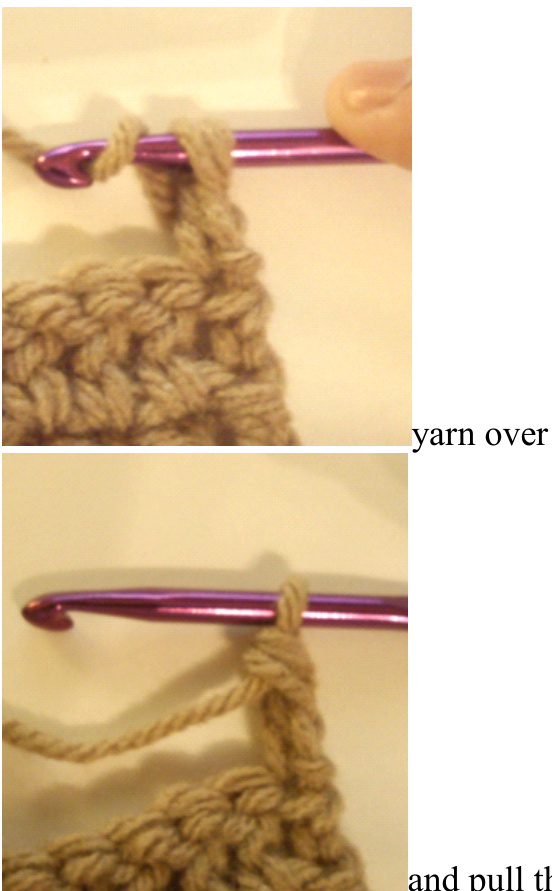
land pull thru remaining loops on hook

and dc as usual. Removes that gap in the beginning! Triple slip stitch (tslst):
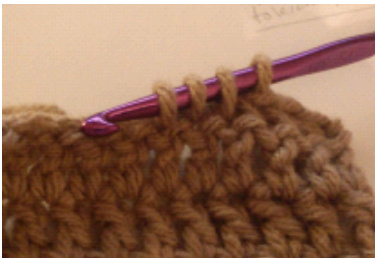
loops on hook) linsert hook into the next 3 stitches and pull a loop for each (4
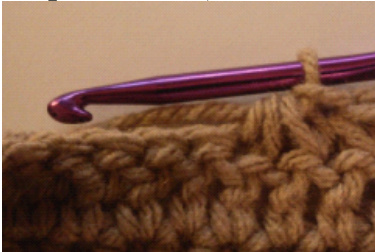
lyarn over, pull loop through all 4 loops
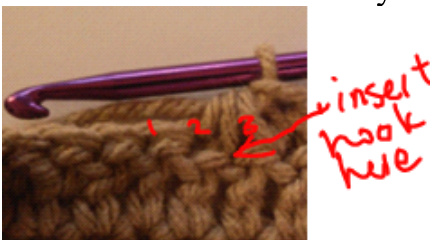
to continue stitch, insert hook in the 3rd stitch from the next
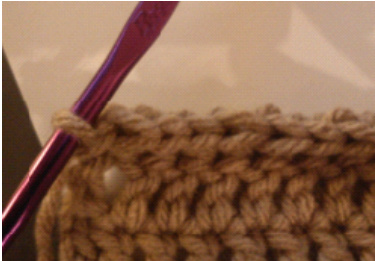
when you have no more room to pull up 3 loops, just reduce to 2, and then 1 (sl st) to finish the line.


