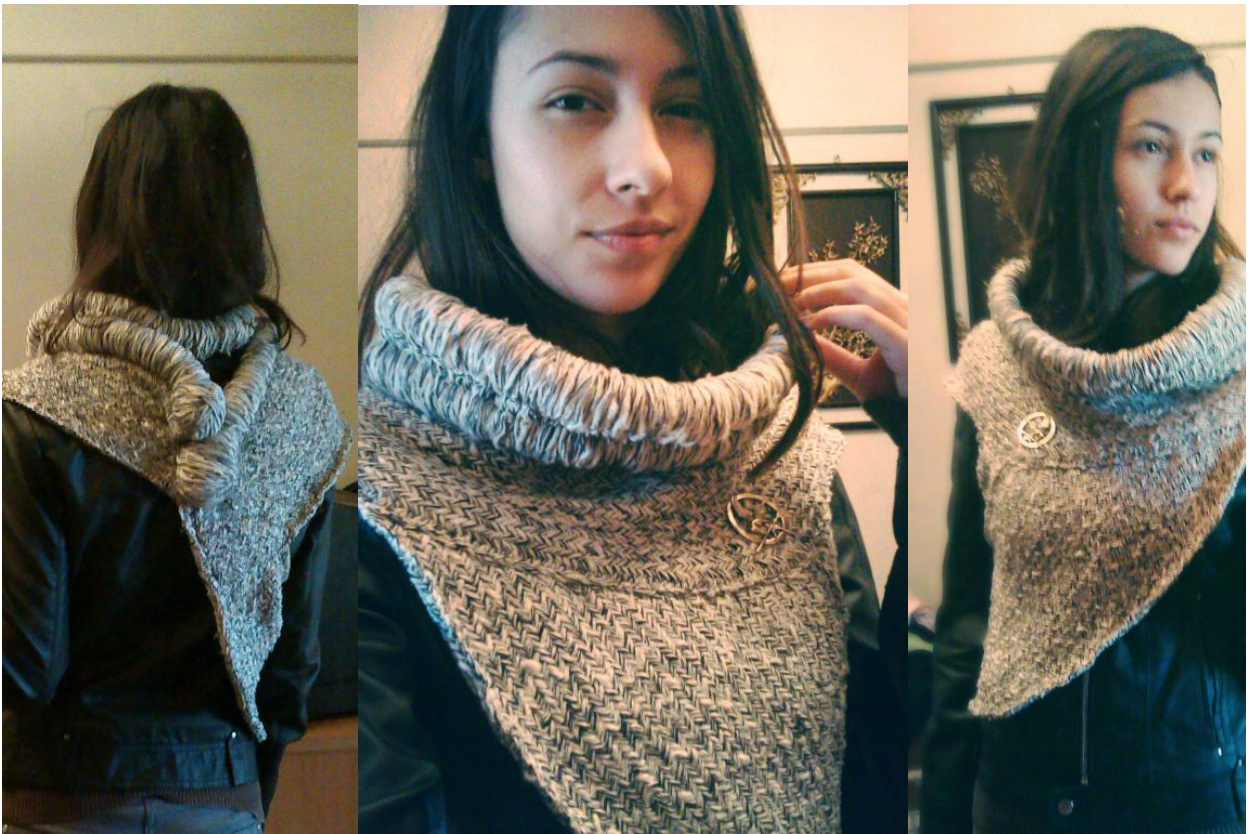
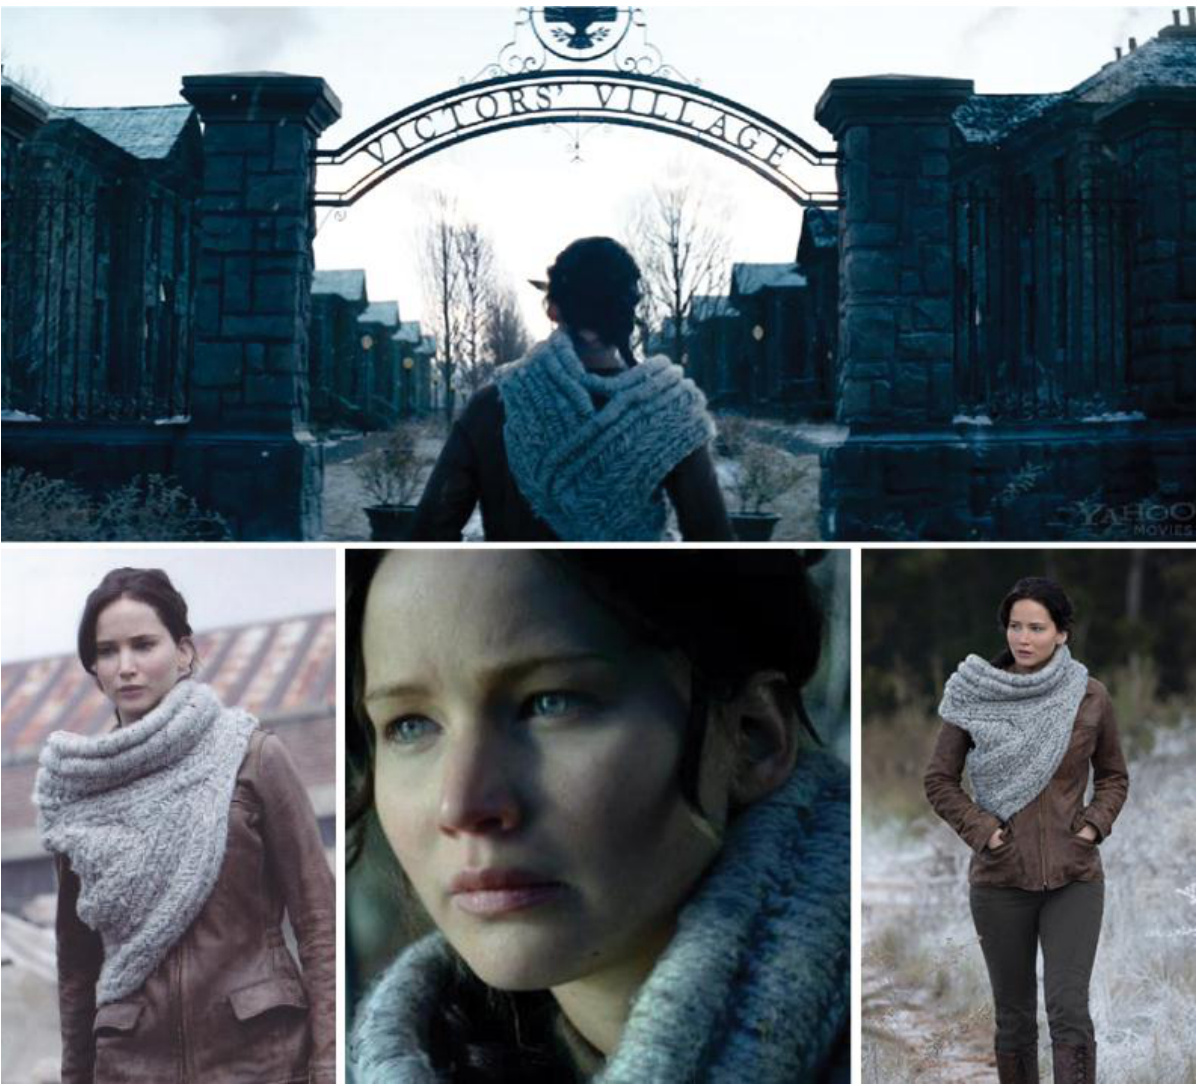
Katniss Cowl
Pattern by Aida Denisa Opirlesc
This version of the cowl I made is for those of you who cannot find or cannot afford the necessary materials to make one. I will tell you what I did, in hope that it helps you. I couldn't find suittable yarn or needles in my town and it was way over my budget to order them from USA (I live in Romania), so I decided to make the cowl with what I had: US 6 needles (4mm) · Yarn recicled from a pullover bought from the thrift shop.

This pattern can be adapted to all needle sizes and types of yarn.
Part 1
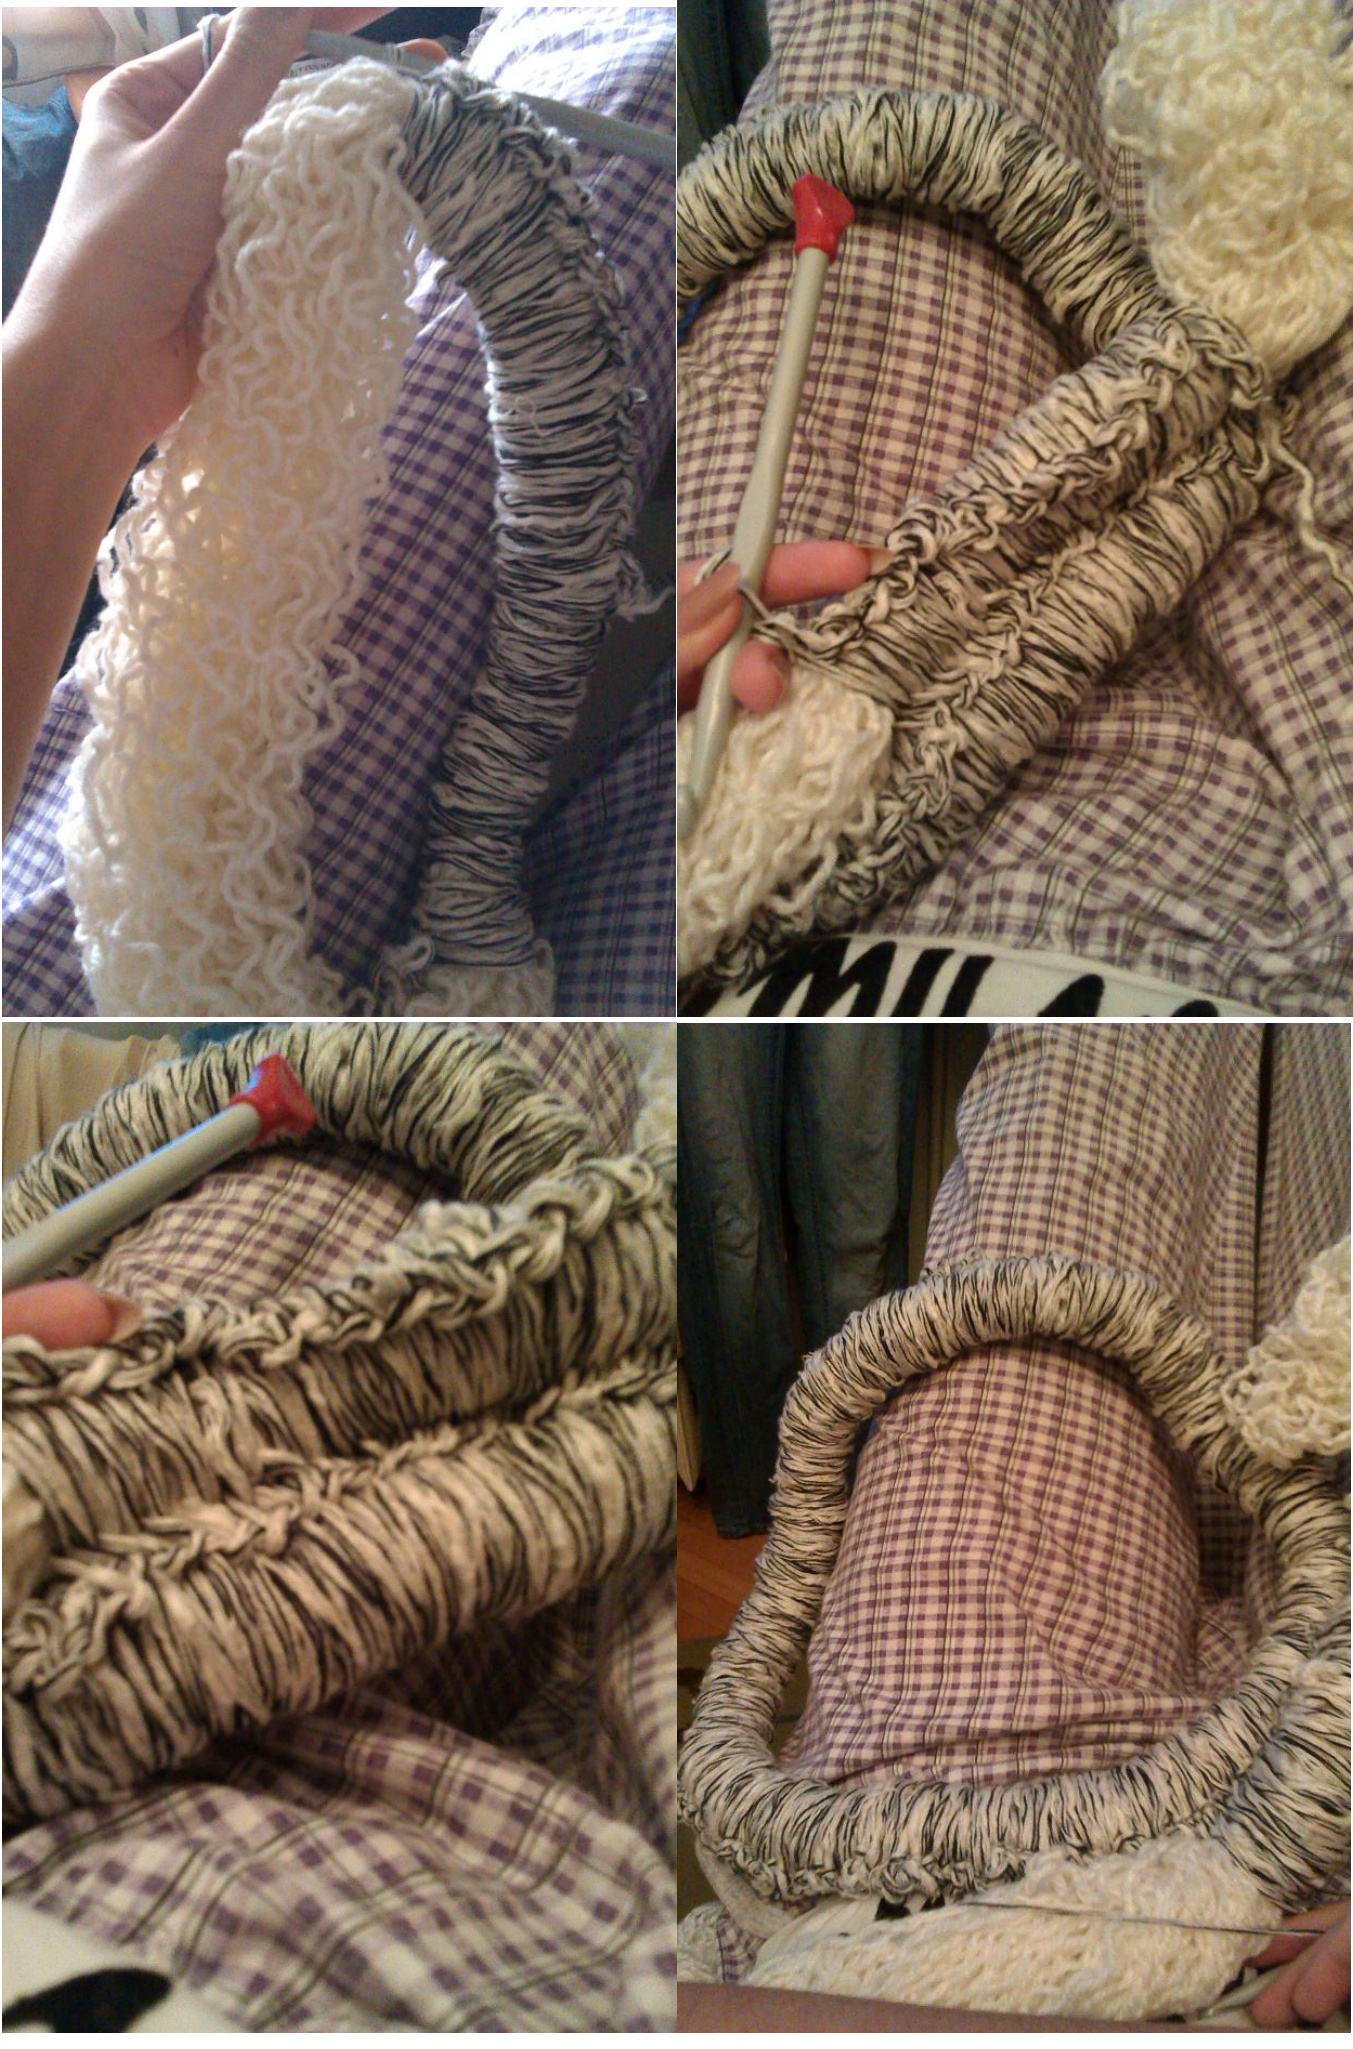
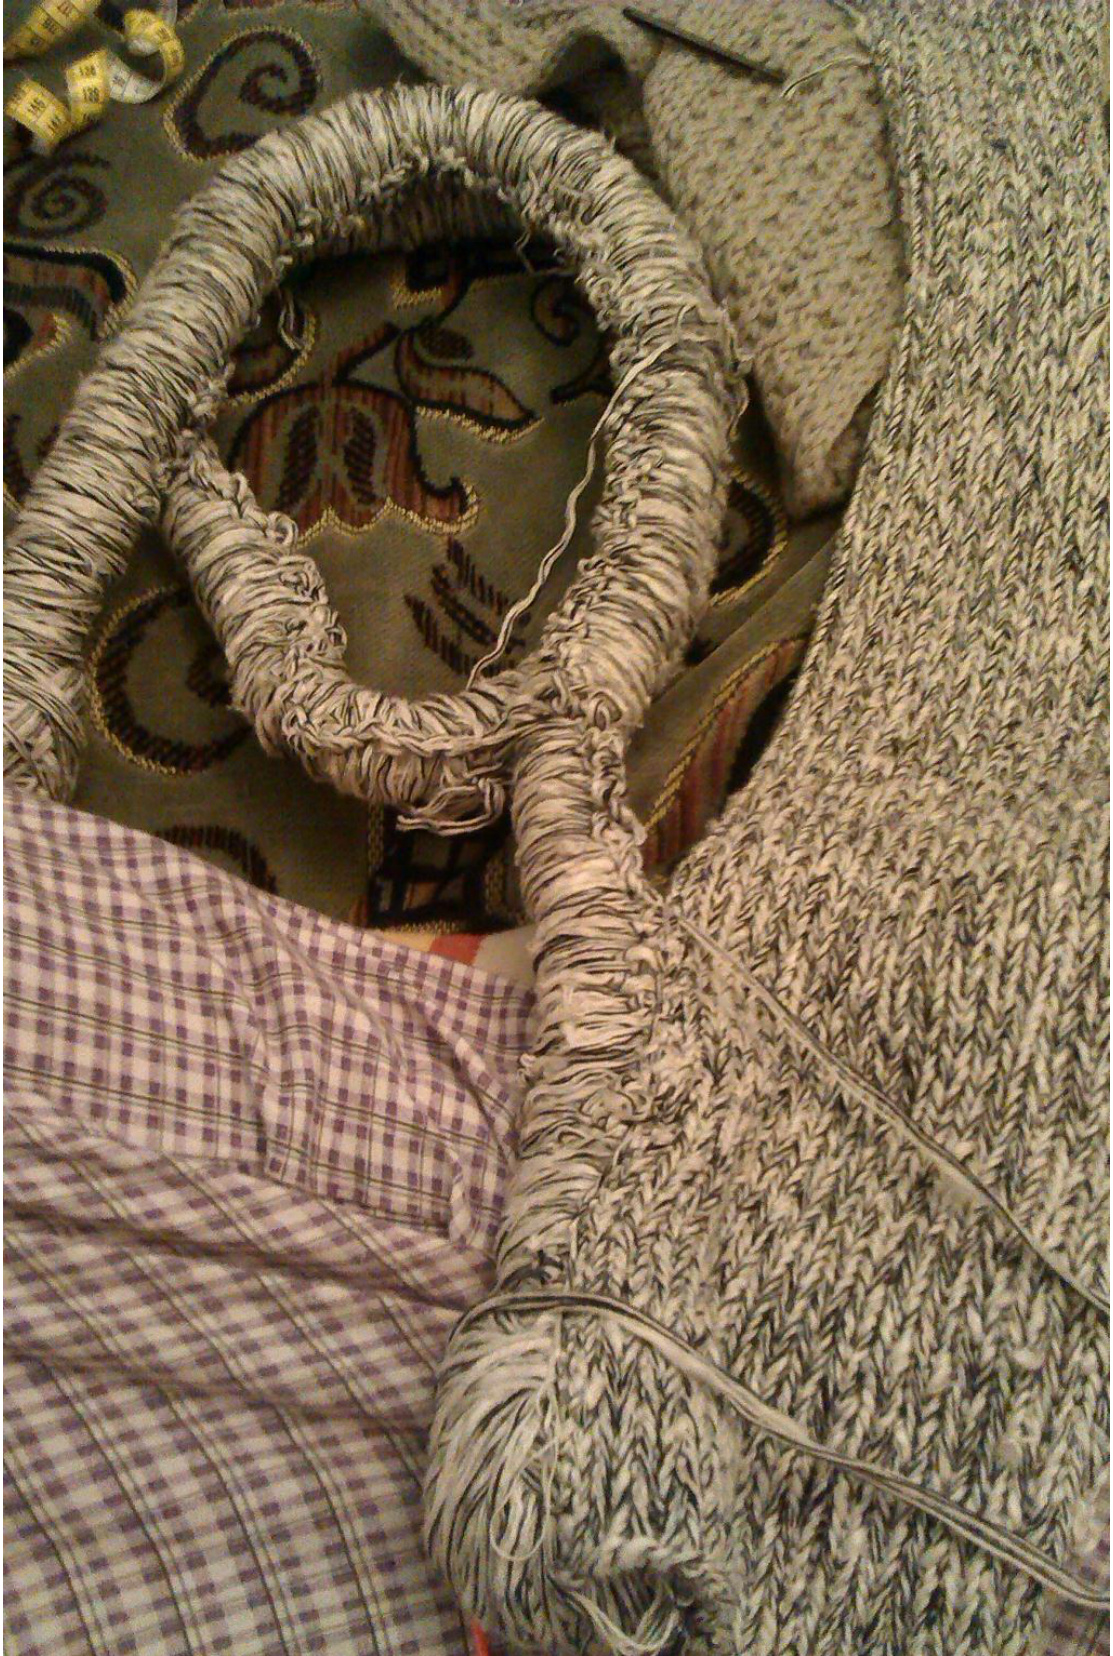
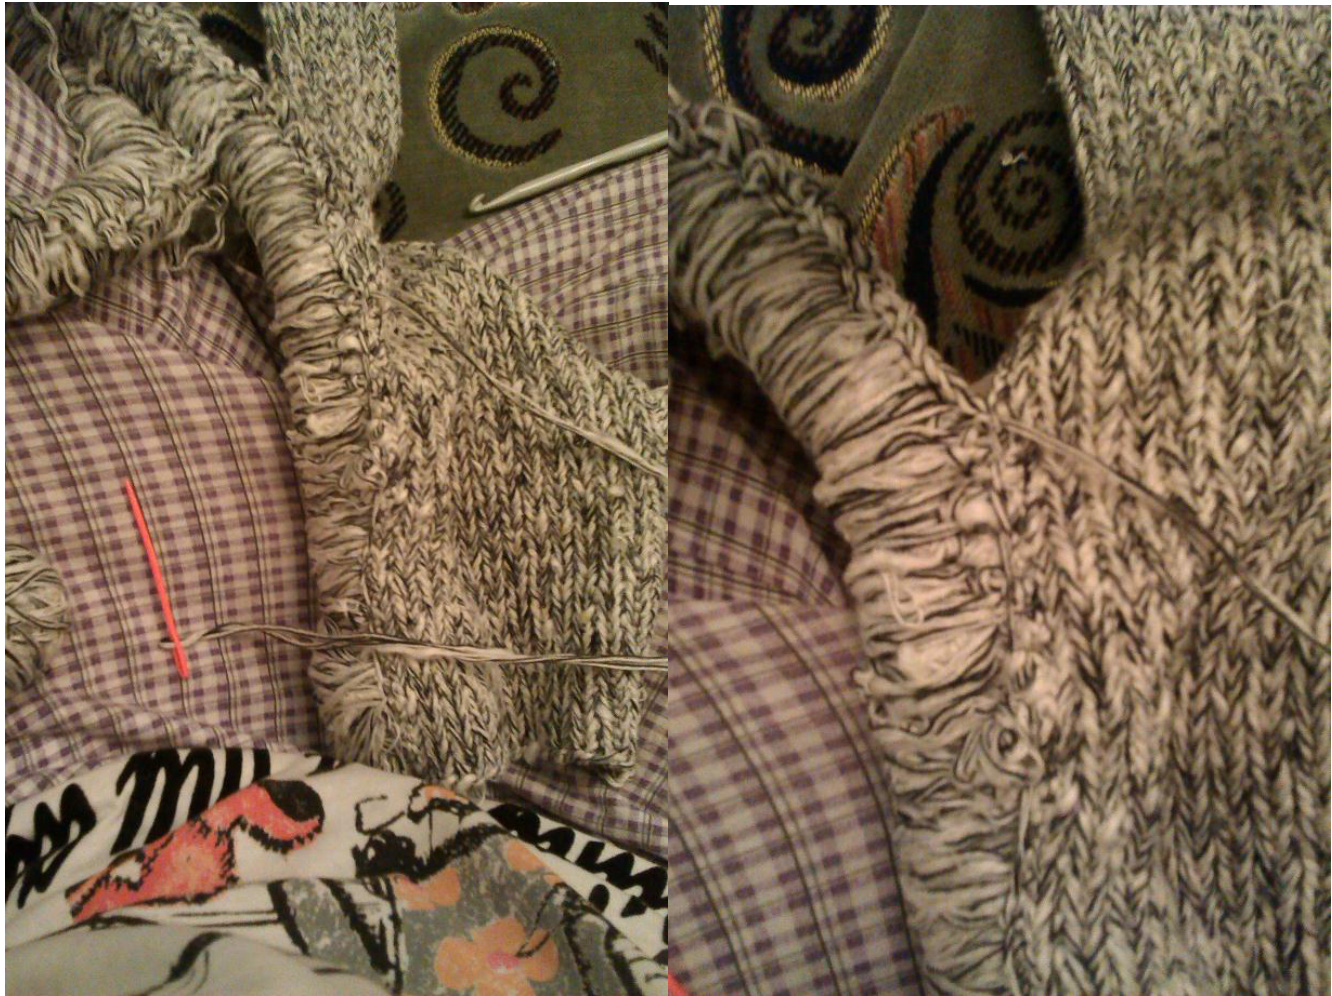
The upper part of the cowl is made of some kind of yarn wrapped thick strings. I found a tutorial very helpful and I have permission to share it here. I made this part following instructions from here: http://www.ravelry.com/patterns/library/katniss-cowl-5
Or here:
http://engineeredcreations.wordpress.com/2013/12/26/katniss-cowl/ I strongly recommend you do this for the beginning, just the 2-3 strings, depending on how you like it. IMPORTANT: the longer one should be 1m long!! (100cm) HERE IS MINE:
Part 2
herringbone stich
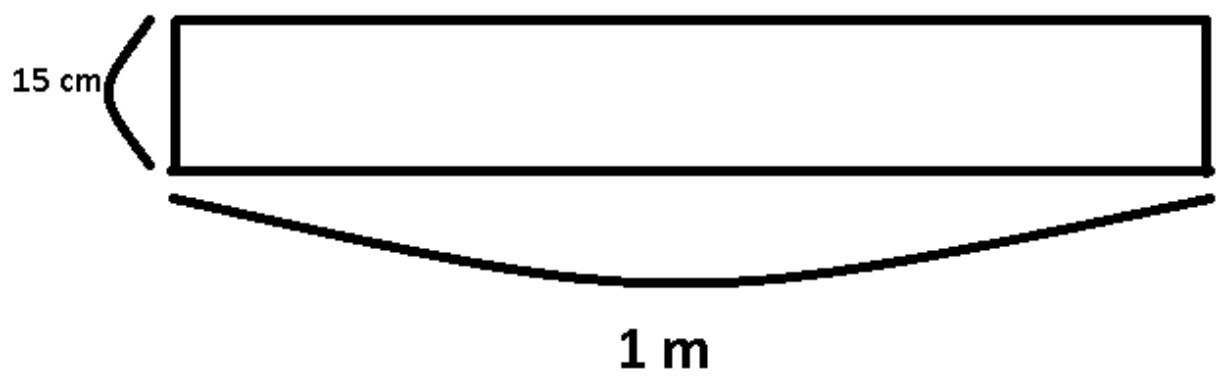
Part 2 is just a rectangle 1 m wide and 15 cm high. Make it in herringbone stitch. Cast off.
Part 3
herringbone stitch
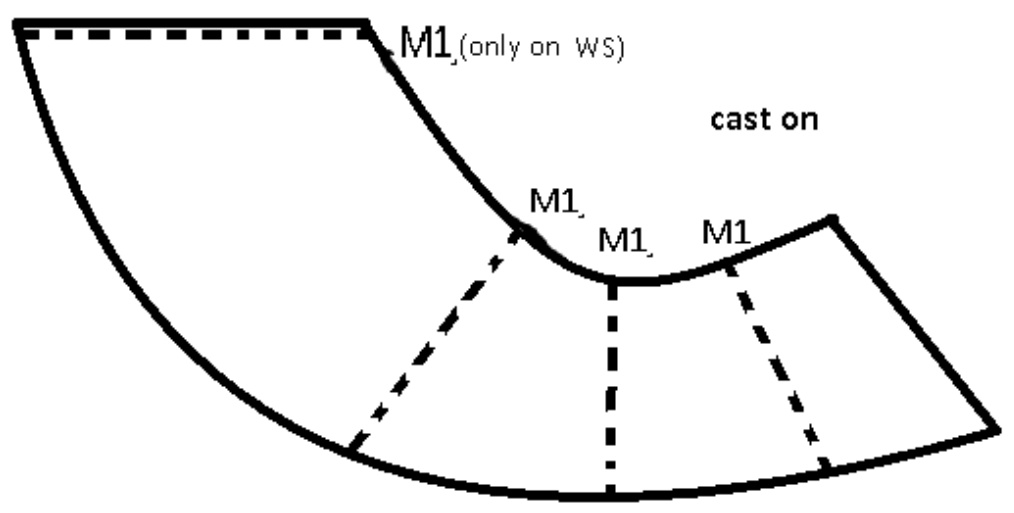
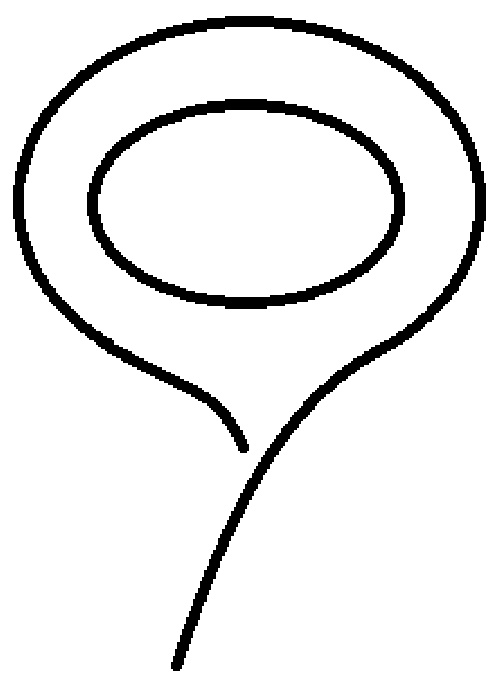
cast off^ Here is the tricky part. Cast on 90 stiches. Row 1: k 2, PM, k 38, PM, k15, PM, k15, PM, k 20. Row 2: p21, M1, p15,M1, p15, M1,p38, M1, p2; move markers on the stiches you just knitted. Row 3: \* knit untill you reach marker, M1, repeat from And from now on you will make one everytime you reach a marker and then move the marker to the new stich. IMPORTANT: The M1 on the drawing which says (only on WS) means that YOU ONLY MAKE 1 ON THE WRONG SIDE , not on both sides. This applyes just to that stich, every other stiches you M1 on both RS and WS. Make it untill the width reaches 3Ocm. Cast off.
So don't make the same mistake like me! Pay attention!
THEASSEMBLY
First sew part 1 and part 2 together. The longer string and the cowl should both be 1m (100 cm) long.
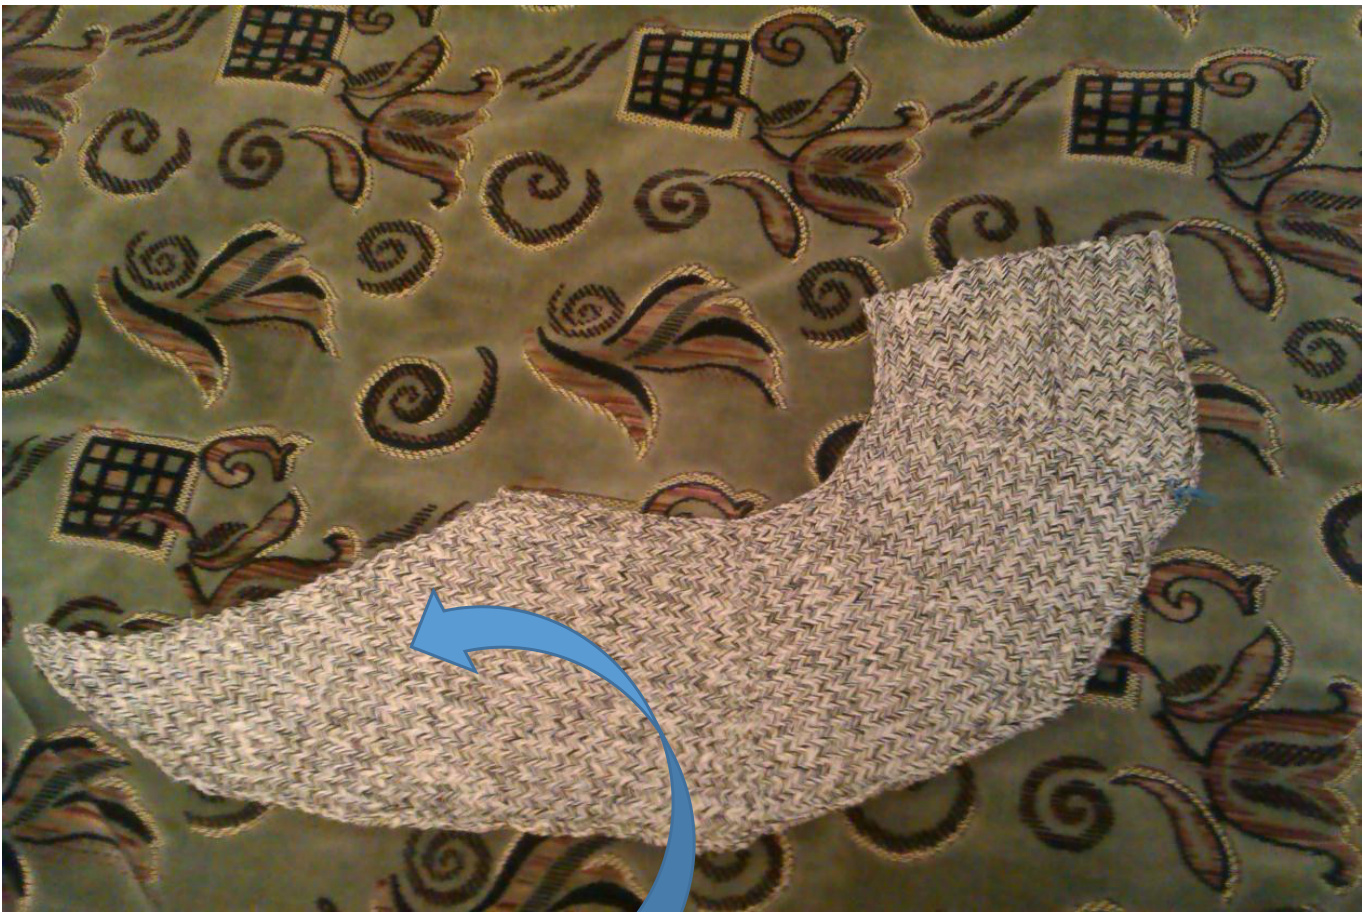
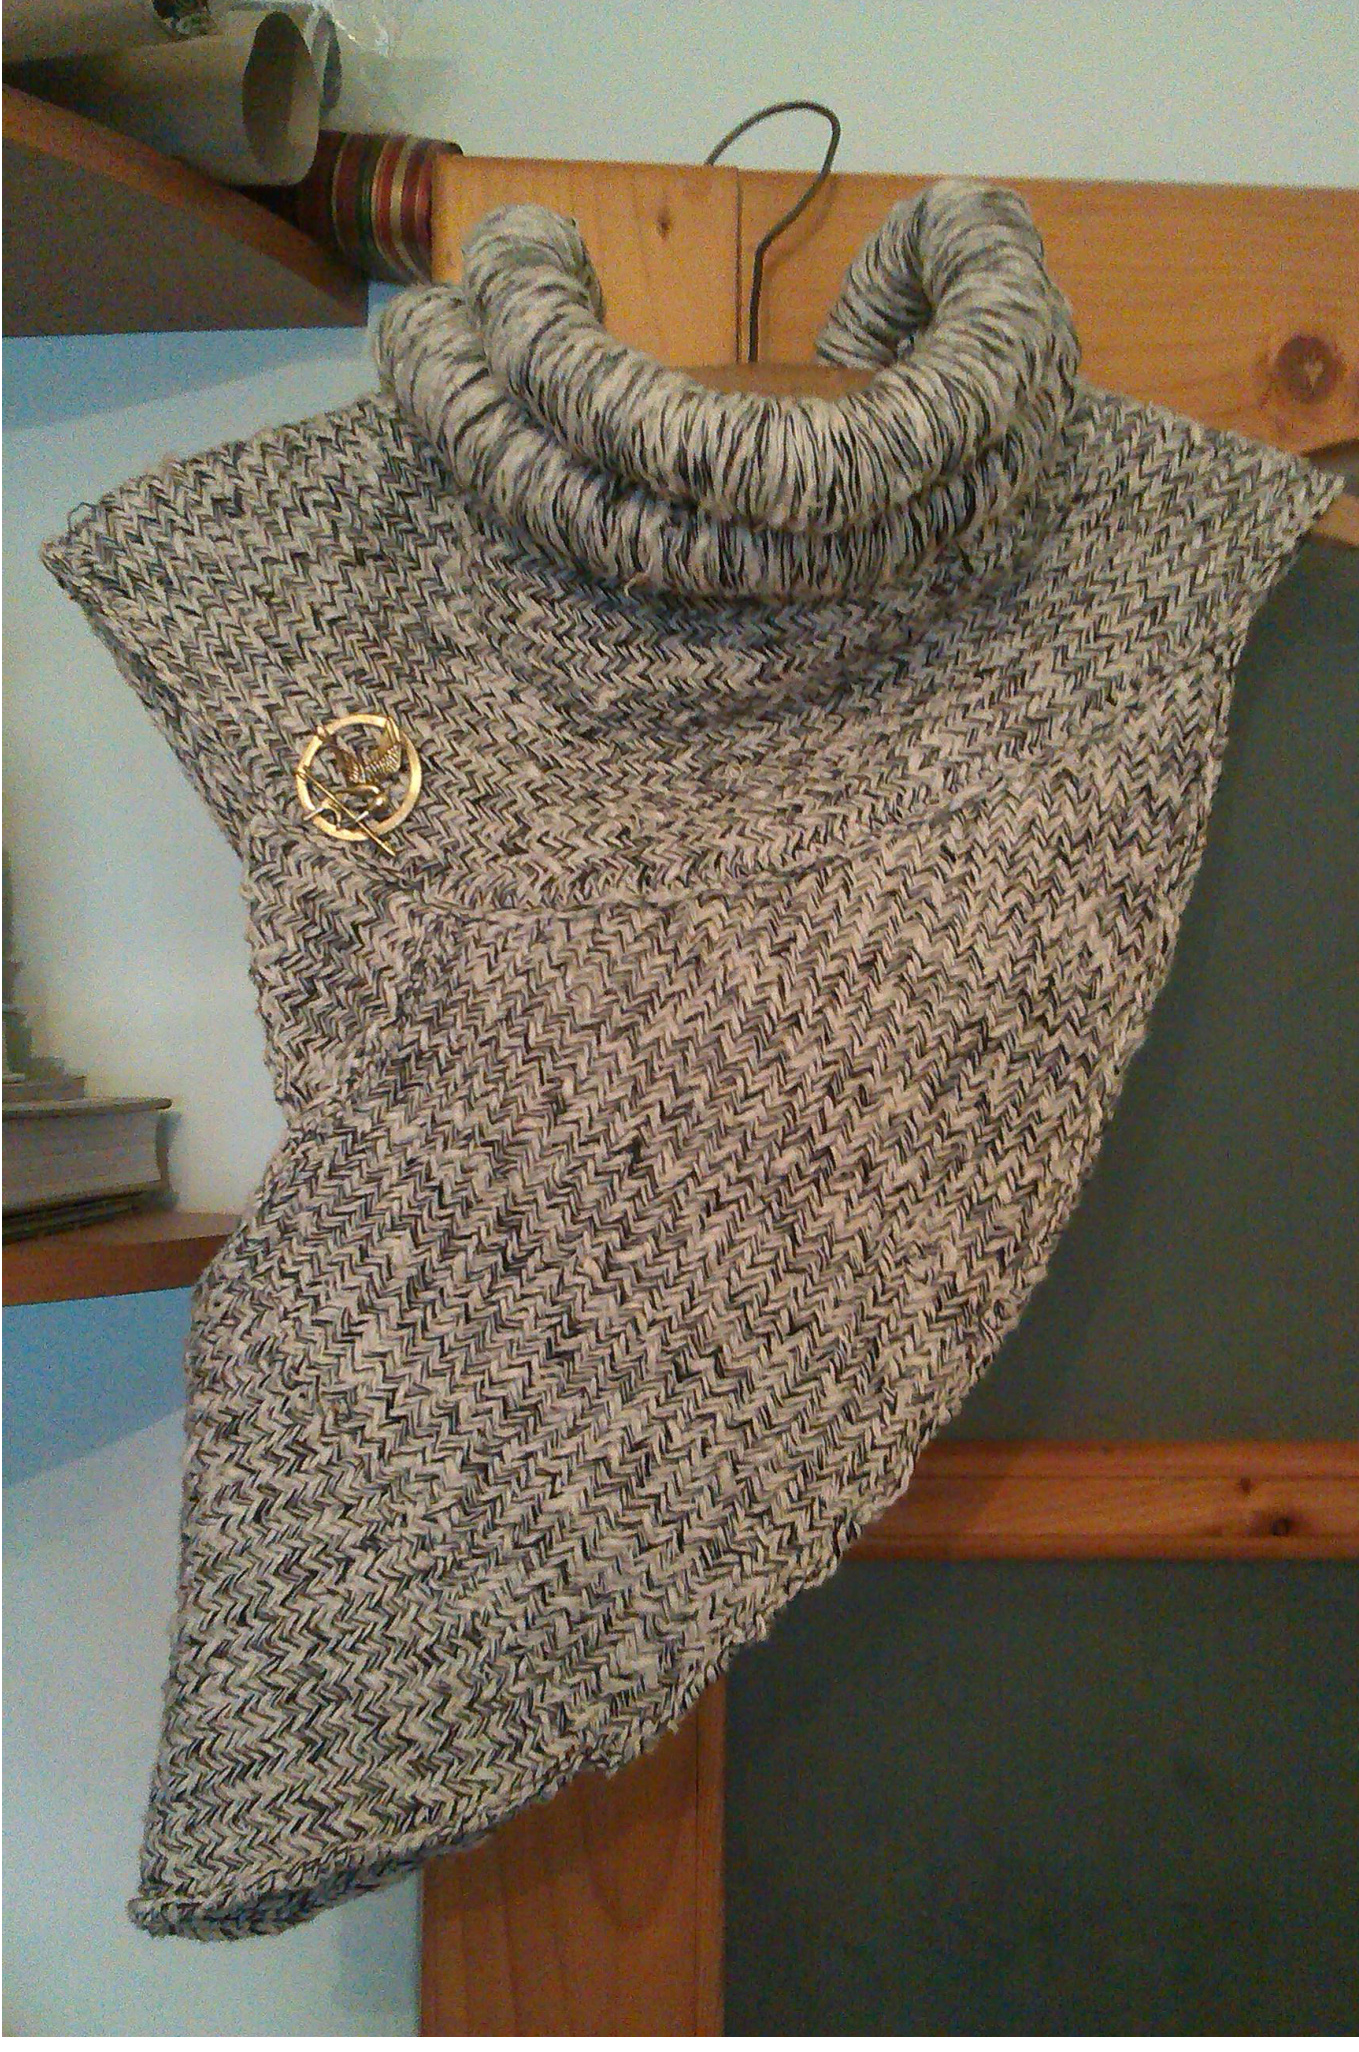
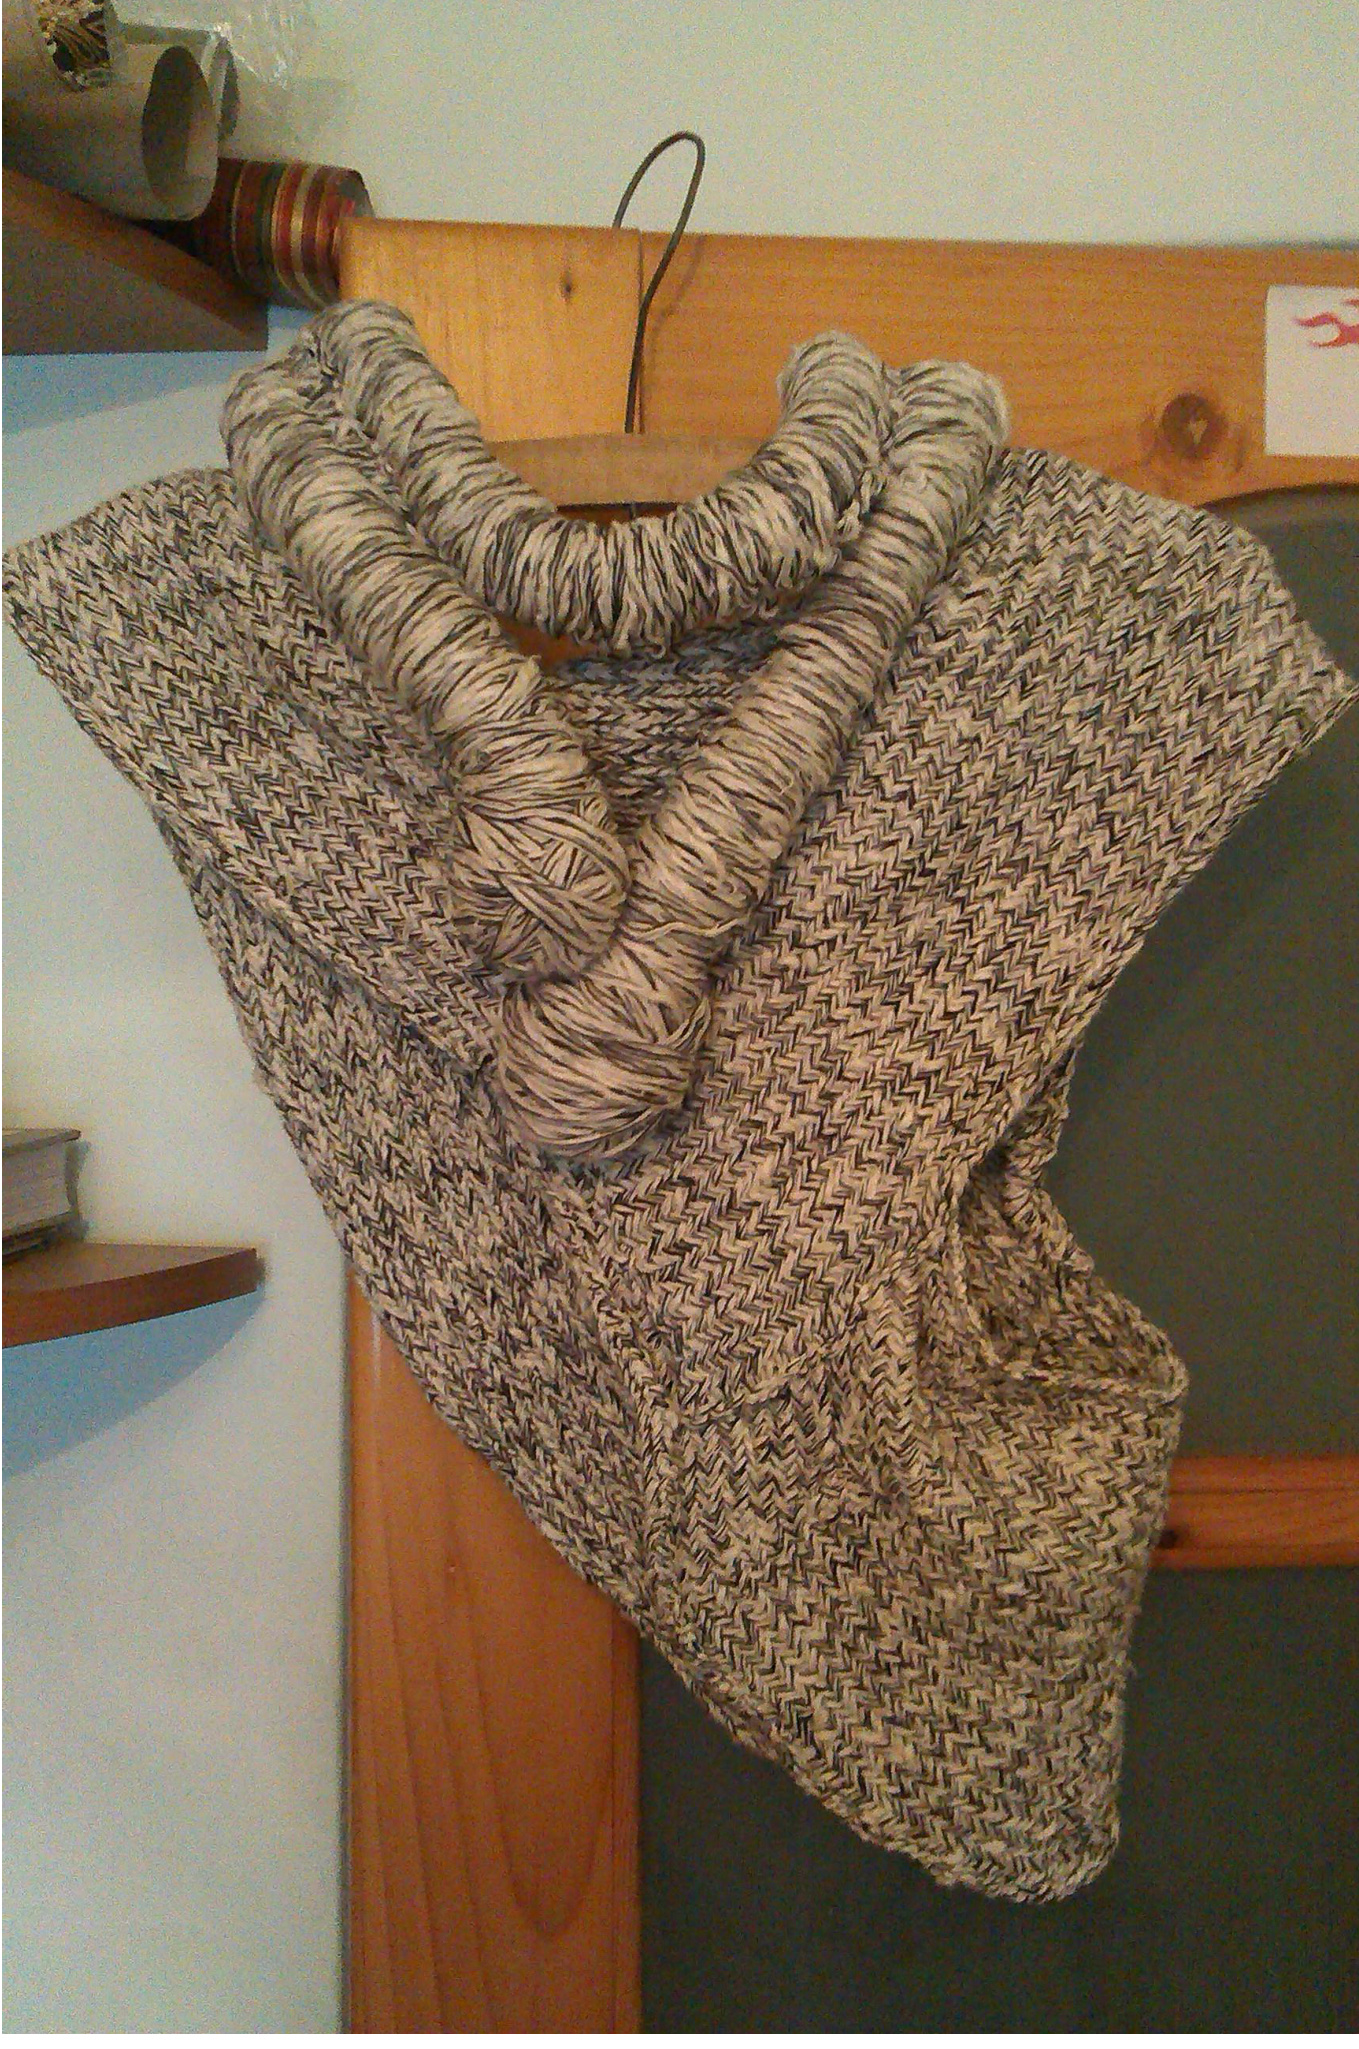
After that, sew part 3 with the higher part in the front and the lower part in the back. It should look like this :
Hope this pattern helped you... If you have any questions, send me a message on ravelry.com or send me an email at aida.denisa@yahoo.com and I will be glad to help!